Last updated on
Master the skill of installing kitchen cabinets with this step-by-step instructional guide, offering practical advice and handy tips to elevate your DIY kitchen project.
Key takeaways:
- Remove existing cabinetry: Empty cabinets, unscrew hinges, protect surfaces
- Measure space for new cabinetry: Note dimensions, account for irregularities
- Install upper wall cabinets first: Locate studs, use reference line, secure with screws
- Level and set the base cabinet boxes: Start with corners, shim as necessary, secure to studs
- Screw face frames together and install remaining cabinets: Use clamps, drill pilot holes, confirm alignment
What's Inside
Remove Existing Cabinetry

Before removing existing cabinetry, turn off the water and power supply to avoid any accidents. Empty the cabinets completely, and remove any drawers and shelves. These steps will make the cabinets lighter and easier to handle.
Next, detach the doors by unscrewing the hinges from the cabinet frame. Keep all screws and hardware in a bag, as they may come in handy for installing your new cabinets.
Now, focus on the main structure. Many cabinets are secured with screws directly to the wall’s studs. Locate these screws and use an electric drill to remove them. You may need a helper to support the cabinets as you work—safety first.
Remember to protect your floors and countertops by laying down a sheet or a drop cloth before starting. This precaution will help prevent damaging your surfaces during the removal process.
If you encounter cabinets stuck with adhesive or caulk, a putty knife can be gently tapped into the seam with a hammer to separate the bond. Proceed with caution to avoid damaging the wall surface.
Lastly, once the cabinets are free, gently remove them from the wall and set them aside. Be mindful of the next steps, as some elements of the existing cabinetry can be repurposed or donated.
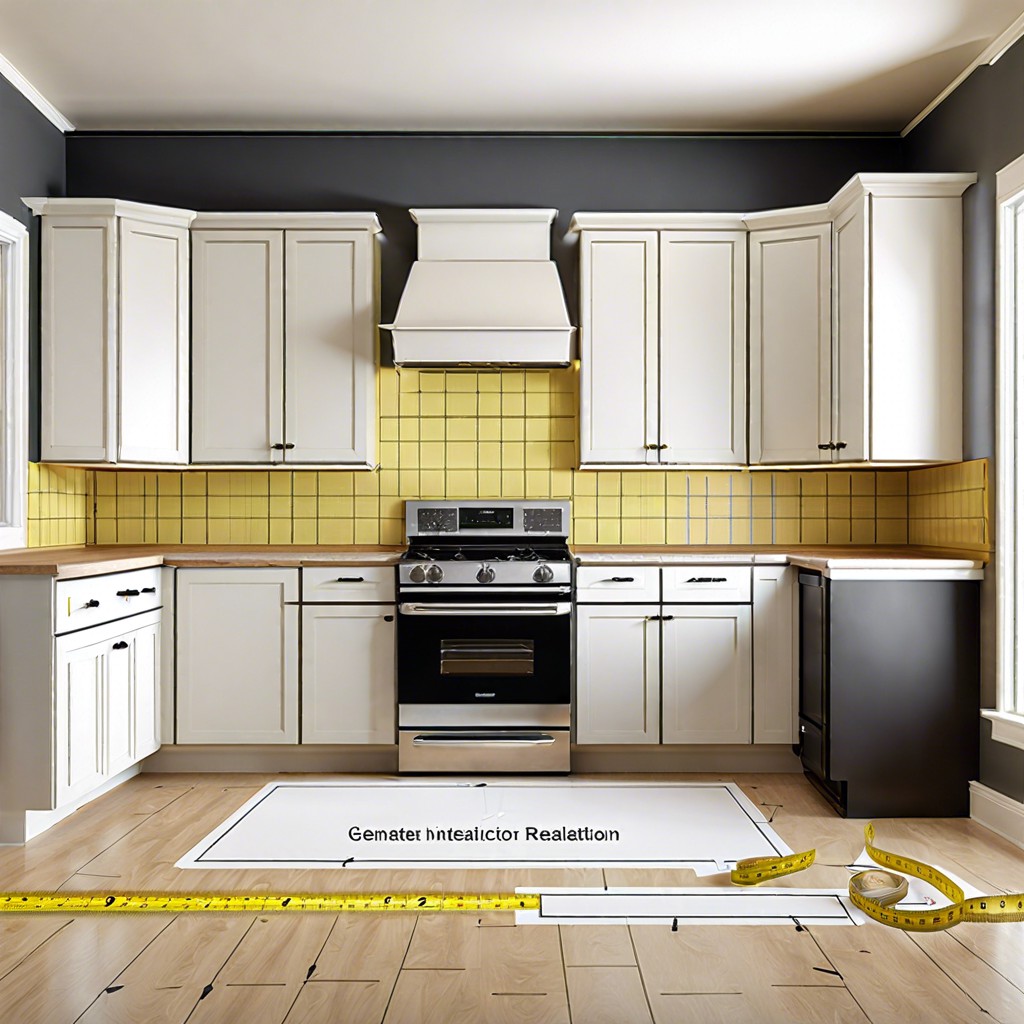
Measure the Space for New Cabinetry
Precision is key when fitting your kitchen with new cabinets. Begin by noting the dimensions of the floor, walls, and ceiling. Pay close attention to any irregularities, like bulges or dips. This will affect the fit and finish.
Use a tape measure to find the height and width where cabinets will hang. Don’t forget to account for appliances and fixtures, ensuring there’s enough space for doors to swing open comfortably. Mark the locations of studs for secure anchoring of the cabinets.
Remember that walls can be deceiving; they’re often not perfectly straight. Employ a level and a laser measure for accuracy. This attention to detail will prove invaluable when you’re dialing in the fit and avoiding potential pitfalls during the actual installation. The beauty of a kitchen lies not only in its appearance but also in the precision of its construction.
Install Upper Wall Cabinets First
Begin by locating and marking the studs in your wall; this is crucial for a secure installation. Use a stud finder for precision and mark with a pencil where each stud falls. Once that’s mapped out, determine the height of the cabinet placement. A standard height is 18 inches above the countertop, ensuring ample workspace.
Next, draw a horizontal line along the wall where the bottom of the cabinets will align. This is your reference line and will keep your cabinets level. If your floor is uneven, use a laser level for accuracy.
With your helper, hold the first cabinet against the wall, aligning its bottom edge with the reference line. Drill pilot holes through the back of the cabinet into the marked wall studs, and secure the cabinet with screws. With one cabinet in place, it’s easier to install adjacent cabinets. Clamp the face frames together, ensuring they’re flush, and join them with screws.
Remember to leave space for any appliances or fixtures, double-checking measurements to ensure they fit. For corner cabinets, use the manufacturer’s recommended fittings to get that perfect fit. Finally, periodically check for level and plumb as you go to avoid cumulative errors that may disrupt the entire installation process.
Level and Set the Base Cabinet Boxes
Once the upper cabinets are in place, attention shifts to the base units. It’s paramount to ensure they are level across all planes. An uneven base can lead to a domino effect of alignment problems, causing doors and drawers to function poorly and countertops to fit incorrectly.
To avoid these issues, follow these steps:
- Start with the corner pieces, which set the stage for aligning the rest.
- Use a level to check the cabinet fronts and sides. Be vigilant about horizontal and vertical planes.
- Shim beneath the cabinets as necessary to achieve levelness. Minor discrepancies can be adjusted with these small, but mighty, wedges.
- Confirm back-to-front level by placing the level on the counter mounting edges.
- Once perfectly leveled, secure the cabinet box to the wall studs with screws.
- Repeat the process with adjoining cabinets, clamping and screwing their stiles (vertical face frame parts) together to ensure a tight seam.
Remember, precision here is key for a sleek and functional finish. Keep that level close—you’ll need it with each step.
Screw Face Frames Together and Install Remaining Cabinets
After securing your initial cabinets, it’s essential to align and unite the face frames for a seamless look. Here’s what you need:
- Clamps – Use clamps to hold the cabinet frames together, ensuring they are perfectly flush and level.
- Drilling Pilot Holes – Prevent wood from splitting by carefully drilling pilot holes through the stiles (the vertical members of the face frames).
- Screwing the Cabinets Together – Connect the cabinets using screws—typically 2½-inch-long finishing or cabinet screws for a firm hold.
- Confirm Alignment – As each new cabinet is joined, double-check that it’s level and plumb with the adjacent units.
- Continue the Process – Move along the wall, attaching each additional cabinet in the same fashion.
By methodically working through these steps, you ensure robustness and consistent alignment across all cabinets. This attention to detail during installation lays the groundwork for a kitchen that’s both functional and visually appealing.
Continue reading: