Last updated on
This blog post provides easy-to-follow steps on how to increase water pressure in your kitchen sink, ensuring you’ll spend less time rinsing and more time enjoying your culinary adventures.
Key takeaways:
- Check the Aerator: Clean or fix if clogged.
- Fixing the Aerator: Rinse or soak in vinegar.
- Flushing the Supply Lines: Disconnect, flush, and reconnect.
- Check The Regulator: Adjust pressure or consult a professional.
- When to Call A Professional: Persistent low pressure or plumbing issues.
What's Inside
Check the Aerator

Often overlooked yet crucial, the aerator—attached to the faucet’s tip—might be the culprit behind low water pressure. Calcium deposits and debris can clog it, leading to a reduced flow.
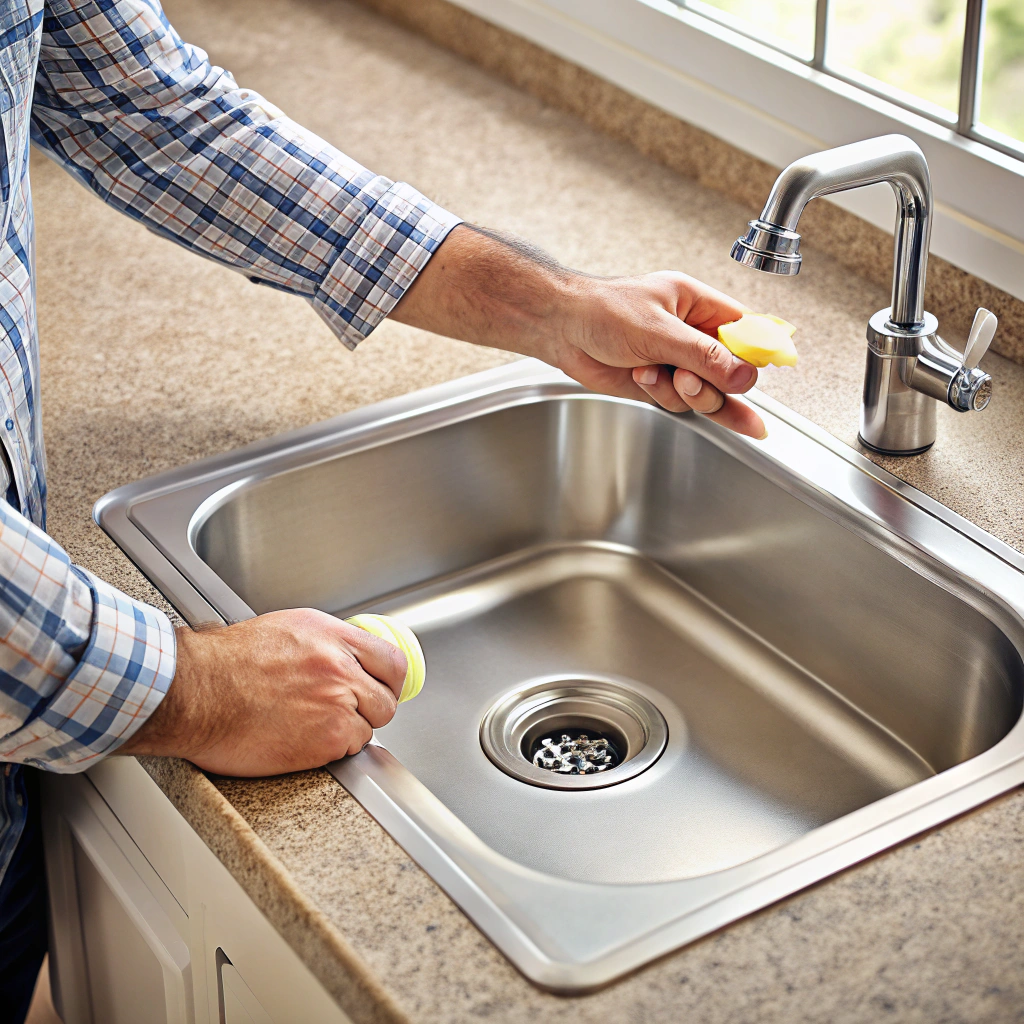
To inspect it, unscrew the aerator and check for sediment, lime buildup, or any obvious signs of blockage. If it’s dirty, soak it in vinegar to dissolve the deposits, or use a toothbrush for a more thorough clean.
Regular cleaning ensures optimal function and can make a noticeable difference. Remember, gentle hands are key when reattaching the aerator to avoid damaging the threads.
Fixing the Aerator
If you’ve pinpointed the aerator as the culprit for low water pressure, it’s a simple fix. Most aerators can be unscrewed by hand; however, if it proves stubborn, gently use pliers with a cloth to prevent scratching.
Next, dislodge any debris or mineral deposits by rinsing the aerator with water, or for a more thorough clean, soak it in vinegar for a few hours.
For aerators significantly clogged with mineral buildup, a needle or a small brush can be effective for clearing the tiny openings.
Once the aerator is clean, screw it back onto the faucet, being careful not to overtighten, which can damage the threads.
With these steps, your faucet should ideally regain its proper water flow.
Flushing the Supply Lines
Over time, mineral deposits can accumulate within your pipes, resulting in reduced water flow. A simple yet effective solution is to flush your supply lines. Here’s how:
1. Shut off the water supply: Locate the valves under the sink and turn them clockwise to the off position. This prevents water from gushing out once you disconnect the lines.
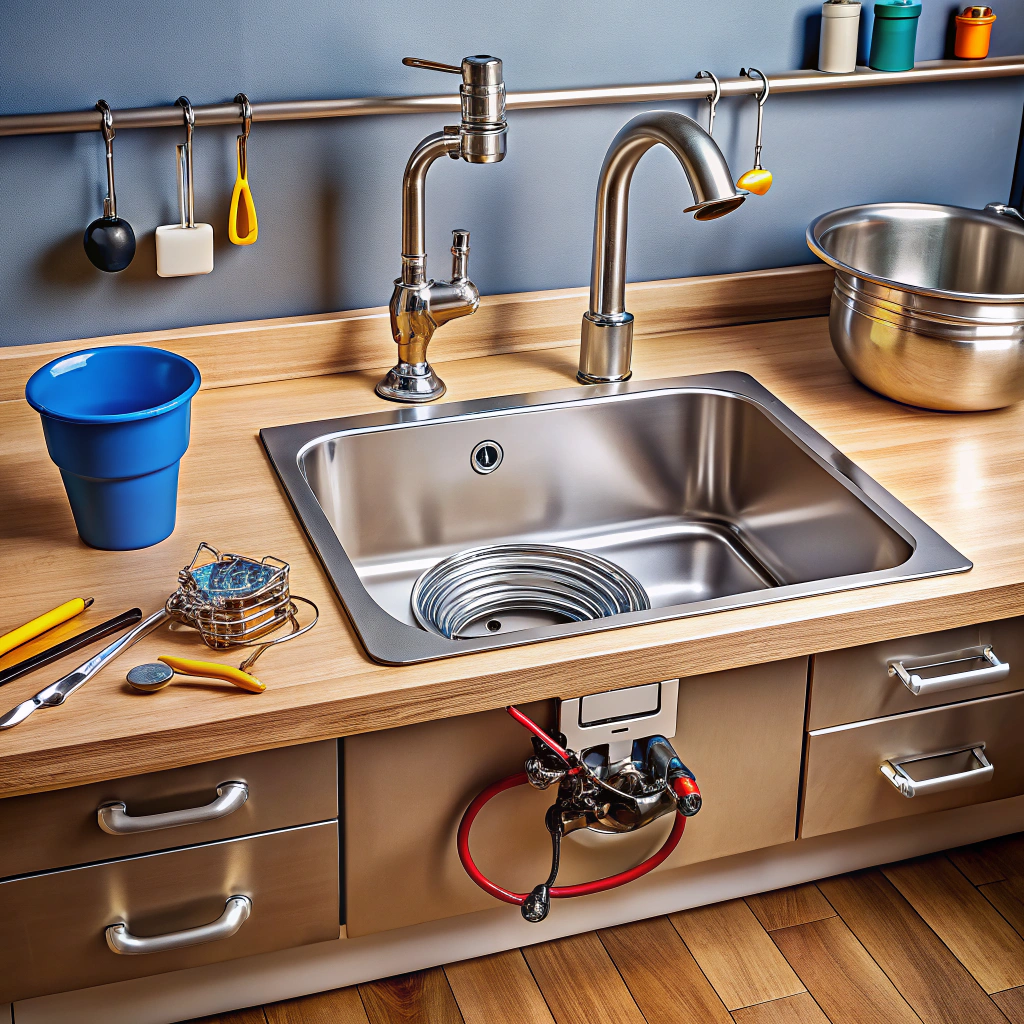
2. Disconnect the supply lines: Using an adjustable wrench, carefully loosen the nuts that connect the supply lines to the faucet. Have a bucket handy to catch any residual water.
3. Flush the lines: Once disconnected, point the lines into the bucket and slowly turn the valves back on to release water pressure. The force of the water should clear out any debris.
4. Inspect the water flow: Before reattaching, let the water run for a minute to ensure it’s clear and the flow has improved.
5. Reconnect the lines: After flushing, turn off the valves again, reattach the supply lines, and tighten them securely. Be careful not to over-tighten as this can damage the seals.
6. Test your work: Turn the valves back on and check the sink’s water pressure. You should notice a marked improvement if the issue was in the supply lines.
Remember, regular maintenance can prevent build-up and keep your water flowing smoothly.
Check The Regulator
Diving deeper into the technical aspects, it’s important to know that water pressure for your home is controlled by a pressure regulator. Often, when experiencing low pressure in just your kitchen sink, the issue may be elsewhere. The regulator, usually found where the main water line enters the home, can affect water pressure throughout your house. If the settings have been altered or if the regulator is failing, it can have a significant impact on the performance of your kitchen faucet.
To address a pressure problem at the regulator level, you can attempt a few steps:
- Locate the regulator. It’s often near the water meter.
- Check the current pressure setting. Standard household pressure should be between 45 and 60 psi.
- Adjust the screw or bolt on the regulator to increase pressure. Turn clockwise to do so, but be cautious not to exceed 60 psi as it may cause damage to your plumbing.
- Monitor the change at the kitchen sink. If water flow doesn’t improve, the regulator may be defective.
At this point, if you’re not comfortable handling the regulator or if tweaking it had no effect, getting in touch with a professional is the best move. They can accurately diagnose the issue and replace the part if necessary, ensuring you get back to a well-functioning kitchen sink.
When Should I Call A Professional
If all DIY efforts have been exhausted—cleaning the aerator, flushing the lines, and checking the pressure regulator—it might be time to consider enlisting the expertise of a professional. Here are some pointers to guide your decision:
- Persistent low pressure across multiple fixtures could signal systemic plumbing issues.
- Discolored water or signs of sediment might indicate corroded pipes.
- Significant fluctuations in water pressure are often beyond simple fixes and may require a plumber’s diagnosis.
- If you’ve located leaks or have reason to believe there’s a hidden leak, a professional is best equipped to handle repairs without causing further damage.
- Involvement of specialized tools or replacement of plumbing components warrants a plumber’s skill set.
- Lastly, if you’re uncomfortable performing any steps or unsure about the cause, calling in an expert will save time and potentially avoid costly mistakes.
