Last updated on
Learn how to draw a kitchen with simple steps and useful tips.
Key takeaways:
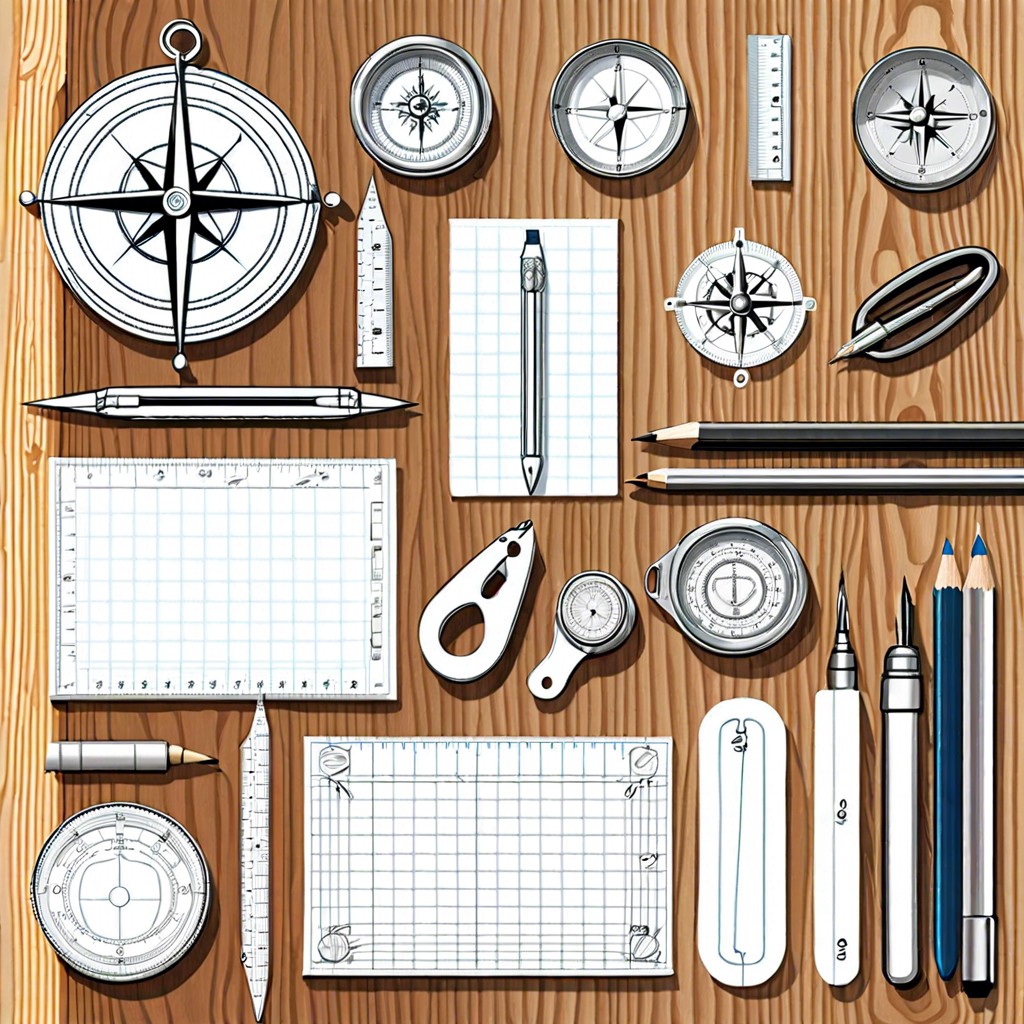
- Choose the right drawing tools – quality pencil, graph paper, ruler, eraser, colored pencils or markers for creativity.
- Measure your kitchen space accurately – length, width, height, windows, doors, obstructions.
- Sketch the layout – start with a rough rectangle, create the kitchen triangle, plot primary paths, keep it proportional.
- Draw walls and windows – use a ruler to keep walls straight, measure twice, consider windows for natural light.
- Incorporate major appliances – place refrigerator, dishwasher, microwave, stove, and oven strategically for optimal workflow.
- Add cabinets and counters – decide on layout, measure accurately, leave space for food prep, consider harmony with major appliances.
- Include the stove and oven – place near countertops, sketch with rectangles and circles, consider ventilation and balance.
What's Inside
Choosing Your Drawing Tools

First off, pick a good quality pencil. A standard HB pencil is perfect because it’s easy to erase if you make a mistake. Trust me, even professional artists goof up.
You’ll need graph paper. It helps keep everything straight and proportional, which is crucial unless you want a wacky, wonky kitchen.
A ruler is your best friend here. You’ll be drawing lots of straight lines, so unless you have the steadiest hand in the world, a ruler is a must-have.
Don’t forget an eraser. A soft, pliable one works best, making corrections a breeze without smudging your masterpiece.
Lastly, if you’re feeling fancy, grab some colored pencils or markers for later stages to add a splash of creativity. Think of it as the seasoning to your kitchen drawing dish.
Measuring Your Space
Grab that measuring tape and get ready for some fun! Start by measuring the length and width of your kitchen space. Note down the dimensions of each wall.
Don’t forget the windows and doors. Measure their widths and the distance of each from corners or adjacent features. Plotting these correctly avoids sketching your stove halfway through a window. Who needs a literal hot mess?
Measure the height from floor to ceiling, so you know how high your cabinets can go. This stops you from accidentally designing a kitchen suitable only for giants.
Lastly, mark out obstructions like radiators or pipes. They’re like the surprise party guests; you need to make room for them! With precise measurements on hand, a world of seamless sketching awaits. Get ready to draw like a pro (or at least like someone who knows where to put the fridge).
Sketching the Layout
Start with a rough rectangle to outline your space. It doesn’t have to be perfect – just enough to guide you. Imagine this is your bird’s-eye view.
Now, think about how you move in your kitchen. The classic “kitchen triangle” – the sink, stove, and refrigerator – should form a triangle. This setup optimizes efficiency. Jot down these spots lightly within your rectangle.
Next, plot out primary paths. Do you need to walk around a breakfast island? Access a pantry in the corner? Sketch these routes to ensure smooth navigation.
Keep things proportional. If your room is longer than it is wide, your drawing should reflect that. A bit like a diet, balance is key. Visualize, sketch, adjust, and you’re well on your way!
Drawing Walls and Windows
Start by marking out where your walls will be. These are the backbone of your kitchen drawing. Use a ruler to keep everything straight, unless you want your kitchen to look like a funhouse.
Remember the golden rule – measure twice, draw once. Nothing worse than a kitchen wall that’s a mile long.
Next, consider where your windows go. Natural light is a big deal in a kitchen. Think about the morning sun hitting your breakfast nook. Bliss.
Windows are usually a simple rectangle. Place them higher than your cabinets, but not so high you need a ladder to see out.
Don’t forget window sills. They’re not just for resting pies, they add depth to your drawing. Keep it simple but consistent.
Incorporating Major Appliances
Now, let’s bring some life into our kitchen sketch with major appliances. Think of these as the stars of your culinary show.
Refrigerator first. Place it in a corner or along a wall, making it easy to access. Just remember the classic kitchen triangle rule: the sink, stove, and fridge should form a triangle for optimal workflow.
Next, slot in the dishwasher. Typically, this buddy hangs out by the sink for convenience. Imagine the flow of unloading dishes straight from the sink to the dishwasher. Neat, right?
Now, the microwave. It can go above the stove, but if you’re going for luxury, consider a dedicated shelf or a built-in nook. How fancy!
Lastly, give the stove and oven a prime position. Center stage on a main wall or island works great, putting your culinary escapades at the heart of the kitchen.
Voilà! Your kitchen sketch is now ready to handle any imaginary culinary masterpiece. Enjoy the art and the heart of home design.
Adding Cabinets and Counters
Now comes the fun part—where you get to turn your kitchen from blah to BAM. Think of cabinets and counters as the wardrobe of your kitchen. Without them, it’s all just bare bones and no clothes.
First, decide on the layout. Are you a fan of the timeless U-shape, or do you crave the sleekness of an L-shape? Or maybe, just maybe, you’re bold enough to go for the galley style.
Next, measure the spaces where each cabinet will fit. Accuracy here will save you from future headaches. Trust me, you don’t want your cabinets playing an impromptu game of Tetris.
Outline where your counters will go, keeping in mind you’ll need space for food prep. Nobody likes a cramped kitchen with only room for a cutting board!
When sketching, make sure your counters and cabinets harmonize with the major appliances like your fridge and oven. We don’t want the fridge door hitting the counter every time you look for leftovers.
And there you have it. Simple cabinets and counters, but placed just right, will elevate the entire look and feel of your kitchen.
Including the Stove and Oven
Now it’s time to add the stars of the kitchen show: the stove and oven. Place these near countertops for easy meal prep. Ensure they aren’t too close to the sink to avoid a soggy disaster during pasta night.
Sketch the stove top first. A simple rectangle with circles can represent burners. For the oven, a rectangle with a smaller, vertical rectangle inside for the door. Don’t forget those little knobs; they add realism.
Think about ventilation. Draw a range hood above the stove if your kitchen calls for it. Now it looks not just functional, but also like you know a thing or two about safe cooking.
Remember, stoves often look snazzier centered between other cabinets or counters, giving your kitchen that balanced, harmonious feel. Plus, it’ll help when you inevitably knock over a spice jar—it happens to the best of us.


