Last updated on
Learn how to easily install your Moen kitchen faucet with clear, step-by-step instructions and practical tips.
Key takeaways:
- Gather necessary tools and supplies: basin wrench, plumber’s tape, adjustable wrench, flashlight, cleaning supplies.
- Turn off water supply: find shut-off valves, release water pressure, check for leaks.
- Remove the old faucet: place a bucket, disconnect water supply lines, remove mounting nuts, lift out old faucet.
- Install the new faucet: feed supply lines through sink, position any escutcheon plate, secure faucet beneath sink, double-check alignment.
- Connect water supply lines: ensure proper attachment, hand-tighten and use tape, check for kinks, double-check before turning water on.
- Check for leaks: turn on water supply, look for drips and tighten connections if needed.
- Test the faucet operation: open valves slowly, check water flow, test sprayer, make sure handle is centered, check for leaks again.
What's Inside
Gather Necessary Tools and Supplies
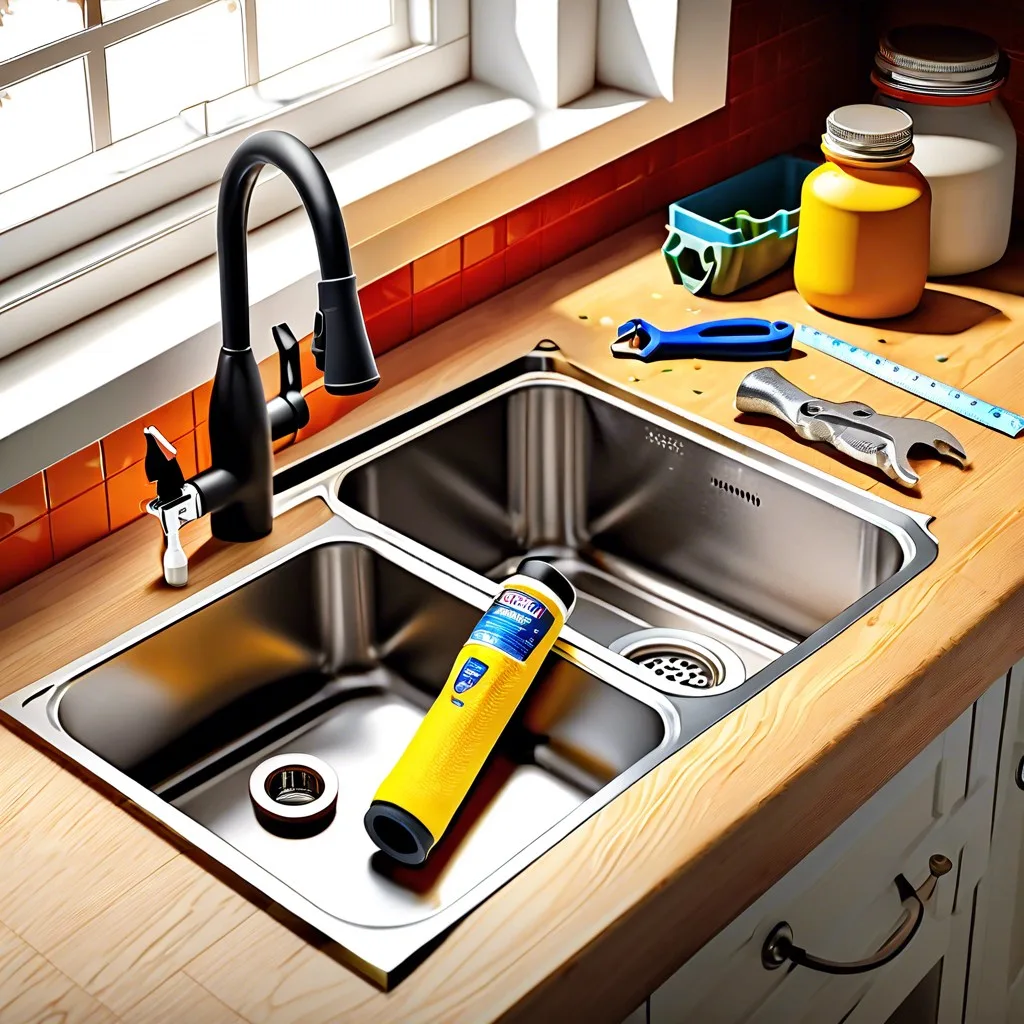
You’ll need a few essentials to get started. First, grab a basin wrench. This tool is like the Swiss Army knife for installing faucets—compact, versatile, and oddly satisfying to use. Next, you’ll need plumber’s tape, also known affectionately as Teflon tape. Think of it as the duct tape of the plumbing world, only classier.
Have an adjustable wrench on hand. It’s the workhorse here, ideal for tackling those pesky bolts and nuts. A flashlight will also come in handy because, let’s face it, you’ll probably be working under the sink, and it’s darker down there than a bat cave.
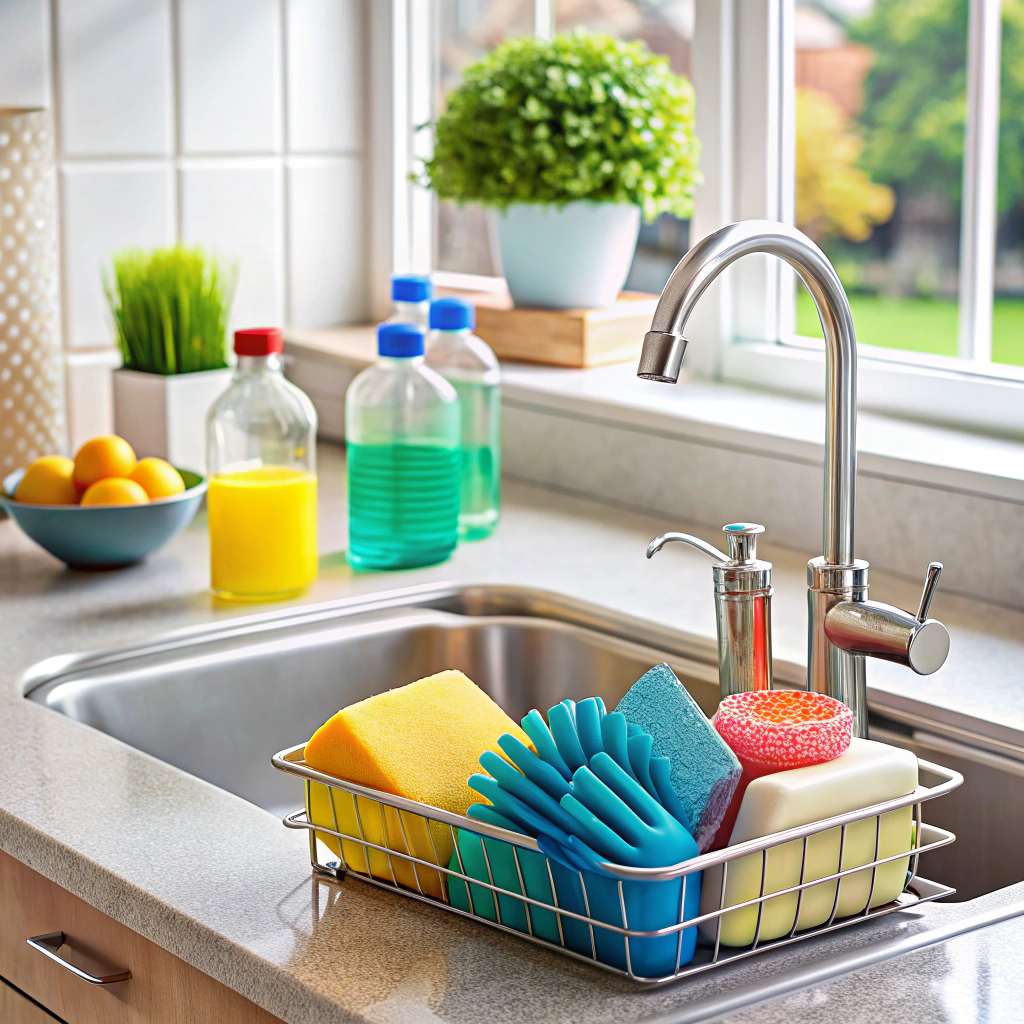
Don’t forget some cleaning supplies. Trust me, once the old faucet is out, you’ll want to freshen up the area a bit, if only to avoid any mysterious, science-project-like gunk making a reappearance.
Turn Off Water Supply
First step: find those sneaky shut-off valves under the sink. Usually, you will have two—one for hot water and one for cold. Turn both clockwise until they are snug. Think of it as a giant faucet race but in reverse; slow and steady wins this one.
Next, don’t forget to release the leftover water pressure. Turn on the faucet and let any remaining water flow until it’s just a trickle. That way, you won’t get an unexpected shower when you start tinkering with pipes.
Double-check those valves now. Just a quick peek to make sure no water is seeping out. We want a dry workspace, after all. If any valves are leaky, now’s the time to tighten them up a little more.
Remove the Old Faucet
Start by placing a bucket under the sink to catch any drips—unless, of course, you love puddles (who doesn’t, right?).
Disconnect the water supply lines, but keep a wrench handy because those old faucet nuts are often as stubborn as a toddler at bedtime. If they’re particularly unyielding, consider using a bit of penetrating oil to ease the job.
Once you’ve successfully disconnected the water lines, the next step is removing the mounting nuts. This is where a basin wrench becomes your best friend. The nuts are usually found directly under the faucet—think of it as an awkward yoga pose for your arm.
Finally, lift out the old faucet. If it refuses to budge, gently persuade it with a little wiggle and jiggle. Now you’re clear to clean the area. Decades of grime and gunk may have built up, but we trust you’re not afraid of a little elbow grease.
Install the New Faucet
Ready to roll with the new faucet? Let’s make sure it’s in place perfectly.
First, feed the faucet’s supply lines through the hole in your sink. If your sink is like a stubborn teenager, it might not cooperate. Just gently guide it until it listens.
Next, position any escutcheon plate or deck plate if your faucet came with one. This is like putting on a hat before going outside—essential!
Secure the faucet beneath the sink with nuts or mounting brackets, depending on the model. Hand-tighten first to get it snug, then use a basin wrench if needed. Think of this step like securing a seatbelt—tight but not too tight.
Double-check the alignment. It should face straight ahead, not visiting the neighbors on the left or right.
Voilà! The hard part is over. Time to connect those water lines.
Connect the Water Supply Lines
Ensure both the hot and cold water lines are attached to their respective valves. Mixing these up would not be a fun surprise during your next hand wash!
Hand-tighten the connections first. Once snug, give them a slight turn with a wrench for security—but don’t overdo it!
Use plumber’s tape on the threads to prevent leaks. A small detail, but it makes a big difference.
Make sure the supply lines aren’t kinked or twisted once connected. This helps maintain proper water flow and reduces wear and tear over time.
Finally, double-check everything is in place before turning the water back on. Little leaks now can save big headaches later.
Check for Leaks
Start by turning on the water supply. Let it flow through the faucets for a minute, keeping an eye out for any drips around the connections. Pay special attention to the base where the faucet meets the sink and under the sink where you connected the supply lines. A small flashlight can be handy here.
If you see any leaks, don’t panic! It’s usually just a matter of tightening a connection. A quarter turn with a wrench can often do the trick. If that doesn’t solve the problem, you might need to apply some plumber’s tape to the threads and try again. No one wants a surprise water feature in their kitchen.
Stay vigilant for a bit and make sure everything stays dry. Remember, patience now saves frustration later.
Test the Faucet Operation
Turn on the water supply valves slowly to avoid any sudden pressure. Open both hot and cold water to flush out any debris.
Check for consistent water flow. If there’s sputtering, don’t panic, it’s just air escaping.
Ensure that the sprayer (if you have one) works smoothly. Move the faucet handle around and make sure it’s centered right. No one wants a crooked handle.
Don’t forget to check for any leaks under the sink and around the base of the faucet. If you spot any, tighten the connections a bit more.
Lastly, admire your handy work and maybe even give yourself a high five – installing a faucet is no small feat!
