Last updated on
Discover the typical duration and key factors affecting a kitchen renovation.
Wondering how long your dream kitchen renovation will take? You’re in the right place! From synchronizing schedules with your contractor to finalizing permits, we’ll break down every step of the process. Get ready for some insider tips, timeline tricks, and a sprinkle of humor to keep you sane during the chaos!
Key takeaways:
- Synchronize schedule with contractor for smooth progress.
- Design with layout, materials, lighting, and color scheme in mind.
- Plan timeline, budget, materials, and communicate effectively.
- Obtain permits and approvals to avoid delays.
- Construction phase involves demolition, framing, plumbing, and inspections.
What's Inside
Getting Your Kitchen Renovation On the Calendar
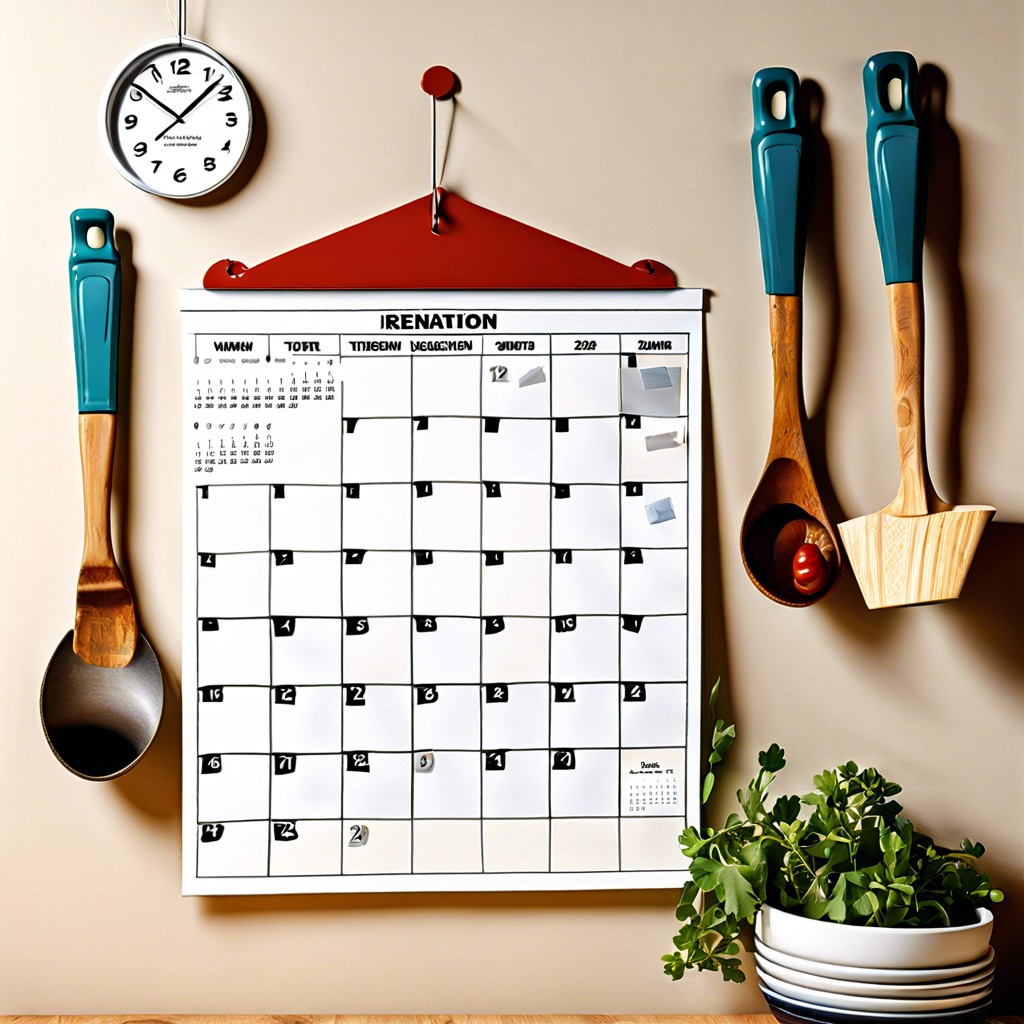
Time to synchronize your watches and align the stars! First things first, you’ll want to map out a timeline that works for you and your contractor. Here are some pointers to keep everything running smoother than a freshly buttered skillet:
Identify the best start time, perhaps after that big family reunion or during a quieter spell in your schedule. Trust me, you don’t want Uncle Bob tripping over construction equipment while reaching for his third helping of potato salad.
Discuss your desired end date. Maybe you’re aiming to have everything ready for a holiday or special event. This will help your contractor prioritize tasks.
Factor in buffer time for the unexpected hiccups – because there will always be a surprise, and not the kind you find at the bottom of a cereal box. Think more like a “Hey, we found a family of raccoons living in your old cabinets” type of surprise.
Finally, communicate regularly. Frequent check-ins with your contractor can avert potential delays. And who doesn’t love a good chat about kitchen counters at the dinner table?
Remember, every day counts. You’ll be sipping coffee in your shiny new kitchen in no time!
Design Phase
Imagine your kitchen is a blank canvas, just waiting for your artistic flair.
First, think about the layout. Where’s the fridge? How accessible is the sink from the stove? A good flow can save you countless steps (and possibly a stubbed toe or two).
Next, dive into materials and finishes. Are you a lover of sleek, modern cabinets or rustic, farmhouse charm? Choosing countertops, cabinets, and flooring that complement each other is key.
Lighting – don’t overlook it! Under-cabinet lights, pendant fixtures, and recessed ceiling lights can make a huge difference. It’s not just about setting the mood; it’s about avoiding chopping your veggies in semi-darkness.
Finally, color scheme matters. Bold and adventurous, or calm and neutral? Pick a palette that makes you happy every time you step into the room.
Make sure you sketch out your ideas or hire a designer. A well-thought-out design is like a well-prepared recipe, it’s the secret ingredient to a successful kitchen renovation.
Planning Your Build
Alright, so you’re ready to move forward. Planning is the key to a smooth kitchen renovation. Think of it as preparing for a fun road trip; you wouldn’t just start driving without a route in mind, right?
Start with a timeline. Break it down week by week. List out what needs to be done: demolition, plumbing, electrical work, and so on.
Next, budget like you mean it. Know where every penny is going. Spreadsheets are your new best friend. Keep some extra cash aside for those pesky surprises (like that ancient plumbing lurking behind your walls).
Select your materials and finishes ahead of time. Cabinets, countertops, flooring – make these decisions early. This avoids delays and keeps your contractor from playing the waiting game. No one likes waiting!
Communicate with your contractor. Clear instructions and regular check-ins ensure everyone’s on the same page. Miscommunications can lead to delays, and nobody wants a half-renovated kitchen for Thanksgiving.
Finally, consider the logistics. Where are you cooking during the renovation? Set up a temporary kitchen with a hot plate and microwave. Taco Tuesday waits for no one!
Planning doesn’t have to be a headache. With these steps, you can cruise through your kitchen renovation with ease. Happy renovating!
Obtain Permits and Approvals
Let’s face it, permits and approvals are not exactly the most exciting part of renovating a kitchen, but they’re as essential as salt in a good soup.
First, check with your local city or county building department to see what’s needed. Different areas can have unique requirements, and missing a permit can lead to delays. This might include everything from plumbing to electrical work.
Talk to your contractor about who will handle permits. A seasoned pro often knows the quickest routes through bureaucratic red tape, like navigating the noodle section in a grocery store.
Lastly, keep all paperwork organized. Having everything in one place makes it easier to whip out documents when that inspector comes knocking. Remember, an inspector’s approval is like getting the green light to speed along your renovation highway!
Construction Phase
Time to get those hammers swinging and power tools buzzing! This is where the real fun (and noise) begins.
One key milestone: demolition. Say goodbye to the old cabinets and countertops. It’s a bit like a kitchen exorcism.
Next up, framing and plumbing. Your contractor may need to shift some pipes around, so your fridge doesn’t end up in the living room. New walls might need to go up, creating a more modern layout.
Installing electrical wiring comes next. Ever tried cooking a gourmet meal by candlelight? Probably not advisable.
Drywall and painting follow closely behind. Suddenly, it looks less like a construction zone and more like a room again.
Want some floors under your feet? Hardwood, tile, or something else fabulous? Great, but don’t forget – floors need time and care too.
Inspections will happen throughout. Got to make sure it’s all up to code. A smooth process here can keep your timeline on track.
Installation – Cabinets and Appliances
Here’s where the fun begins: seeing your vision come to life! Cabinet installation usually kicks off the process. A skilled carpenter can work wonders quickly, but expect this to take anywhere from a few days to a week, depending on complexity. Remember, slow and steady wins the race – you don’t want wobbly cabinets.
Next comes appliance installation. This part can feel like Christmas morning but with more stress and fewer cookies. First comes the heavy lifters – your refrigerator, oven, and dishwasher. Then, the smaller yet still mighty warriors – your microwave and coffee maker. Note: If your contractor mentions something like “electrical hook-up,” do not panic. This just means they need to make sure your gadgets won’t cause a blackout two minutes into your favorite cooking show.
Everything gets secured, leveled, and tested during this step. Think of it as moving in but for your gadgets and gizmos. Be patient; slow perfection is better than dealing with a wonky oven door for the next decade.
Final Walk-Through With Your Contractor
Time to grab that checklist! The final walk-through with your contractor is your moment to shine and scrutinize. Here’s what to look out for:
Make sure all appliances are installed correctly and functioning. The last thing you want is a fridge that chills at lukewarm. Check for any cosmetic damages. Cabinets should be scratch-free, and countertops crack-free.
Turn on all the lights. If one flickers like a haunted house, it’s time to mention it. Inspect all plumbing. That means running water through the sink and the dishwasher. Leaks are unwelcome guests.
Lastly, confirm that all agreed-upon work is complete. Now’s your chance to point out anything missing. It’s your kitchen—the heart of your home. Let’s make sure it’s beating perfectly.

