Last updated on
Learn how to efficiently store your kitchen appliances to maximize space, reduce clutter, and keep your cooking area organized and functional.
Tired of wrestling a waffle maker to get to your trusty toaster? Breathe easy! This guide is here to bring order to your kitchen chaos. From categorizing appliances by use to customizing cabinet shelves and corraling those unruly cords, we’ve got fun, quirky solutions for you. Dive in and discover the joy of a clutter-free counter, perfect for showcasing your culinary prowess.
Key takeaways:
- Declutter appliances by frequency of use.
- Designate storage zones for different appliance groups.
- Utilize vertical space for smart storage solutions.
- Customize cabinet shelves with shelf risers and dividers.
- Corral cords efficiently to prevent a tangled mess.
What's Inside
Gather and Declutter Appliances
Take everything out and spread it over the counter. Be brave, you’ve got this! Look at each appliance and ask yourself: “Have I used this in the past year?” If the answer is no, into the donation bin it goes. No, Uncle Bob’s 1980s bread maker is not coming back in style!
Categorize the remaining items – mixers here, blenders there, coffee gadgets over yonder. You’ll see how much space you really have. Don’t worry, the popcorn machine can come out of hiding when movie night strikes.
Separate those with missing or broken parts; either fix them or say goodbye. Remember, your kitchen is a workspace, not a museum of forgotten appliances. With this done, you’ll have a clear vision of what you need to store and how much space you have to play with. Feels good to tidy up, doesn’t it?
Categorize Appliances By Frequency of Use
Place the appliances you use daily, like your coffee maker or toaster, in the most accessible spots on your countertop or in easily reachable cabinets. You don’t want to start your day with a game of hide-and-seek for the coffeepot.
Stuff you use weekly, such as your blender or slow cooker, can go in middle cabinets or pantry shelves. These are the workhorses you need every so often but can afford to tuck away a bit.
That waffle maker you only bust out for Sunday brunch? Stash it in higher cabinets or even in a dedicated storage box. No need to wrestle with it every time you grab a bowl.
Rarely used appliances, like the turkey roaster or ice cream maker, can be stored in the most out-of-the-way spots. Think bottom drawers or even in another storage area like the basement.
This way, your kitchen stays clutter-free, and you always know exactly where to find what you need. Easy peasy.
Designate Storage Zones
Think of your kitchen like a small town, and create neighborhoods for your appliances. The blender’s neighborhood? Near the smoothie ingredients, naturally!
Coffee maker up every morning? It deserves a VIP spot close to mugs and coffee grounds. Meanwhile, that giant turkey roaster? Stash it in the outskirts (a.k.a. top shelf or basement) since it’s a once-a-year visitor.
Group similar appliances together. Mixers, food processors, and blenders can hang out in the same ‘bakery district.’ By keeping like items together, you’ll save time and frustration.
The most-used gadgets should live at eye level for easy access, while the once-in-a-blue-moon gang can chill in the less reachable areas.
Utilize Vertical Space
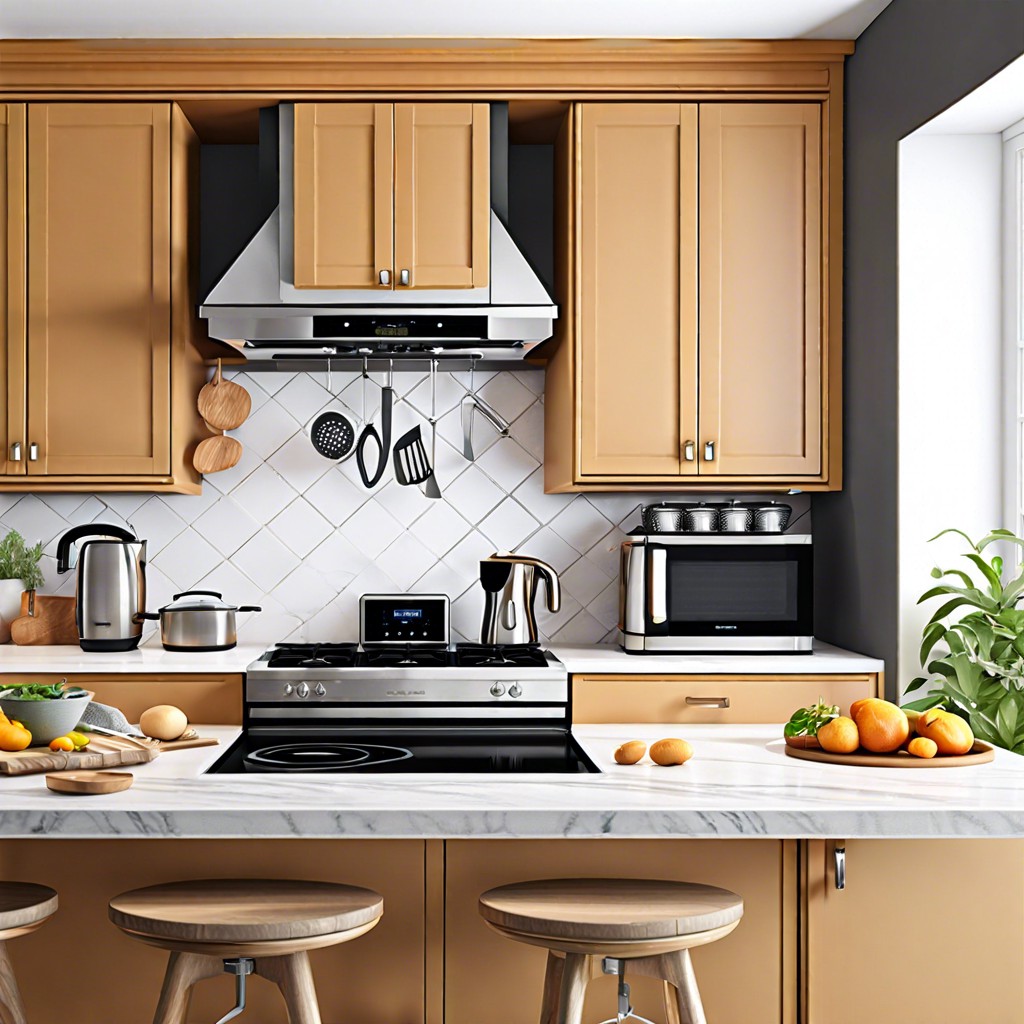
Meet your new best friend: vertical storage. Think of your kitchen like a skyscraper; building up, not out. Use those walls. Install sturdy shelves above countertops to keep commonly used gadgets within reach but off precious counter space. Hooked on hooks? Hanging pot racks can save cabinet space and double as kitchen art. Magnetic strips can hold knives and free up drawers.
Don’t stop at the walls. Look up! Cabinet tops are perfect for lesser-used appliances. Just dust them off once in a while—no one likes a dusty blender. Inside cabinets, stackable shelves can double your storage capacity. Be sure to secure them properly. You didn’t sign up for kitchen dominoes.
Don’t forget the back of pantry doors. They’re prime real estate! Add door-mounted racks to keep slim appliances, like hand mixers, organized. And those awkward corner spaces? Fill them with corner shelves. They may seem unreachable, but that’s where lazy Susans come in handy. Spin and win!
Vertical storage isn’t just smart; it’s a game-changer. You’ll wonder how you survived without it.
Customize Cabinet Shelves
Adjustable shelves are your best friend. Many cabinets come with fixed shelves, but that’s like buying a one-size-fits-all hat. Spoiler: it never fits just right.
Think about adding shelf risers. These handy little gadgets create an extra tier for storing smaller items. It’s like adding a balcony to your storage opera—more places for the players to perform.
Consider tension rods. Yes, the same kind used for curtains. They can be placed horizontally within cabinets to create custom shelf heights for pots, pans, and other items that refuse to fit in standard spaces.
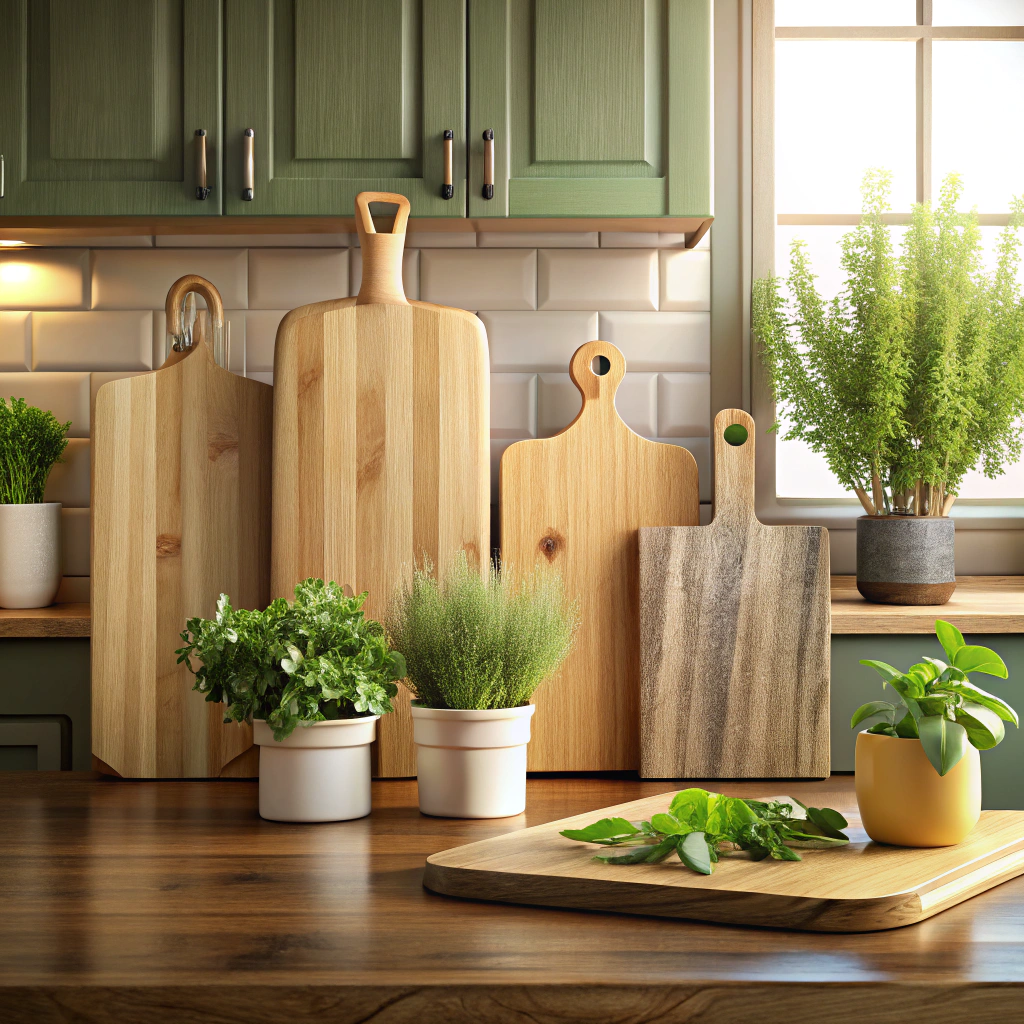
Using shelf dividers can transform a chaotic cabinet into a well-organized sanctuary. They make it easy to store cutting boards and baking sheets vertically, saving horizontal space for bulkier items.
Corner cabinets can be tricky, but lazy Susans are a game changer. They rotate to provide easy access to every item. No more contorting your arm into a pretzel to reach that blender in the back.
Finally, don’t underestimate the power of pull-out shelves. These allow you to access items in the back without having to empty the whole cabinet. It’s like magic, but without the rabbits.
Corral Cords Efficiently
Those sneaky, slithering cords can turn your kitchen into a tangled mess quicker than you can say toaster. Here’s how to keep them in check:
Use twist ties or Velcro straps. These little heroes keep cords neatly bundled and prevent the dreaded spaghetti situation.
Install command hooks inside cabinet doors to hang cords when not in use. It’s like giving your cords their very own VIP backstage pass.
Label each cord with a small tag or label. This way, you’ll always know what plugs into what without playing a game of “Is This The Blender or The Food Processor?”
Consider purchasing retractable cords or appliances with built-in cord storage. Snazzy and functional, it’s a win-win.
Lastly, keep a dedicated drawer just for cords. No more hunting down the missing coffee grinder cord; it’ll be chilling in its designated spot.
Use Pull-out Shelves or Drawers
These shelves are game-changers. Not only do they maximize storage, but they also make accessing appliances a breeze. No more reaching into the abyss for your slow cooker. Here’s how to make them work for you:
First, choose shelves that fit your cabinet dimensions. Measure twice, install once.
Second, place heavier appliances like mixers on the lower pull-out shelves to avoid any heavy lifting disasters.
Third, use the top shelves for lighter items, like your waffle maker or blender.
Finally, ensure the slides are sturdy. Wobbly shelves are the kitchen equivalent of a bad hair day – very frustrating.
Adding pull-out shelves isn’t just practical; it’s a back-saver!
Store Odd-shaped Items Smartly
Odd-shaped kitchen appliances can feel like the Tetris pieces that just won’t fit. Solutions abound, though:
First, consider adjustable shelves. They let you manipulate space to accommodate various shapes without the headache.
Turntables (yes, like the ones for spices) are fantastic for those awkwardly shaped appliances. Pop a blender on one, and spinning it out beat trying to lift it from the back.
Cabinet dividers crafted from simple metal or wood can create custom slots for your oddballs. Think beaters, juicers, or that popcorn maker you use twice a year.
Baskets? Absolutely. These gems corral everything from food processors to handheld mixers. Stow them on lower shelves for easy access without the visual clutter.
Lastly, hooks and pegboards work wonders for awkwardly shaped items that can hang. They transform the vertical space inside pantry doors or on walls into organizational gold.
Incorporate Labels for Organization
Labeling is like sending your kitchen a love letter—sweet and straightforward, yet deeply meaningful. Here’s how to master it:
Firstly, invest in a label maker. Trust me, you’ll feel like a superhero zapping chaos into order. If a label maker feels too high-tech, sticky notes and a Sharpie work wonders too.
Secondly, be specific. Don’t just slap a “Miscellaneous” label on a box and call it a day. Break it down: Blender Parts, Coffee Machine Filters, or Waffle Iron Plates. Specificity is the secret sauce.
Next, label the shelves where items go, not just the storage containers. This reminds you to always return things to their rightful home. Plus, it’s an excellent way for housemates or family members to help without turning your kitchen into an episode of “Where’s Waldo?”
Lastly, color-code if you can. It’s not just for kindergartners. Use different colors for different categories—red for baking, blue for cooking, green for appliances’ user manuals. Your future self will thank you every time they need to locate that mini donut maker manual.
Stay organized, or at least look like it!
Regularly Maintain and Reassess Storage Solutions
Keeping your kitchen organized is not a one-time project; it requires consistent upkeep. First, schedule a routine check every few months to reassess your storage solutions. Think of it as a little TLC for your kitchen; kind of like sending it to a spa day.
Start by evaluating what appliances you actually use and what’s gathering dust. If your fondue set hasn’t seen cheese since the 90s, it might be time for it to move out. Temporarily! Or permanently. No judgment.
When you reassess, make sure everything still has a logical place. Appliances creep around, like mischievous elves. Ensure everything is still in your designated zones, especially after the holiday cooking marathon.
Don’t forget to check for wear and tear. Shelf liners might be looking grungy, or drawer organizers could use a good wipe down. Little maintenance tasks stop the mess before it starts.
Finally, keep an eye out for any new appliances that have sneaked in. Got a shiny new air fryer? Make space for newcomers without overstuffing your cabinets. Balance is key.