Last updated on
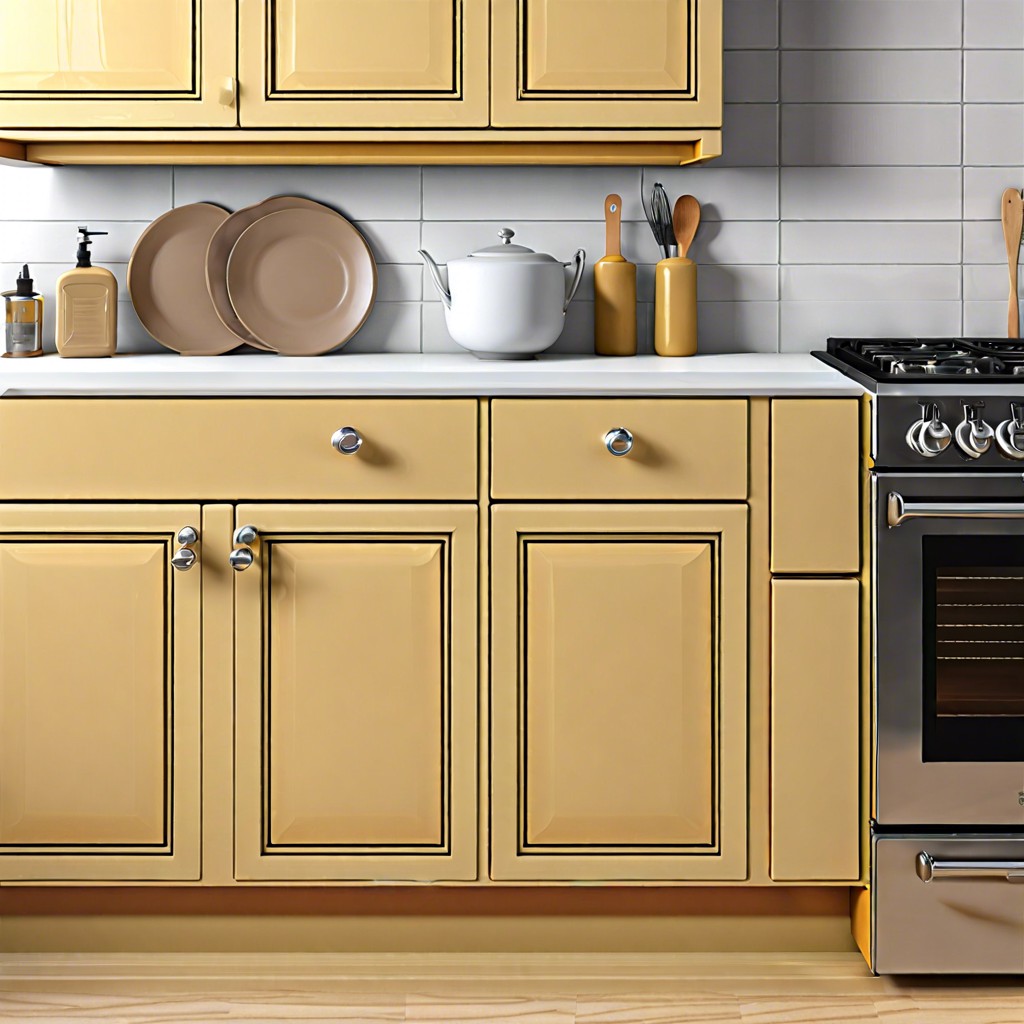
Learn step-by-step how to spray paint your kitchen cabinets for a fresh, modern look.
Spray painting your kitchen cabinets can make them look like they belong in a glossy magazine, but where do you start? Stick around—we’ll cover every detail from prep work to final reassembly, ensuring your cabinets go from drab to fab without a hitch.
Key takeaways:
- Clear kitchen, clean, sand surfaces thoroughly.
- Remove hardware, label parts for reassembly ease.
- Set up proper paint booth: well-ventilated, good lighting.
- Choose oil-based primer, durable finish paint.
- Proper sprayer technique, sand gently between coats.
What's Inside
Preparation and Cleaning
First things first, clear the kitchen. Remove all items from the cabinets. Yes, even that ancient box of cornflakes from the back corner.
Clean the surfaces thoroughly. Grease and grime have a knack for sticking around. Use a mild detergent or a specialized cleaner to wipe down every nook and cranny.
Don’t forget the importance of sanding. Lightly sand each surface to create a smooth canvas. This helps the primer and paint adhere better. Trust me, it’s worth the effort.
Vacuum and wipe down the area to get rid of debris. Any leftover dust is like glitter; it will find a way to ruin your masterpiece.
Consider taping plastic sheeting or drop cloths around your workspace to protect floors and counters from stray paint. The goal is fewer messes, not more DIY cleanup sessions.
Removing Hardware and Doors
Grab your screwdriver and channel your inner handyman! Taking off cabinet doors and hardware is like disassembling a giant puzzle. You don’t want to skip this step, unless you’re keen on painting the hinges shut. First, unscrew the hinges and lift off the doors. If you’re really serious, removing drawers is a great idea too.
Next up, the hardware. Remove handles, knobs, and any other doohickeys. Place screws and small bits in labeled bags or containers. Nothing says ‘fun’ like hunting for a tiny screw in a heap of sawdust.
When you’re ready to put everything back together, having everything organized will feel like a gift to your future self. Trust me, matching puzzle pieces later on is so much simpler when you label things. Make your life easy and use painter’s tape to mark where each door and drawer belongs. Your inner child playing match-the-shapes will thank you.
Setting Up a Paint Booth
Transforming your garage or backyard into a mini paint booth isn’t rocket science, promise! Start by picking a well-ventilated area. Fresh air is your friend here. Open windows or use fans to keep the air flowing. Dust and bugs are not invited, so sweep the floor and wipe down surfaces.
Hang plastic sheeting or drop cloths to create walls around your workspace. This helps contain overspray and keeps those pesky bugs from adding their own ‘art’ to your masterpiece. Make sure to cover the floor too. Safety first, art second!
Set up a sturdy table or workbench somewhere in the middle. You’ll need a reliable spot to place cabinet doors and drawers for painting. Handy tip: Use painter’s pyramids or old cans to elevate the pieces, making it easier to spray the edges without drips.
Lighting is essential. Good lighting helps you see what you’re doing and ensures even coverage. If possible, set up portable work lights or use the garage ones. You don’t want to miss a spot and find out only when you’re making breakfast!
Finally, have a little test area where you can practice your spraying technique. This is where you can work out any kinks before tackling the real deal. That way, your cabinets get the professional touch they deserve (and you get to avoid a headache).
Choosing the Right Primer and Paint
Choosing the right primer and paint can make or break your kitchen cabinet makeover. Don’t just grab any old can off the shelf. A little knowledge goes a long way.
First off, pick an oil-based primer or a high-quality adhesion primer. They stick to surfaces like a superhero’s cape and cover up old finishes better than makeup on a bad hair day.
As for paint, you want something durable like a satin or semi-gloss finish. They’re easier to clean, and let’s be honest, kitchen cabinets see more grime than a toddler with a chocolate bar.
Finally, don’t skimp on quality. You wouldn’t buy a bargain parachute, right? Same logic here. High-quality paint will withstand the test of time, and those spaghetti sauce splatters.
Proper Technique for Using a Sprayer
Keep the sprayer moving. Remember, the sprayer is not your ex; don’t cling to one spot for too long. This prevents unsightly drips and uneven spots. Aim for a consistent speed and distance from the surface, typically 6-12 inches, like playing a polite game of tag.
Overlap your strokes. Imagine you’re mowing a lawn, slightly overlapping each pass to ensure full coverage—without those annoying missed spots.
Start and stop off the edges. Begin your spray before the cabinet and release the trigger after you’re off it. This neat psychological trick avoids overloading paint at the edges, resulting in spatter-free zones.
Maintain a steady hand. Steady as a surgeon on their first day at work. No jittery caffeine-hands here—smooth, deliberate movements yield the best finish.
Practice makes perfect. Before tackling your cabinets, practice on a piece of cardboard. This “spray rehearsal” tunes your technique and reduces the chance of turning your cabinets into modern art gone wrong.
Sanding Between Coats
Now that your first coat is dry, it’s time to grab that sandpaper! Sanding between coats is crucial. It ensures a smooth, professional finish.
Here’s what to keep in mind:
- Use fine-grit sandpaper, like 220-grit. It’s gentle enough to smooth without damaging.
- Gently sand the surface. You’re aiming to knock off any roughness, not strip away the paint.
- Wipe down with a tack cloth after sanding. Dust is the enemy of a flawless finish.
Think of it like exfoliating your skin. Just a light touch to get rid of the bumps and reveal the beauty beneath.
Troubleshooting Common Issues
Mistakes happen, even to the best of us. Here are some common issues you might run into and how to fix them.
If you see drips, you’ve likely applied too much paint. Sand them smooth once dry and re-spray that section lightly.
Notice a rough texture? Your spray might be too far from the surface. Move closer and apply an even, steady coat.
Bubbles? That usually means moisture. Ensure your cabinets are completely dry and your workspace is not too humid.
Paint not adhering? You probably missed a spot during cleaning or sanding. Thoroughly clean and lightly sand the area before reapplying paint.
Dealing with uneven sheen? Mix your paint thoroughly and ensure even spray passes for a consistent finish.
When all else fails, take a deep breath, grab some sandpaper, and try again!
Safety Tips and Gear
When spray painting kitchen cabinets, don’t overlook safety. Your lungs and eyes will thank you later.
First, wear a good quality respirator mask. Those little dust masks won’t cut it. You need one that blocks fine paint particles and fumes.
Next, safety goggles. Paint mist can irritate your eyes.
Gloves are a must-have. They protect your skin from harsh chemicals. Go for nitrile gloves; they offer better protection than latex.
Ventilation is key. Work in a well-ventilated area or set up fans to keep the air flowing. Paint fumes can be sneaky and make you dizzy.
Lastly, cover everything you don’t want painted—including yourself with old clothes. You don’t want to explain to your partner why Rover has a new white stripe. Happy painting!
Labeling and Organizing Parts
Let’s talk labels. Before you start disassembling your kitchen cabinets, grab some painter’s tape and a marker. Labeling each door and drawer will save you from a real-life jigsaw puzzle later. No one wants to play guess-the-cabinet-door at 11 PM.
Keep the screws, hinges, and handles in labeled zip-lock bags. Mixing them up can turn reassembly into a frustrating scavenger hunt. Trust me, no screw left behind.
You might feel like a librarian, but creating a simple map of where everything belongs can be a game changer. Sketch a quick layout of your kitchen and note the corresponding labels.
Organize your parts in a designated area so your dog doesn’t run off with a vital hinge. Believe me, Rex has zero interest in your cabinet makeover.
Reassembling the Cabinets
Time to put things back together and marvel at your handiwork. Start by carefully reattaching the cabinet doors to their respective frames. If you labeled them earlier, this step should be a breeze. Trust me, nothing is worse than a mismatched door and cabinet pairing; it’s like a culinary Romeo and Juliet tragedy.
Install the hinges first. It’s best to fix the hinges to the doors before attaching them to the cabinet frames. Less juggling, more accomplishing. Use a drill with a screwdriver bit for a snug fit—not too tight, or you’ll strip the screws.
Next up, reattach any knobs and pulls. If you fancy a new look, this is a fantastic time to upgrade your hardware. Think of it as jewelry for your cabinets, adding that extra sparkle to your kitchen makeover.
Lastly, ensure everything is level and aligned. Uneven doors can put a damper on your joy. Use a small bubble level to check alignment. A touch of adjustment here and there can make all the difference.
And voilà, your kitchen cabinets are back in action, looking fabulous. Enjoy your new kitchen vibe.


