Last updated on
You’ll learn how to install upper cabinets step-by-step with handy tips to make the process smoother and stress-free.
Ready to turn your kitchen from drab to fab with those sleek upper cabinets? Installing them might seem like a daunting project, but fear not! With clear steps like marking up the wall, clamping and drilling, and tackling those tricky shims, you’ll be hanging cabinets like a pro in no time. Let’s dive into the nitty-gritty, from the prep work to the perfect finish, ensuring every last detail gets covered. Let’s get to it and make your kitchen remodel a smashing success!
Key takeaways:
- Mark wall and locate studs before installation.
- Start with upper cabinets for easier alignment.
- Remove doors and drawers to lighten the load.
- Use quality mounting screws for stability.
- Measure gaps accurately for filler strip fitting.
What's Inside
Mark Up the Wall First
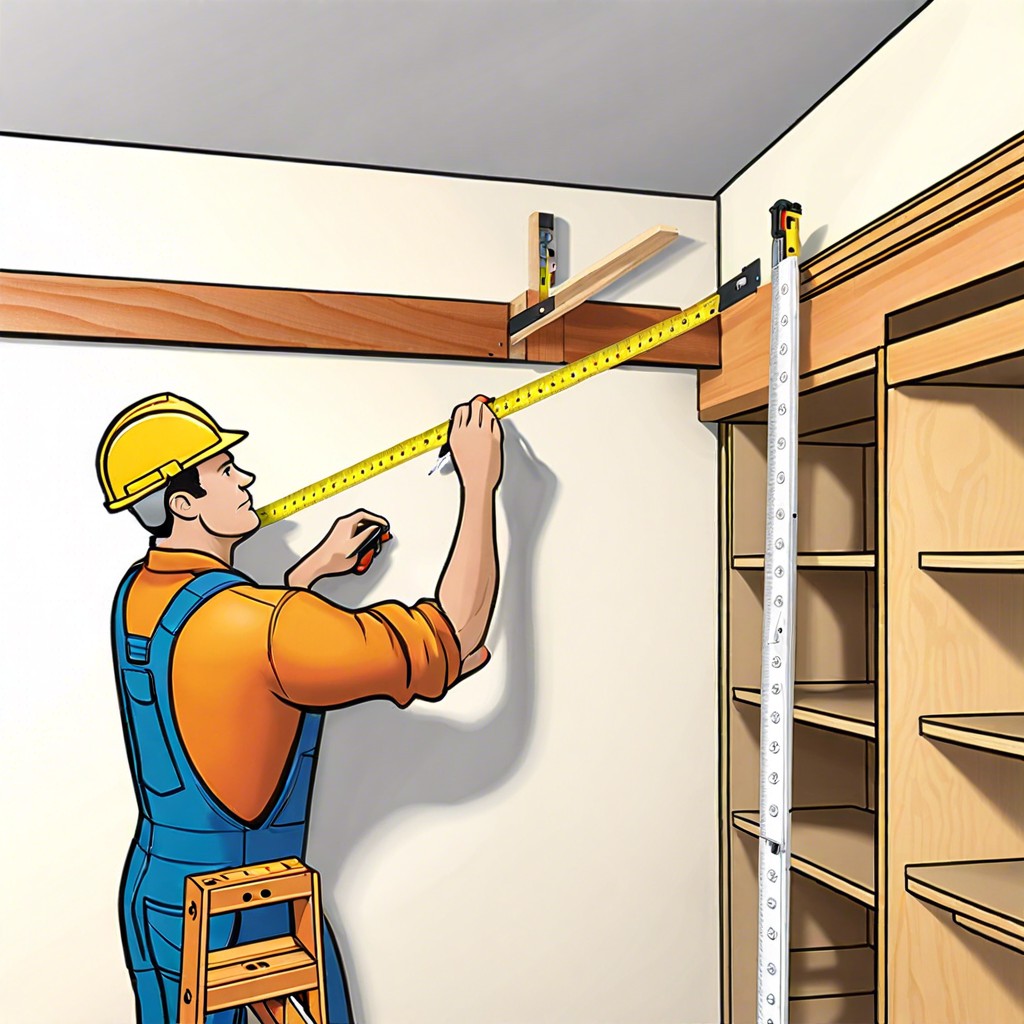
Grab that trusty measuring tape and a sharp pencil because it’s time to get marking! First, find the wall studs. These are your cabinets’ new best friends – they provide the support you’ll need.
Once you’ve located the studs, mark their positions with small pencil lines. Use a level to draw a horizontal line across the wall at the height where the bottom of the upper cabinets will sit. This ensures your cabinets will be nice and level.
Measure and mark the height for each cabinet. Draw lines both vertically and horizontally. This helps to visualize the exact placement.
If you’re a fan of taking shortcuts (and who isn’t?), a laser level might be your best sidekick here. It makes drawing straight lines a breeze and adds a touch of tech-savviness to your project. Beep beep, level lines coming through!
Start With the Upper Cabinets
Working from the top down helps avoid any awkward body contortions and keeps you from accidentally damaging lower cabinets once they’re in. It’s also easier to line things up when gravity isn’t working against you.
Make sure to start at a corner, especially if you have one of those jazzy corner units. Huck some screws into the studs but don’t tighten them all the way just yet. This gives you a bit of wiggle room to adjust and get everything perfectly level. Speaking of level, grab that laser level or old-school bubble level and make sure your cabinets are straight as an arrow. If not, a bit of shimming will do the trick.
Again, you’ll need an extra pair of hands or, if you’re feeling particularly resourceful, a temporary wooden support beneath the cabinets can hold them up while you secure them.
Remove Cabinet Doors and Drawers
Taking off the cabinet doors and drawers is practically an Olympic sport in making your life easier. First, unscrew the hinges from the frame—save those screws, they might be tiny, but they’re mighty important.
With the doors out of the way, you’ll have much more room to work with, reducing the risk of unintentionally scratching or damaging them during the installation process. Plus, it’ll prevent those awkward moments where you accidentally bonk your head on an open door.
As for the drawers, just pull them out completely and set them aside. This makes the cabinets lighter and much easier to handle. Imagine struggling with a fully-loaded cabinet—yep, not fun.
Lastly, label each door and drawer with masking tape and a marker. Sounds super nerdy, but trust me, it will save you loads of time when it’s assembly time.
Clamp, Drill and Fasten
Having prepped your cabinets, it’s time to secure them. Here are some friendly reminders to keep you on track.
Grab those clamps. They’ll be your best friends here. Clamp the cabinets together to keep them aligned. No one likes a wonky cabinet.
Drill pilot holes through the sides of the cabinets inside where the screws will go. Trust me, it makes screwing them together a breeze and avoids splitting the wood.
Fasten the cabinets using the right screws. Cabinet screws with large heads are ideal. They hold firmly without pulling through. Oh, and make sure those screws hit the studs in the wall. Otherwise, your lovely cabinets might come crashing down with your best china inside.
There you have it. Clamp, drill and fasten like a pro. On to the next stage!
Use Good Cabinet Mounting Screws
When it comes to securing those hefty upper cabinets, not all screws are created equal!
Firstly, always choose screws specifically designed for cabinetry. They’re usually coated to resist rust and have better holding power. You wouldn’t want your prized collection of porcelain platters to come crashing down, would you?
Next, length matters. Opt for screws that are at least 2.5 inches long. This length ensures they anchor firmly into the wall studs, providing much-needed stability. Measure twice and screw once. Nobody likes filling in unnecessary holes!
Finally, consider the screw head. Flat or pan head screws tend to sit better with cabinet hangers. Plus, they look neater if you’re a stickler for details. Save the fancy countersunk screws for another project.
Swapping out lower quality screws is quite like upgrading your kitchen playlist – the right choice makes a world of difference. Happy installing!
Shim Large Bows
Oh, the joys of dealing with walls that think they’re in a funhouse. If your wall has large bows, shimming is your secret weapon. Here’s how to tame those unruly bumps:
First, grab shims—those thin, wedge-shaped pieces of wood. You’ll want to use these to fill in the gaps between the wall and the cabinet.
Next, hold the cabinet in place and slide the shims behind any spot where it’s not touching the wall. A few shims might do the trick, but don’t be afraid to stack them if needed. Think of it as building a tiny log cabin behind your cabinets.
Secure the cabinets temporarily with screws, but don’t tighten them all the way just yet. You might need some wiggle room to adjust.
After everything looks aligned, tighten those screws. The shims should now be locked in place, supporting your cabinets and making the wall look straight as an arrow.
Lastly, trim any excess shim material sticking out. You don’t want bits of wood poking out and ruining your pristine kitchen vibes.
Simple, right? Now every time you open those cabinets, you’ll have the satisfaction of knowing the wall behind them is no longer trying to do the wave.
Measure the Gap
Measure the space between the last cabinet and the wall. This gap isn’t rare; walls are notorious for having their own personalities.
Grab a measuring tape and take the measurement from the cabinet edge to the wall. Precision is key here, folks. If you measure twice, you’ll only have to cut once.
Be sure to measure both the top and bottom of the gap. Walls might look straight, but they can be as wobbly as a funhouse mirror. You might find the gap isn’t uniform—totally normal.
Write these measurements down. Keep them handy for fitting that all-important filler strip. If you have a helper, ask them to hold one end of the tape, which makes the job less cumbersome and more accurate. And hey, if your walls are perfectly straight, maybe buy a lottery ticket while you’re at it!
Cut the Filler Strip
Measure the gap between the last cabinet and the wall precisely. This is where your filler strip is going to live.
Use a straight edge or a level to transfer this measurement to your filler strip. Accuracy is key here. Think of the filler strip as that final puzzle piece that ensures everything fits perfectly.
When cutting, opt for a table saw for the cleanest cut. A chipped or uneven filler strip is like a pebble in your shoe—annoying and unnecessary. Remember, always cut a bit larger than needed—you can always trim more, but you can’t add wood back.
A pro tip: After cutting, sand the edges lightly for a smoother finish. It’ll blend seamlessly and look professionally done.
Fit and Install the Filler
Alright, here’s where it gets interesting. That tiny gap between the wall and the cabinet? It’s like trying to ignore the spinach stuck in someone’s teeth. You just can’t.
So, grab that filler strip. Measure its length, ensuring it fits snugly. Now, trim it down if needed because it’s better to have a little extra than not enough.
Next, sand the edges smoothly. You want it to blend seamlessly with the cabinet face. Apply a bit of wood glue and slide it into place.
Hold it tightly for a few moments. For added security, a couple of finish nails can be hammered in gently.
This ensures your filler strip looks intentional and professional, not like an afterthought.
Read More
 How to Choose Kitchen Cabinets: Your Ultimate Buying Guide
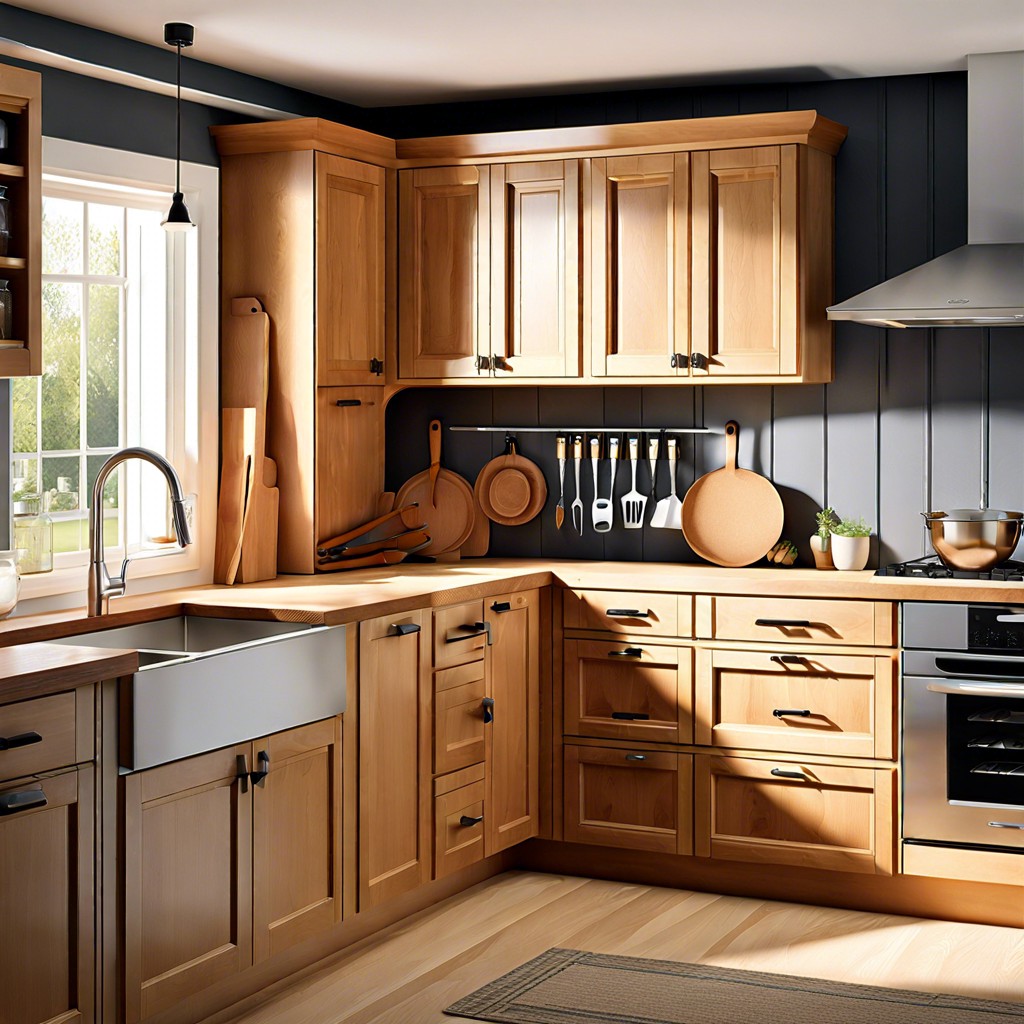 Staining Cabinets: A Step-by-Step Guide to a Fresh Look
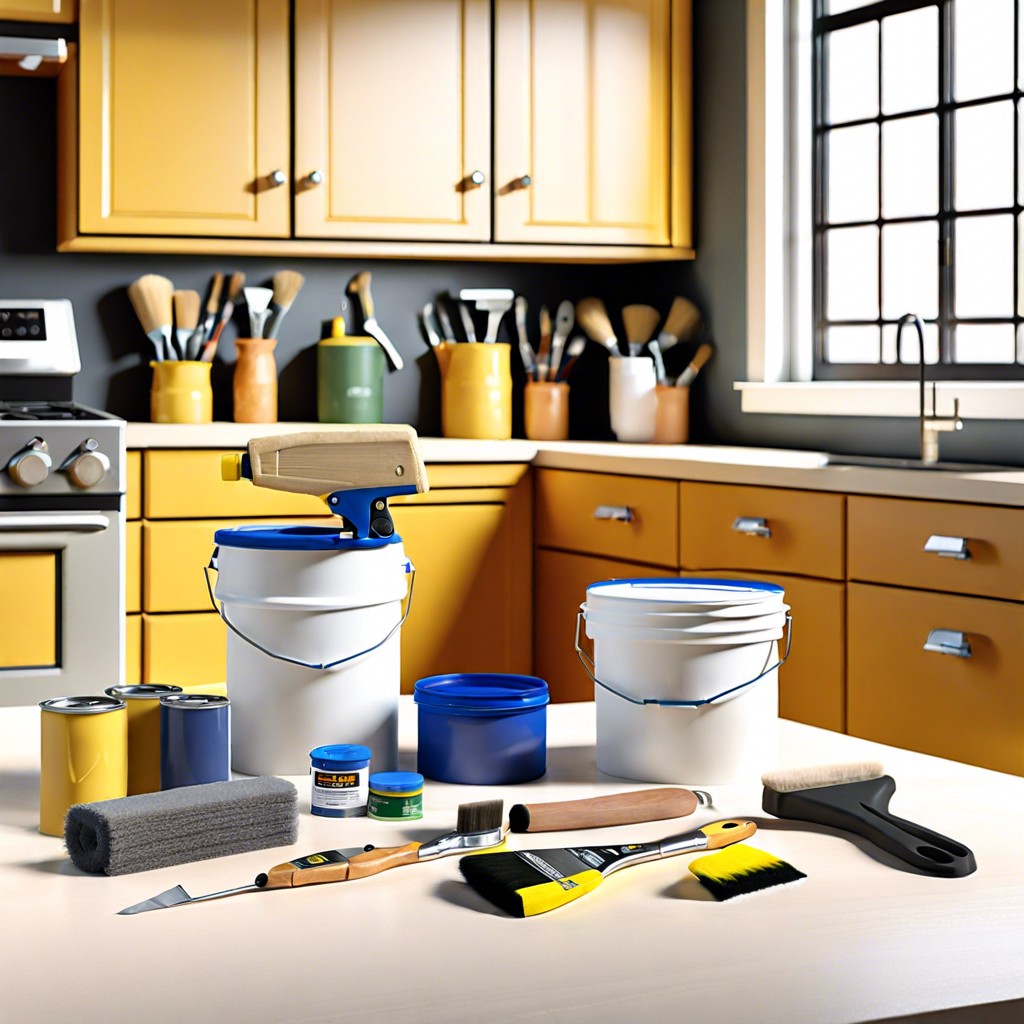 How Long Does It Take to Paint Kitchen Cabinets: A Time-Saving Guide
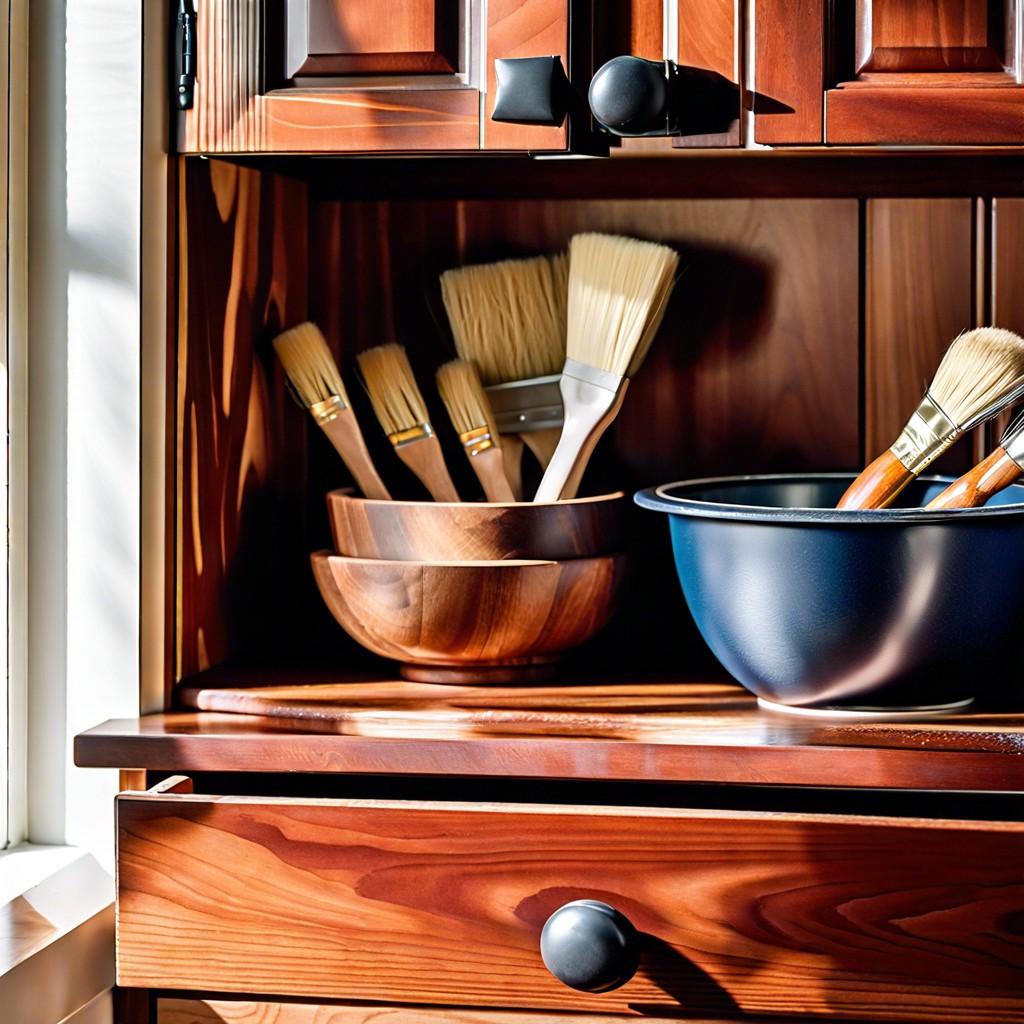 Cost to Refinish Cabinets: A Cheaper Revival
 How to Keep Roaches Out of Cabinets: Say Goodbye to Unwanted Guests