Last updated on
Learn how to transform your kitchen with beautifully stained cabinets using easy step-by-step instructions.
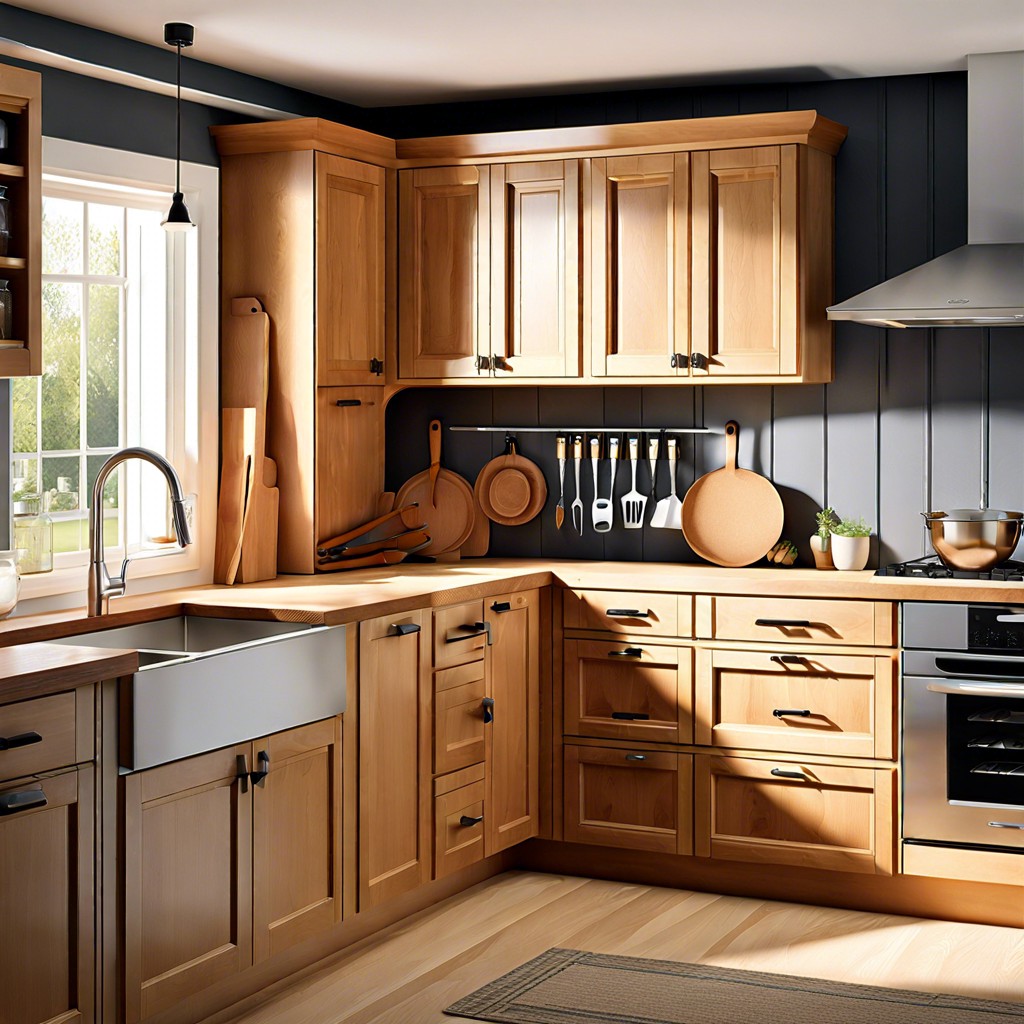
Ready to turn those drab cabinets into fab ones? Whether you’re a DIY daredevil or a cautious craftsperson, staining cabinets can be the game-changer your kitchen needs. From removing hardware to ensuring a flawless protective finish, we’ve got every step covered in vibrant detail with just a pinch of humor. Let’s transform those cabinets—because life is too short for boring wood!
Key takeaways:
- Remove hardware and clean surfaces first.
- Sand evenly for a smooth finish.
- Apply wood conditioner before staining.
- Test stain color on hidden areas.
- Finish with a protective sealer for longevity.
What's Inside
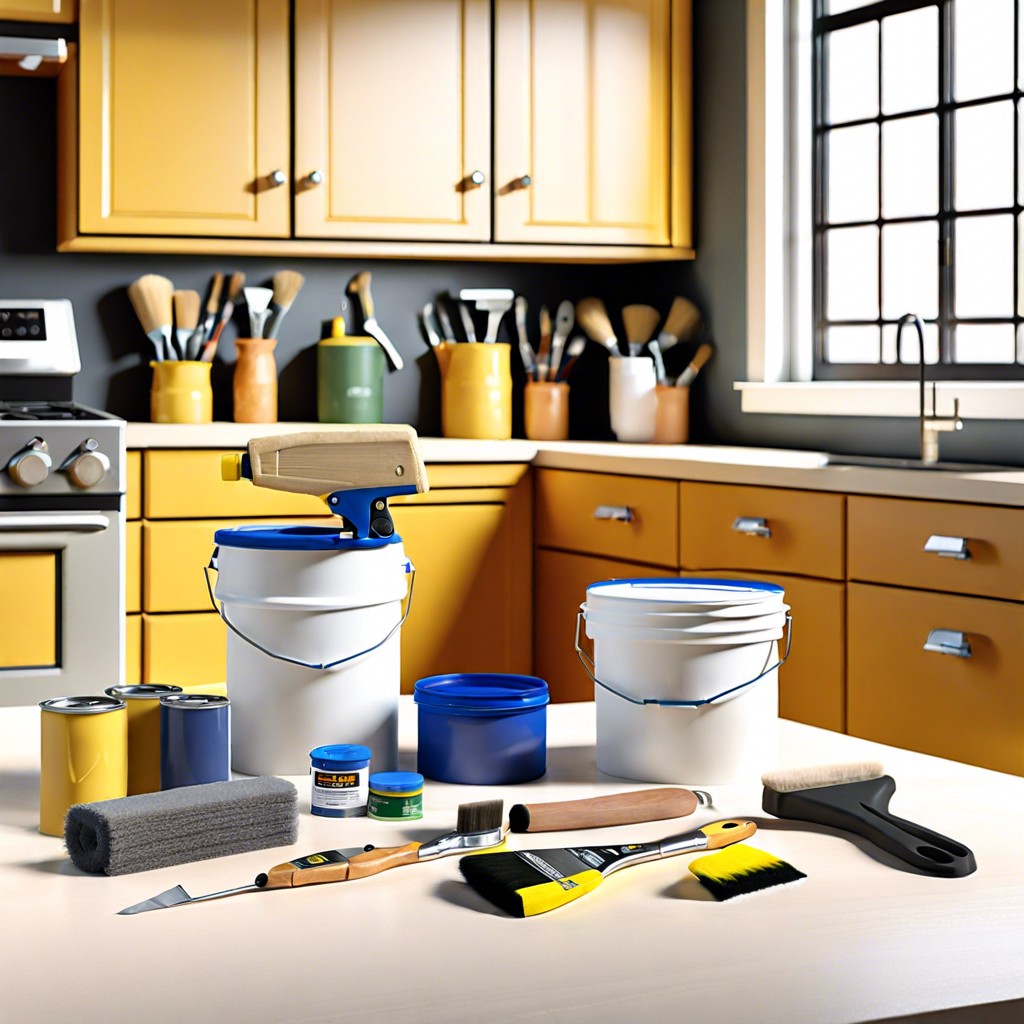
Remove Hardware and Cabinet Doors
Before wielding that paintbrush like a Jedi lightsaber, ensure those cabinet doors and hardware are gently liberated from their wooden homes. Think of it as the pre-stain spa day for your cabinets. Here’s the rundown:
First, patience is key. This isn’t the time to channel your inner Hulk. Unscrew hinges and knobs with care, unless mangled metal appeals to you.
Label everything. Use a simple system like marking masking tape with initials to ensure you’re not left with a hardware jigsaw puzzle later. Trust me, your future self will send hugs and cookies for this.
Keep hardware safe. Create a ‘hardware sanctuary’—a safe container where your knobs and screws congregate. And please, no musical chairs with your kitchen elements.
Finally, give those doors a tender farewell cleaning. They’ll come back rejuvenated with their new stain makeover. Now, onward to the next phase of cabinet transformation!
Clean Surfaces Thoroughly
Take a deep breath and get ready to channel your inner cleaning wizard. This step is crucial, and you’ll want those surfaces sparkling more than a disco ball at a ’70s dance-off.
First, grab a bucket and mix some warm water with a gentle dish soap. Avoid anything too harsh, unless you fancy your cabinets with a side of residue. Wipe down the surfaces using a soft cloth or sponge. Pay extra attention to greasy spots; they love to hide like cats avoiding bath time.
Once you’ve scrubbed your heart out, rinse your cloth with clean water and go over everything again. This ensures no soap is left behind; because, honestly, nobody wants bubbly cabinets.
Let everything dry completely. If you’re eager to move on, use a clean, lint-free cloth to fast-track the process. Consider it your chance to practice the art of towel-dabbing.
Voila! Your cabinets are now clean, and ready to be transformed into the belle of the kitchen ball.
Sand Surfaces Evenly
Ah, the dusty dance of sanding! Picture yourself with sandpaper in hand, ready to groove. Your cabinets will soon be smoother than your moves at last Saturday’s dance party. Here’s the scoop:
– Start with a medium-grit sandpaper, around 120-150 grit. It helps remove any old finish without exposing you to a bicep-cramping workout.
– Always sand in the direction of the wood grain. Going against it is as awkward as wearing socks with sandals. Just don’t.
– Finish off with a finer grit, around 220, for buttery-smooth surfaces. Perfect for those who love to pet their cabinets like they would a puppy.
– Remember all those nooks and crannies! They need love, too, so fold that sandpaper to reach difficult spots. It’s basically yoga for your fingers.
Get those surfaces prepped like a pro. Sanding may not be thrilling, but visualize the magnificent transformation that’s about to unfold!
Apply Pre-Stain Wood Conditioner
Think of pre-stain wood conditioner as your cabinet’s daily moisturizer before a spa day. It helps the wood absorb stain evenly, avoiding those dreaded blotchy spots that ruin a perfect finish.
Imagine having a cake with uneven frosting. Applying the conditioner ensures your cabinet stains like a cake with a smooth, flawless layer of icing.
Ensure you choose the right conditioner for your type of wood since some woods are more thirsty than others. It’s like picking the correct SPF for your skin type.
Apply it with a brush or cloth, letting it soak in for 15-30 minutes. Patience is key—just like waiting for water to boil right when you’re starving.
Wipe off any excess with a clean cloth. You don’t want your cabinets looking like they’ve been caught in the rain without an umbrella.
Think of using conditioner on your cabinets as the secret handshake at a club—you’re setting them up for ultimate stain success!
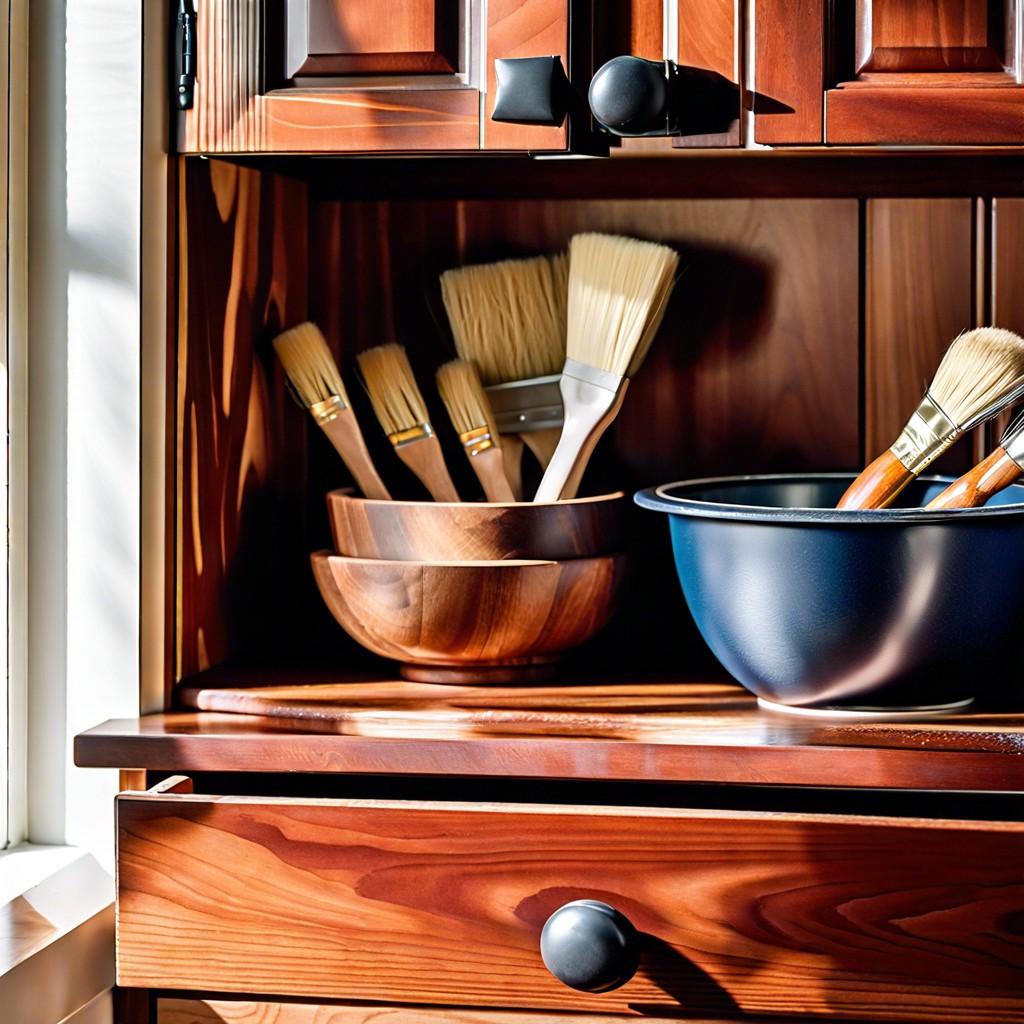
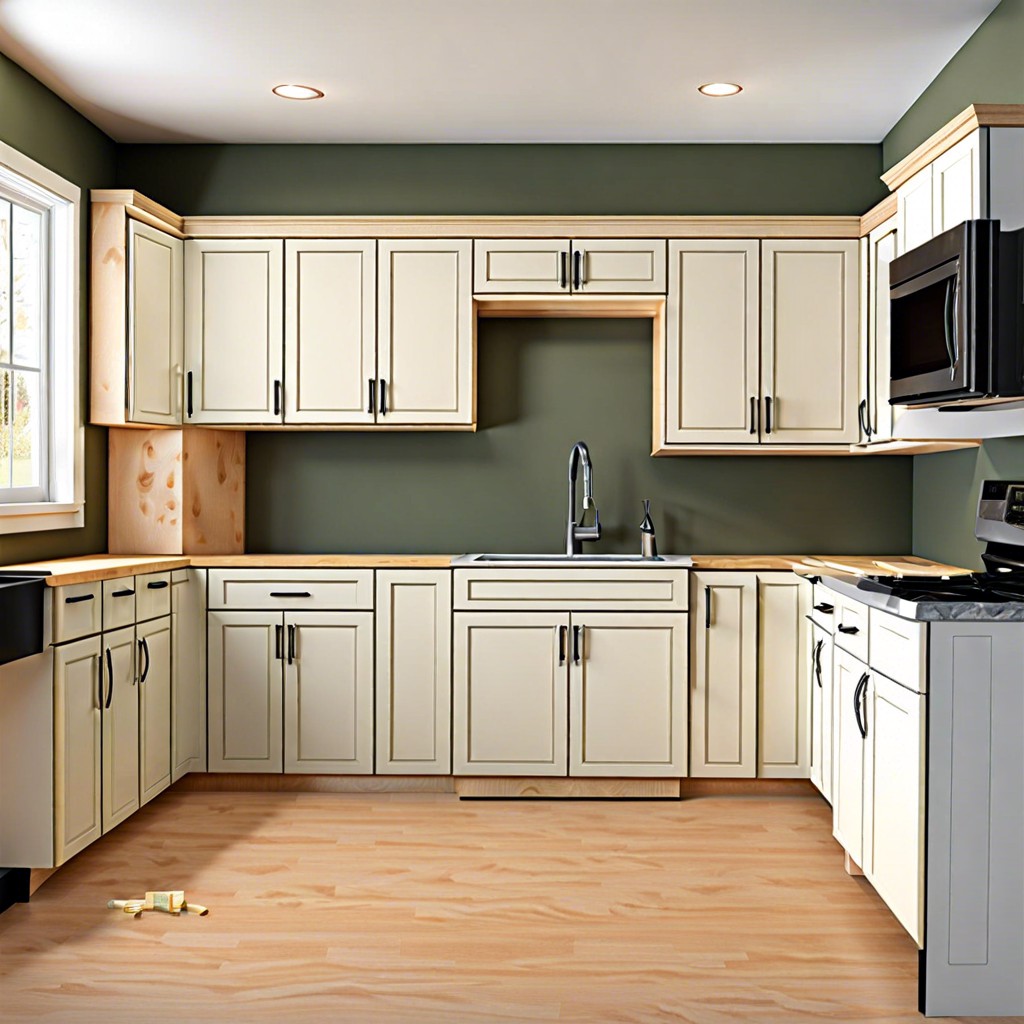
Choose and Apply Your Stain
Stains, like people, come in all kinds of shades and personalities. Whether you want maple to look mysteriously mahogany or oak to scream walnut, the choice is yours.
Consider oil-based stains for deep, rich colors. They’re like the James Earl Jones of finishes. For a quicker, less dramatic finish, water-based stains dry faster and have less odor.
Here’s the fun part: test the stain on a hidden area first. Cabinets can be like chameleons, sometimes the result surprises you.
Use a lint-free cloth or a good brush, applying with the grain. Think of yourself as a zen painter, not a five-year-old with finger paint.
Blot excess stain to avoid a streaky mess. Unless streaks are your thing – then go for it.
Now you’re armed and ready to bring out the best in your cabinets with your stain of choice!
Apply a Second Coat If Needed
Sometimes, one coat of stain just doesn’t cut it. Just like your first attempt at baking macarons, it might need a second try.
First, check the color once the initial coat has dried. Does it look a little shy of your expectations? That’s when a second coat comes in handy. It’s like giving your cabinets a confidence boost.
Apply the additional coat in the same direction as the grain. The grain won’t like being rubbed the wrong way—trust me, it’s like a cat that way.
Wait until the first coat is completely dry before starting another. Patience is key; think of it as a meditation session with your cabinets.
Make sure the room is well-ventilated to help the stain dry evenly. Plus, it’s an excuse to enjoy that lovely fresh-air aroma.
Lastly, test on a small hidden spot first, because surprises are great for birthdays, not cabinet staining.
Finish With a Protective Sealer
Now that your cabinets are sporting a fresh coat of stain, it’s time to play defense with a protective sealer. Imagine your cabinets are secret agents. Without their protective gadgets, they’re vulnerable! Here’s how to tackle this mission:
Choose the right sealer. Polyurethane is a popular choice for its durability but can be a tad glossy. For a subtler shine, opt for a satin finish. For those old-school types, shellac gives a classic touch but can be tricky.
Apply thin, even coats. Think of it as frosting a cake, not smothering it. A few thin layers beat one thick goopy mess any day.
Sand lightly between coats. Use fine-grit sandpaper to smooth things out. Your cabinets love a little spa treatment!
Let the sealer dry completely between coats. Patience, young grasshopper. Rushing here is like trying to hurry up a soufflé. Just don’t.
With these steps, your cabinets will be running incognito missions against spills, stains, and everyday chaos.
Reattach Doors and Hardware
Feeling a sense of accomplishment? Let’s put the pieces back together.
- Match doors with their original frames. Playing mix and match at this stage might lead to a wonky surprise later.
- Use a screwdriver or drill to reattach hinges. Tighten securely, but not so much that they squeak louder than a teenager sneaking in past curfew.
- When replacing hardware, consider upgrading to snazzy new handles or knobs. A small change can give your cabinets a royal facelift.
- Adjust hinges if necessary to ensure doors are hanging straight and close properly. No one likes a crooked cabinet door—unless you’re going for the Picasso look.
- Finally, test everything. Open and close every door and drawer. Ensure they glide like a well-oiled machine. Voilà! You’ve got a kitchen that’s ready to impress.
Consider Additional Tips for a Professional Finish
Think like a pro artist. First, always test your stain on a hidden corner. Who knows, maybe your intended deep chestnut turns into a surprise lavender!
Sand between coats. Not just for kicks, but for real. A light sanding ensures a smooth finish that your guests will mistake for a showroom piece. Seriously, no one wants bumps unless they’re on bubble wrap.
Give ample drying time. Patience is a virtue and a key ingredient in avoiding sticky situations, literally. Follow instructions on the can like it’s a treasure map.
Consider the grain orientation. Stain with the grain, not against it. It’s kind of like going along with the pizza crust, not fighting it. It just works better.
Lastly, when all else fails, bribe a perfectionist friend with pizza to inspect your work. They’ll spot the details you might miss—especially after staring at the cabinet for hours.
Ensure Safety and Ventilation While Working
Losing consciousness is not the goal here, so make sure you’re breathing fresher air than your leftover burrito.
First, work in a well-ventilated area. Open windows and doors to let those invisible fumes hightail it out of there. You’ll thank yourself later.
Use a fan to keep air moving. No fan? Try practicing your fancy waving skills with a small board or channeling your inner magician.
Wear a mask to protect yourself from inhaling stray droplets of stain or dust. You may not look like a superhero, but you’ll certainly feel like one.
Don’t forget eye protection. Nothing ruins a day more than stain in the eye. It’s a bad look, trust me.
Keep flammable materials at bay. Stains and sealers can be as fiery as a reality TV argument.
Stay safe and keep it breezy. Your lungs and eyes will love you for it.