Last updated on
Learn accurately how to measure your countertops for that perfect fit every time.
Thinking about transforming your kitchen but dreading the tape measure tango with your countertops? Fear not, brave DIY enthusiast! This guide is your blueprint to mastering the art of measuring countertops like a seasoned pro. From boundary-setting to handling sneaky backsplash areas and outsmarting quirky corners, I’ve got you covered with every inch of detail you need. By the time you’re done, you’ll measure twice, cut not at all (if you’re lucky), and avoid any expensive mishaps. Stick around, because precision has never been this fun or easy!
Key takeaways:
- Gather tools: tape measure, notebook, pencil, calculator.
- Clearly mark countertop boundaries and features.
- Measure length, width, and overhang dimensions precisely.
- Account for cutouts for sinks and appliances accurately.
- Verify corners for squareness before finalizing measurements.
What's Inside
Gather Necessary Tools and Materials
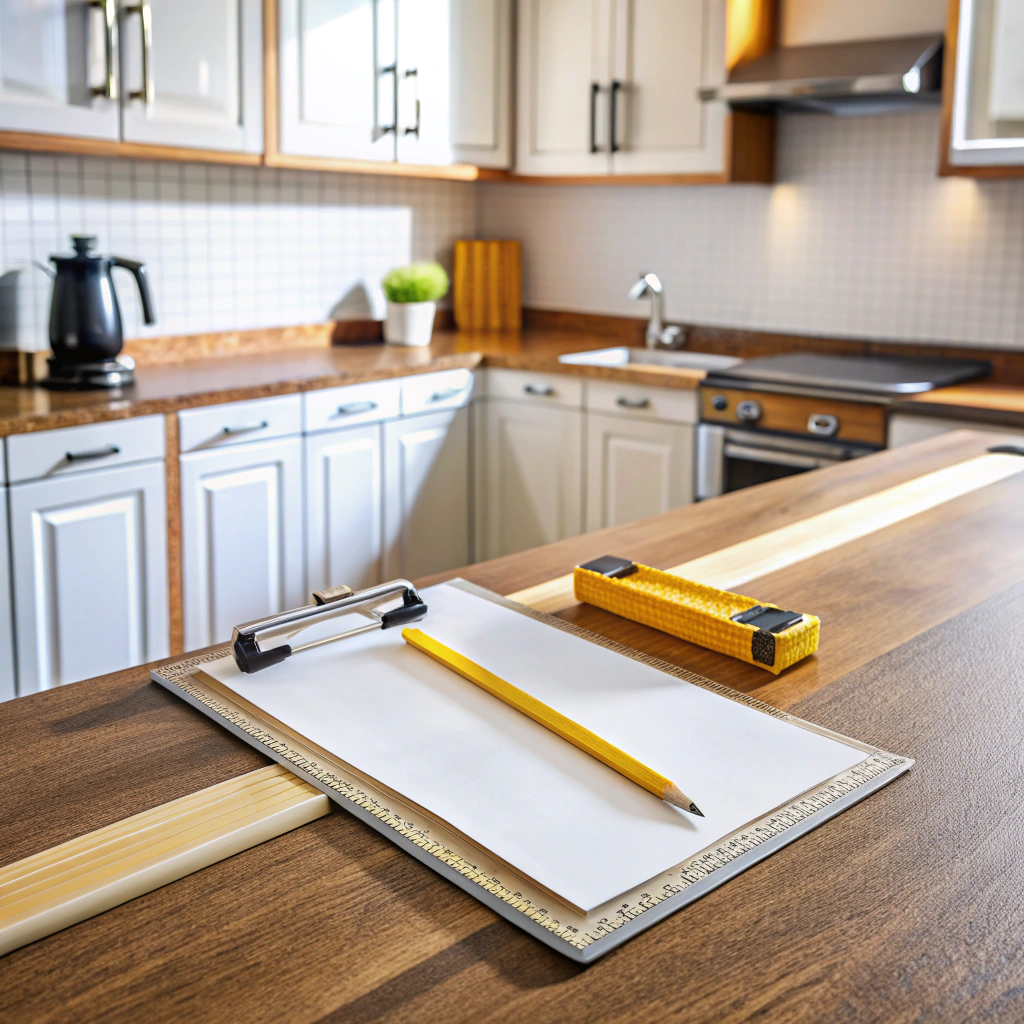
Before diving into the world of measurements, arm yourself with the right tools. Picture this: You’re a kitchen artist, and your tools are your paintbrushes. First on the list is your trusty tape measure, your best friend in the measurement universe. A sturdy, retractable one is ideal; the longer, the better, so you’re not left high and dry at an awkward angle.
Next up, grab a notebook or some graph paper. Why? Because playing Tetris with numbers in your mind is a one-way ticket to Miscalculation City. Jot it down. Sketch it out. Call it countertop doodling.
A pencil is a must, not just because it gives your paper heart art a rustic touch, but because erasers exist for a reason. Mistakes happen. Leave the Sharpie for finalizing autographs.
Lastly, a spirit level may sound like it’s for ghost hunting, but it’s key to ensuring your counters don’t lead to sliding spaghetti pots.
Toss in a calculator to handle all the tricky numbers so you can spend more time debating whether granite truly is worth its weight in gold. And there you have it, all dressed up to conquer the mysterious counter dimensions.
Identify the Countertop Boundaries
Before diving into the nitty-gritty of measurements, it’s essential to clearly establish where your countertop begins and ends. Envision it like defining the play area for an intense game of Jenga, except the blocks here are a lot heavier and less likely to topple.
First, determine your starting and ending points by identifying where the countertops will be installed. Consider where your cabinets or walls naturally support the ends. It’s like drawing a treasure map—except the prize is a flawlessly fitting countertop.
Next, keep an eye out for any jogs, corners, or L-shapes. These cheeky architectural details love to complicate the process and can mislead even the most seasoned renovator. Remember, no surprises here—only planned delights.
Finally, be vigilant for areas demanding special attention, such as bar tops or island perimeters. Each section has its distinctive charm and requires your keen eye. Think of yourself as the Sherlock Holmes of countertops, solving the mystery before it unfolds.
Embark on your measurement adventure well-prepared and you’ll journey through the rest of the process with ease and maybe even a pun or two to spare!
Measure the Length and Width
To find these crucial numbers, grab your trusty measuring tape and start at one end of the countertop. If you don’t have a laser measuring tool, just pretend you’re Indiana Jones on a quest for precision. It’s all about adventure, right?
Stretch the measuring tape from the starting edge to the other end. Record the length like it’s the most valuable treasure you could find.
For width, measure from the back of the countertop to the front edge. This might involve some skillful maneuvering to avoid phantom coffee cup stains and mysterious sticky spots.
Remember, measure twice to avoid a wood-chipping disaster during installation. It’s like double-checking your dating app profile before you hit ‘send’ – you’ll thank yourself later!
Account for Backsplash Areas
Backsplashes are like the eyeliner of countertops – they frame the beauty. Here’s how to ensure yours fits perfectly:
First, measure the height from the countertop to where you want the backsplash to end. A common height is 4 inches, but the sky’s the limit, or, well, the ceiling is!
Next, check for outlets. They’re sneaky little obstacles and can complicate things. Measure from the countertop to the bottom and top of each outlet, and from the edge of the wall to the sides of the outlets. Precision here will prevent any “oops, not again” moments later.
Finally, remember that walls aren’t always flawlessly flat. Measure in a few spots along the length of the wall to avoid surprises that make you feel like you’re starring in your own home improvement blooper reel.
Take heed of these details, and your backsplash will fit like a glove, or perhaps more aptly, like a tile.
Allow for Overhang Dimensions
Imagine you’re designing your kitchen like a top-secret mission. Overhangs are your undercover agents, sneaking extra counter space for your elbows…or cookies.
- Standard overhang is typically 1 to 1.5 inches beyond the cabinet edge. It’s like the apron of your counter, where crumbs can meet their demise.
- For breakfast bars or islands, consider extending it to 12 inches or more. Picture it as a comfortable ledge for guests to perch, or for cats to stage a cool, aloof lookout.
- Balance is key. Too much overhang without adequate support means your counter might audition for Cirque du Soleil. Nobody wants a countertop cartwheel!
- For those with kids, a sizeable overhang can double as a secret fort under the counter. Just ask the little ones—they have an uncanny radar for potential hideouts.
Let those edges fly, but keep physics on your side.
Include Cutouts for Sinks and Appliances
When you’re marking out space for sinks and appliances, precision is your best buddy. Misjudging these measurements can lead to countertop chaos.
First things first, measure twice, lament never. Get the exact dimensions of your sink or appliance from the manufacturer. Tape those numbers to your fridge. Maybe even your forehead.
Trace out the exact spot on the countertop template where these items will live. Double-check with a dry fit, because you don’t want that beautiful new sink hanging off into space like an acrobat without a net.
Remember to factor in extra room for any lips or flanges your sink might have. As for the dishwasher, give it enough room to breathe—it’s not a claustrophobic, but it’ll thank you with quieter cycles.
And please, avoid the rookie mistake of assuming all appliances are the same size. They’re as varied as cats at a cat show.
Keep it precise, and you’ll be well on your way to countertop bliss.
Double-check Measurements
There’s nothing quite like the suspense of discovering your kitchen sink hole doesn’t align perfectly with the new countertop. Avoid culinary mysteries by ensuring your measurements are spot-on.
First, revisit your original numbers. Mistakes often hide in plain sight. In the world of countertops, accuracy saves both time and sanity.
A trusty tape measure and a second pair of eyes can be your best friends. It’s amazing how a fresh perspective might catch a sneaky half-inch you missed.
If you have a corner kitchen, double-check the 90-degree angle. A rogue angle can turn a snug fit into a countertop nightmare.
Finally, document everything clearly. Chicken scratch notes won’t fly when precision is on the line. Consider drawings or floor plans to keep it all straight.
Remember, carpenters have a secret spell they recite religiously: measure twice, cut once. And if necessary, measure a third time.
Record Your Measurements Clearly
Think of recording your measurements like sending a postcard—you want it all to arrive in one piece. First, use a sturdy notebook or a digital spreadsheet. This is your ticket to organization paradise.
Always note down the room and specific area. Imagine explaining it to an alien; clarity is king. For example, “Kitchen, South Wall.”
Use separate lines for each measurement. Mixing them is like hiding the remote in the couch cushions—frustratingly difficult to find later.
Include notes for any peculiarities. Did you discover a sneaky pipe that pops out of nowhere? Jot it down.
Use a pen that won’t smudge. Smudged numbers could lead to disaster, like mistaking your countertop for a Slip ‘n Slide.
Last but not least, double-check that what you’ve recorded reflects reality. Otherwise, you’re just making a well-organized doodle.
Consider Potential Obstacles or Unique Features
Nooks, crannies, and oddball angles make kitchens charming, don’t they? Until you have to measure them! Don’t worry, though; it’s an adventure in geometry!
- Kitchens with character – Some countertops dance around pillars, flirt with beam supports, or cozy up to low windows. Measure these areas separately, like giving special treatment to celebrity VIPs at a kitchen concert.
- Corners of mystery – Imagine discovering a secret passage! If your countertops embrace intriguing corners, measure the lengths separately and sum them up like a treasure map.
- Appliance avengers – Consider any appliances sticking out of your cabinetry battalion. Fridges and ovens often give side-eye to encroaching countertops, so measure these dodgy spots carefully.
Tackle these delightful dilemmas head-on, just like a detective in a detective novel, and your measurements will be on point!
Verify Room Corners for Squareness
Here’s where things get interesting—possibly even a little squiffy. Corners can be sneaky little tricksters, masquerading as perfect right angles when they aren’t. And, nothing says “oops!” like realizing too late that you’ve got a minor league trapezium rather than a rectangle.
– Use a carpenter’s square to check the angles; it’s like giving your room a geometry pop quiz. You’ll know quickly if something isn’t adding up.
– If you’re lacking a carpenter’s square, a good old tape measure can help. Measure diagonally across the corners. Equal measurements mean you’re solidly in right-angle territory.
– If things don’t line up, don’t sweat it. Mark where adjustments are needed. It’s better than realizing your pizza slices are lopsided because your countertop isn’t straight.
This square dance might save you from unexpected surprises when installing your countertop masterpiece. And who doesn’t want a collection of perfectly straight countertops to gaze at with pride?
Read More
 How to Prevent Cuts in the Kitchen: Your Hands Will Thank You
 15 Creative Ways on How to Display Cutting Boards
 How to Remove Kitchen Countertop: A Step-by-Step Guide to Revamp Your Space
 How Much Does It Cost to Rent a Commercial Kitchen: A Guide to Budget-Friendly Cooking Spaces
 Commercial Kitchen Cleaning: Tips for a Spotless Culinary Space