Last updated on
Learn the straightforward steps to safely remove your kitchen countertop like a seasoned pro.
Staring down your kitchen countertop and envisioning a fresh new look? Looks like it’s time for “Operation Countertop Removal”! Whether your style leans toward rustic wood or sleek quartz, the first step is getting rid of that relic currently doubling as a dance floor for cat. In this guide, we’ll make sure you’re equipped with more than just enthusiasm and a blissful ignorance. Dive in as we cover every nitty-gritty detail needed to get your countertop, and maybe a surprise fossilized toast, gracefully out of your kitchen!
Key takeaways:
- Gather tools and safety gear first.
- Disconnect plumbing and turn off water supply.
- Clear appliances and clutter from countertop area.
- Score caulk and loosen adhesive before removal.
- Enlist a helper for safe countertop lifting.
What's Inside
Gather Necessary Tools and Safety Gear
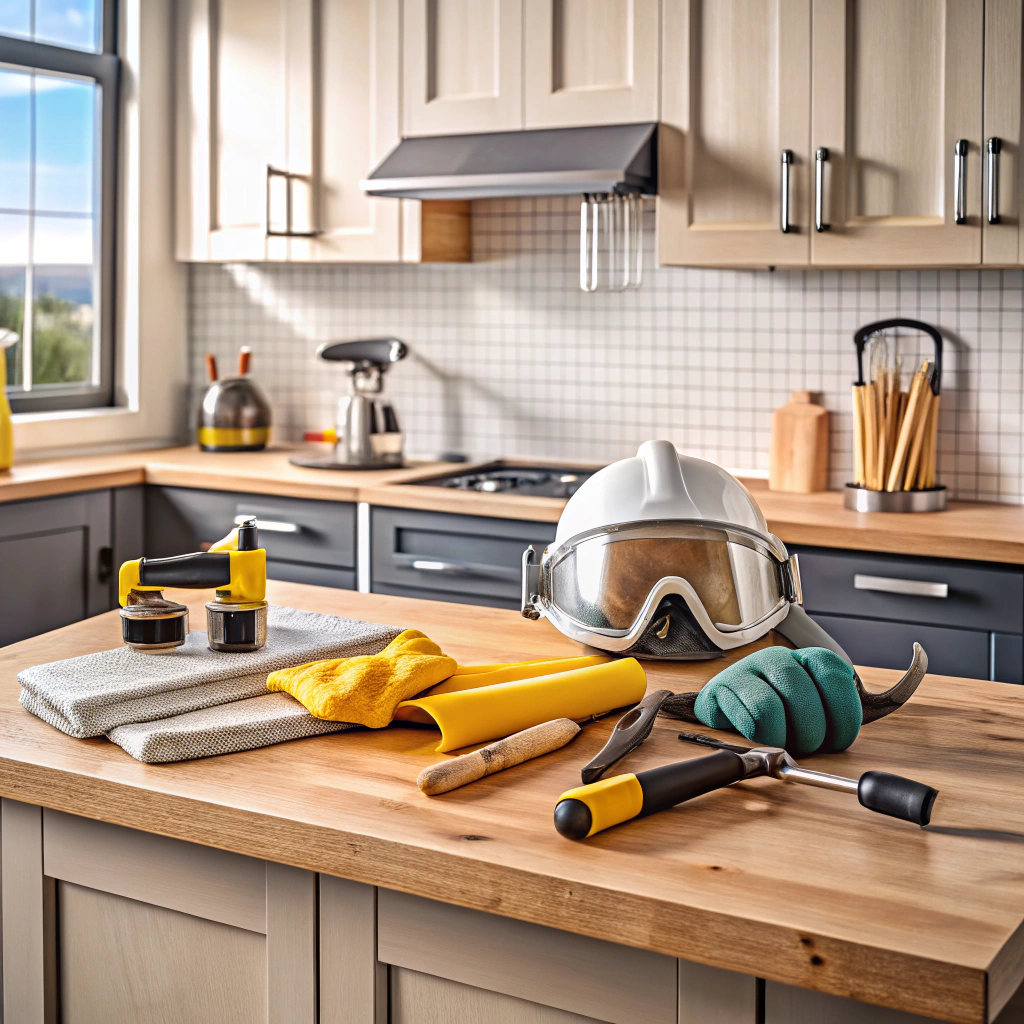
Unleashing your inner DIY-er is thrilling, but first, let’s not forget the superhero toolkit. Start with gloves—your hands will appreciate a little love. Goggles? Not just for sci-fi movies; they’re essential when debris flies. A dust mask will save your lungs from impersonating a vacuum cleaner.
Get your hands on a putty knife, a trusty crowbar, and a power drill—these are your chief companions in the countertop crusade. Screwdrivers? Absolutely. Flathead and Phillips are like the peanut butter and jelly of the tool world.
A utility knife will help you slice through caulk like a hot knife through butter. Having all these at hand is key, lest you find yourself mid-project, frantically using spatulas and butter knives as makeshift tools. Spoiler: They work terribly.
Turn Off Water Supply and Disconnect Plumbing
Yanking out the kitchen countertop with the plumbing still hooked up is like trying to make soup while forgetting the pot—you might just end up with a big mess! First, track down the main water valve, often hiding under the sink or near the stove. Give it a hearty twist to shut off the water supply.
Now it’s time to disconnect the plumbing. Precision and patience are key here. Carefully unscrew the water lines from the faucet. Luckily, kitchen faucet manufacturers have made these relatively easy to understand. Pipe wrenches might be just the ticket to avoid any stubborn connections.
Pay attention to the drain and garbage disposal if you have one. Remember, your P-trap (the U-shaped pipe) is likely full of water, so a bucket or a small container can save you from a surprise shower. Kind of like saving your cake from an unexpected downpour by serving it indoors!
Taking these steps will ensure you’re prepared for the rest of the countertop removal, and who doesn’t love a good head start?
Remove Appliances or Obstructing Items
Prepare yourself like a ninja ready to strike! Clear the kitchen battlefield of countertop clutter. Move the coffee maker, toaster, and that cute plant named Gerald to safety. They’re not tough enough to withstand a countertop removal battle.
Check for any appliances attached to the worktop. The stove, sink, or magic flying blender (if you have one) can make the job trickier. Unplug, if applicable, and move them out of the danger zone. Bonus points if you hum a Mission Impossible tune while doing this.
Don’t forget what’s lurking underneath. Slide out dishwashers and refrigerators if they’re cheekily tethered right below. Humor them with a quick break; they can resume serving you delicious meals post-removal.
Make space for tools and awkward removal angles. Your countertop wrestle needs room for grand maneuvering. Plus, clear workspaces look way cooler. You’ll thank yourself when you don’t trip over a stray spatula mid-project.
Loosen Countertop Caulk and Adhesive
Begin by grabbing a utility knife. It’s the Swiss Army knife of kitchen dismantling. Make strategic cuts along the seams where the countertop meets the walls. Don’t channel your inner Picasso just yet; straight lines are key.
The caulk can be a sneaky, sticky adversary. Apply some warm water to soften its resolve. If that doesn’t work, try a specialized adhesive solvent. It’s like the secret sauce of countertop removal.
As for the adhesive beneath the countertop, slip a putty knife between countertop and cabinets. Wiggle it with finesse, like you’re persuading a toddler to eat broccoli. Slow and steady wins this race.
And remember, some adhesives have been cooking since the Stone Age—they might need a little friendly persuasion with a crowbar. You’ll soon find these layers as pliable as your third Thanksgiving plate!
Even the best-laid caulk can crumble, so have a vacuum handy for those pesky debris parties. Strip away adhesives deftly and let your countertop bid the kitchen a graceful farewell.
Detach Screws and Brackets Securing the Countertop
Screws and brackets are the unsung heroes keeping your countertop in place. Now it’s time to say goodbye.
You’ll need a screwdriver or a drill with a screwdriver bit. Look underneath the countertop and into the cabinets, where these hidden treasures are tucked away. Keep a steady hand; dropping a screw into the dark abyss of a cabinet can lead to a hide-and-seek game you’re bound to lose. Remember, cabinets aren’t just there to hold snacks; they also hold your countertop in place with brackets.
Mind the screws at the front and back edges. There might be some bonus ones, especially near the sink. They’re the overachievers of the kitchen world. Remove them with care, and keep those screws with the fuzz on your socks. They might come in handy someday.
And there you go, you’ve untethered the beast above. But don’t let it drop! Proceed to the next steps gingerly, and with caution.
Use a Putty Knife or Crowbar to Lift Edges
Gentle prying is the name of the game here. A putty knife is your best friend when it comes to sliding under the countertop edge, easing those awkward moments where you might feel like a sneaky raccoon trying to lift a trash can lid without waking the neighborhood. Adjust your angle if things get sticky. You don’t want to chip surfaces or leave behind that rogue piece of countertop announcing its existence like an amateur magician’s bunny.
If you’re dealing with a particularly stubborn countertop (we’ve all met one), consider leveling up to a crowbar. Just remember, this isn’t the time for brute strength; it’s about strategic coaxing. Think charming a cat off a keyboard rather than wrangling a crocodile.
Keep a close eye on the cabinetry beneath. Apply equal prying pressure at intervals along the edge to avoid unwanted dents or scratches. They don’t come with battle scars as a badge of honor, just a scratched-up tale of woe.
Most importantly, make sure you’re prepared to catch any countertop section deciding to drop dramatically like it’s auditioning for a soap opera. This pretty much guarantees you don’t end up in a comedy sketch with countertop-corner-knees.
Carefully Remove Backsplash If Necessary
Backsplashes can be the stubbornly loyal friends of countertops—solidarity or adhesive, whatever sticks better! Approach with care. First, score any caulking between the backsplash and countertop with a sharp utility knife. This allows for a gentle escape without a messy breakup.
Use a putty knife or a crowbar to slowly pry the backsplash away from the wall. Apply pressure evenly along the length to avoid cracking or chipping. It’s not a race after all; it’s about commitment.
If the backsplash is tiled, proceed with extra caution. Tiled backsplashes can be fragile, much like your patience at this point. Gently wiggle each piece, convincing them it’s a new opportunity, not just a tough break-up.
Remember, it can be tricky, but you’ve got this. Harness that inner zen. The wall should remain as pristine as a freshly cleaned plate.
Enlist a Helper to Lift and Remove Countertop
Lifting countertops is like trying to wrestle a bear with a slippery grip—heavy and awkward. Grab a buddy to tackle the beast! Having an extra pair of hands can prevent accidents and backaches. Teamwork, right?
First, ensure the area is clear of obstacles and tripping hazards. You don’t want to break a toe on an unsuspecting rolling pin.
Before you begin, plan your route to avoid turning corners like a startled moose. Know where you’ll set down the countertop once it’s free. This isn’t hide and seek, so there should be no surprises about where you’re going.
Lift with your legs, not your back. We’re not here for a chiropractor’s dream! Communicate with your helper to lift in unison. Think of it as an elegant, countertop-themed dance routine—without the salsa music.
Place the countertop gently onto the designated safe spot and take a breather. You’ve just avoided becoming a one-man demolition crew, and that deserves a high five!
Dispose of Old Countertop Responsibly
Now that you’ve successfully removed the countertop, it’s time to bid it farewell in an eco-friendly manner. Recycling centers might be your countertop’s next stop if it’s made of recyclable materials like stone or metal. Check with local facilities to see what materials they accept.
If recycling is off the table, some companies specialize in upcycling old countertops into new creations. Imagine your once-boring counter reincarnated as part of a trendy art installation. How hipster is that?
Consider donating usable countertops in good condition to charities or organizations like Habitat for Humanity. It might find a second life in someone else’s kitchen. And who doesn’t love a second chance story?
Finally, if the countertop’s destiny is plain old disposal, make sure to adhere to local waste management rules. You don’t want to be known as “that person” who jumbles up the landfill regulations. Happy and responsible disposing, dear kitchen conqueror.
Inspect Cabinets and Clean Before Installation of New Countertop
Before you haul in that sparkling new countertop, pause for a quick cabinet check-up. Your cabinets have been through a lot, holding up that old countertop all these years. Give them a thorough inspection to ensure they’re still the sturdy heroes they need to be.
Check for any damage or weak spots, like cracks or broken edges. Tighten any loose screws or brackets, because nobody wants their new countertop to take an unexpected downward journey.
Wiping down the surface tops is more important than vacuuming a car before a hot date. Remove any debris, dust, or remnants of old adhesive. A clean surface ensures a level and secure fit for your new countertop.
Give those cabinet surfaces a little loving massage with a damp cloth and mild detergent. They’ll look perkier than a morning cup of coffee. Remind yourself to make sure everything is dry before the big installation.
Lastly, check if any adjustments are necessary for a seamless fit. It’s like trying on new shoes; they have to fit just right, or you’ll be crying at the party.
Read More
 15 Creative Ways on How to Display Cutting Boards
 How Much Does It Cost to Rent a Commercial Kitchen: A Guide to Budget-Friendly Cooking Spaces
 How to Measure Countertops for the Perfect Fit
 Commercial Kitchen Cleaning: Tips for a Spotless Culinary Space
 Replacement Cabinet Shelves: A Buyer’s Guide to Upgrade Your Kitchen