Last updated on
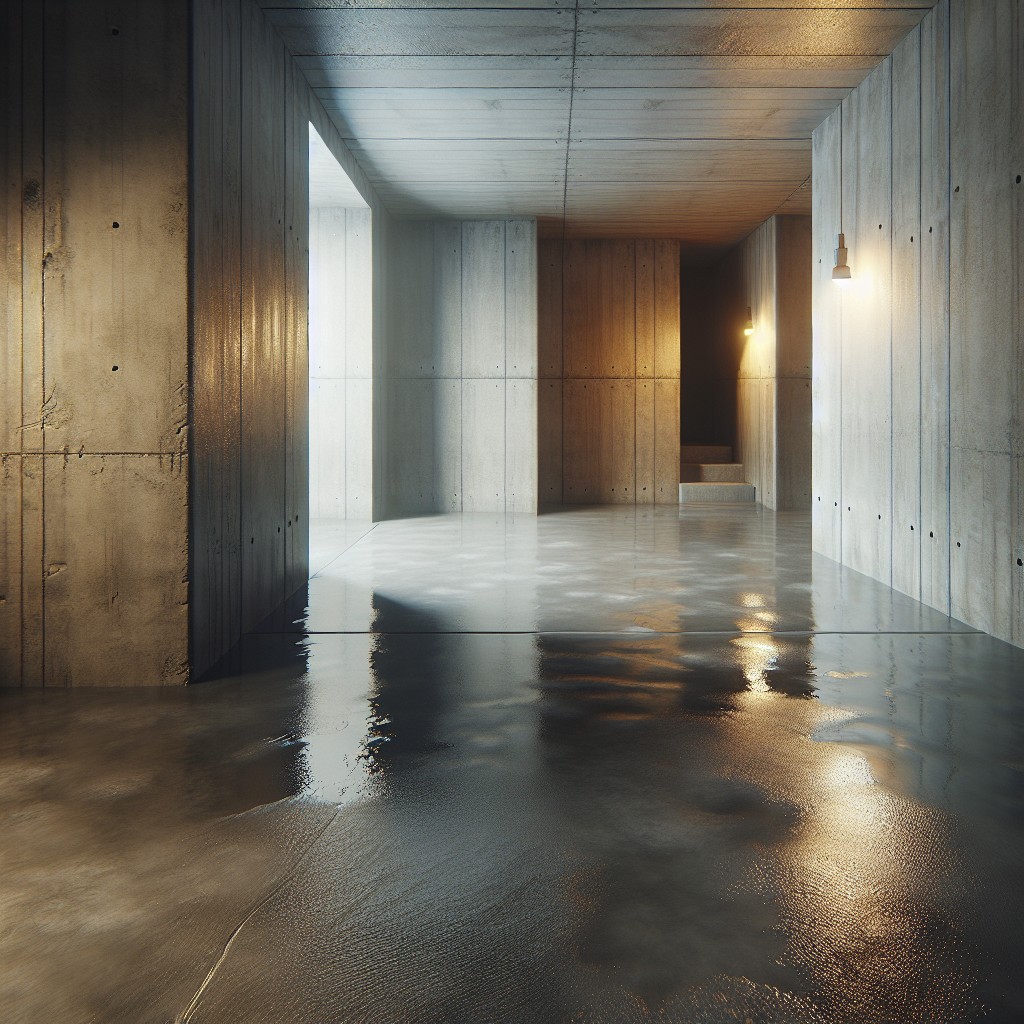
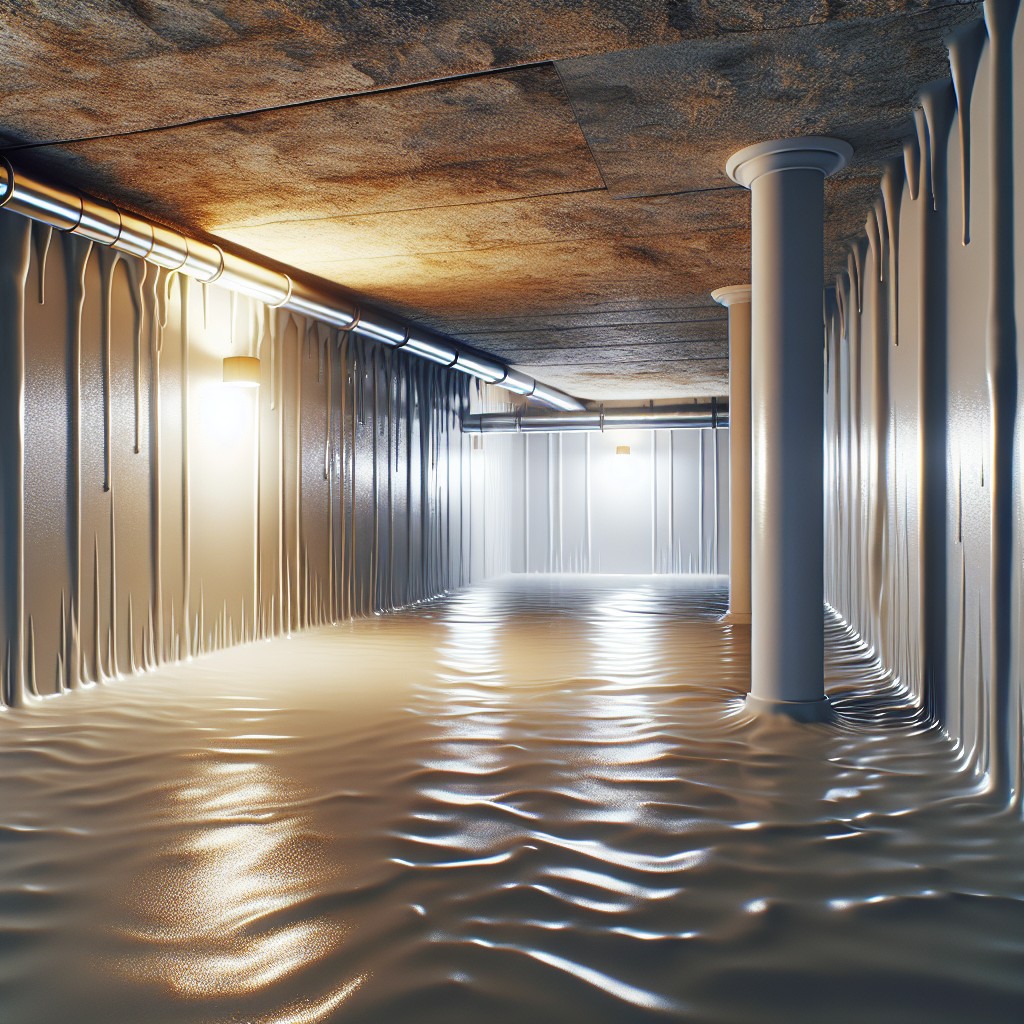
Explore these brilliant basement waterproofing ideas because safeguarding your home from potential water damage is crucial for maintaining a healthy, mold-free environment.
These are my unique design concepts made using design tools. I hope you find them inspiring!
Embarking on a basement waterproofing project? You’ve stumbled upon the right place. With countless ideas out there, determining the most efficient and effective waterproofing methods can seem overwhelming.
This article will delve into exciting and unique waterproofing techniques you perhaps haven’t considered.
While end-of-the-article resources will touch upon the best of the familiar strategies, the core objective here is to turn a fresh eye towards the subject.
This treasure trove will be populated with innovative ideas explored from new angles, making your basement waterproofing endeavor less of a challenge and more of a creative journey.
Roll up your sleeves, and let’s dive into this refreshing set of unique basement waterproofing tools!
What's Inside
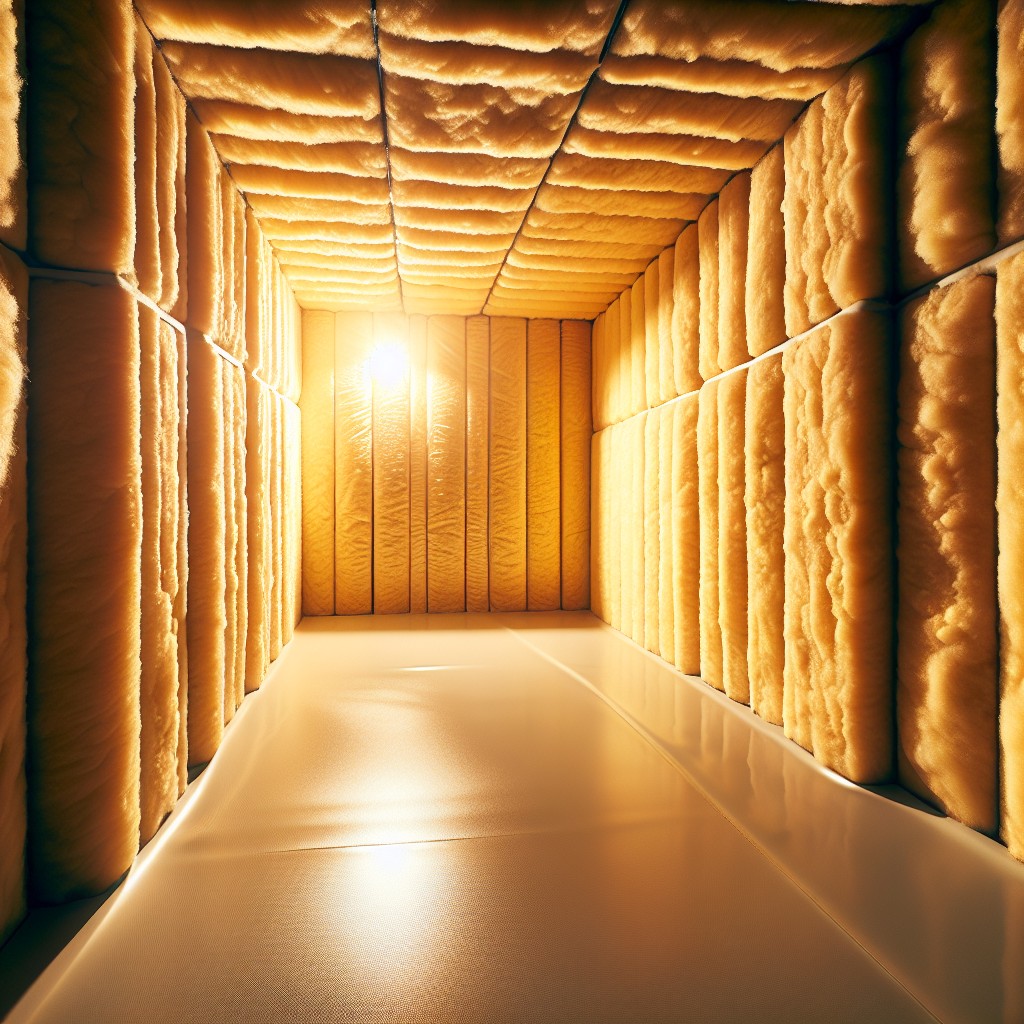
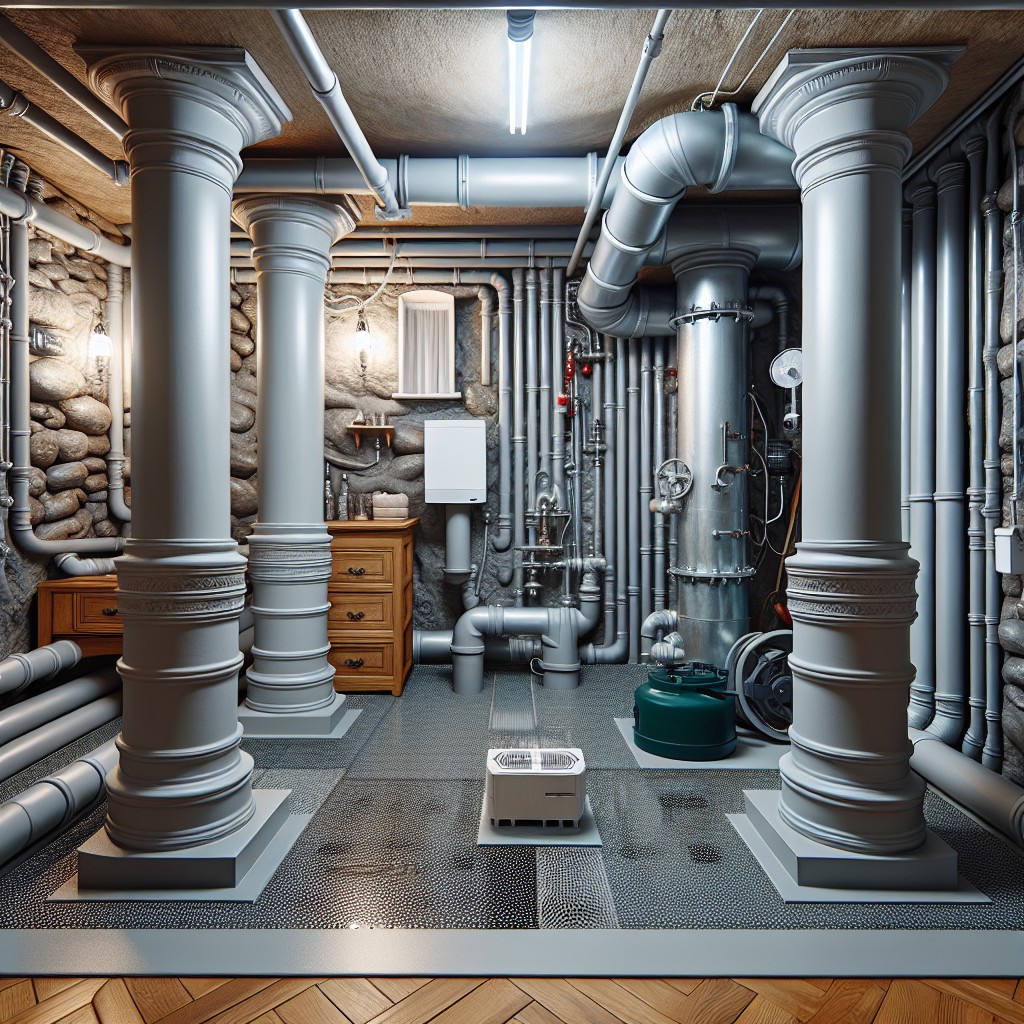
Vapor Barrier Installation for Basement Protection

Installing a vapor barrier acts as an effective guard against moisture intrusion. The process involves placing a huge plastic sheet or a special paint-like substance on both your basement’s floors and walls.
Here are some key considerations:
- Thickness: Opt for vapor barriers with a thickness of around 10 mm to ensure durability and resistance to tear.
- Installation: The barrier should extend a few inches up your foundation wall and be secured with a waterproofing sealant.
- Coverage: Ensure the barrier overlaps at the seams by at least 12 inches to prevent water leakage.
- Advantages: The installation of a vapor barrier not only limits moisture but also reduces energy costs by enhancing insulation.
Remember, while a DIY installation is feasible, hiring a professional can help ensure the job is done right, efficiently addressing basement moisture issues.
The Role of Landscaping in Basement Waterproofing

When it comes to diverting water away from your home, landscaping plays a pivotal role. Strategic positioning of trees, shrubs, and plants can help minimize soil erosion and manage rainwater runoff efficiently. Choosing plants with high water-absorbing capacity, like weeping willows or river birches, may also aid water management.
Another essential element is the employment of a well-designed grading system. A slight slope of your yard, away from the house, helps direct water to drain into a garden bed or storm drain, rather than pooling around your home’s foundation.
Remember, improper landscaping can push water towards your home, leading to foundation damage, so consider enlisting a professional’s help for accurate grading.
Choosing permeable paving materials for the area around the foundation can also help. These materials allow water to seep in and avoid surface run-off. Specialized options like gravel, crushed stones, and permeable concrete or pavers are worth considering.
Managing rainwater by using tools like rain barrels, French drains, and rain gardens are also beneficial. These tools can collect, absorb, and slowly release rainwater, preventing sudden large volumes of water from overwhelming your drainage system.
With these strategies, you can make landscaping not just an aesthetically pleasing element, but also a protective shield for your home.
Insulated Basement: A Step Towards Waterproofing
It’s crucial to understand that an effectively insulated basement can act as a deterrent to potential water problems. By adding a protective layer between your home and the surrounding earth, insulation helps to keep the basement dry and cozy, while saving on energy costs.
Start with insulating the walls with closed-cell spray foam or foam board, which are both resistant to moisture and will not degrade in a humid environment. When insulating the floors, follow one main rule – above the slab is better. This type of insulation stops the floor from getting cold and creating condensation.
Remember, thermal bridging can cause your insulation efforts to fail. It happens when the framing conducts heat around the insulation. So, use continuous insulation methods to avoid this issue.
Additionally, a vapor barrier – either a layer of plastic or specially designed paint – can be used on the warm side of the wall before the insulation and the wallboard are applied.
In the end, while insulating may seem like an investment of both time and money, the overall benefits like energy savings, enhanced comfort, and, most importantly, a waterproof basement truly make it worthwhile.
Sealing Window Wells: An Effective Waterproofing Method
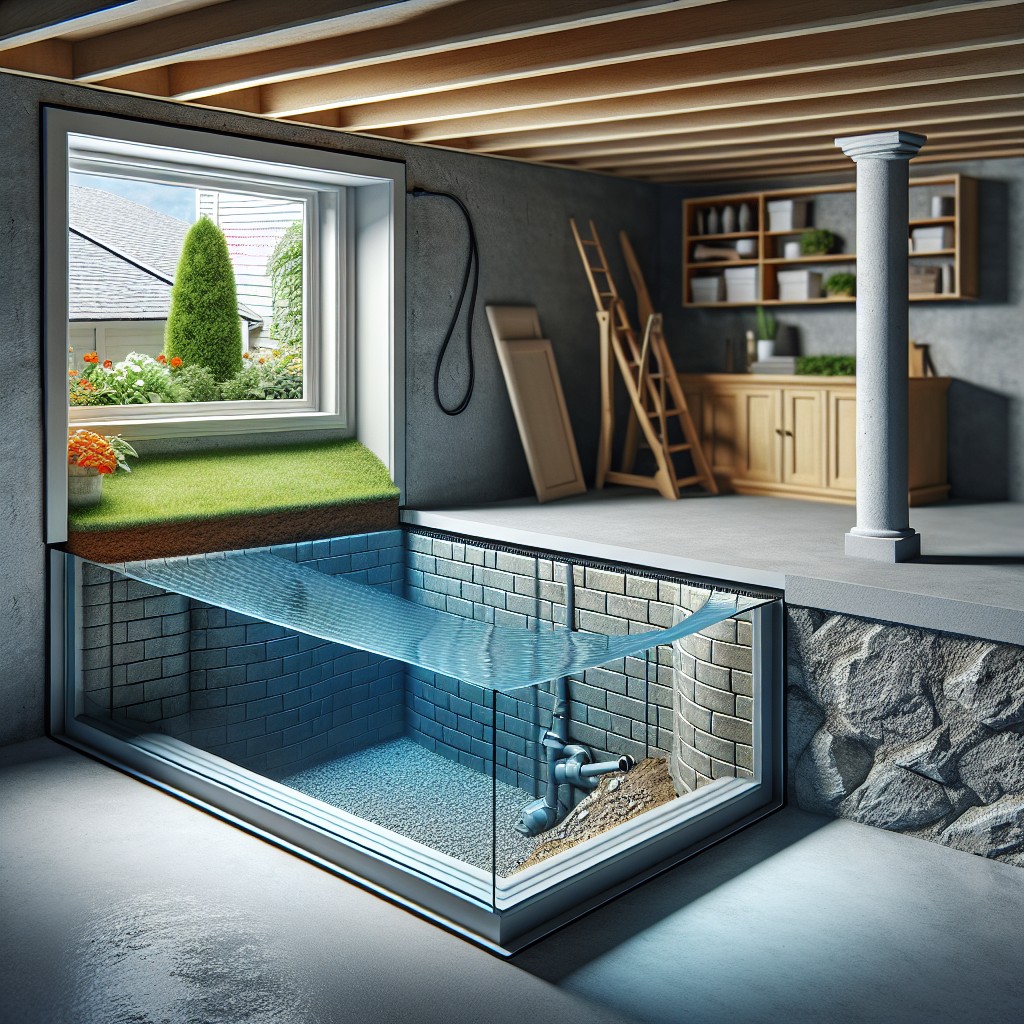
Avoiding moisture from seeping in through the basement windows requires a well-sealed window well. Executing this successfully calls for a two-step method. First, replace deteriorated window well liners and install ones made of rust-resistant metal or plastic. These act as shields, preventing soil and water from reaching the window surface.
Next, fasten a clear plastic cover over the entire window well. Not only does this shield from rain and snow, but it also keeps out debris that could clog the well’s drain. Ensure that your cover is bespoke, for an accurate fit that allows enough room for emergency egress if needed.
Make extra certain to routinely inspect your window well cover and liner for signs of wear or damage, replacing if necessary. This is an easy yet potent method to ensure that your basement remains dry.
Using Interior French Drains for Dispersing Water
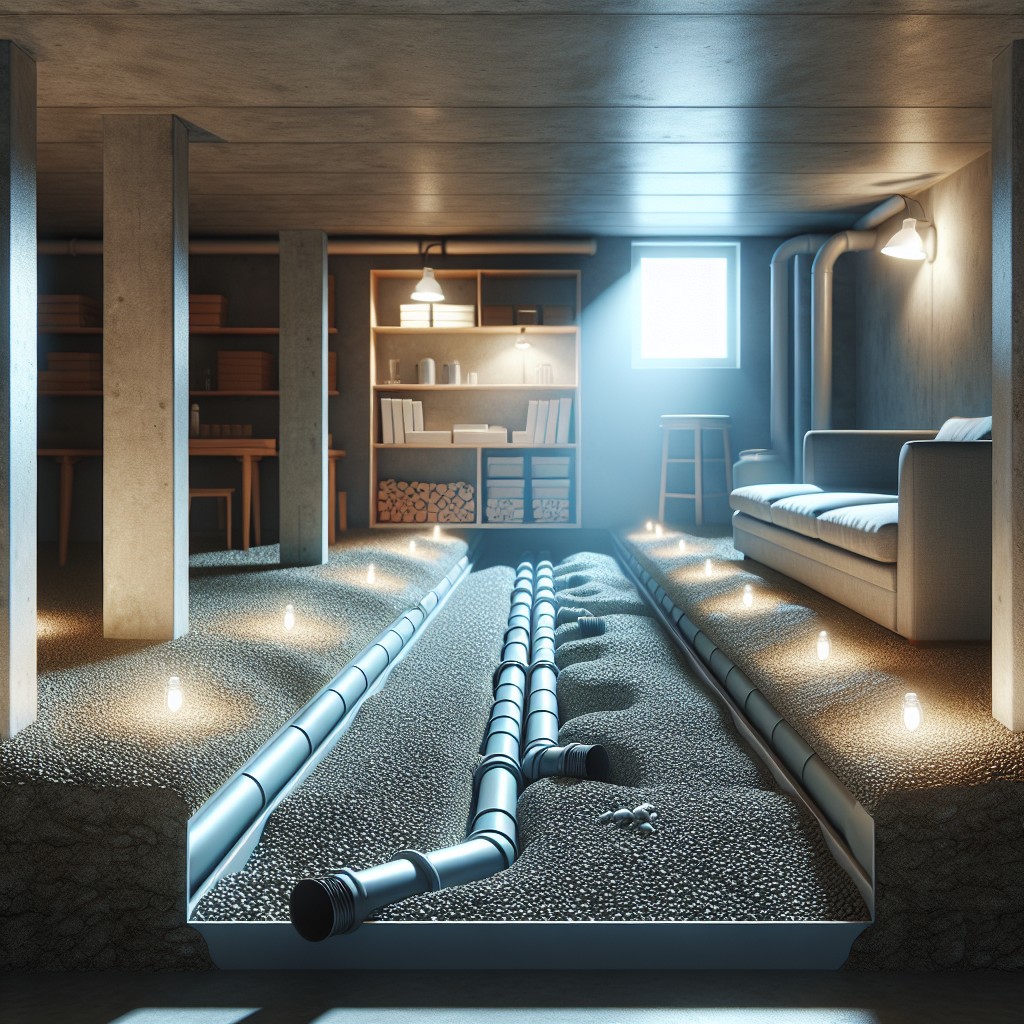
Interior French drains are especially effective in redirecting water from high-risk areas. Unlike their exterior counterparts, these systems are installed beneath the basement floor around the perimeter. Let’s dive right into how it functions.
Firstly, a trench is dug around the interior edges of the basement. Its depth and width usually depend on the severity of the water seepage issue. The next step sees the placement of a pipe within the trench. This pipe is ideally perforated to allow water seepage.
The water collected in the trench is then re-routed by the pipe to a sump pump, set up specifically for this purpose. A sump pump discharges the water to an area away from the foundation, thereby protecting your basement from potential moisture damage.
While the installation process might seem invasive, the reality is quite the contrary. The entire system gets concealed below the concrete floor after installation, causing minimal intrusion. Furthermore, interior French drains require relatively less maintenance, making them a cost-effective solution for the long run.
Remember that regular checks can ensure the system stays unclogged and operational. So, despite the initial upfront cost, interior French drains prove to be a wise investment for homes prone to basement water issues.
Eco-friendly Basement Waterproofing Techniques

Choosing eco-friendly methods for waterproofing your basement is not only beneficial for the environment but can also result in long-term cost savings. One viable technique is the use of a permeable concrete sealer, made from renewable resources. When applied, it allows trapped water vapor to escape, preventing dampness and sealer deterioration.
Another sustainable approach is the installation of a green roof or rain garden. These features collect and manage rainwater, reducing the amount that can potentially seep into your basement.
Additionally, sump pump systems with high efficiency, low energy motors are an effective and eco-conscious option. They drain collected water while minimizing energy consumption.
Replacing traditional insulation with eco-friendly alternatives like sheep’s wool or Icynene foam insulation can also contribute to a drier, and more energy-efficient basement. These materials are breathable, resisting moisture build-up and reducing the likelihood of mold growth.
Lastly, maintaining proper downspout extension ensures rainwater is directed away from your home, naturally keeping your basement dry. Opting for downspouts made from recycled metals or sustainable materials adds an extra layer of environmental responsibility.
Reinforcing Basement Walls With Carbon Fiber Strips
This method is popular due to its strength, resilience, and unobtrusiveness. Carbon fiber has a high tensile strength, meaning it can resist heavy loads without breaking. It’s perfect for preventing any further inward wall movement typically produced by external soil pressure.
Carbon fiber strips, which are rugged yet flexible, are epoxied onto your basement wall, creating an efficient and discreet support system. As it’s nearly invisible after installation, it allows for smooth painting and finishing to harmonize with your overall basement decor.
However, this method requires a clean, thoroughly prepared surface. The walls need to be free from mold, loose paint and efflorescence to ensure the epoxy bonds firmly. So, make sure to prepare the wall surface meticulously before the application.
Remember, reinforcing is a preventative measure. If your walls have already bowed or tilted, a structural engineer’s assessment is crucial, as they might recommend a more intensive solution. But using carbon fiber strips at an early stage can spare you a major repair down the line.
Maintenance Tips for Waterproofed Basements
It’s vital to ensure that the benefits of the waterproofing processes implemented are sustainable. Regular checks and maintenance can avert potential damage and keep the basement in top shape.
Firstly, keep tabs on any cracks or crevices, no matter how small. Over time, they can evolve into larger fissures causing water penetration. Regularly filling these spots with a waterproof sealant can prevent this development.
Secondly, consistent checks on installed pumps, gutters, and drainage systems are necessary. Make sure they are free of debris and functioning efficiently. Blocked systems can lead to water accumulation, nullifying your waterproofing efforts.
Finally, keep a constant check on the humidity levels, especially during the rainy and winter seasons. Using dehumidifiers can help maintain a balanced dampness level, preventing dampness and condensation from affecting your well-kept basement area.
Remember, maintaining a waterproofed basement is equally, if not more, important than the initial waterproofing process. Preventive caution is better than extensive repairs.
Role of Graded Soil in Preventing Water Seepage

Ensuring your property has a proper soil gradient is integral to basement waterproofing. Simply put, this means that the ground slopes away from your home’s foundation. Water naturally follows the path of least resistance, and with a correct gradient, it will flow away rather than towards your basement.
Four crucial points to consider regarding soil grading for water prevention include:
- An Ideal Soil Grade: Aim for a minimum slope of 6 inches over the first 10 feet from your home’s foundation. This should divert any surface water efficiently, reducing seepage possibilities.
- Soil Composition: Utilize dense soil composition, such as clay soil, to minimize water penetration. This type of soil tends to compact better and drain water slower than the sandy or silty ones.
- Retaining Walls: In case of a steep slope away from the house, consider building a retaining wall. These provide reinforcement, control runoff, and manage water flow, essentially protecting the basement.
- Regular Maintenance: Over time, natural conditions like rain or wind can compromise the effectiveness of the soil grade. Hence, regular landscape checks and necessary regrading help maintain optimum protection against seepage.
How to Waterproof Your Basement Stairs
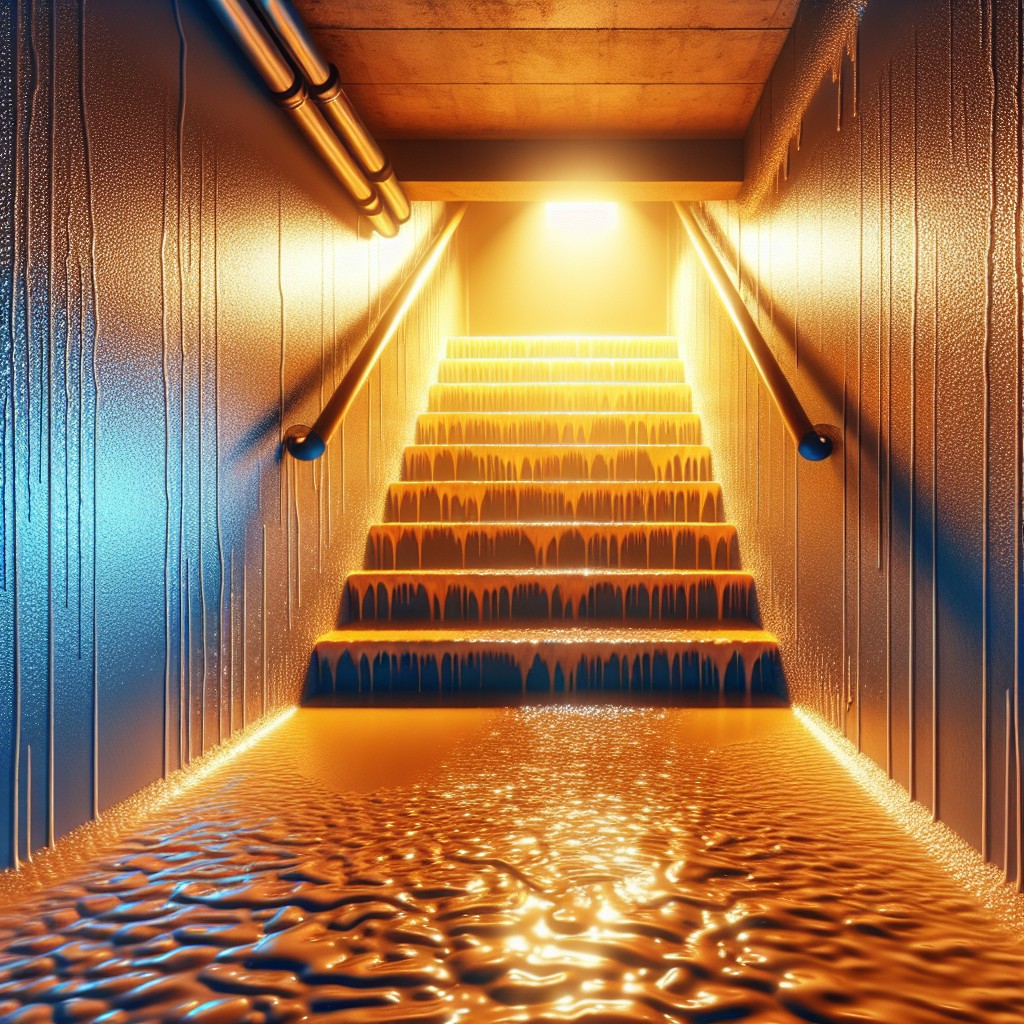
Firstly, know that your best bet lies in applying waterproof paint or sealant. Start by adequately preparing the stairs; sweep off any debris and clean them thoroughly.
Next, allow the area to dry before you apply any products. This step is crucial as the sealing product will not adhere properly on damp surfaces.
Now, apply a primer that is designed to work with waterproof paint. This stage ensures that the paint adheres better to the stairs, making it more effective.
After the primer is dry, it’s time to apply your waterproof paint. Use a standard roller to evenly distribute the paint across all areas of the stairs, paying utmost attention to each step’s corners and edges.
Lastly, remember to maintain a ventilated environment for drying. It may take a day or two for the paint to dry off completely, so it’s vital to be patient before use.
By following these stages, you reduce the chance of water seepage, protecting your basement stairs from potential wear and tear, and ensuring longevity.
Interior Vs Exterior Basement Waterproofing: Pros and Cons
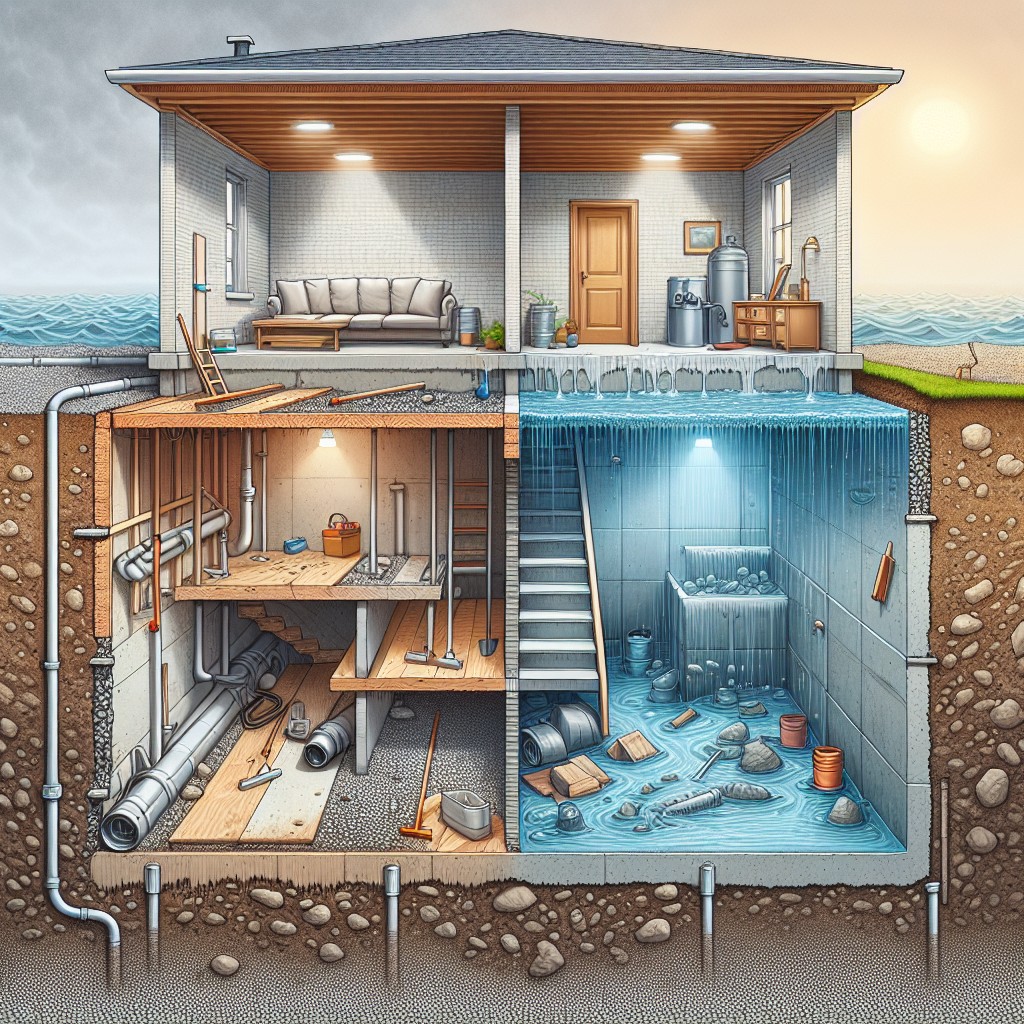
Both interior and exterior methods have their unique advantages and challenges.
With interior waterproofing, the focus is on managing water once it has entered your basement. Installations like sump pumps and interior drainage systems are commonly used. These measures are less invasive and usually more budget-friendly, making them a preferred choice for many homeowners. However, keep in mind they do not stop water from penetrating your basement walls, but rather manage it once it has seeped in.
Exterior waterproofing, on the other hand, prevents water from entering the basement in the first place. This entails greater work, such as excavation around the property, installation of drainage systems, and putting in place waterproof membranes along the exterior basement walls. While it is the ultimate barrier against basement water issues, it may be more expensive and disruptive due to the extensive work involved.
Balancing factors like cost, the extent of your water issues and the potential disruption can help you decide on the most suitable waterproofing option for your basement.
Effective Ways to Prevent Basement Mold After Waterproofing
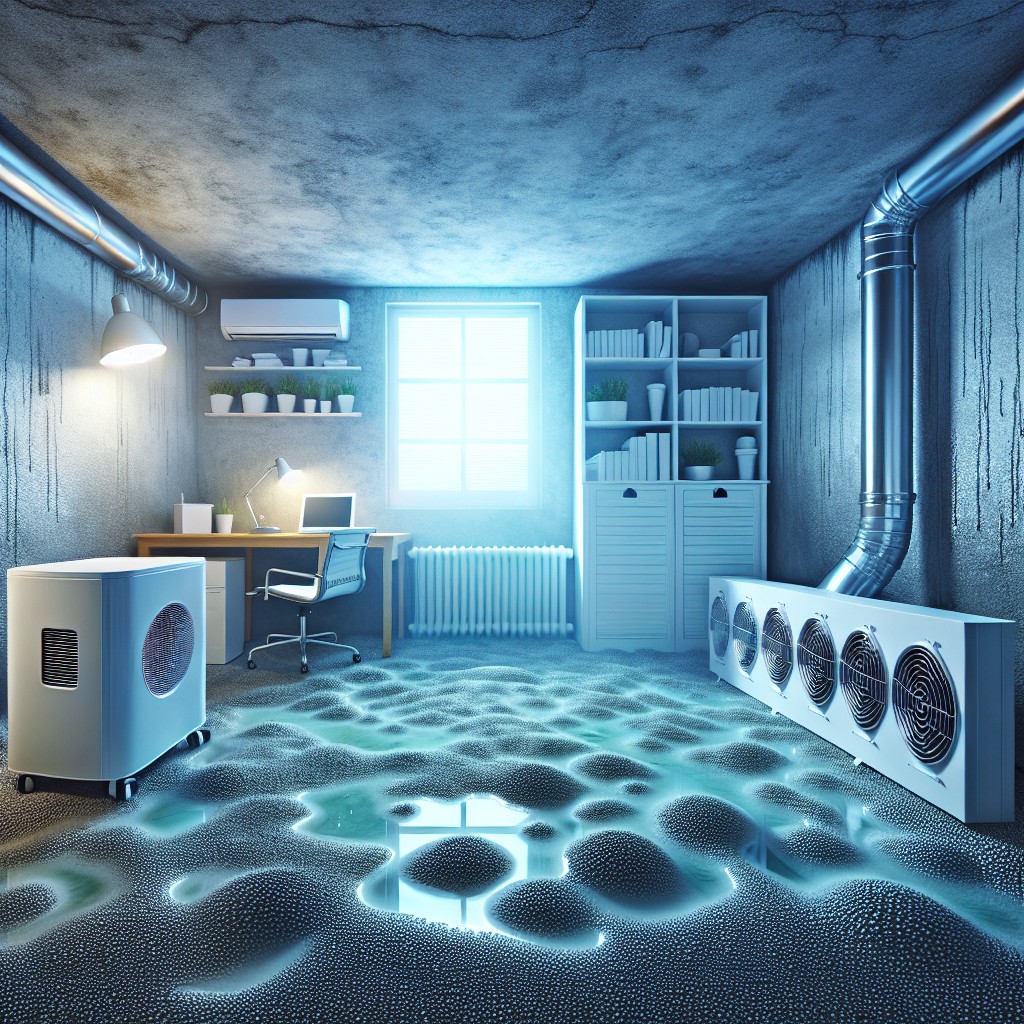
Managing moisture levels is your best defense against mold in a waterproofed basement. Lower humidity ensures mold spores can’t thrive and ensures indoor air quality.
1. Use Dehumidifiers: These devices manage air moisture levels, preventing mold. Maintaining humidity below 60% makes your basement inhospitable for mold growth.
2. Improve Ventilation: Poor airflow aids in mold development. Install fans or air vents for proper circulation, maintaining acceptable indoor humidity levels.
3. Regular Cleaning: Mold spores are everywhere, but they need organic materials to grow. Regularly clean carpets, wooden furniture, or any organic matter to keep the spores at bay.
4. Use Mold-Resistant Materials: If renovating your basement, opt for materials designed to resist mold. This includes inorganic wall panels and floor tiles.
5. Routine Inspections: Regularly check for leaks or standing water. Watch out for tell-tale signs of mold like musty odors or discoloration on walls and flooring.
Each method complements the others to enhance the overall effectiveness of your waterproofing efforts while keeping mold at bay. Remember, preventing mold is always easier than removing it.
Emergency Waterproofing Solutions for Basement Floods
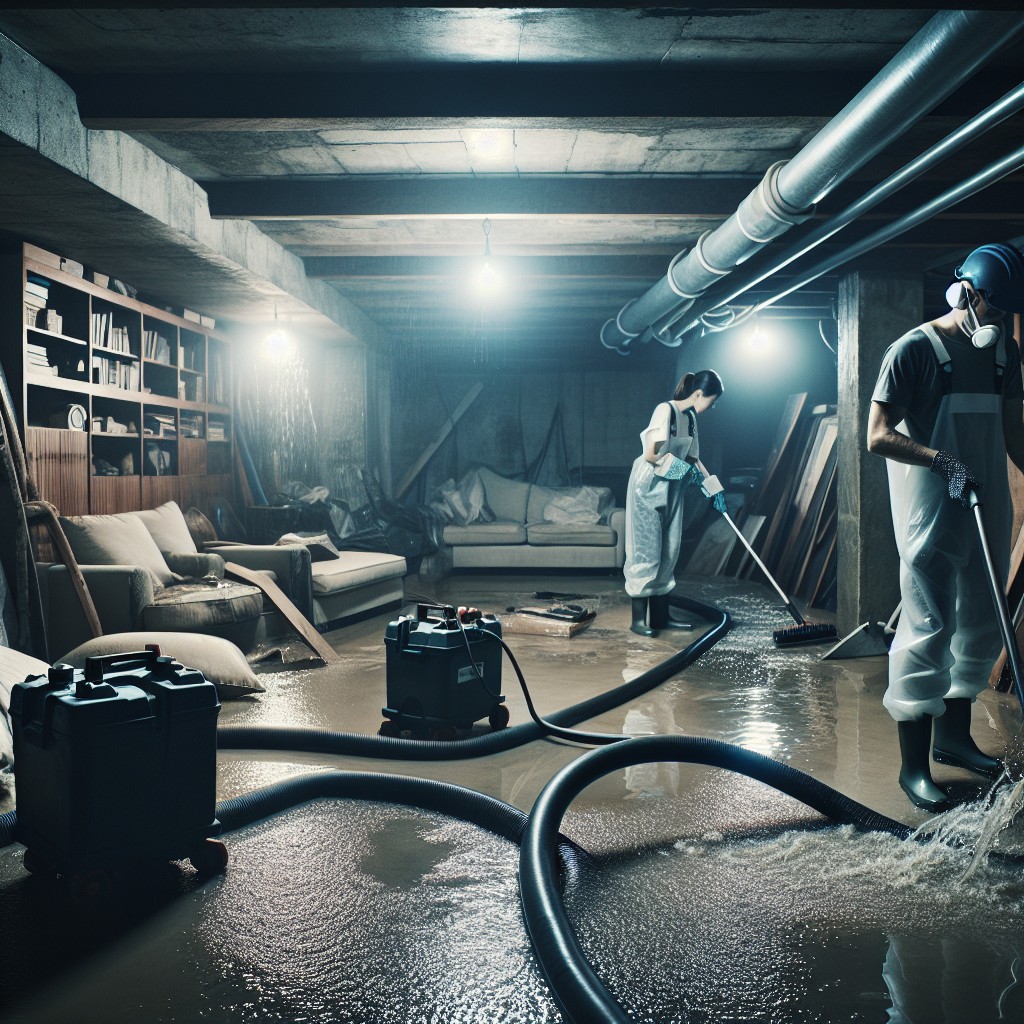
To deal with an unexpected basement flood, there are several immediate measures that can be undertaken to mitigate damage and protect your space.
First, prioritize safety and switch off any electrical connections to avoid water-based electrical accidents. Wear the appropriate protective gear and carefully remove standing water using a vacuum or a pump.
Once the water has been extracted, utilize a dehumidifier to complete the drying process and reduce moisture. This not only prevents further water damage but also inhibits mold growth.
Further, inspect the basement thoroughly for any cracks or seepage points. Temporary fixes such as hydraulic cement or sealant can work wonders, swiftly plugging leaks. Such quick measures can provide immediate relief until a more permanent solution is put in place.
Keep in mind that these are steps to manage an emergency flood situation and not permanent solutions. For comprehensive basement waterproofing, it’s crucial to adopt long-term methods like vapor barriers, landscape work, and installation of drainage systems.
Remember, prompt and strategic action can save your basement from catastrophic water damage.
Using Silicone Sealants for Basement Waterproofing
Silicone sealants create a watertight barrier for non-structural gaps and joints, which can be a significant source of water leakage into basements. They are an ideal choice due to their excellent adhesive properties, flexibility after curing, and resistance to harsh weather conditions.
For application, ensure the surface is clean, dry, and free from dust or loose particles, as these may affect the adhesion of the sealant. Apply the sealant in a continuous bead along the joint using a sealant gun, then smooth it off with a sealant spreader tool or fingertip, ensuring a clean, professional finish.
While most silicone sealants are waterproof straight away, it’s advisable to wait 24 hours for the sealant to cure fully before exposing it to water. If there’s a chance of freezing temperatures within this period, consider postponing the application to avoid freezing damage.
Furthermore, regular inspection of the sealant is crucial to ensure it remains in an optimal condition. Typically, silicone sealants have a lifespan of five to ten years. However, exposure to elements and varying temperature can cause it to crack or pull away from the surface, leading to potential leaks. Thus, if a sealant shows signs of aging or wear, it’s best to replace it promptly.
Remember, while silicone sealants are highly effective for sealing non-structural leaks, they are not a standalone solution for basement waterproofing. They work best in conjunction with other methods, serving as a valuable addition to a comprehensive waterproofing plan.
The Impact of Climate On Basement Waterproofing Techniques
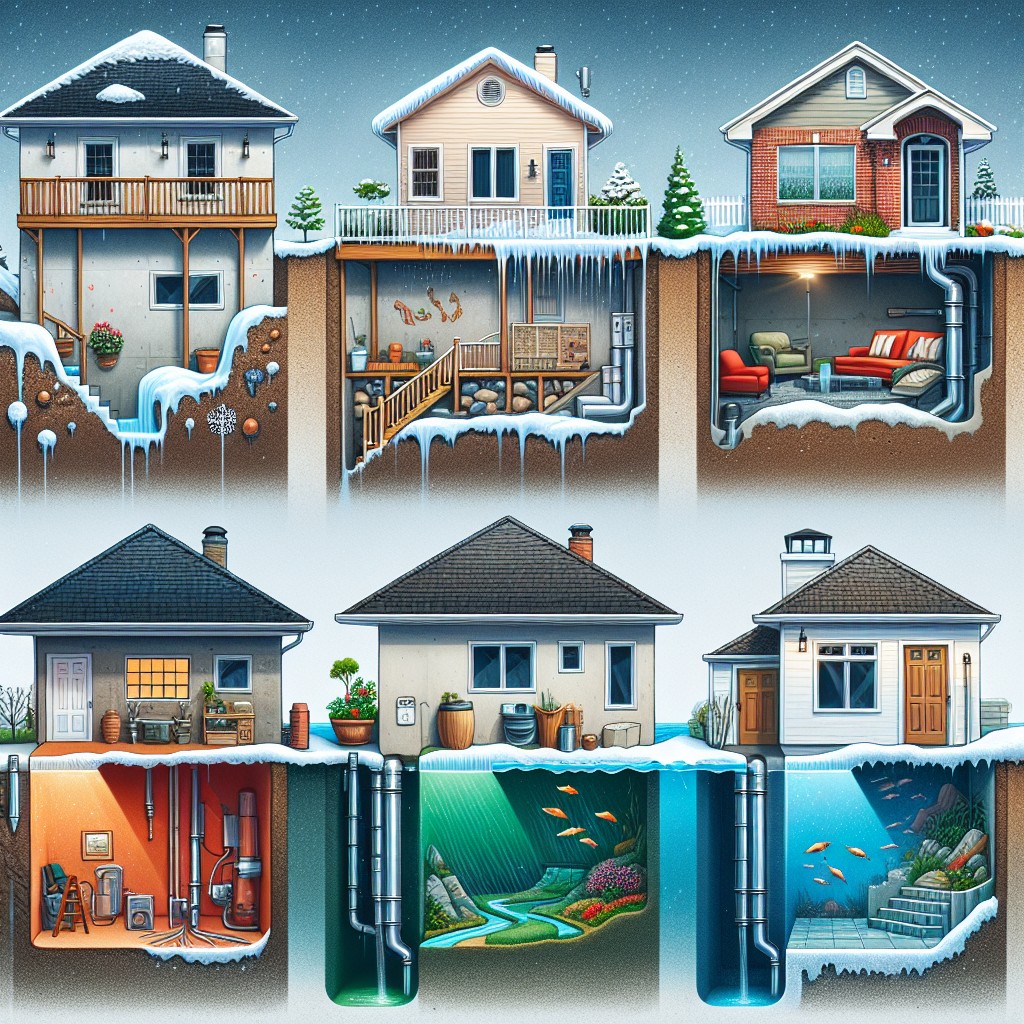
Cold, damp climates often require additional measures such as the use of dehumidifiers and insulation to keep the basement dry. Frozen ground can lead to buildup of water against foundation walls, which increases the risk of seepage.
In contrast, warmer climates pose different challenges. The elevated humidity levels can contribute to condensation on cool basement walls and floors, making it essential to ventilate and control the moisture levels.
Arid regions with very little rainfall might fare better in avoiding the direct inflow of water, but groundwater levels and soil type can pose unique challenges. Clay-heavy soil, for instance, expands and contracts, potentially creating pressure on the basement walls.
Hence, the choice of waterproofing techniques should take into account local weather patterns, the likelihood of extreme weather events, and underlying soil conditions to ensure long-lasting protection.
The Importance of Proper Insulation in Basement Waterproofing
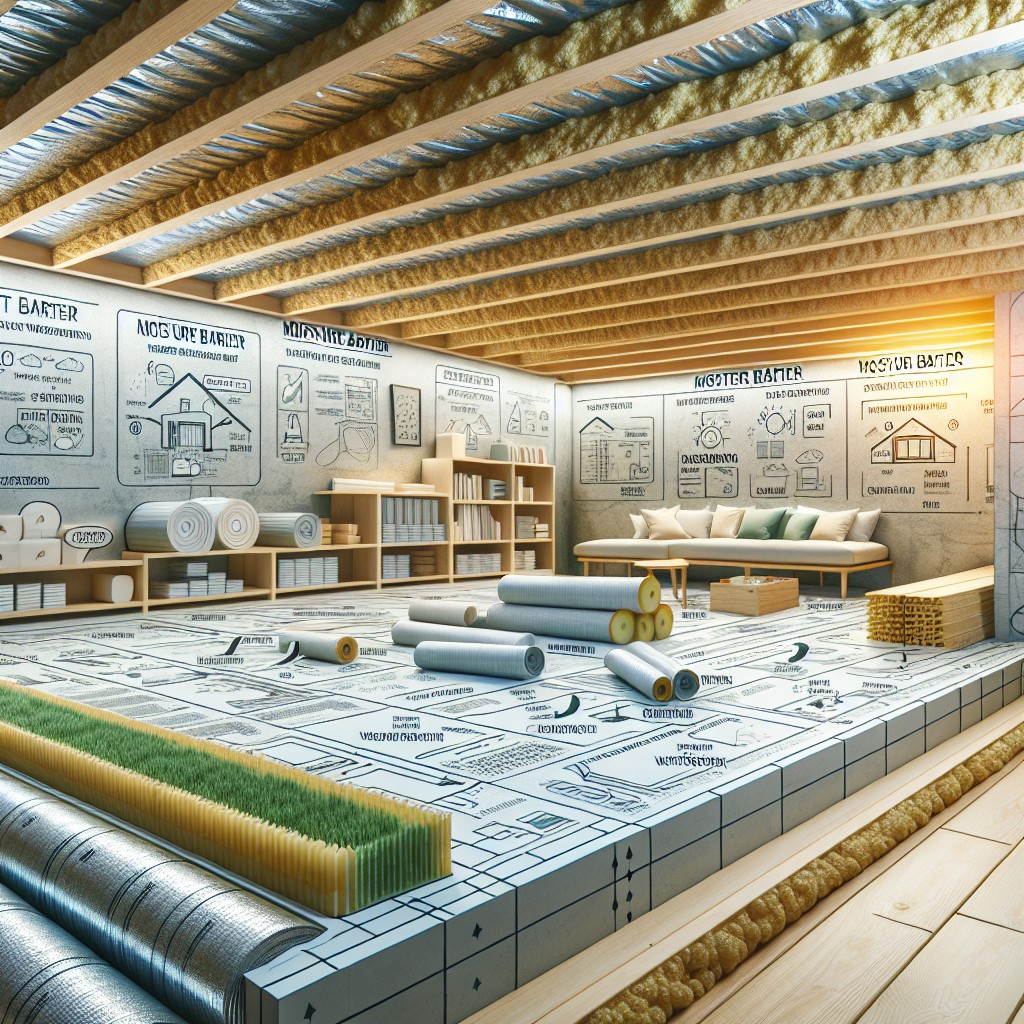
Ensuring your basement is adequately insulated is paramount in curbing moisture leakage problems. The dual role of insulation – energy efficiency and damp prevention – makes it a potent ally in your waterproofing pursuits.
1. Acts as a Barrier: Insulation material, when correctly installed, forms an efficient barrier between the home and the exterior, preventing moisture seepage.
2. Regulates Temperature: It also prevents a drastic temperature shift between the outside and inside of the basement walls. This equilibrium reduces condensation build-up, which often leads to dampness.
3. Reduces Energy Costs: Aside from moisture protection, a properly insulated basement promotes a more energy-efficient house as it helps minimize heat loss, particularly in cold weather.
4. Protects Building Materials: Dampness can compromise your home’s structural integrity over time. Insulation helps protect essential building material like wood against rot and mould.
To ensure effectiveness, choose insulation material suitable for the basement environment, such as spray foam or rigid foam board. An insulation professional can help assess the needs of your particular basement situation.
Now, let’s move on to other crucial aspects that can impact your basement’s waterproofing process.
The Role of Gutters and Downspouts in Basement Waterproofing

Keeping your gutters clean and directing your downspouts away from your home’s foundation is crucial in preventing basement water issues. Blocked gutters can overflow, leading to water pooling around your home’s base, which potentially seeps into the basement. Maintaining a clear pathway for rainwater can significantly impact the overall health of your basement.
1. SCHEDULE REGULAR MAINTENANCE: Clean your gutters routinely. Falling leaves, debris, or nests can block the ways, causing a buildup of water, leading to overflow.
2. PROPER ORIENTATION: Ideally, downspouts should be oriented to direct water at least six feet away from your home. This distance prevents seepage into your basement walls.
3. CHECK FOR LEAKS: Regularly inspect your downspouts for cracks or leaks. A faulty downspout might lead to unwelcome moisture and water damage in your basement.
4. USE EXTENSIONS: Consider adding a downspout extension to guide water further from your home, especially if your yard slopes towards the house.
Remember, a well-maintained gutter and downspout system is not only critical for basement waterproofing but also for preserving your home’s structural integrity.
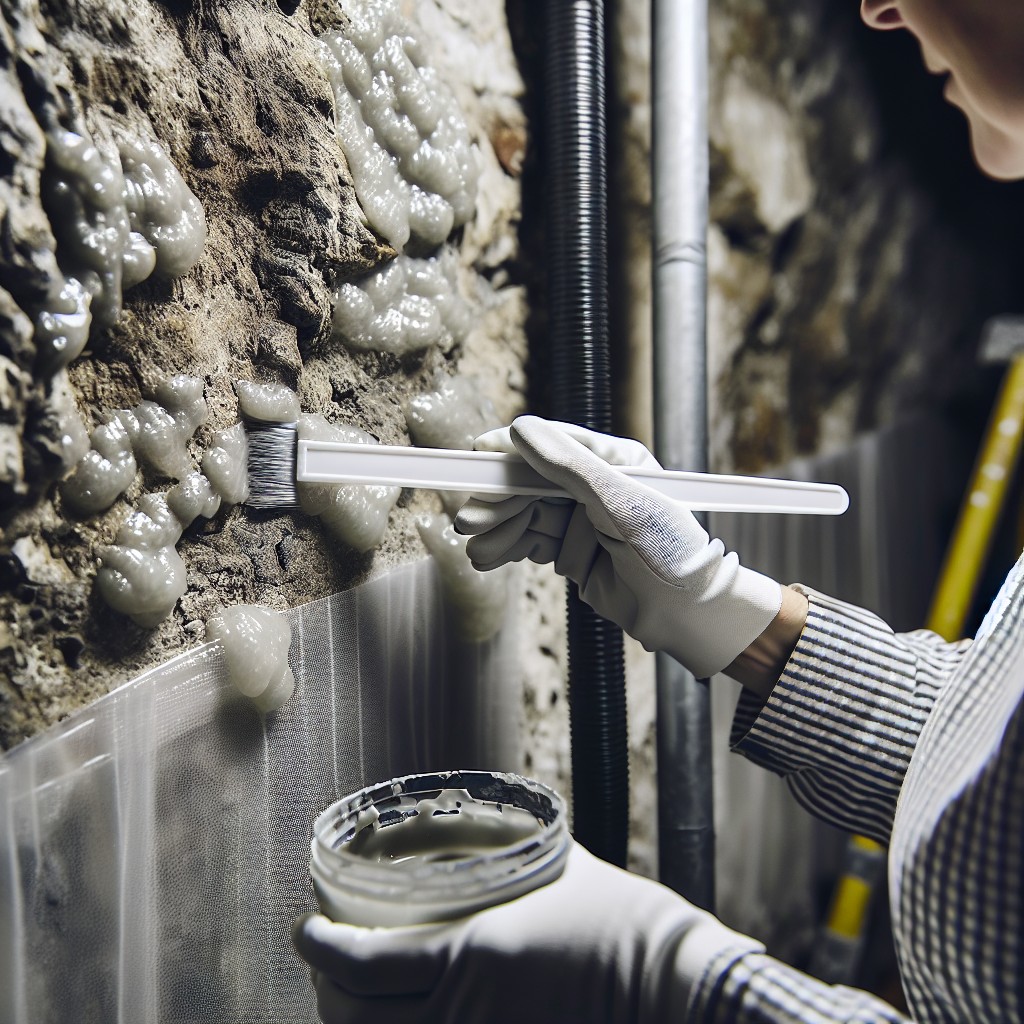
Using Osmotic Concrete Sealers: A Comprehensive Guide
Osmotic concrete sealers work by penetrating the surface of the concrete and reacting chemically with it to form a water-resistant barrier. This technique is especially useful for basements as they are commonly subjected to excess moisture from the ground. Here is how to effectively utilize them.
1. Surface Preparation: Ensure the concrete surface is as clean as possible. Dirt, oil, or existing paint can hinder the capability of the sealer to penetrate effectively.
2. Choosing Your Sealer: Consider factors like your budget, the type of concrete to be sealed, and your region’s weather conditions when choosing your sealer. Look for products that specifically state they are osmotic.
3. Sealer Application: Apply with a roller or spray equipment. It’s significant to cover all the surface, ensuring there are no missed spots.
4. Drying Time: Allow adequate drying time. Rushing this process could result in an inefficient or incomplete seal.
5. Maintenance: Regular inspection of the sealed surface is vital to detect any early signs of wear and tear.
Remember, professional assistance may be necessary for larger areas or complex situations to ensure the job is done right, maximizing the benefits of your basement’s waterproofing efforts.
Exploring Basement Waterproofing Solutions for Older Buildings
Older buildings may have unique challenges due to the longevity of their structure and the dated materials used, requiring versatile solutions for basement waterproofing. Three common solutions can be considered:
1. Cementitious Waterproofing: This method is cost-effective and easy to apply, often a go-to option for older buildings. It involves the mixing of cement-based compound with other bonding agents, which provides a rigid, waterproof seal when applied to basement walls.
2. Bituminous or Asphalt Coating: Primarily used for wet environments, this coating offers excellent water resistance. Yet, it’s vital to note it’s not suited for exposure to sunlight, perfectly suitable for indoor use like old basements.
3. Sodium Bentonite Clay: An eco-friendly option, it involves forming a barrier around the exterior of the basement with clay, preventing water seepage. This method, however, requires professional handling due to its complex installation process.
Remember, every old building has its own story and specific needs. It’s essential to conduct a careful analysis of your basement’s specific condition before choosing how to waterproof it. Professional advice is your best bet to protect the integrity of your older building and preserve it for many more years to come.
Choosing the Right Waterproof Paint for Your Basement Walls
Selecting an appropriate waterproof paint can significantly enhance the longevity of your basement walls, ensuring they remain resilient against moisture damage. There are few critical factors to consider for this process:
1. Type of Paint: Opt for specialized paint labeled as waterproof or masonry. These paints are formulated to minimize moisture intrusion, resist mold growth, and endure harsh conditions of a basement environment.
2. Color Choice: Light shades not only make your basement look spacious but also help in detecting water stains or mold growth. Neutral tones like beige or light gray are usually preferred for their dual functionality.
3. Surface Preparation: For optimum results, the surface should be clean, dry, and free from peeling or flaking. Using a wire brush can help remove loose paint, followed by a thorough cleaning with a damp cloth.
4. Multiple Coats: Applying multiple coats of paint can enhance its waterproofing properties. A minimum of two coats is generally recommended to ensure comprehensive coverage and maximum defense against water infiltration.
With these points in mind, you’re on your way to selecting a waterproof paint that not only safeguards your basement walls but also adds aesthetic appeal in the process.
Ideas Elsewhere
- https://www.brilliantbasementwaterproofing.com/
- https://www.hgtv.com/design/remodel/interior-remodel/basement-waterproofing-options
- https://everdryindy.com/3-brilliant-basement-finishing-ideas-in-indianapolis-in-46201-to-make-your-downstairs-renovation-a-success/
- https://ohiostatewaterproofing.com/finished-basement-ideas/
- https://www.drylok.com/blog/everything-you-need-to-know-about-waterproofing-basement-walls
- https://crawlspacebrothers.com/expert-vs-diy-basement-waterproofing-guide/


