Last updated on
Learn how to create your own stunning kitchen cabinets with step-by-step instructions.
Yearning for a kitchen facelift but put off by the cost of new cabinets? Why not embrace your inner craftsman (or craftswoman) and build them yourself? This guide walks you through every step, from cutting the carcass pieces to adding those final, satisfying finishing touches. Grab your tools and sense of humor, because DIY-ing your kitchen cabinets is about to become your latest (and probably messiest) adventure! Let’s turn that Pinterest dream kitchen into a reality.
Key takeaways:
- Customize depth for functionality based on needs.
- Label cabinet pieces to avoid confusion during assembly.
- Sand edges for smooth finish and professional look.
- Attach doors, drawers, and shelves for functionality.
- Level cabinets carefully during installation for a seamless look.
What's Inside
Determine and Cut Cabinet Depth
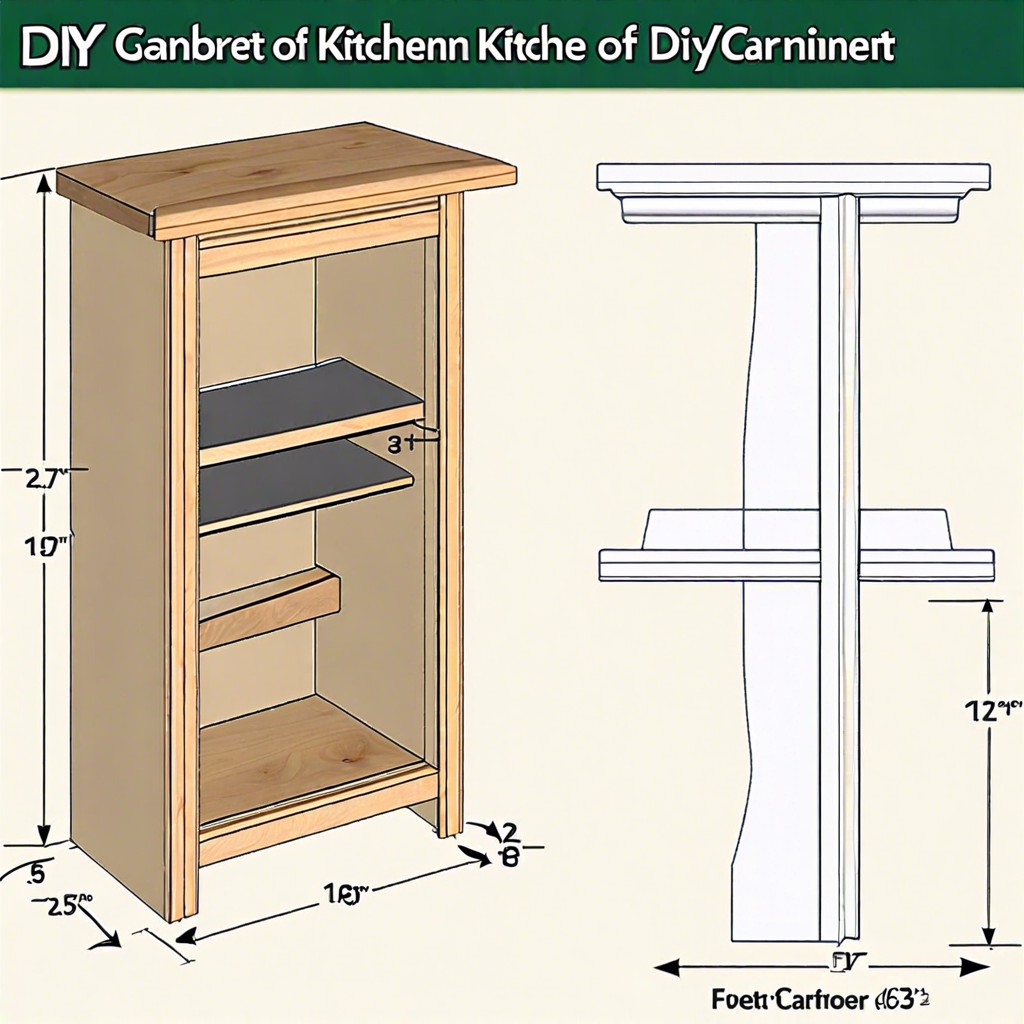
Start by measuring the available space in your kitchen. Standard base cabinets are usually 24 inches deep, but you can adjust this based on your needs and kitchen layout.
Grab a good quality plywood sheet and a saw. Begin by cutting the plywood to your desired depth. Double-check these measurements because nothing says “oops” like a cabinet that sticks out like a sore thumb.
Want to add some customization? Consider the depth of tall items like large pots or small kitchen appliances you’ll be storing. A few extra inches can make a world of difference in functionality.
If you’re keen on maximizing storage without making the kitchen feel cramped, consult the “golden triangle” rule – balance the distances between your stove, sink, and refrigerator. Keeping this in mind will help make meal prep smoother.
Also, if you’re vertically blessed (a.k.a. tall), consider adding an extra inch or two to the depth. Short folks, maybe stick to the standard unless you’re fond of retrieving things on tip-toe.
Consider ventilation, especially for cabinets near heat sources. You don’t want your newly-made cabinets warping from excess heat.
Now, give those measurements a final glance. Nothing like the satisfaction of knowing everything’s spot-on before you start cutting.
Cut Base Kitchen Cabinet Carcass Pieces
First things first, grab your measuring tape and ensure your dimensions are spot on. Precision is key here, folks. You don’t want lopsided cabinets unless you’re aiming for a modern art installation.
Next, cut your plywood, MDF, or hardwood into the side panels, bottom panel, and any additional dividers. Keep your saw blade sharp—it’s the difference between a splinter and a smooth edge.
Use a straightedge to guide your cuts. Accuracy here ensures a snug fit later, making assembly a breeze.
Always double-check measurements before making a cut. Remember, measure twice, cut once. Or you might end up with a collection of very stylish firewood.
Consider labeling each piece. It’s easy to mix up parts, and this step will save you a headache later.
Dust off each piece after cutting. It helps with any subsequent steps that involve glue or edge banding. Plus, no one likes sawdust in strange places.
Cut Out Toe Kicks On Base Cabinets
Now, let’s tackle those toe kicks. They might sound like a dance move, but they’re essential for comfort while standing at the counter.
First, measure the height and depth of the area you want to cut out. Typical toe kicks are about 4 inches high and 3 inches deep. Grab a pencil and mark the cut lines on the base cabinet sides accordingly.
Next, a jigsaw is your best friend here. Carefully cut along the lines you’ve marked to create the indents.
Remember, accuracy counts. Uneven toe kicks are not a good look, unless you’re aiming for a wobbly kitchen circus theme.
Finally, sand the edges to smooth out any splinters. This creates a professional finish and ensures you won’t be pricking your toes while grabbing a late-night snack.
See, it’s just like giving your cabinet a comfy pair of shoes.
Apply Edge Banding
After you have your cabinet pieces cut, it’s time to give those raw edges a little TLC. Edge banding is what gives your cabinets that crisp, professional look, hiding the unsightly plywood or MDF edges. Think of it as the trim on a fancy hat—it just makes everything look finished and polished.
First up, get your iron ready. Yes, you read that correctly, your clothing iron is about to moonlight as a DIY tool. Make sure it’s on a medium heat setting. Grab your edge banding tape—comes in rolls, easy-peasy.
With your raw edge facing up, place the tape on top and slowly run your iron over it. Go at a steady pace to ensure the adhesive melts properly and sticks. Don’t rush it; you’re not racing Usain Bolt here.
Once the edge banding is glued down, let it cool. Now, grab a sharp utility knife or a flush trim router to trim any excess tape hanging over the sides. If you’re going the utility knife route, follow up with a sanding block for a smooth finish. Voilà, your edges are now prim and proper.
Just remember: patience and a steady hand will save you from a wonky-looking cabinet edge. And maybe don’t use your grandma’s antique iron for this one. Happy banding!
Assemble the Base Kitchen Cabinet Boxes
Once you’ve got everything cut to size and prepped, it’s assembly time. Think of this as adult LEGO. Gather your pieces, your screws, and maybe a cup of coffee.
First, let’s start with the sides. Grab those panels, and ensure you’re facing the good side out. You don’t want to end up staring at the rough edges for years to come. Use wood glue along the edges where they meet, because why not add some extra stick to it?
Next, the bottom panel slides right in. Make sure it’s flush with the sides. Double-check with a carpenter square to keep everything… well, square. Feels fancy using a square, doesn’t it?
Now, go ahead and secure the back panel. Make sure you pre-drill those holes to prevent any wood from splitting. You wouldn’t want to get this far only to hear that dreaded crack sound.
Attach the front face frame last. It’s the cherry on top and will hide any minor sins of mis-measured cuts from the assembly. Small gaps are fine here – your guests don’t bring microscopes.
Finally, a quick tip: Clamp everything as you screw it together. Your cabinets will thank you by staying solid and not wobbling like a table at a cheap diner.
Add Backs to DIY Cabinets
Okay, you’ve got your cabinet boxes assembled, now it’s time to add the backs. First, measure precisely. Seriously, channel your inner perfectionist—measure twice, cut once.
Use 1/4-inch plywood for the backs. It’s sturdy yet lightweight. Cut the plywood to size based on your measurements.
Attach the backs using wood glue for extra strength, then secure them with small finishing nails. Space out the nails evenly to avoid uneven pressure.
Don’t forget to check that everything is square. A wonky cabinet is like a wobbly table—super annoying.
And there you have it. Look at you, practically a cabinet-making maestro!
Add Doors, Drawers, Shelves to Cabinets
Now comes the fun part—giving your cabinets some functionality and style!
First, grab those pre-cut cabinet doors. If you’re like most of us, this is the part where you get to feel a bit like Bob Vila. Align them perfectly and use a drill to attach hinges. Trusty ol’ screws should do the trick.
Next up, drawers. Slide rails are your best friends here. Mount the rails on both the cabinet frame and the drawer sides. Slide those beauties in; they should glide like butter.
Shelves are a breeze. Just install adjustable shelf supports at your desired heights. Pop in the shelves and voilà, instant storage heaven.
Remember, each piece you add is like putting a piece in a puzzle—only this puzzle rewards you with a custom kitchen!
Install DIY Base Cabinets
Start by marking a level line on your wall where the tops of your cabinets will sit. This ensures everything stays even. Grab a friend or a very sturdy cat to hold the cabinets in place while you do the magic.
Install the corner cabinet first. Trust me, it’s like the anchor of a soccer team – everything else plays off it. Use clamps to temporarily hold neighboring cabinets in place as you line them up. Thank goodness for clamps, right?
Use shims to adjust the cabinets to the perfect height and level them out. No wobbly cabinets here, folks. Secure the cabinets to studs in the wall using screws. Make sure the screws are long enough to go through the cabinet backs and securely into the studs but not so long that they peek into the next room.
Double-check everything is level and plumb. Adjust as needed, because nobody wants to see a lopsided soufflé.
Assemble Upper Kitchen Cabinet Boxes
Grab your wood glue and trusty drill, it’s time to transform those raw materials into fabulous upper cabinet boxes!
First, check all your pre-cut pieces. Ensure the edges are clean before you start assembling. Nothing ruins a good project like a splintered board.
Next up, lay out your side panels with the top and bottom pieces. Apply a thick line of wood glue along the edges where they’ll meet. Think of it as the peanut butter in your sandwich—essential and tasty (well, maybe not tasty here, but you get the idea).
Clamp your pieces together to keep them steady while you drill. Use clamps as your extra pair of hands; they’ll hold everything in place perfectly. Drill pilot holes before screwing the pieces together to prevent any wood from splitting.
For the back panel, slide it into place within the groove you pre-cut or created using your router. Secure it with brad nails or screws. It’s the backbone supporting all your fancy dinnerware.
Reinforce all joints with corner brackets for added stability, especially if you plan to store heavy items.
Quick tip: Number your pieces before assembly. It keeps everything organized and reduces the risk of putting something upside down. Trust me, nobody loves a wonky cabinet, except maybe Salvador Dalí.
Once assembled, let the glue set and the cabinet dry before moving on to install shelves and doors. Patience is key, but think of it as character-building—in both you and your cabinets!
Finish DIY Kitchen Cabinets
As you near the end of your cabinet-building adventure, it’s time to give those freshly-crafted pieces a dazzling finish. Think of it as adding a cherry on top of a sundae. Here’s how to get it right:
First, sand everything. Start with a medium grit sandpaper, then move to a finer grit. This smooths out any rough spots and prepares your wood for a flawless finish.
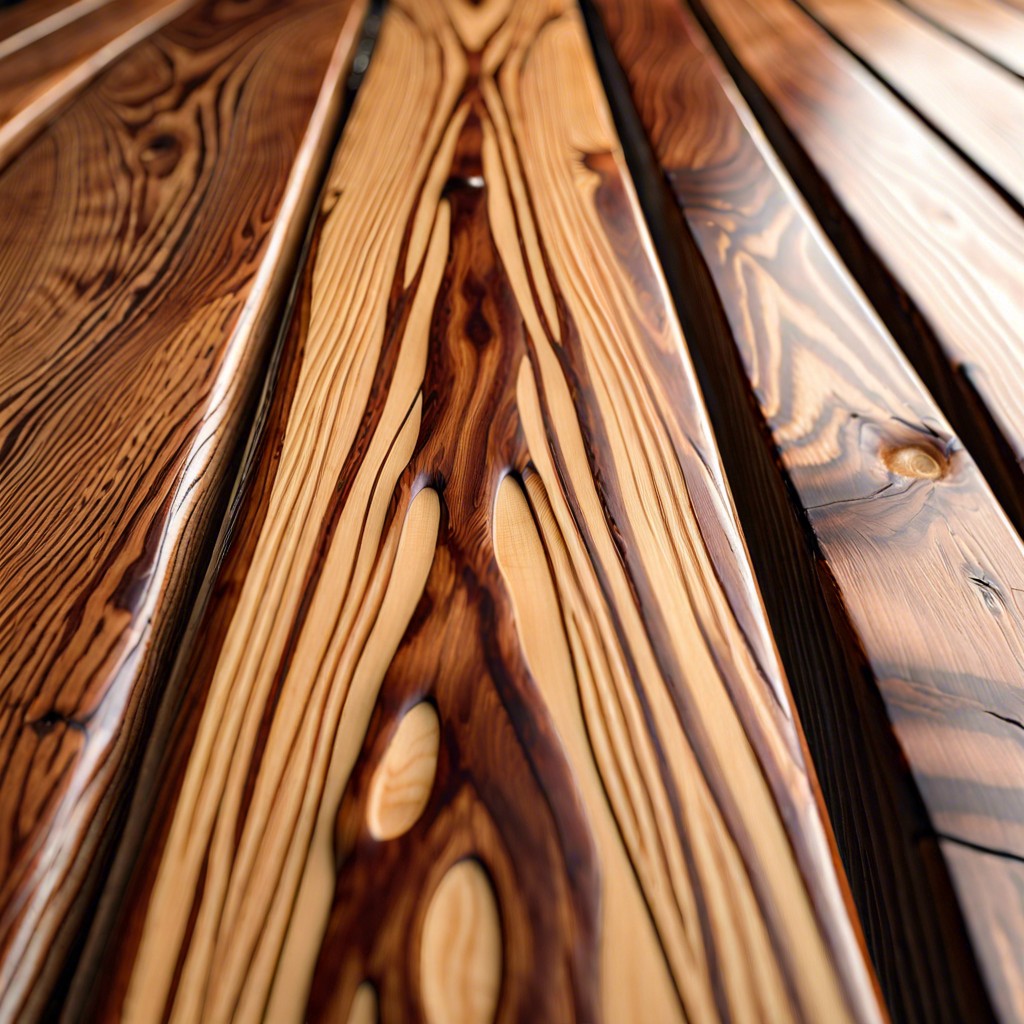
Choose your weapon. Paint, stain, or varnish, the choice is yours. Paint can provide a colorful twist or a sleek, classic look. Stain highlights the natural beauty of the wood grain, while varnish adds a protective layer with a subtle sheen.
Apply primer if you’re painting. It helps the paint adhere better and look smoother. No one likes a blotchy cabinet.
When applying stain, go with the grain. Following the natural lines of the wood ensures an even application and enhances the natural aesthetics.
If you opt for varnish, use thin, even coats. Let each layer dry completely before sanding lightly and adding another coat. Patience here will pay off with a durable, beautiful finish.
Finally, hardware time. Attach handles, knobs, and hinges. This not only makes your cabinets functional but adds a bit of bling.
Step back and admire your handiwork. Those cabinets are not just functional; they are your masterpiece.

