Last updated on
Repairing a water pump is a crucial task that ensures the longevity and efficient operation of many mechanical systems, from household appliances to large industrial machines. This guide provides you with detailed steps and practical tips to handle water pump malfunctions effectively, drawing on real-life examples and a clear, engaging narrative.
What's Inside
Understanding the Basics of Water Pump Operation
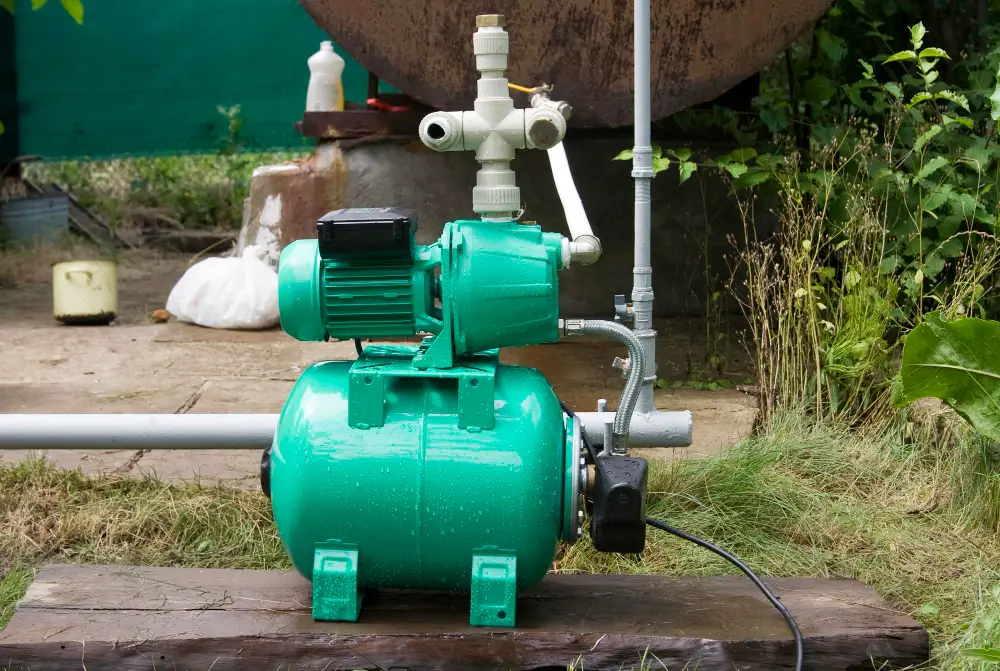
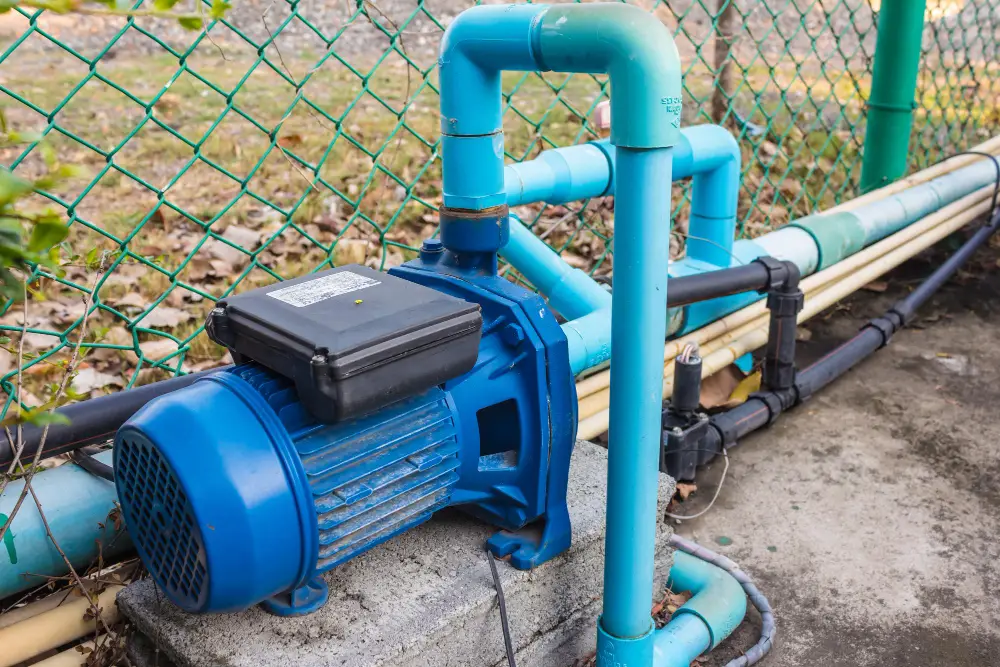
Before delving into the repair process, it’s essential to grasp how water pumps function. These devices are engineered to move water through various systems, using a motor to generate the necessary hydraulic pressure.
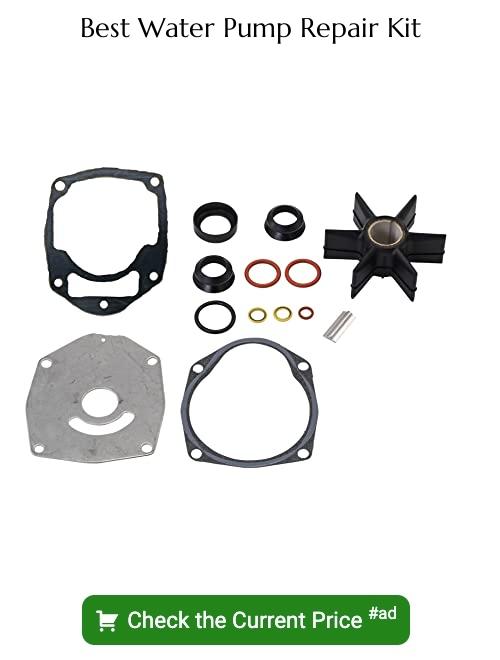
For more detailed parts and specific repair kits, consider visiting Repair Water Pump, where a variety of resources are available to assist you. Common issues that might require attention include leaks, noise, and a decrease in pumping efficiency, which can stem from various causes such as seal wear, impeller damage, or motor failures.
Identifying Common Water Pump Problems
The first step in effective water pump repair is accurate problem identification. Listen for unusual noises or look for water leakage, which are often the first indicators of an issue. Decreased water pressure or overheating can also signify that your pump needs a closer look. Each symptom can point to different underlying issues, requiring specific solutions.
Step-by-step Repair Guide
Inspecting the Pump
Start by inspecting the water pump visually. Check for any signs of physical damage such as cracks on the pump housing or wear on the impeller blades. It’s also wise to inspect the seals and gaskets for any potential leaks which can lead to significant efficiency losses.
Disassembling the Pump
Once you’ve identified potential external issues, the next step is to disassemble the pump. This process typically involves removing the housing to access the impeller and the seals. Be sure to keep track of all components and their respective positions for a smooth reassembly process.
Replacing Faulty Components
Often, issues arise due to worn-out or broken components. Replace any defective parts, such as the impeller, shaft seals, or bearings. This is a critical step to restore the pump’s functionality. Make sure you use compatible parts to avoid future problems and potential incompatibilities.
Reassembling and Testing
After all faulty components have been replaced, reassemble the water pump carefully, ensuring all parts are snug and secure. Then, perform a test run to check if the pump operates smoothly without leaks or noises. Adjustments might be necessary if any new issues are observed during this test.
Preventive Maintenance Tips
To avoid frequent repairs, regular maintenance is essential. Lubricate moving parts periodically, check for corrosion and replace worn parts before they cause breakdowns. Setting up a maintenance schedule can help extend the life of your pump significantly.
The Takeaway
Repairing a water pump can seem daunting, but with the right knowledge and tools, it is a manageable task. By understanding the common issues and following these detailed steps, you can ensure that your water pump remains in top condition, saving you time and money in the long run.
By incorporating these steps and maintenance tips, you will not only enhance the performance of your water pump but also improve its longevity and reliability. This hands-on approach not only saves costs in the long run but also gives you a profound understanding of the mechanics behind water pump operation.