Last updated on
Discover the secure process of attaching a kitchen island to the floor, ensuring stability and functionality in your culinary space.
Are you planning to renovate your kitchen and considering adding a kitchen island? A kitchen island is not only a functional addition but also adds aesthetic value to your space. However, have you ever wondered how a kitchen island is attached to the floor? It might seem like an easy task, but it requires proper planning and execution.
In this article, we will discuss the different ways a kitchen island can be attached to the floor and some essential things you need to know before making any decisions. So grab your coffee and let’s dive in!
Key takeaways:
- Adhesive, brackets, or drilling can attach a kitchen island.
- Consider island type, weight, and flooring for attachment method.
- Anchoring prevents instability, damage, and accidents.
- Plan island placement, check weight, and consider maintenance needs.
- Common attachment methods include adhesive, brackets, and bolts.
What's Inside
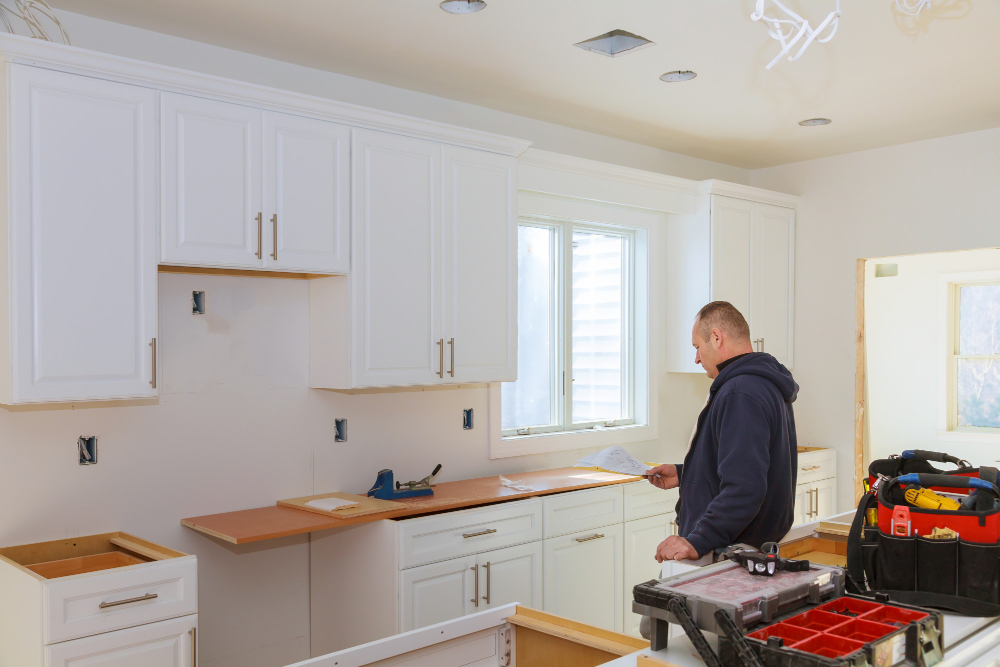
Kitchen Island Overview

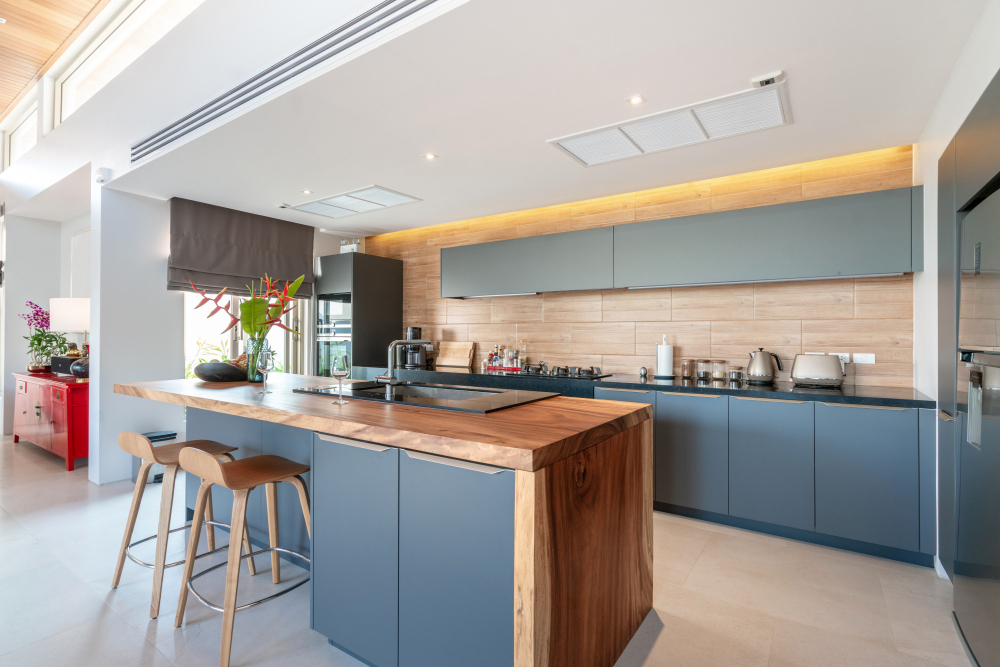
A kitchen island is a freestanding piece of furniture that sits in the center of your kitchen. It can serve multiple purposes, such as providing extra counter space for food preparation, storage for utensils and appliances, or even a seating area for casual dining.
Kitchen islands come in various shapes and sizes to fit any kitchen layout or design style.
When it comes to attaching your island to the floor, there are several factors you need to consider before making any decisions. The type of flooring you have will determine which attachment method is best suited for your needs.
The weight and size of your island will also play a significant role in determining how it should be anchored down.
Types of Kitchen Islands

The type of island you choose will depend on your needs and preferences. Some popular options include stationary, portable, custom-built or prefabricated islands.
Stationary Islands: These are permanent fixtures that cannot be moved around easily. They offer more stability and can be customized to fit your space perfectly.
Portable Islands: As the name suggests, these islands can be moved around as needed. They come with wheels or casters for easy mobility and storage when not in use.
Custom-Built Islands: If you have a specific design in mind that is not readily available on the market, then a custom-built island might be an excellent option for you. You get to choose every aspect of its design from materials used down to its size and shape.
Prefabricated Island: Prefab kitchen islands come pre-made with standard sizes but still offer some customization options such as finishes like granite countertops or wood veneer cabinets.
Why Kitchen Island Needs to Be Anchored to the Floor
However, it’s essential to anchor the island securely to the floor. Without proper anchoring, your kitchen island can become unstable and wobbly over time.
Imagine preparing dinner on an unsteady surface – not only is it frustrating but also dangerous.
Anchoring your kitchen island ensures that it stays in place while you work on it or when someone leans against its edge accidentally. It also prevents damage caused by movement or vibrations from heavy appliances like mixers or blenders placed on top of the countertop.
Moreover, if you have children running around in your home regularly, securing your kitchen island becomes even more critical as they may climb onto the countertop causing instability leading to accidents.
What to Consider Before Attaching Your Kitchen Island

First and foremost, you should ensure that the placement of your kitchen island is functional and practical. Consider how it will affect traffic flow in your kitchen space and whether it will interfere with other appliances or cabinets.
Another crucial factor to consider is the weight of your kitchen island. Depending on its size, material used for construction, and additional features such as a sink or cooktops installed on top; it can be quite heavy.
Therefore, before attaching it to the floor surface permanently, make sure that both surfaces can support its weight without causing any damage.
Think about future maintenance needs when choosing an attachment method for your kitchen island since some methods may require more effort than others when cleaning around them.
Finally yet importantly – check local building codes regarding anchoring requirements in case they have specific regulations concerning this matter.
Floor Attachment Options

The most common methods include using adhesive and caulk, installing brackets or drilling and securing bolts.
Using adhesive and caulk is an easy way of attaching your kitchen island to the floor without any visible hardware. This method works best for lightweight islands with no cabinets or drawers.
Installing brackets is another popular option that provides additional support for heavier islands with cabinets or drawers. Brackets come in different sizes, shapes, materials such as steel or aluminum.
Drilling and securing bolts provide maximum stability but require more effort during installation than other methods mentioned above. It involves drilling holes into both the floor surface and bottom of your kitchen island before inserting bolts through them.
Preparing the Floor Surface

The first step is to ensure that the floor where you intend to attach your island is clean and free of debris. Sweep or vacuum any dirt, dust, or particles from the area.
Next, check if there are any bumps or uneven spots on the floor surface. If so, use a leveling compound like self-leveling concrete mixtures available at hardware stores.
Pour this mixture over uneven areas and spread it evenly with a trowel until level.
If you have hardwood floors in your kitchen space and plan on drilling into them for attachment purposes – be sure not only that they’re level but also consider using wood filler before drilling holes as this will help prevent splintering around drilled holes.
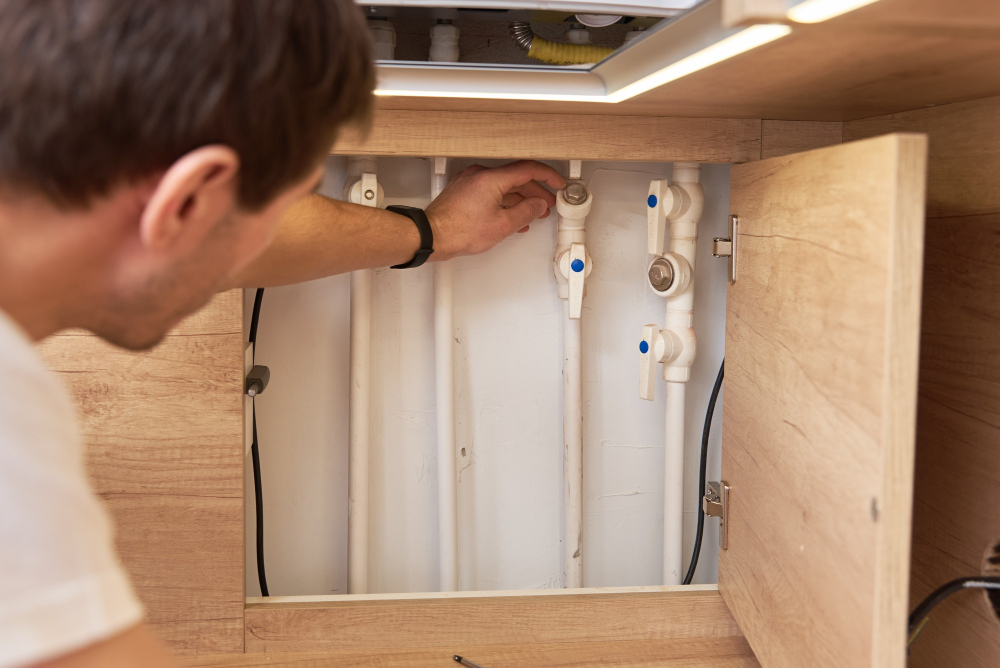
Lastly, make sure that there are no pipes or electrical wires underneath where you plan on attaching your kitchen island; otherwise consult an expert before proceeding further with installation plans.
Measuring and Positioning
Proper measurement is crucial for a secure and stable attachment. Start by measuring the length, width, and height of your kitchen island base.
Next, mark out where you want to place the island on your floor using painter’s tape or chalk lines. Ensure that there is enough space around the perimeter of the island for people to move freely while cooking or dining.
When positioning your kitchen island in relation to other elements in your kitchen such as cabinets or appliances, consider functionality first before aesthetics. You want easy access between all areas without any obstructions.
It’s also important to check if there are any electrical outlets or plumbing pipes under where you plan on attaching the base frame; this will help avoid damaging them during installation.
Using Adhesive and Caulk
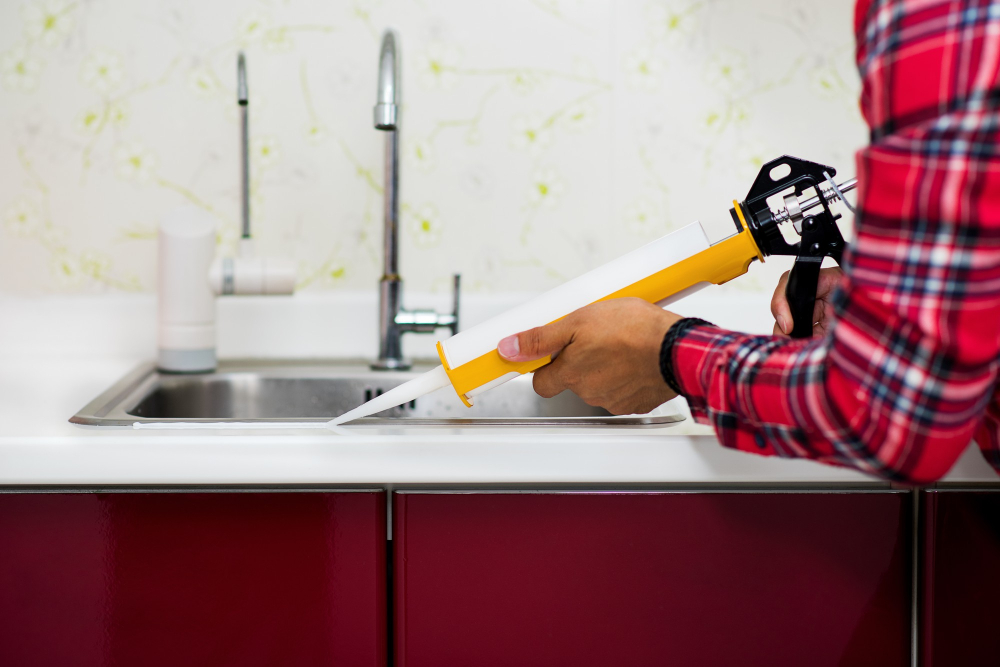
This method is ideal for those who want a seamless look without any visible brackets or bolts. However, it’s important to note that this method may not be suitable for heavy kitchen islands.
To use adhesive and caulk, you’ll need to prepare the surface of both the floor and the bottom of your island thoroughly. Make sure they are clean, dry, and free from debris before applying any adhesive.
Next, apply a generous amount of construction-grade adhesive on top of each anchor point on your floor where you plan on attaching your island legs or base frame. Then carefully lower down each leg onto its respective anchor point while ensuring proper alignment with other legs.
Once all four corners are in place (or more depending upon how large an Island), run a bead of silicone caulking around all edges between where Island meets Floor – this will help seal out moisture which can cause damage over time if left unchecked!.
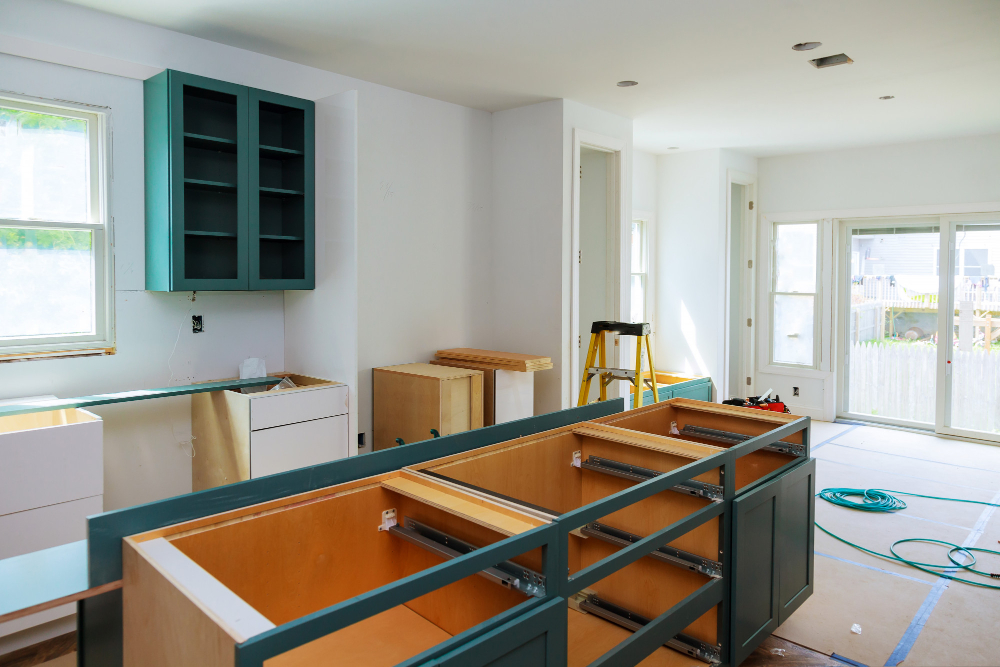
Installing Brackets
Brackets are L-shaped metal pieces that provide support and stability for your island. They come in different sizes, shapes, and materials such as stainless steel or powder-coated steel.
Before installing brackets, you need to determine their placement on both the floor and your kitchen island. The position should be marked with a pencil or masking tape so that you can easily align them during installation.
Once you have determined where the brackets will go, drill pilot holes into both sides of each bracket’s base plate using an appropriate size drill bit. Then place each bracket onto its corresponding mark on either side of your kitchen island’s base frame.
Next, use screws provided with your bracket kit (or purchase separately) to secure each bracket firmly into place through pre-drilled holes in their respective bases plates until they are flush against both surfaces – this ensures maximum stability when attaching them together later down below!.
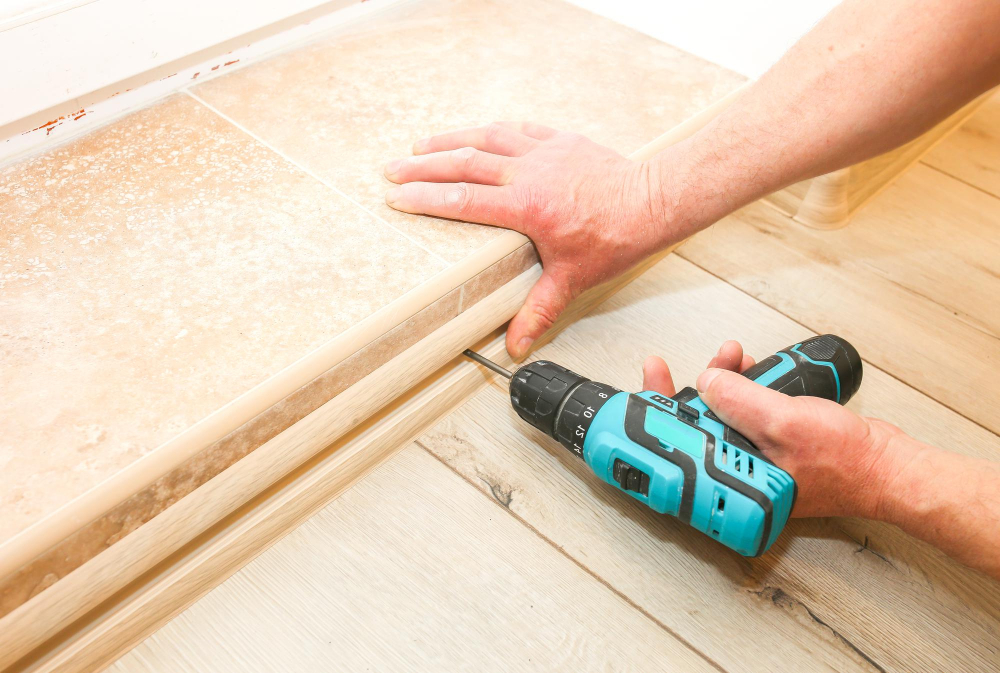
Drilling and Securing Bolts
The size of the hole should be slightly smaller than that of your bolt. This ensures a tight fit and prevents any wobbling or movement.
Before drilling, ensure that there are no pipes or electrical wires underneath where you plan to drill. You can use a stud finder to locate any hidden obstacles.
After drilling, insert your bolts into each hole and tighten them using a wrench until they are secure enough not to move when pressure is applied.
It’s essential not to overtighten as this could damage both the island structure and flooring material. Once all bolts are tightened correctly, check if there is still some wiggle room; if so, adjust accordingly until everything feels stable.
Attaching a Wooden Frame

The frame is attached to the underside of the island and then secured to the floor using screws or bolts.
To attach your kitchen island with a wooden frame, first measure and cut pieces of wood that will fit snugly around your island’s perimeter. Then drill pilot holes into each piece before screwing them together.
Next, position your assembled frame onto the bottom side of your kitchen island so that it fits flush against its edges. Use clamps or another set of hands if necessary for support while drilling pilot holes through both sides at once (the bottom side and top surface) before securing with screws.
Once you’ve attached all four sides securely, use brackets or L-shaped metal plates on each corner for added stability between both surfaces – this will prevent any wobbling when in use!.
Utilizing Floor Anchors
They provide a secure and stable connection, especially if you have a heavy or large island. To use floor anchors, you will need to drill holes into the concrete or subfloor and insert anchor bolts.
Before drilling any holes, ensure that there are no pipes or electrical wires running beneath the surface. You can use an electronic stud finder to locate any hidden obstacles.
Once you have identified where to place your anchor bolts, mark their positions on the floor using chalk or masking tape. Then drill pilot holes with a masonry bit slightly smaller than your bolt size.
Insert each bolt into its hole and tighten it securely using a wrench until it is flush with the surface of your flooring material. Attach brackets from underneath your kitchen island onto these bolts by screwing them in place tightly.
Island Weight Considerations

The weight of your kitchen island will determine the type of attachment method you use and how many anchors or brackets are required for stability. A heavy kitchen island can cause damage to your flooring if not anchored correctly, leading to costly repairs.
Before installing a new kitchen island, consider its size and material composition. For instance, granite countertops are heavier than wood or laminate surfaces; therefore require more support from underneath.
Appliances such as stovetops and sinks add extra weight that needs proper anchoring for safety reasons. It’s crucial always to check with a professional contractor before making any decisions on installation methods based on the size and materials used in constructing your dream culinary space.
Waterproofing and Sealing
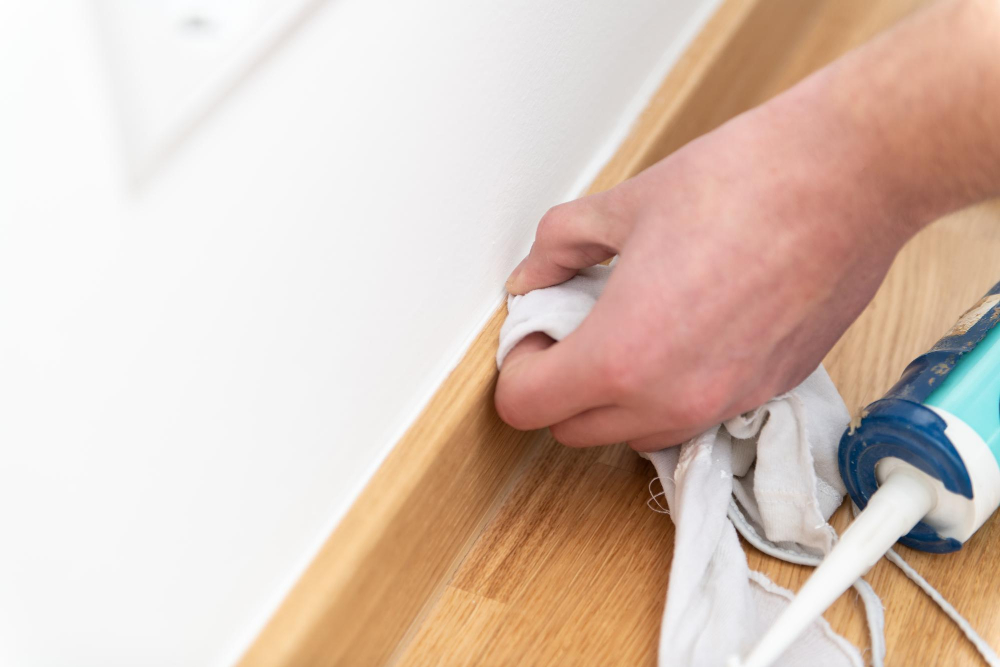
One way of achieving this is by waterproofing and sealing the attachment points. This process helps prevent water damage, which can weaken the adhesive or cause rust on bolts.
To waterproof your kitchen island’s attachment points, start by cleaning any debris or dust from around them. Next, apply a layer of silicone caulk around each point where there are gaps between the floor surface and brackets or wooden frames.
After applying caulk in all necessary areas let it dry completely before moving onto sealing with a sealant product designed for use on floors such as polyurethane sealant. Apply two coats of sealant over all exposed surfaces including bolts heads if they are visible.
Can You Secure a Kitchen Island to a Concrete Floor?

The answer is yes! You can secure a kitchen island to a concrete floor using the same methods as with any other type of flooring. However, there are some things that you need to consider before doing so.
Firstly, make sure that the surface of the concrete is clean and free from debris or dust. This will ensure proper adhesion when attaching brackets or adhesive.
Secondly, use appropriate tools such as masonry bits and anchors designed for use on concrete surfaces.
Lastly, keep in mind that drilling into a solid surface like concrete may cause cracks or damage over time due to weight distribution and movement caused by regular usage of the island. Therefore it’s important not only to follow manufacturer instructions but also consult with professionals who can advise on best practices for securing an island onto this type of flooring material.
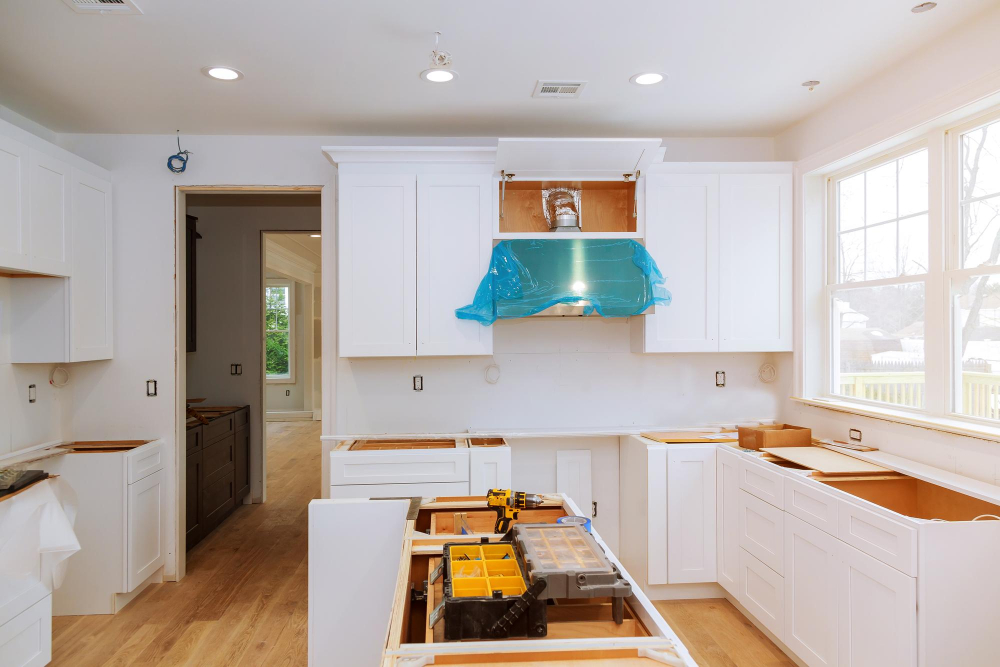
Do You Install Floor or Kitchen Island First?

The answer depends on various factors such as your preference, budget, and timeline.
If you are installing new flooring in your kitchen along with a new island, it’s best to lay down the flooring first. This way, you can avoid damaging or scratching your newly installed island during installation.
On the other hand, if you already have existing floors and want to add an island later on without changing anything else in your space’s layout or design plan – then it might be better for you just go ahead with installing both at once!.
How Much Does It Cost to Install a Kitchen Island?

The cost of installing a kitchen island varies depending on several factors such as size, material, and installation method. On average, homeowners spend between $3,000 and $7,500 for a professionally installed kitchen island.
If you are handy with tools and have some DIY skills under your belt or plan on using prefabricated islands that require minimal assembly work; then it can be cheaper than hiring professionals. However; if you want custom-made cabinets or countertops that require professional installation services from contractors or carpenters – expect higher costs.
It’s important to note that while price is an important factor when considering adding an island in your culinary space- quality should not be compromised over budget constraints. A well-installed high-quality Kitchen Island will last longer without requiring frequent repairs which could end up costing more in the long run.
When NOT to Attach a Kitchen Island to the Floor

For example, if you have a small kitchen with limited space, a freestanding island might be more practical as it can easily be moved around and repositioned as needed. If your flooring material is delicate or prone to damage from drilling holes into it for anchoring purposes, then attaching the island may cause more harm than good.
Another situation where you might want to avoid attaching your kitchen island to the floor is when you plan on using heavy equipment such as commercial-grade mixers or ovens that require frequent movement. In this case, having an unattached island will allow for easier mobility of these appliances without causing any damage.
Ultimately whether or not you attach your kitchen Island depends on various factors such as personal preference and specific needs in terms of functionality and aesthetics.
Safety Precautions

Before you start any installation process, ensure that you have all the necessary tools and equipment. Wear protective gear such as gloves and goggles when handling sharp objects or power tools.
It’s also essential to follow manufacturer instructions carefully and seek professional help if needed. If you’re not confident in your DIY skills, don’t hesitate to hire an expert who can do the job safely.
Another crucial safety consideration is ensuring that there are no electrical wires or plumbing pipes beneath where you plan on drilling into the floor surface. Use a stud finder before starting any work on your kitchen island attachment project.
Lastly, make sure that all bolts and screws used for securing brackets are tightened correctly using appropriate torque settings recommended by manufacturers’ guidelines.
Maintaining the Island Attachment
Regularly inspect the bolts, brackets, or anchors used in securing your island to ensure they are still tight and secure. Loose attachments can cause wobbling or even collapse of the entire structure.
Keep an eye on any signs of water damage around the base of your kitchen island as this could weaken its attachment over time. If you notice any cracks or gaps between the floor and baseboard surrounding your kitchen island’s perimeter, fill them with caulk immediately.
Lastly, avoid placing excessive weight on top of a poorly anchored kitchen island as this could lead to structural damage over time. Always follow manufacturer guidelines when it comes to maximum weight capacity for both countertop surfaces and storage areas beneath.
By following these simple maintenance tips regularly after installation will help prolonging life span while ensuring safety in using a secured Kitchen Island that adds value not only aesthetically but also functionally in every home culinary space!.
FAQ
How do you attach a kitchen island to a slab?
To attach a kitchen island to a slab, install a cleat on the concrete floor, and fasten the island to the cleat.
Do you install an island over flooring?
Generally, you should install the cabinets or kitchen island prior to the floor covering, considering standard flooring heights.
Are kitchen islands movable?
Kitchen islands can be movable, as there are mobile kitchen islands specifically designed for flexibility and portability in a kitchen layout.
What are the different methods for securing a kitchen island to various floor types?
Methods for securing a kitchen island to various floor types include using construction adhesive, anchoring to floor joists, and attaching to concrete subfloors with concrete screws.
What are crucial factors to consider when choosing the location for a kitchen island installation?
Crucial factors to consider when choosing a kitchen island installation location include sufficient space, accessibility, functionality, and adherence to building codes.
What are the advantages and disadvantages of having a movable kitchen island versus a fixed one?
Advantages and disadvantages of a movable kitchen island versus a fixed one include increased flexibility and versatility for the movable option, while the fixed option provides more stability and permanence.


