Last updated on
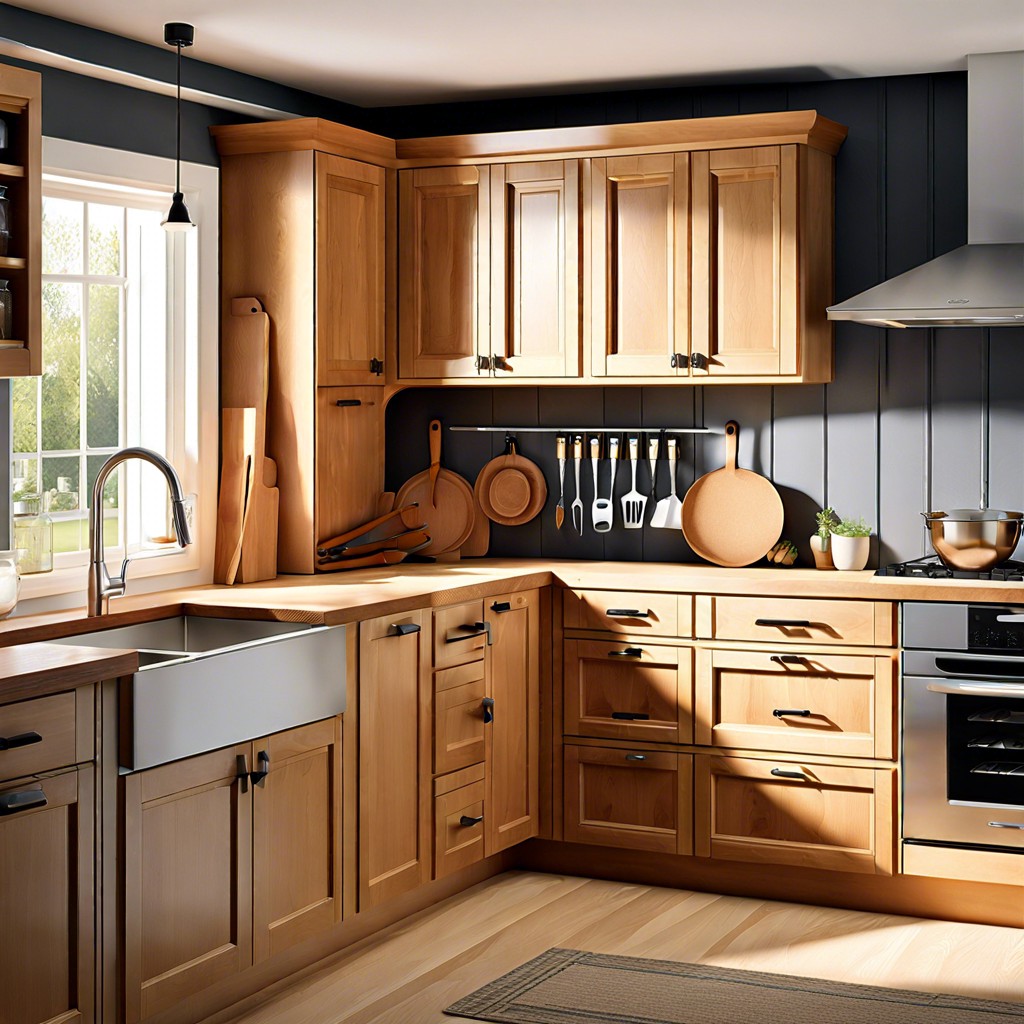
Learn how to estimate the time needed to paint kitchen cabinets and leave your kitchen looking fresh and inviting.
Imagine walking into your kitchen and feeling like you’ve been transported to a Pinterest board—where every glance is an aesthetic delight. That’s the magic of freshly painted kitchen cabinets, my friend! If you’ve ever wondered just how long it takes to achieve this transformation, dive in for all the juicy details. From wielding the paintbrush like a pro to mastering the art of drying (without a single nap in between), this guide has got your back. Get ready to roll up those sleeves!
Key takeaways:
- Preparation takes one to two days.
- Priming requires an additional drying day.
- Two painting coats need a day each.
- Reassembly adds another day’s work.
- Total timeframe is roughly one week.
What's Inside
Tools and Materials Needed

Let’s dive into the magical toolbox you’ll need for transforming kitchen cabinets. Think of it as assembling an Avengers team, but for painting.
A screwdriver will be your trusty sidekick. Perfect for removing cabinet doors and hardware. Just don’t let it roll under the fridge; it never returns from there.
Next, grab some painter’s tape. Think of it as the secret-keeper, guarding the areas you don’t want smudged with paint.
Sandpaper or a handy orbital sander is essential. Consider them the personal trainers for your cabinets, buffing them to perfection.
Primers and paints are the superheroes of this makeover. Choose a high-quality primer and a durable paint suitable for wood surfaces. Bonus points if you opt for a color that won’t look outdated after two years. We recommend going with something timeless unless you’re secretly into avant-garde lime green.
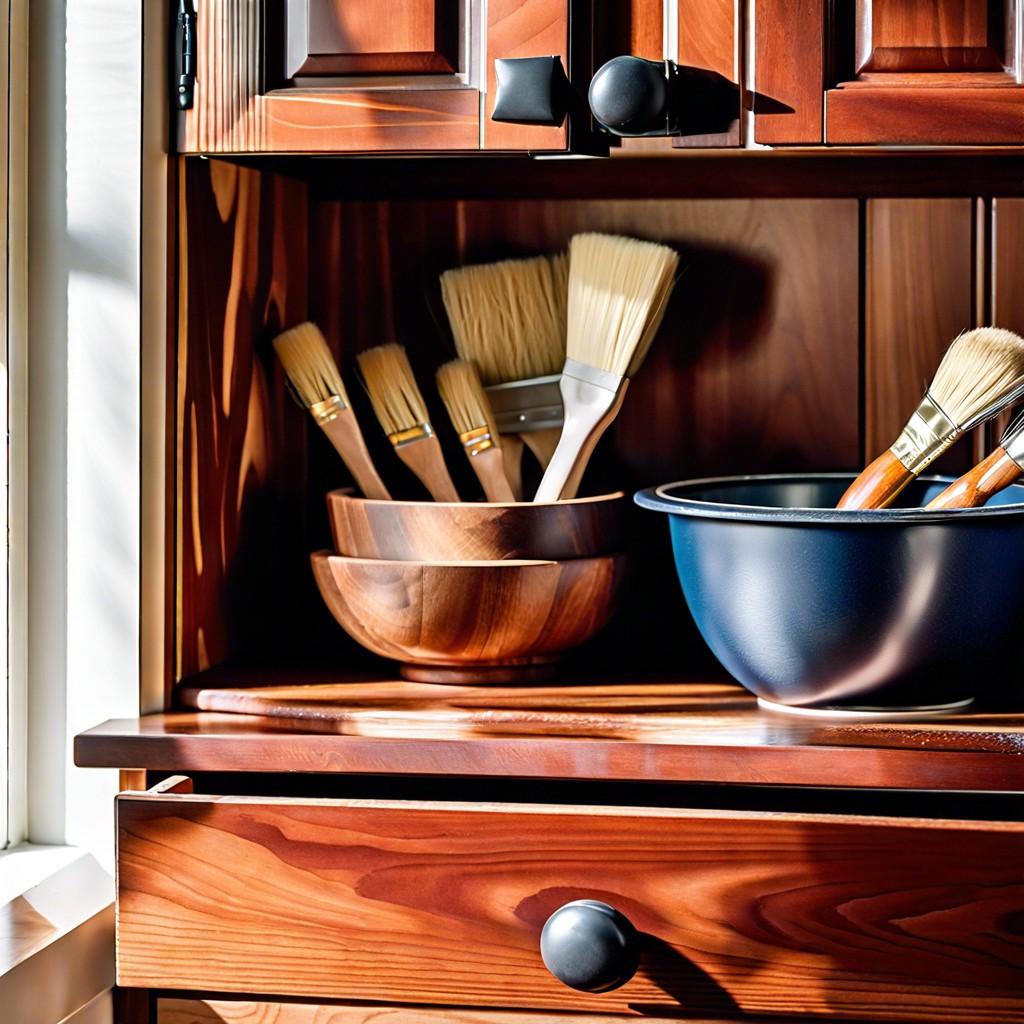
Paintbrushes, foam rollers, or a paint sprayer will be your trusted wands, spreading the magic. Each has its pros and cons. Brush for precision, roller for broader strokes, and sprayer if you’re going for that professional look.
Finally, drop cloths and plastic sheeting are your unsung heroes. They protect your kitchen from accidental Jackson Pollock imitations.
Once you’ve assembled your squad, you’re ready to create a masterpiece. Now go forth and paint like you’ve got the spirit of Picasso whispering in your ear, minus the existential dread.
Preparing the Workspace
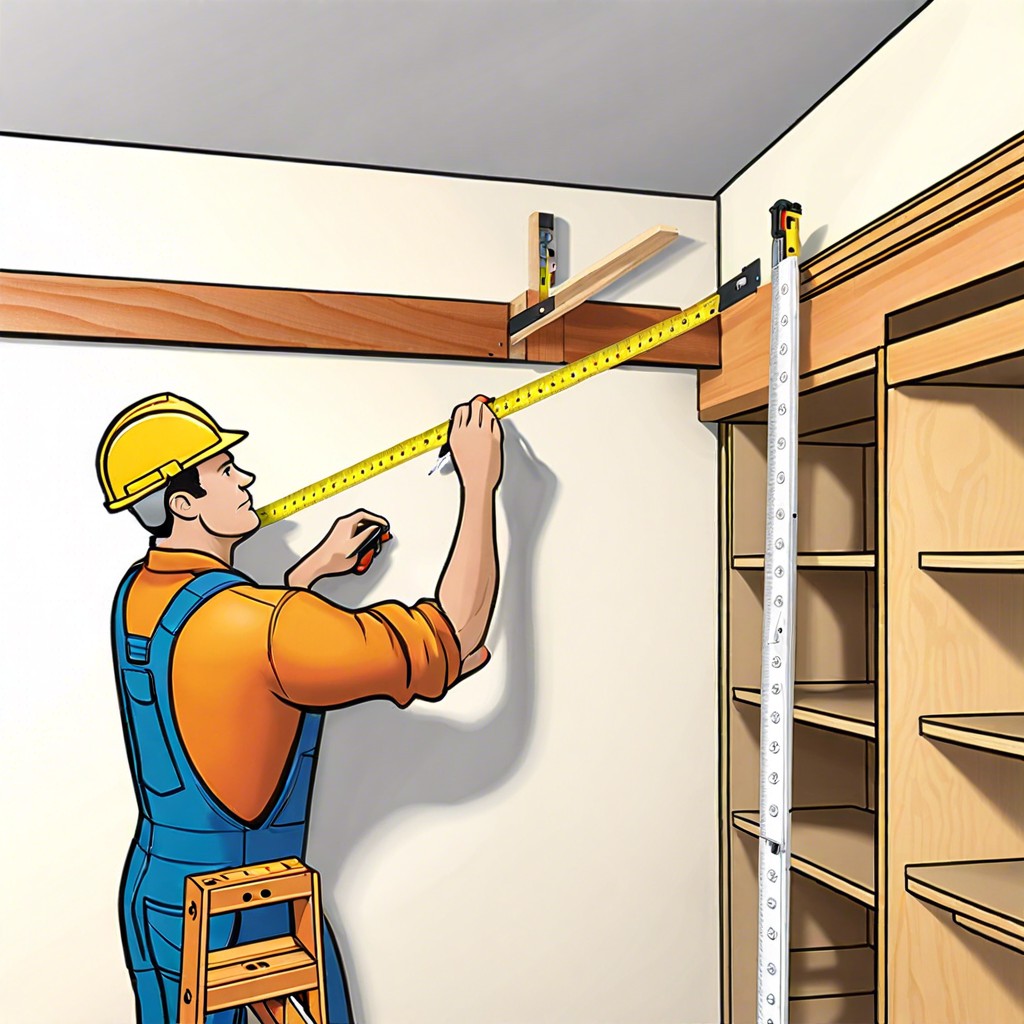
Imagine being the Van Gogh of cabinets but tripping over tarps. Not cool, right? Here’s how not to do that. Clear the countertops of any clutter because no one wants a painted toaster.
Lay down drop cloths or plastic sheeting to protect the floors. Paint drips are sneaky little things.
Tape off areas around the cabinets, like walls and appliances. Think of it as creating borders on a coloring page to stay in the lines, only less fun.
Ensure good ventilation. An open window or a fan helps since nobody wants to see you fainting over paint fumes.
Set up a staging area. A card table in another room can hold your tools and keep your kitchen from turning into an art supply store explosion.
It’s like setting the stage before the culinary show—just without the food.
Removing Doors, Drawers, and Hardware
Picture this: You’re removing cabinet doors and a drawer takes a nosedive, narrowly missing your toes. That’s the kind of excitement we avoid by taking things slow.
First, get yourself a trusty screwdriver. It’s your new best friend. Unscrew hinges and be patient. Rome wasn’t unscrewed in a day either. Maybe it was never unscrewed, but you get the point.
Label everything. Stick a piece of tape on each door and its corresponding cabinet frame to remember who goes where. Sure, it’s not a memory game, but it’ll save you from puzzling over mismatched cabinetry later.
As for those handles and knobs? Bag ‘em up. They’ll feel like vacationing hardware, all cozy together in a Ziploc, far away from the chaos of sanding and painting.
Finally, stack doors and drawers in a safe, out-of-the-way location. Nothing ruins a paint job faster than accidentally kicking a door while dancing along to your favorite tunes.
Cleaning and Sanding Surfaces
First step here is scrubbing those cabinets cleaner than a pro wrestler after a cage match. Grease, grime, and mystery goo are your enemies. A good degreaser or a mix of vinegar and water will do the trick. Channel your inner cleaning guru.
Now, onto sanding. Think of it as your kitchen cabinetry’s spa treatment, complete with an exfoliation session. Use fine-grit sandpaper, like 120 or 150 grit, to give the surfaces a quick once-over. This helps the primer and paint stick better, and trust me, you want them to be besties.
Wearing a mask is a smart move—because inhaling dust while sanding isn’t fun, and sneezing mid-stroke means sandpaper meets nose.
Don’t forget the nooks and crannies. Details matter, even in cabinet rehab. The edges and cornices deserve just as much love, so don’t skip them.
Once sanded, wipe everything down with a damp cloth or tack cloth. No one wants their fresh paint job to be a crumb trap. You’re setting the stage for perfection. Or at least a really good-looking stage.
Priming Cabinets
When it comes to this magical time-saving coat, think of it as the underappreciated superhero of kitchen makeovers. Primers are the unsung heroes that lay down the ideal foundation for paint to stick to. Why is this important? Let’s dive into it.
First, primers help paint adhere to surfaces that might otherwise resist it. Even the most rebellious kitchen cabinet is no match! They provide a smooth base that makes your paint job look professionally done, even if your last art project was finger painting.
Next, they help in blocking stains and odors. That lingering aroma of last year’s curry disaster? Gone.
Lastly, they can aid in covering dark stains or wood grain, turning them into a smooth, blank canvas. It’s like a FaceTune filter for your cabinets.
In short, skipping primer is like forgetting to brush your teeth before a date—always do it to avoid unwanted future surprises.
Painting: Brushes, Rollers, and Sprayers
So, you’ve survived sanding without losing all fingerprints. Now comes the colorful part!
First, let’s brush up on brushes. They’re great for detail work, edges, and getting into those annoying corner crevices. Choose quality, or you’ll be picking bristles out of your paint. Annoying, right?
Rollers, on the other hand, are pros at covering large, flat surfaces. Opt for a foam roller for that slick, smooth finish that says, “Yes, I spent my weekend wisely.”
Feeling ambitious? Sprayers can give an incredibly professional finish, like factory-level professional. But keep in mind, you’ll need to mask everything like you’re preparing for a paintball match—protection is key!
Remember, practice makes perfect. Maybe take a test run on an old piece of wood before your cabinets become an accidental abstract masterpiece. Happy painting!
Drying Time Between Coats
Picture this: you’ve covered yourself in an accidental new speckled wardrobe courtesy of your paintbrush, and your cabinets are now donning their first coat of paint. At this point, patience is key as your masterpiece dries.
– Standard paint drying time is typically 4-6 hours. But sometimes, paint behaves like a cat deciding when to show affection. It can vary.
– Humidity and temperature are sneaky factors. High humidity is like having a whiny toddler—it slows everything down. Ideal drying conditions are around 77°F (25°C) and 50% humidity.
– Stacking coats too soon can lead to a sticky mess. Imagine pancakes fresh off the griddle glued together—layers should be floppy, not sticky.
– Fancy specialty paints? They may take longer. Some promise quick drying but behave more like a whimsical artist who works on their own schedule.
– Using a fan helps, but avoid aiming it directly—think gentle breeze, not windstorm.
Keep an eye on any instructions from the paint manufacturer for best results. Let your hard work breathe, and remember, good things (and painted cabinets) come to those who wait.
Reinstalling Doors and Hardware
Once those cabinet doors have dried to perfection—meaning no fingerprints left behind like a crime scene—it’s time to play puzzle master and piece it all back together again.
First, make sure you’ve got your hardware sorted and ready. Mixing up handles and hinges could lead to a door that opens the wrong way, and nobody wants a surprise kitchen cabinet Narnia.
Here’s a power tip: Use a battery-powered screwdriver or drill. Hand fatigue is no joke, and you’ll save precious energy for gripping the next snack you deserve afterward.
Labeling is your friend. If you’ve taken the time to number your doors and drawers before removal, reinstallation will be as smooth as your freshly sanded cabinet surfaces.
Check alignment. No one wants crooked doors unless you’re intentionally going for a modern abstract vibe, which, let’s be honest, is rarely the case.
Once the doors and drawers are back in place, consider tightening everything up and making any adjustments. Loose hinges might leave you with a cabinet of curiosities that no one asked for!
Enjoy your “new” kitchen—your efforts have finally paid off, and now it’s time for a well-deserved pat on the back and perhaps a little humble bragging on social media. Let’s face it, you earned it, DIY dynamo!
Cost Estimate for the Project
Brace yourself for a wallet workout! Painting kitchen cabinets can be both economical and sneaky on your budget. Here’s a breakdown to keep you from reaching for your piggy bank’s hammer.
First, if you plan to go full DIY, expect to spend anywhere from $200 to $600. This covers paint, primer, sandpaper, and brushes. Of course, if you’re high-tech and want to rent a paint sprayer, that’ll add a bit more to the tab.
Then there’s the cost of your Saturday pizza delivery—essential for sustenance. Never underestimate the power of pepperoni!
Looking to turn your kitchen into a Mona Lisa? High-end finishes and specialty paints could bump the cost up to $1000. But hey, if the cabinets make you weep tears of joy with each pasta stir, isn’t it worth every penny?
Feeling like finger-painting isn’t your style? Hiring a professional may cost between $1,500 to $6,000. Sure, it hits your purse harder, but it might save you some groveling at the altar of DIY mistakes.
Don’t forget supplies beyond the basics. Drop cloths, painter’s tape, and protective masks for the inevitable paint-sniffing episode are sneaky little add-ons.
Stay prepared, play it savvy, and maybe splurge on a victory ice cream once it’s all done. Just keep those costs in check, because while cabinets are fun, ice cream is funner!
Time Estimate for Painting Cabinets
Imagine you’re starring in your own DIY kitchen makeover show. Cue the montage music.
First up, preparation: one to two days should do the trick. This includes shuffling through those sock drawers to find a screwdriver and embracing the sanding dance.
Then it’s priming time—think of it like laying the foundation for your make-up. Drying times here will run you about a day. Patience is a virtue, or at least that’s what they say.
Onto the star of the show, the painting: plan for two coats, with about a day or more of drying time each. Aim for an opera-length intermission with plenty of snacks.
Finally, the encore, reassembly, might take another day. Power tools optional, but recommended for extra flair. So, as you’re tallying up, you might be looking at a marathon rather than a sprint. A week from start to finish sounds like a fair guestimate—no magic wands required, unfortunately.


