Last updated on
Learn the straightforward steps to adjust cabinet hinges for a perfect door alignment, ensuring smooth operation and a polished aesthetic.
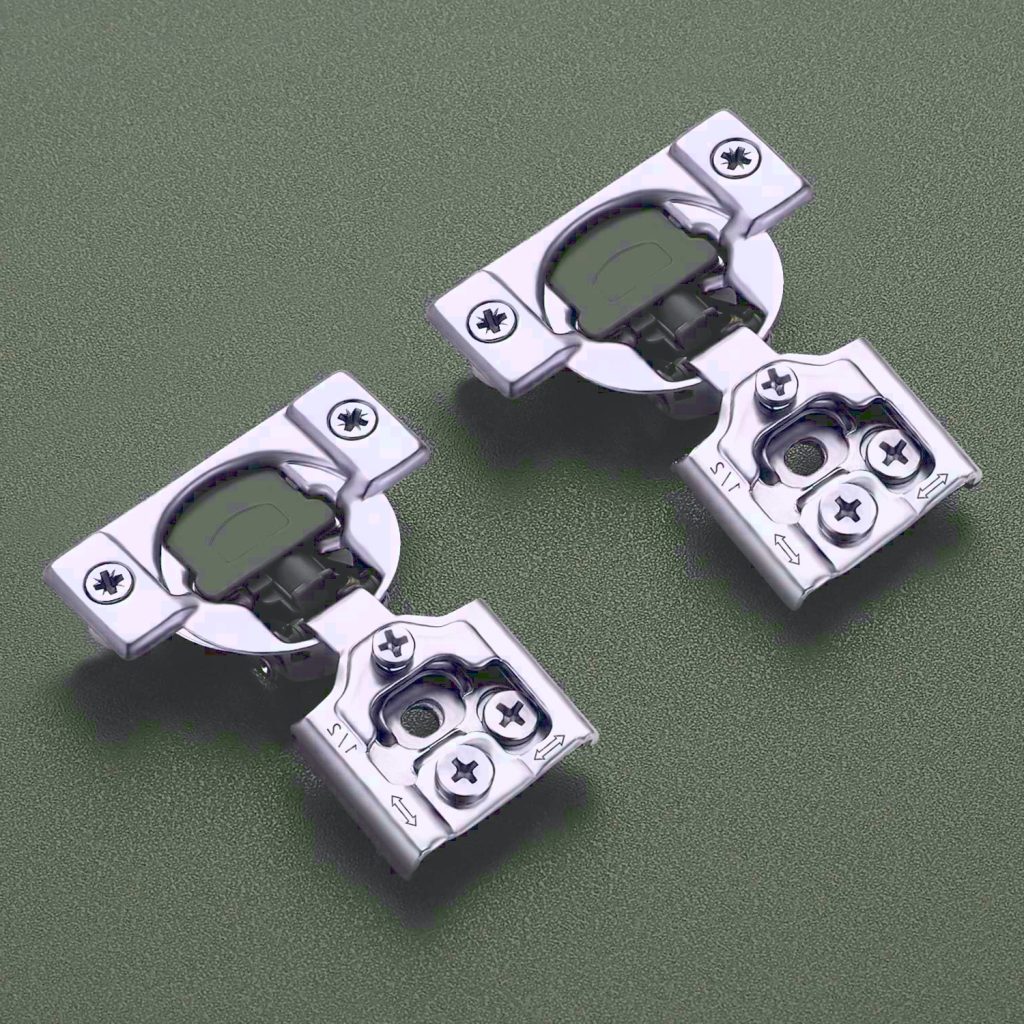
You can easily adjust these cabinet hinges:
Key takeaways:
- Assess the type and brand of your cabinet hinges.
- Use the appropriate tools, such as Phillips head screwdriver.
- Inspect doors and surrounding structure for any damage or wear.
- Make small, incremental adjustments to avoid misalignment.
- Keep the cabinet door closed when not adjusting it.
What's Inside
Before You Begin
Embarking on hinge adjustments is simpler than one might expect, but precision is key. Start by assessing the type and brand of your cabinet hinges, as this will dictate the specific adjustments you can make. Commonly, European-style hinges offer three axes of adjustment, while others may provide fewer options.
Ensure that you have a Phillips head screwdriver or a Pozidriv screwdriver, as these are typically the required tools for making adjustments. A flathead screwdriver can also come in handy for prying or minor tweaks.
It’s worth noting that before you start tweaking the hinges, inspect the doors and surrounding cabinet structure for any signs of damage or wear. Issues like stripped screws or splintered wood could indicate that more than a simple adjustment is needed.
Remember, small turns can make a big difference. Start with quarter-turns on the adjustment screws to gradually bring the door into alignment. Over-tweaking can lead to misalignment, so patience and incremental adjustments are the way to go.
Finally, keep the cabinet door closed when not adjusting it to prevent any unwanted movement or additional misalignment during the process. With your tools in hand and a keen eye, you’re set to proceed with the precise task at hand.
What You’ll Need
To make precise adjustments to your cabinet hinges, ensuring your toolbox is stocked with the right tools is essential. The most common tools required include:
- Screwdriver set: A variety of flathead and Phillips head screwdrivers will cater to different hinge screw types.
- Allen wrenches: Some hinges have adjustment screws that require an Allen wrench, so having a set on hand is beneficial.
- Tape measure: When checking the alignment of doors, a tape measure will help you maintain symmetry.
- Level: A crucial tool for verifying that doors are perfectly horizontal after adjustments.
- Flashlight or work light: Good lighting helps you see the hinge mechanisms clearly, so you make accurate changes.
Having these tools within reach streamlines the process, turning an otherwise tedious task into a simple, satisfying fix.
Instructions
Navigating the maze of tiny screws on cabinet hinges can seem daunting, but with a little know-how, it’s simpler than you might think. Each screw on the hinge serves a unique purpose for alignment: some are for depth, others for vertical and horizontal adjustment.
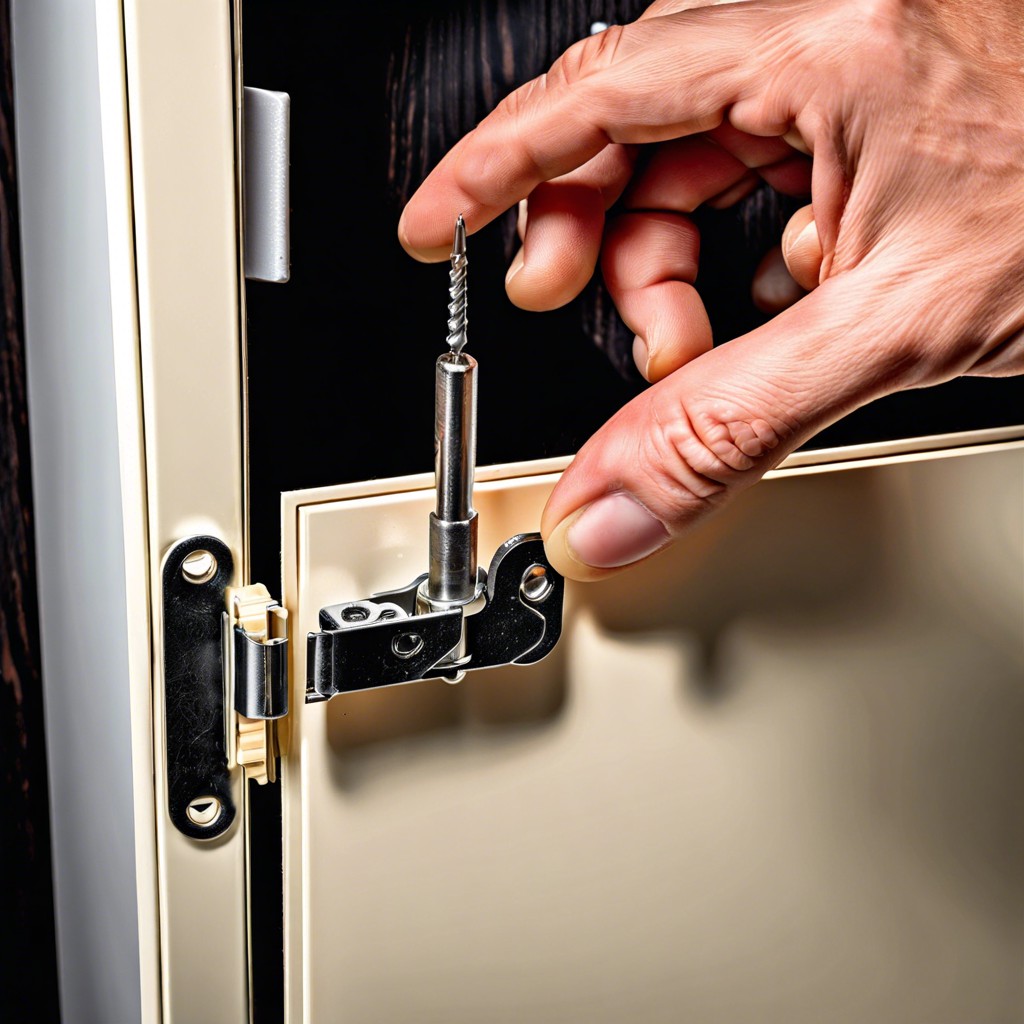
To dial in the height, look for the screw connecting the hinge to the cabinet frame—it’s your vertical maestro. Turning it clockwise raises the door, while anti-clockwise lowers it for that perfect alignment with neighboring doors or drawers.
When your doors appear to be engaged in a dance, coming too close or staying too far apart, the side-to-side adjustment is your go-to solution. Find the screw sitting closest to the front of the hinge, which, when turned, glides the door left or right, ensuring an even spacing all around.
On the odd chance your doors look sunken or bloated against the frame, the depth screw—typically located at the center of the hinge—invites you to nudge the door closer or farther from the frame. A clockwise turn pulls the door in, helping it shy away from protrusion.
Remember, adjustments are a game of millimeters; small turns yield significant changes. After each tweak, close the door to check the fit, knowing you’re coaxingly urging your cabinet doors into perfect harmony.
How to Adjust a Cabinet Door Up or Down
Achieving the perfect vertical alignment of your cabinet doors is often just a matter of tweaking the right hinge screws. If the door needs lifting, locate the screw on the hinge that is connected to a vertical slot. This is typically the bottom hinge. Turn this screw clockwise to raise the door. Conversely, if the door requires lowering, focus on the top hinge and turn the adjusting screw counterclockwise.
Sometimes, you might encounter a scenario where one corner needs adjusting more than the other. If that’s the case, alternate adjustments between the top and bottom hinges (raise one while lowering the other) until the door sits evenly with its neighbors or the cabinet frame.
Remember, tiny turns make a big difference, so aim for quarter-turn adjustments and check the alignment after each tweak. Keep a Phillips head screwdriver or a cabinet-specific adjustment tool on hand, as most hinges require this. Patience is key here — minor adjustments can lead to a perfectly level door.
How to Adjust a Cabinet Door Side to Side
Shifting a cabinet door from side to side might seem daunting, but it’s a simple adjustment that can greatly improve the alignment of your cabinetry. Here are the steps:
1. Identifying the screws: Look for the screws at the hinge that connect the door to the cabinet frame, typically two horizontal screws on the hinge.
2. Loosening the screws: Using a screwdriver, slightly loosen these screws, just enough that the door can be moved with a bit of resistance. This will ensure the door doesn’t slip too easily when you’re making the adjustment.
3. Making the adjustment: Gently shift the door to the left or right, depending on which way it needs to go to be perfectly aligned with the adjacent doors or to ensure even spacing between doors.
4. Retightening the screws: Once in position, hold the door steady and retighten the screws to secure the door in its new place. It’s best to do this while the door is closed to better judge alignment.
5. Checking your work: Open and close the door several times to ensure it swings smoothly without rubbing against other surfaces or doors.
Remember, patience is key. Small adjustments can make a big difference, so move the door gradually and check your progress frequently to avoid overcompensation.
Read More
 How to Choose Kitchen Cabinets: Your Ultimate Buying Guide
 Staining Cabinets: A Step-by-Step Guide to a Fresh Look
 How Long Does It Take to Paint Kitchen Cabinets: A Time-Saving Guide
 Cost to Refinish Cabinets: A Cheaper Revival
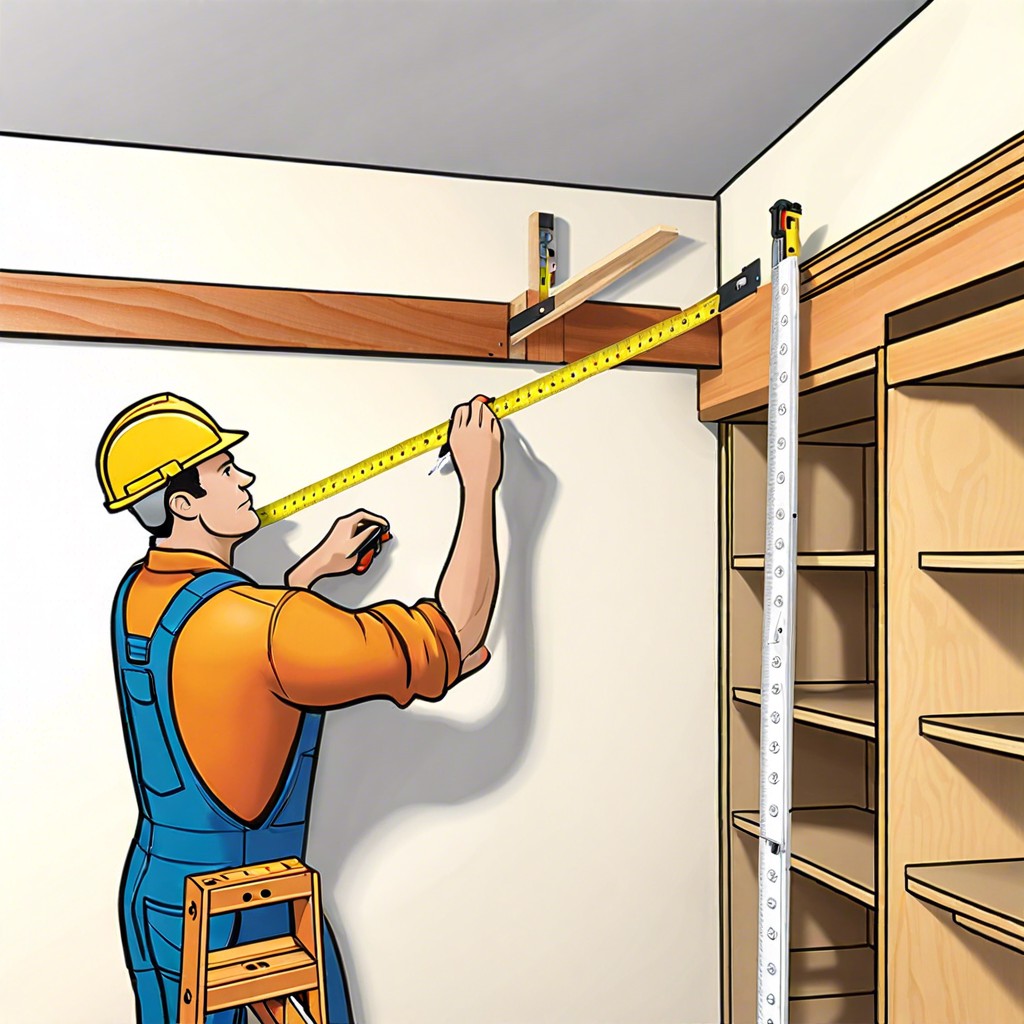 How to Install Upper Cabinets: Tips for a Perfect Kitchen Makeover