Last updated on
Learn how to safely change a light fixture and brighten up your space with a fresh look.
Key takeaways:
- Turn off the power before starting
- Remove decorative fixture pieces carefully
- Take a photo of the current wiring setup
- Disconnect old fixture and remove it
- Connect the wires correctly and securely
What's Inside
Step 1: Turn Off the Power
First things first: safety. Naturally, you’ll want to avoid any accidental light shows of the electrical kind. Head over to your circuit breaker panel and find the switch that controls the power to the light fixture.
Flip the switch to the off position. If you’re not sure which one it is, label it for future reference. This moment of precaution could save you some major headaches—or a shocking experience.
Next, use a voltage tester on the fixture to double-check there’s no live current. Simply touch the probes to the wires. A no-light result means you’re good to go.
Remember, confidence is key, but caution is king. Better to be safe than zapped. Also, it’s always a good excuse to look cool, wielding that voltage tester like a pro.
Step 2: Remove Decorative Fixture Pieces
Some fixtures are like a well-wrapped gift from an overzealous aunt—lots of pretty bits to undo. Start by removing any bulbs. It’s easier (and less breakable!) that way.
Next, tackle the screws or clips holding any glass coverings or decorative pieces in place. Keep a firm grip. Nobody wants to play a game of “catch the falling fixture.”
Gently place these pieces aside in a safe spot. You wouldn’t want your cat to find a new toy among your crystal light covers.
A magnetic tray here works wonders for those tiny screws. Think of it as your hardware babysitter, keeping everything in line and avoiding the classic “where did that screw go?” panic.
Step 3: Remove Wiring
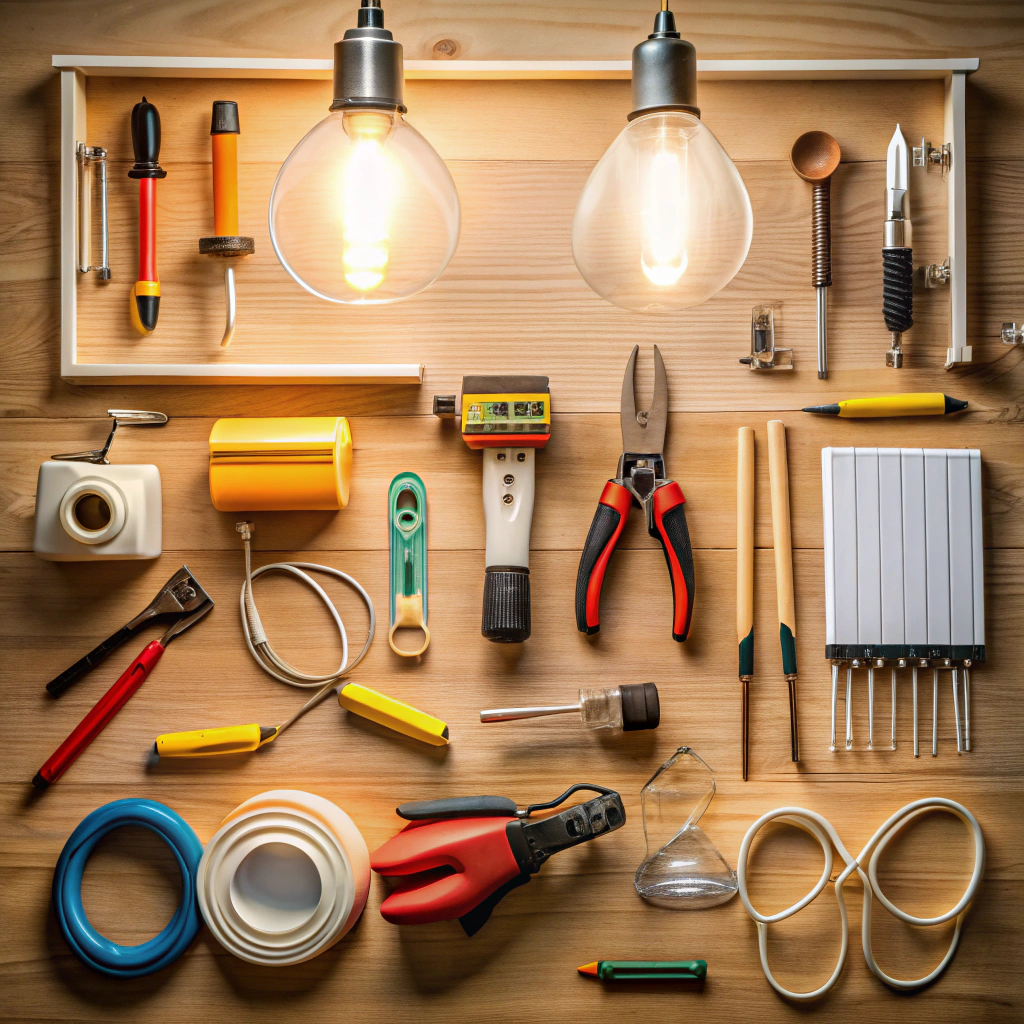
First, take a photo of the current wiring setup with your phone. This will save you from a future “now-where-does-this-go” moment. Safety first: ensure your hands are dry throughout.
Unscrew the wire nuts and gently separate the wires. Typically, you’ll find three types: black (live), white (neutral), and green or bare (ground). Give each wire a little wiggle to ensure it is free. If any wire resists, check for any hidden screws or fasteners.
Once free, cap off the wires with wire nuts to keep them safe. No one wants any shocking surprises! Use a bit of electrical tape around the base of the nuts for extra security. You’ll thank yourself later.
Step 4: Remove Old Fixture
So you’ve got the power off and decorative pieces set aside. Time to tackle the creature itself.
First, locate the screws or bolts securing the fixture to the ceiling or wall. This is like playing detective, but less glam and more grime. Using a suitable screwdriver, carefully unscrew them.
Next, get a firm grip on the fixture. You don’t want it to do a surprise dive bomb. Gently lower it to expose the wiring. Imagine doing a slow reveal on a game show, only it’s wires and not a car!
Now, one by one, disconnect the fixture wires. They’re probably connected with wire nuts. Simply unscrew these nuts and free the wires.
That old fixture is now in your hands, and voila! Out with the old, in with the new.
Step 5: Connect Wires
Here’s where things get a bit more electrifying. Literally. Now, take the new fixture’s wires and match them with the wires in your ceiling. Typically, you’ll see black, white, and sometimes a green or copper wire.
First, connect the black (or red) wires together. These are your hot wires. Next, join the white wires. These are your neutral wires. Finally, twist the green or copper ground wires together. Use wire nuts to safely secure each connection. It should feel snug, like tucking in for a cozy nap.
In case you find different colored wires, don’t panic! Check the fixture’s manual or consult a color-matching chart to clarify any odd hues. And don’t forget, if you hear crackling, something’s seriously wrong.
Simple as pie, or in this case, splicin’ those wires like a pro!
Step 6: Install and Assemble
Got those wires all connected? Time to put everything together. Take the base of your new light fixture and secure it to the mounting bracket. There are screws on the base that fit into keyholes on the bracket. Twist and tighten those bad boys.
Now, grab the bulb socket and make sure it’s lined up just right. You don’t want your brand-new fixture looking like it’s had a little too much to drink! Secure the socket in place. Usually, this involves screwing it in.
Attach any additional parts, like decorative plates or covers. These often snap or screw on. It’s kind of like playing with LEGOs, but for adults. Classy LEGO.
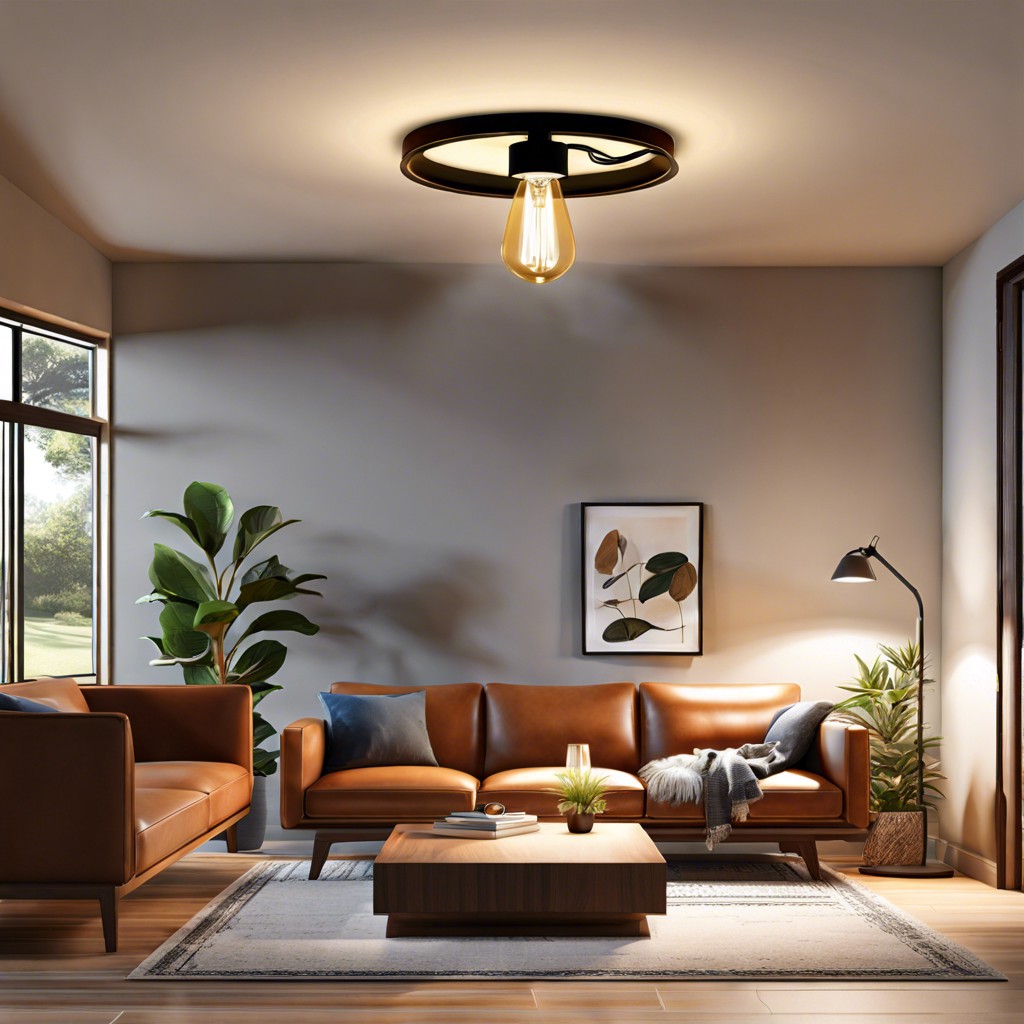
Finally, pop in the bulb. Go for that Edison-style one if you want to impress your guests with your trendy taste, or an energy-saving LED if you prefer to save some cash.
Step 7: Turn On Electricity
Flip the circuit breaker back to the ON position. This moment feels like unveiling a masterpiece, doesn’t it? But safety first.
Once you power up, head to the fixture and flick the light switch. If it illuminates, celebrate a job well done. If not, don’t panic yet. Double-check the connections and ensure no wires are loose or improperly connected.
Also, check if the light bulb itself is working. Sometimes the simplest issues trip us up. If it still doesn’t work, you might have to revisit the wiring steps. Stay calm and keep things positive; you’ll figure it out.
Now bask in your illuminated glory, knowing you just beat electrical odds!
Read More
 Replace Fluorescent Light Fixture: A Simple Guide for a Brighter Space
 How Many Recessed Lights in Kitchen: Bright Ideas for Perfect Illumination
 Lumens Per Square Foot: Transform Your Space with Perfect Lighting
 15 Matching Chandelier and Pendant Lights Ideas: A Step-by-Step Guide
 15 Beautiful Ceiling Fan Ideas for Innovative Home Designs