Last updated on
In this how-to guide, you’ll learn the efficient steps to ensure your kitchen is sparkling clean from countertops to cupboards.
Key takeaways:
- Clear all kitchen surfaces: Remove clutter, store small appliances, wipe down cutting boards.
- Load the dishwasher: Scrape leftovers, position plates strategically, avoid overcrowding.
- Disinfect countertops and sink: Use a microfiber cloth with disinfectant cleaner, scrub sink with baking soda and vinegar.
- Clean the stove top and oven: Soak grates, use baking soda and vinegar on stove, remove and clean oven racks.
- Mop or steam the kitchen floor: Choose the right method for your floor type, start from the furthest corner, avoid oversaturation.
What's Inside
Clear All Kitchen Surfaces

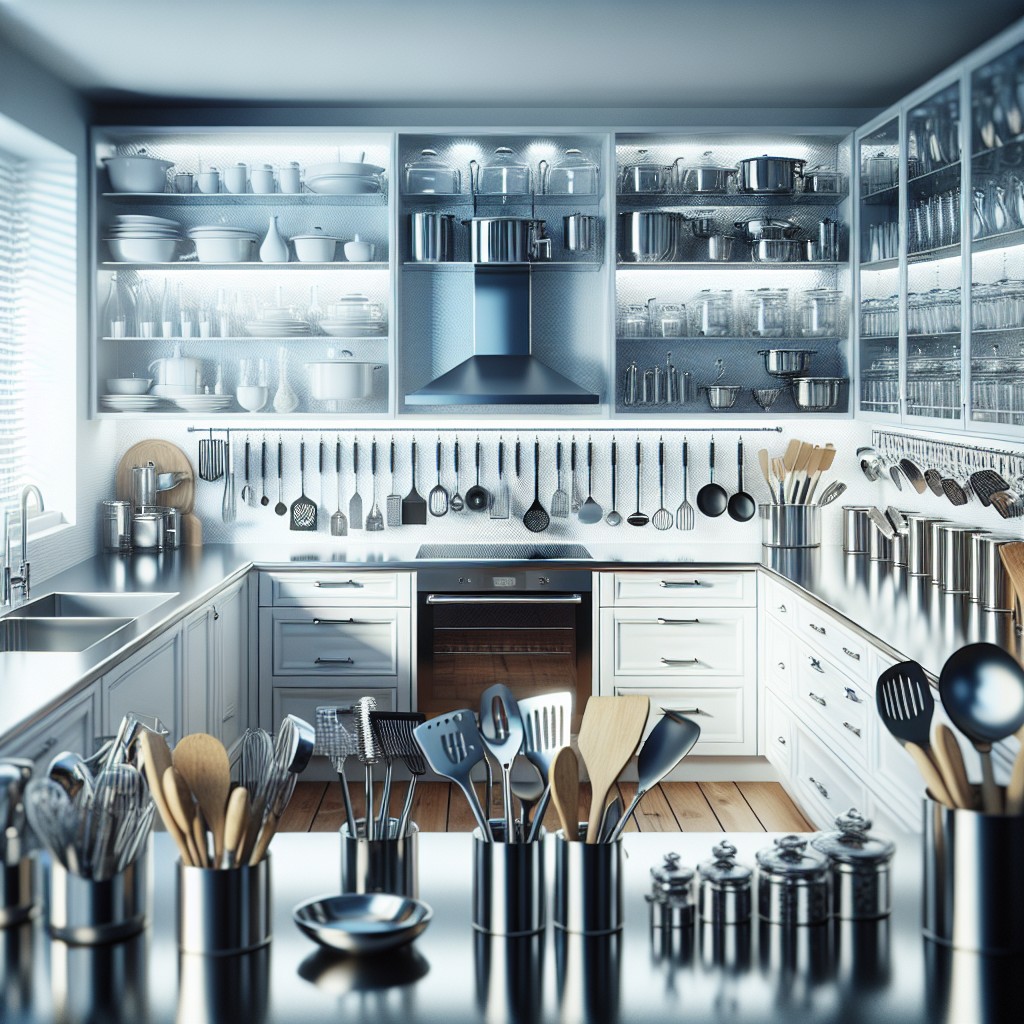
Begin by removing any dishes or utensils that are out of place. This is not only about clearing the clutter but also ensuring you have an unobstructed field to work on.
Next, tackle any papers, mail, or miscellaneous items that have made their way onto countertops and tables. Create designated spots for these items to prevent them from becoming kitchen regulars.
Once the larger items are out of the way, focus on small appliances. Those not used daily should be stored to maximize workspace. Clearing surfaces allows for a thorough clean, as crumbs and spills often sneak under these items.
Wipe down cutting boards and mats, and hang them to dry. This not only maintains their hygiene but also extends their life.
Finally, sweep away any loose debris from the countertops before moving on to the next cleaning step. It’s about creating a clean canvas for a sparkling kitchen.
Load the Dishwasher
Begin with removing leftover food from dishes; a quick scrape into the trash or compost bin minimizes clogging and helps your dishwasher work more efficiently. When loading plates, position them on the bottom rack facing inward toward the spray, ensuring they get a rigorous clean. Bowls and cups belong on the top rack angled downward to prevent water from pooling.
Utensils should be placed in the cutlery basket with handles down for easy unloading, but consider mixing spoons and forks to avoid nesting. Be mindful of sharp knives; they’re best washed by hand to preserve their edge and your safety. For plastic items, the top rack is their sanctuary to avoid melting or warping since it’s farther from the heating element.
Avoid overcrowding by giving each item its due space, which guarantees better water circulation and a more thorough clean. Plus, it’s prudent to check that nothing obstructs the spray arms before starting your cycle.
Remember, not everything is dishwasher-friendly; materials like wood, cast iron, and certain plastics may suffer from a trip in this kitchen workhorse. Always check labels for dishwasher safety to maintain the integrity of your kitchen tools.
Disinfect Countertops and Sink
After clearing off crumbs and debris using either a dry cloth or a gentle brush, it’s crucial to eliminate bacteria and germs that thrive in the kitchen. Using a microfiber cloth dampened with a disinfectant cleaner is effective in capturing the smallest particles and microorganisms.
For the sink, where bacteria from food remnants can accumulate, scrub with a designated brush and a mixture of baking soda and vinegar, which not only disinfects but also clears out any subtle stains. After scrubbing, rinse thoroughly with hot water to wash away the residue.
Remember, disinfection is best followed by a waiting period – allow the cleaner to sit for a few minutes before wiping it off to ensure any lingering pathogens are eradicated.
Regular use of cleaning solutions suitable for your countertop material, like diluted bleach for non-porous surfaces, can prevent cross-contamination and maintain a hygienic kitchen space.
Clean the Stove Top and Oven
Addressing cooked-on spills on your stove can be made simple with the right approach. For gas stoves, remove the grates and soak them in hot, soapy water. Meanwhile, tackle the surface with a mixture of baking soda and vinegar, letting it sit before scrubbing, thereby minimizing elbow grease.
For electric stoves, wipe down the coils with a damp cloth—remember, make sure they’re cool and the stove is off. Use a gentle cleanser to avoid scratching.
For the oven, start by removing racks and soaking them in soapy water. Use an oven cleaner for the interior, following the instructions carefully. For a natural alternative, a paste of baking soda and water left overnight is effective. After the treatment, wipe the oven down to clear residue. Remember to clean the oven’s glass door with a suitable glass cleaner to ensure you’re left with a streak-free view.
Consistency is key; regular maintenance prevents buildup and makes the job easier each time. Remember to ensure proper ventilation while working with oven cleaners to create a safe environment.
Mop or Steam the Kitchen Floor
Once the larger debris has been swept or vacuumed, focus shifts to the finer nuances of floor care. Choosing between mopping and steaming hinges on your floor type and the level of cleaning required.
For delicate surfaces, a gentle mop with a PH-neutral cleaner prevents damage, while durable floors can handle a steam cleaner’s heat to sanitize more effectively.
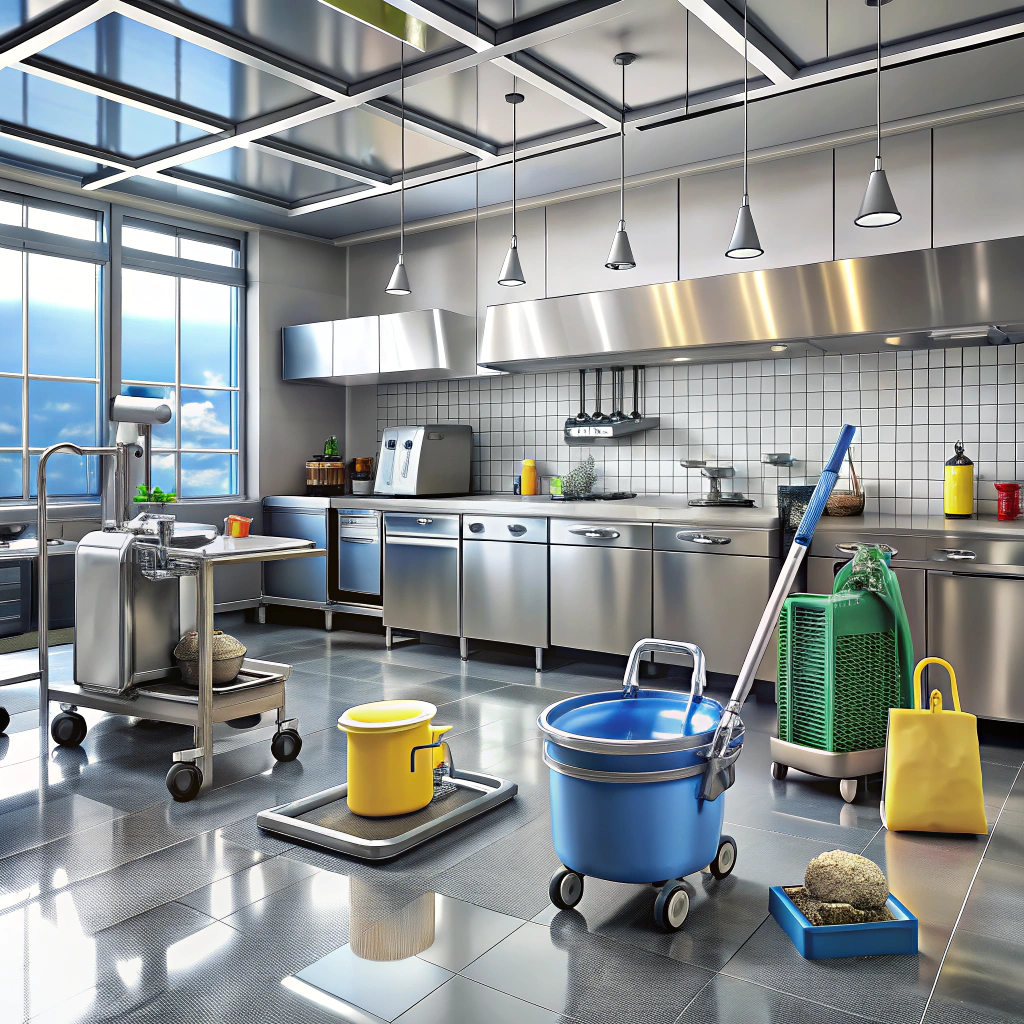
Always start from the furthest corner, moving backwards toward the entrance to avoid stepping on the freshly cleaned floor. Replace the mop water as soon as it turns murky—cleaning with dirty water defeats the purpose, leaving a dull residue.
When steaming, avoid too much moisture build-up; continuous movement ensures that no area becomes oversaturated, which might damage the flooring.
Remember, the key to a pristine finish lies in regular upkeep rather than a monthly deep clean.


