Last updated on
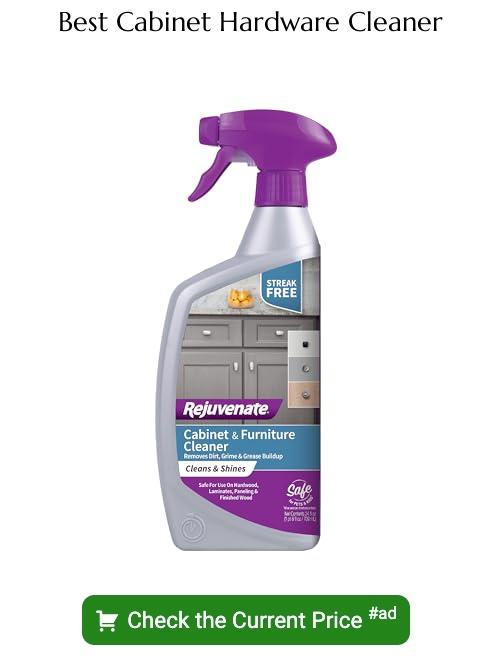
Learn how to easily clean cabinet hardware to keep your kitchen looking polished and pristine.
Key takeaways:
- Inspect and identify your cabinet hardware.
- Gather necessary materials and tools.
- Use a simple soap and water solution for cleaning.
- Shine your hardware using appropriate methods for different materials.
- Maintain your hardware regularly to keep it looking fresh.
What's Inside
Getting Started
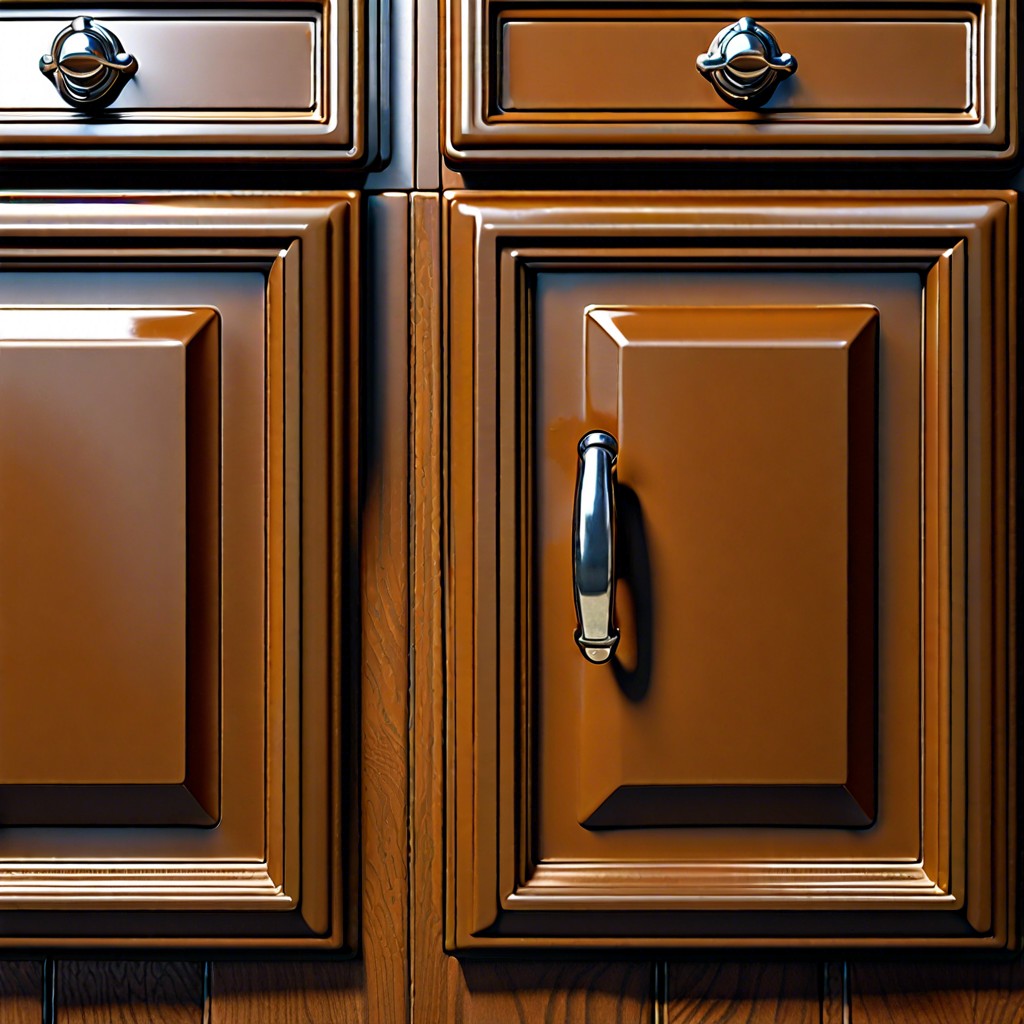
First, take a good look at all your cabinet hardware. Are they knobs, handles, or hinges? Each type might need a slightly different approach, so it’s good to know what you’re working with.
Inspect the condition of the hardware. Are they brass, stainless steel, or perhaps ceramic? Different materials can have varying cleaning needs and sensitivities.
Next, set aside some time for the task. Cleaning cabinet hardware isn’t complicated, but you don’t want to rush. Put on some music or a podcast to make the process enjoyable.
Clear out space around your cabinets. This will give you room to maneuver and avoid any accidents. Think of it as creating a little cleaning Zen garden.
Gathering Necessary Materials and Tools
First things first, arm yourself with the essentials. A good cleaning session is only as effective as the tools you bring to the job.
Grab some mild dish soap and warm water—this simple duo will tackle most grime. Have a couple of microfiber cloths handy; they’re perfect for delicate surfaces and won’t leave lint behind.
Keep a soft-bristle toothbrush in your arsenal. This little hero can get into grooves and tight spots where gunk loves to hide.
Don’t forget to have a small bowl to mix your soap solution. For those stubborn spots or tarnished bits, some baking soda and white vinegar might come in handy.
And finally, have a few soft, dry towels ready for drying everything off. Nothing fancy, just practical. Oh, and a bit of elbow grease never hurt anyone!
Simple Soap and Water Solution for All Types of Material
Picture this: You’ve got a big bucket, some warm water, and a wee bit of dish soap. That’s all you need! Think of it like giving your hardware a spa day. Here’s how to pamper those knobs and handles:
- Mix a few drops of mild dish soap with warm water. No fancy-schmancy soap required.
- Dunk a soft cloth or sponge into the soapy mix. Give it a nice squish-squash to make sure it’s not dripping everywhere like a toddler with a juice box.
- Gently wipe down the hardware. Pretend you’re polishing a crown—gentle is key!
- For stubborn gunk, use an old toothbrush. Yes, your hardware is getting a gentle dental cleaning. A few soft bristles never hurt anyone.
Voila! Your cabinet hardware is already looking happier.
Step 1: Clean and Degunk
It’s time to roll up those sleeves. Begin by filling a bowl with warm water and a few drops of mild dish soap. Dip a soft cloth or sponge into the soapy water, wring it out, and gently scrub your cabinet hardware.
For those hard-to-reach nooks and crannies, consider using an old toothbrush. It’s perfect for tackling grime and gunk. Just remember, grandma’s denture brush won’t appreciate the swap.
Sticky spots or extra stubborn residues? A bit of baking soda mixed with water forms a gentle abrasive paste. Apply it, scrub with your trusty toothbrush, and rinse away.
Finally, don’t forget to pat the hardware dry with a clean towel to avoid water spots and streaks. Plus, it gives you an excuse to use that fancy kitchen towel no one’s allowed to touch.
Step 2: Shine
Here’s where the magic happens. After cleaning, it’s time to make that hardware gleam. Grab a microfiber cloth for the best results – the unsung hero of shining missions.
First, if you have brass or copper hardware, use a paste of lemon juice and baking soda. Rub gently. It’s like a mini spa day for your handles.
Nickel or stainless steel? A dab of olive oil on a cloth works wonders. Rub it in, let it sit for a few minutes, and buffer it out. Shine bright like a diamond.
For those with a more decorative flair, like glass or crystal knobs, vinegar mixed with water in equal parts will do the trick. Spray, wipe, smile at your reflection.
Remember, the key is in the rubbing – gentle but thorough, like a cat enjoying a good ear scratch. Your hardware will thank you with extra sparkle.
Maintenance Tips for Cabinet Hardware
Keep your cabinet hardware looking snazzy with a few simple habits. Regularly wipe them down with a soft, dry cloth to clear off dust and prevent gunk build-up. A quick spritz of vinegar solution can help with tougher spots.
When cooking, use your range hood to reduce greasy residue. Trust me, your future self will thank you. Avoid abrasive cleaners; they’re like the bullies of the cleaning world and can damage finishes.
Also, check for loose screws once in a while. Tighten them up before they go missing into the abyss that is your kitchen floor. These little efforts will save you time and keep your hardware dazzling.
Troubleshooting Common Cleaning Issues
Sometimes, even after a thorough cleaning, your cabinet hardware might not look quite right. Don’t fret, it’s not you—it’s the stubborn grime!
If you notice lingering gunk around screw heads, consider using a toothpick or a cotton swab for those tricky areas. Tweezers can also work wonders for extracting hidden grime. Like picking out splinters but way more satisfying.
Are your cabinet handles still looking dull? A little polish can go a long way. Use a small amount of metal polish or even toothpaste on a soft cloth. Buff gently, and boom—shine city.
Rust or discoloration giving you a hard time? Mix a paste of baking soda and water. Apply to affected areas, let sit for a few minutes, and then scrub gently with a toothbrush. Finally, rinse with water and dry well.
Handles still sticky after cleaning? Try a vinegar and water solution. Combine equal parts in a spray bottle, spritz the hardware, wait a few minutes, then wipe clean. Sticky no more.
If your hardware is loose, grab a screwdriver and tighten those screws. It’s as simple as that. Like any good relationship, sometimes all it needs is a bit of tightening up.
Read More
 How to Choose Kitchen Cabinets: Your Ultimate Buying Guide
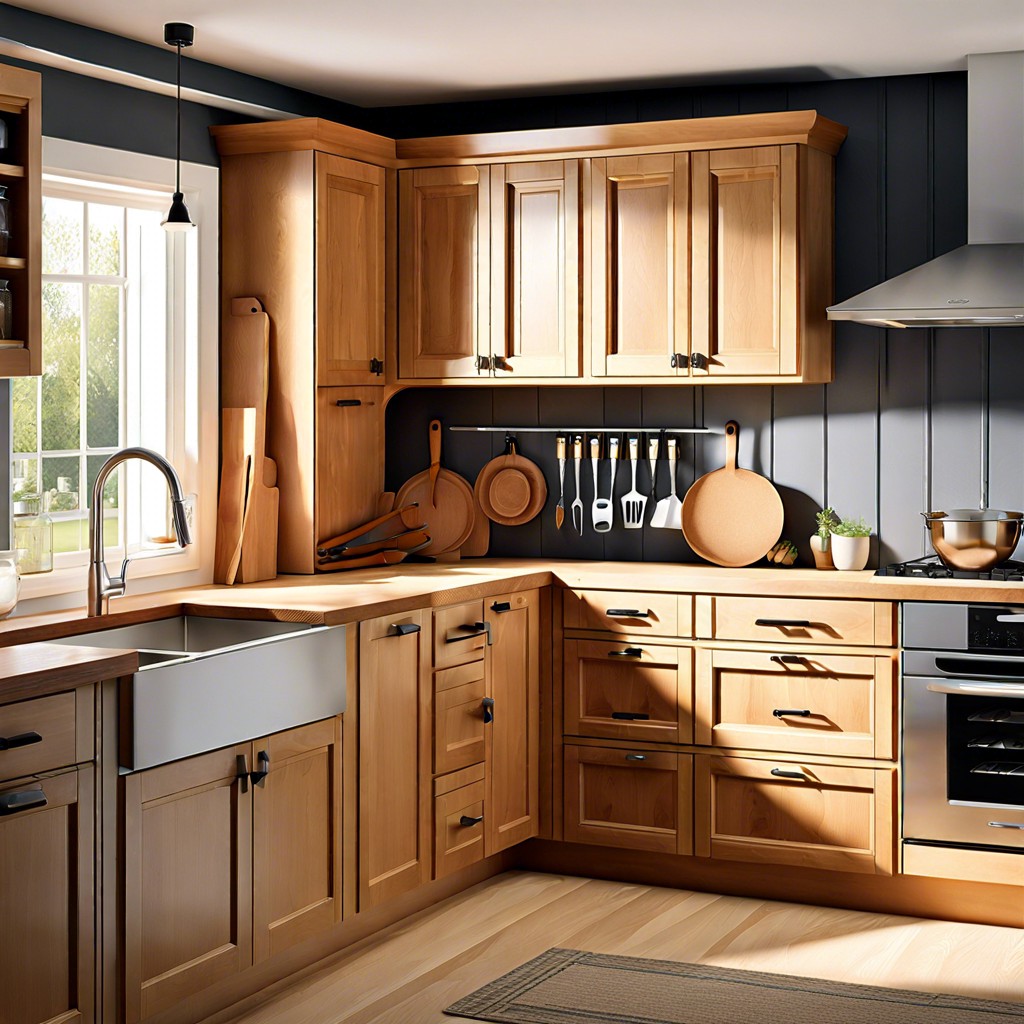 Staining Cabinets: A Step-by-Step Guide to a Fresh Look
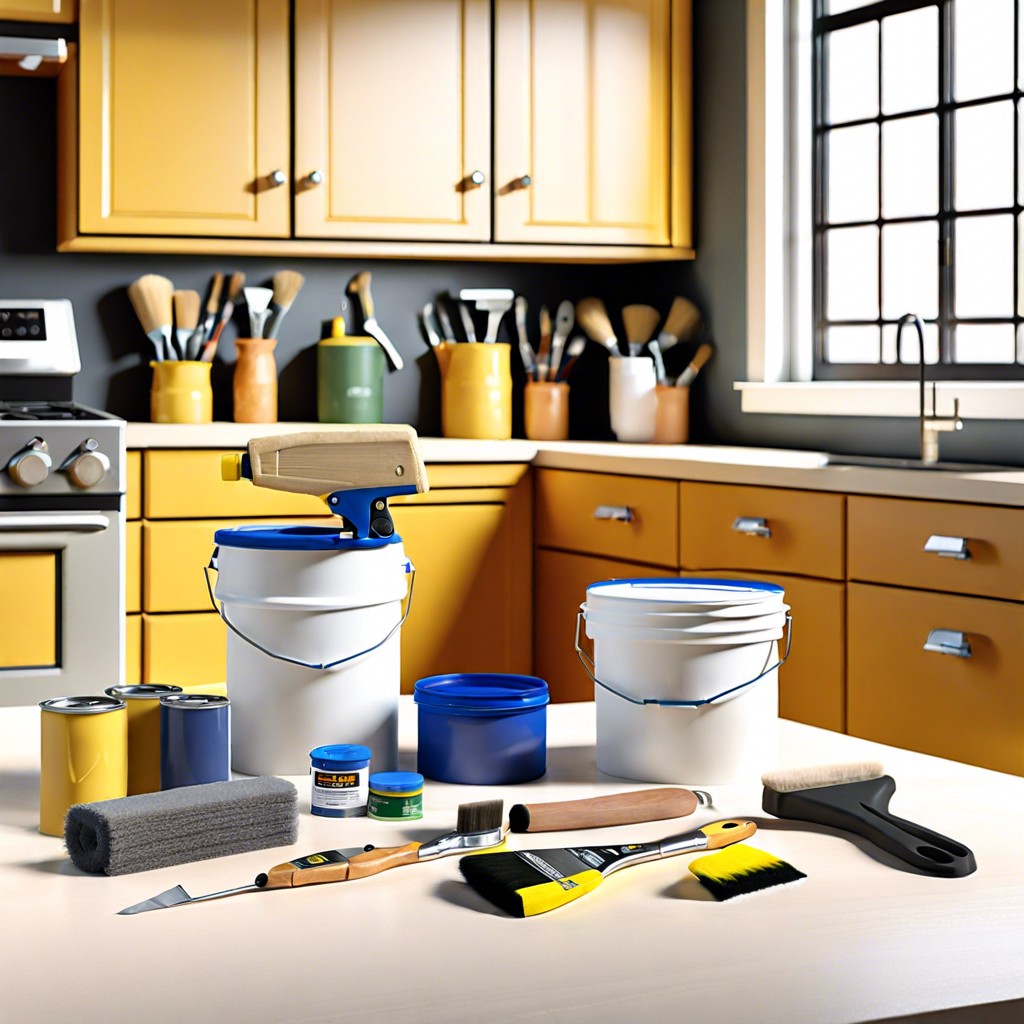 How Long Does It Take to Paint Kitchen Cabinets: A Time-Saving Guide
 Cost to Refinish Cabinets: A Cheaper Revival
 How to Install Upper Cabinets: Tips for a Perfect Kitchen Makeover