Last updated on
Learn how to effectively clean your faucet head to restore its shine and ensure proper water flow.
Key takeaways:
- Use a plastic bag filled with vinegar to clean the faucet head.
- Let the faucet head soak in the vinegar solution for an hour or overnight for a deeper clean.
- Scrub the faucet head with a toothbrush to remove any remaining grime.
- Rinse the faucet head with warm water to reveal a sparkling shine.
- Unscrew the aerator, soak it in vinegar, and reassemble for optimal water flow.
What's Inside
What You’ll Need
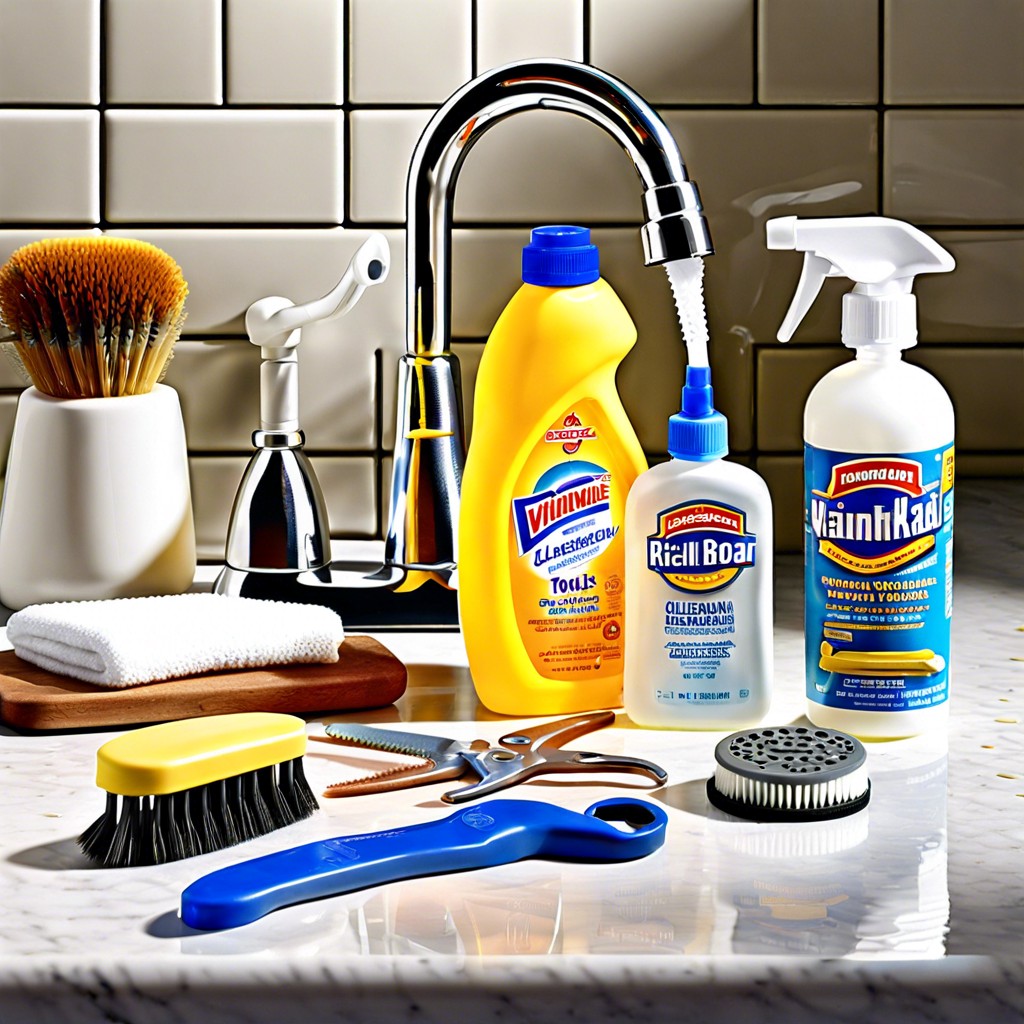
Before diving into the nitty-gritty of faucet maintenance, gather these essentials:
- A plastic bag large enough to wrap around the faucet head – this old-school trick is a lifesaver.
- White vinegar, your go-to fairy godmother for dissolving mineral build-up.
- An old toothbrush for those niggling nooks and crannies that refuse to budge.
- Baking soda, because joining forces with vinegar, it’s the dynamic duo of DIY cleaning.
- Rubber bands or zip ties – small but mighty tools to secure the vinegar-filled bag in place.
- A pair of gloves to keep your hands chemical-free and as soft as a baby’s bottom.
- A soft cloth for the final touches, buffing your faucet to a dazzling shine.
Remember, simplicity is the name of the game here – less is more when it’s effective.
Instructions
Starting with turning off the faucet’s water supply, safety is a smart move. With a dry cloth, gently wipe the surface to remove any superficial grime. Now, for a deeper clean, take out the aerator if it’s accessible by unscrewing it clockwise; be sure to keep track of the parts. If your faucet head is fixed, worry not; you can still give it a thorough cleanse.
Ready a baggy with equal parts water and white vinegar; this simple duo works wonders to dissolve mineral build-up. Secure the bag over the faucet head using a rubber band, making sure it’s fully immersed in the vinegar solution. Patience is a virtue here—allow it to soak for an hour, or even overnight for a more intense clean.
Finished with the soak? Remove the bag and give the faucet a final once-over with a non-abrasive sponge or an old toothbrush for those pesky nooks and crannies. Rinse everything with warm water, and voilà, your faucet should gleam like the morning sun! If you’ve dismantled the aerator, reverse your steps, reassembling it with care and ensuring nothing’s left behind.
How to Clean a Faucet Head With Vinegar
Let’s dive straight into the nitty-gritty of de-gunking your faucet head using plain old vinegar. This trusty kitchen staple is a cleaning champ – it’s acidic nature makes it a formidable foe against limescale and mineral deposits that can clog up your faucet.
To start, grab a plastic bag and fill it with enough vinegar to fully submerge the faucet head. Fasten it with a rubber band or a twist tie. The acetic acid in the vinegar works its magic to dissolve buildup without any harsh chemicals.
Next up, patience is a virtue. Leave the bag on for an hour. Take this time to catch up on a TV episode or read a chapter of that book you’ve been neglecting. After the wait, remove the bag, and the gunk should come off with an easy scrub using an old toothbrush. The bristles are perfect for getting into those hard-to-reach nooks and crannies.
Give the faucet head a good rinse with water afterwards to wash away any residual vinegar, and voilà! You should see a shinier, more efficient faucet that rewards your minimal effort with a full, unobstructed flow. Plus, your kitchen might just smell like a freshly tossed salad for a hot minute – bonus!
How to Clean a Faucet Aerator
Dive right in by unscrewing the aerator from the tip of the faucet using your fingers or a pair of pliers if it’s a bit stubborn. Some aerator caps are keyed and require a special tool to remove; these usually come with the faucet or can be purchased from a hardware store.
Once you have the aerator in hand, take it apart – but keep an eye on how it all fits together. A sneaky photo before you disassemble can be a lifesaver for reassembly later. You’ll likely find a mix of screens, gaskets, and a flow restrictor inside.
Get your hands on some white vinegar – it’s like liquid gold for cleaning mineral deposits. In a small bowl, let the aerator components soak in vinegar for about an hour. If you’re short on time, gently scrubbing with an old toothbrush can speed up the process.
After the soak, rinse everything off with water. Check all parts for damage; distorted gaskets or torn screens mean it’s time for a replacement. Most hardware stores carry these small parts so you won’t have to buy a whole new aerator.
Reassemble the aerator and screw it back onto the faucet. Here’s the fun part – turn on the water and watch how it flows like new. A smooth stream or perfect spray says “job well done.” No need to call a plumber when you’ve got this trick up your sleeve!


