Last updated on
Master the steps to effectively clean grout, transforming those dirty lines between your tiles into a whiter, brighter, more inviting part of your home.
Key takeaways:
- Safety first: protect yourself with gloves and test cleaners.
- Gather the right supplies: baking soda, vinegar, toothbrush, etc.
- Clear the area, sweep, and protect adjacent surfaces.
- Mix the cleaning solution: use baking soda, vinegar, or bleach.
- Apply the solution and let it sit before scrubbing.
What's Inside
Before You Begin
Embarking on your grout-cleaning journey starts with understanding the task at hand. Grout, being porous, can absorb dirt and grime, making it a breeding ground for bacteria if not cleaned properly. Different types of grout—sanded, unsanded, or epoxy—may require unique approaches, so identifying your grout type is essential.
Safety comes first. Protect yourself with gloves and ensure the room is well-ventilated, especially if you’re using chemical cleaners. Spot test your chosen cleaner in an inconspicuous area to check for any adverse reactions.
Gather your supplies, keeping in mind that what works for one surface may not suit another. For instance, colored grout might fade with the use of bleach-based products, and harsh scrubbers could damage delicate tiles. Lastly, setting realistic expectations helps. Some stains might require professional attention, but regular maintenance can keep your grout looking cleaner, longer.
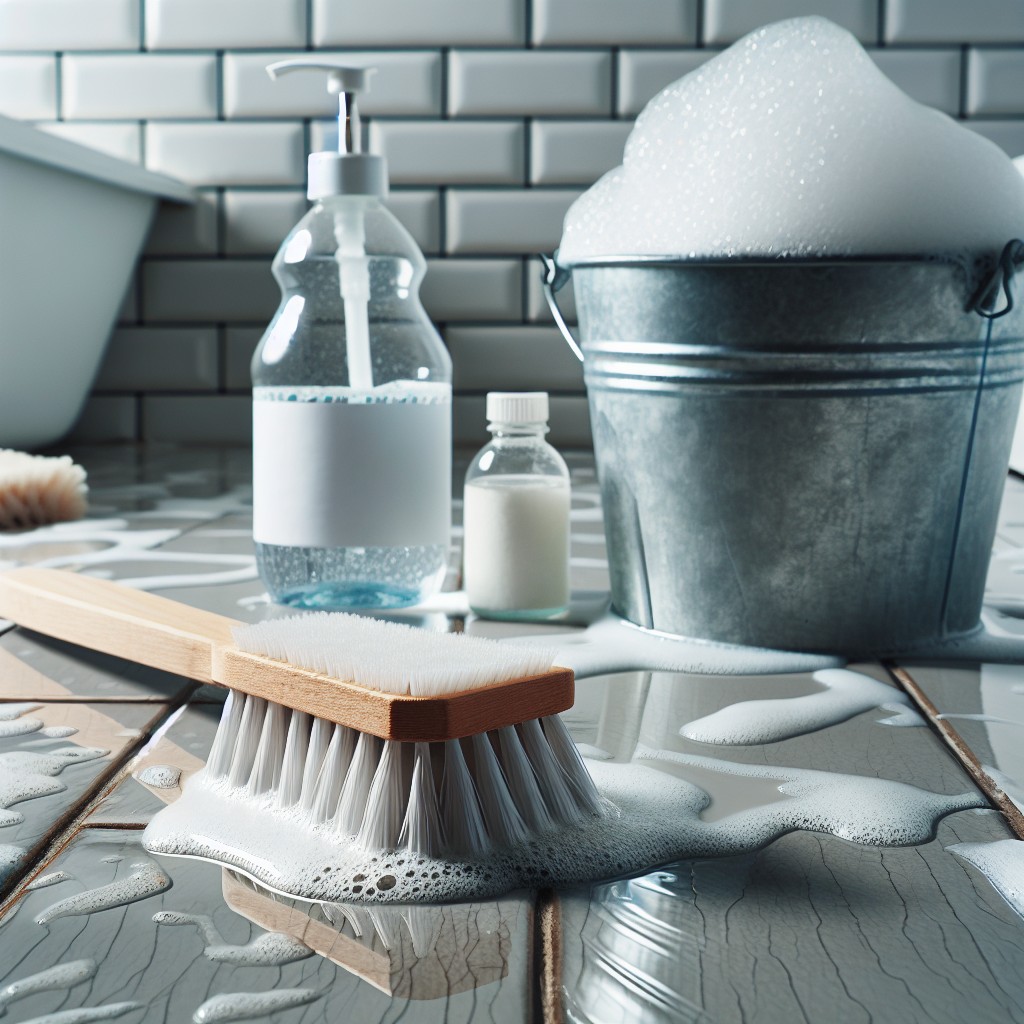
What You Need
Equipping yourself with the right tools and products is essential for a thorough cleaning session. For starters, gather these items:
- Baking soda, for its natural abrasive qualities.
- White vinegar or hydrogen peroxide, which act as potent, non-toxic disinfectants.
- An old toothbrush or grout brush, perfect for targeting those narrow lines.
- A spray bottle, which will come in handy to apply your homemade or commercial solutions.
- Rubber gloves to protect your hands from any harsh chemicals and grime.
- A bucket or bowl for mixing solutions and rinsing your brush.
- Clean rags or a mop to wipe and dry the floors post-cleaning.
- Grout sealer, to lock in your hard work and protect the grout from future stains and dirt build-up.
These items will prepare you to tackle grime, ensure an effective clean, and pave the way for maintaining the revived look of your tiled areas. Remember, the right materials not only make the job easier but can also extend the life of your grout.
Step 1: Prep the Area
Begin by clearing out any personal items, rugs, or obstacles from the area. This gives you unimpeded access to the grout needing attention.
Sweep or vacuum to remove loose dirt and debris, ensuring you’re not grinding it into the grout lines as you clean.
Protect adjacent surfaces with tape or a drop cloth, safeguarding cabinetry, baseboards, and fixtures from potential splatter.
Lastly, ensure the space is well-ventilated – open windows or use fans, as some cleaning solutions can have strong odors.
Proper preparation sets the stage for a more effective and efficient cleaning process.
Step 2: Mix the Cleaning Solution
Embarking on the journey to pristine grout, one pivotal element is concocting the right potion for the task. A go-to choice is a homemade mix of baking soda and vinegar, partnering in a fizzing dance that lifts stains and dislodges grime.
For those preferring a ready-made concoction, hydrogen peroxide or oxygen bleach are valiant allies against tougher battlements of grime. Meanwhile, chlorine bleach stands as a last resort, its potent prowess harnessed with caution.
When blending your grout-cleaning elixir, consistency is key; aim for a paste-like texture when using baking soda, allowing it to cling valiantly to vertical surfaces. Should you choose oxygen bleach, dissolve it adequately in warm water, crafting a uniform solution to avoid a patchwork outcome. With any cleaner, whether store-bought or mixed at your kitchen counter, testing a hidden spot saves you from the woes of discoloration or damage – a stitch in time, indeed.
Step 3: Apply the Solution
Once your chosen concoction is ready, it’s crucial to distribute it efficiently over the grout. Use a spray bottle for even application, allowing you to cover large areas quickly without oversaturating the tiles. For tighter spots, a small brush or toothbrush dipped in the solution will do wonders, ensuring you get into every nook and cranny.
Give the solution some dwell time; this is where the magic happens. Allowing the mixture to sit for approximately 5-10 minutes gives the active ingredients a chance to break down the dirt and grime. However, keep an eye on it: you don’t want it to dry out completely, as this will reduce its effectiveness and make the next step more laborious.
For stubborn stains, reapply the solution and let it sit a little longer. Patience here is key, as rushing through this step won’t give you the pristine finish you’re aiming for. Remember, the cleaner does the heavy lifting, significantly diminishing the elbow grease required in the subsequent scrubbing phase.
Read More
 Fruit Flies in Bathroom: How to Effectively Eliminate Them
 How Big is a Toilet Paper Roll: Comprehensive Guide and Key Details
 Sconce Height Bathroom: Comprehensive Guide for Perfect Placement
 15 Grab Bars in Shower Ideas: A Comprehensive Guide for Installation and Styling
 15 Shower Tile Trim Ideas: A Comprehensive How-to Guide