Last updated on
Discover the essential steps to effectively clean your kitchen cabinets before painting, ensuring a flawless and long-lasting finish.
Are you planning to give your kitchen a fresh new look by painting the cabinets? A coat of paint can do wonders for a tired and outdated kitchen, but before you start, there’s an important step that you shouldn’t skip: cleaning your cabinets. Proper cleaning is crucial for ensuring that the paint adheres well and lasts longer.
But how do you clean kitchen cabinets before painting? In this article, we’ll walk you through the steps to get your cabinets squeaky clean and ready for their makeover. So put on your gloves and let’s get started!
Key takeaways:
- Prepare the workspace: Remove items, cover countertops, and ensure ventilation.
- Inspect cabinets for damage: Look for cracks, chips, and scratches.
- Use the right tools: Gloves, scrub brush, microfiber cloths, bucket.
- Gather cleaning supplies: Dish soap, warm water, vinegar or TSP solution.
- Clean and degrease cabinets: Wipe down surfaces, use gentle scrubbing techniques.
What's Inside
Preparing the Workspace
Before you start cleaning your kitchen cabinets, it’s important to prepare the workspace. This will help you avoid any damage to other surfaces and make the cleaning process more efficient.
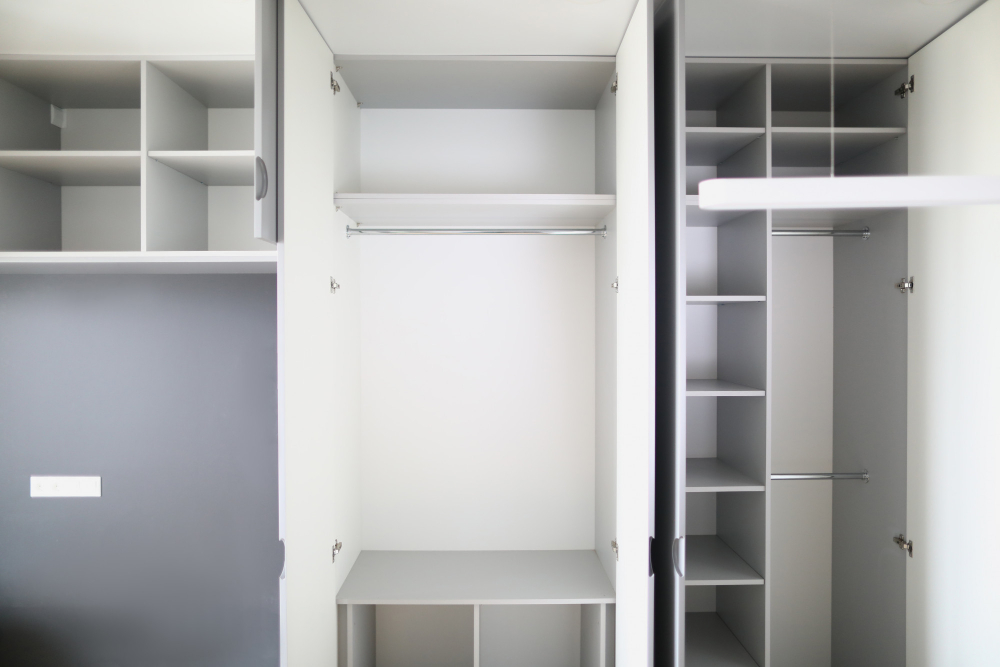
Start by removing all items from your cabinets, including dishes, pots and pans, and food containers. Place them in a safe location away from the work area.
Next, cover countertops with plastic sheets or old towels to protect them from any drips or spills during cleaning. You can also use painter’s tape around edges of walls or backsplash areas that are close to cabinet surfaces.
Ensure that there is adequate ventilation in your workspace before starting any cleaning activity as some cleaners may have strong fumes which could be harmful if not properly ventilated.
Importance of Pre-Work
This step will help ensure that the cleaning process goes smoothly and effectively. First, clear out all items from your cabinets so that you have easy access to every surface.
Next, cover any nearby surfaces with plastic or drop cloths to protect them from splatters and drips during the cleaning process.
It’s also a good idea to inspect your cabinets for any damage or wear before starting the cleaning process. Look for cracks, chips, scratches or other signs of damage on cabinet doors and frames as well as shelves inside the cabinet.
By doing this pre-work upfront before diving into deep-cleaning mode can save time in case there is significant repair work needed which would require additional steps such as sanding down rough spots or filling in holes with wood filler.
Choosing the Right Tools
Having the right tools will make your job easier and more efficient. Here are some of the essential items you’ll need:
1. Gloves: Protect your hands from harsh chemicals by wearing rubber gloves.
2. Scrub Brush: Use a soft-bristled brush or sponge to scrub away dirt and grime.
3. Microfiber Cloths: These cloths are perfect for wiping down surfaces without leaving streaks or lint behind.
4. Bucket: Fill a bucket with warm water for rinsing off cleaning solutions.
- Vacuum Cleaner with Brush Attachment: Use this tool to remove any loose debris before starting on cabinet surfaces.
- Toothbrush (Optional): A toothbrush can be useful in getting into tight corners that may be difficult to reach with larger brushes.
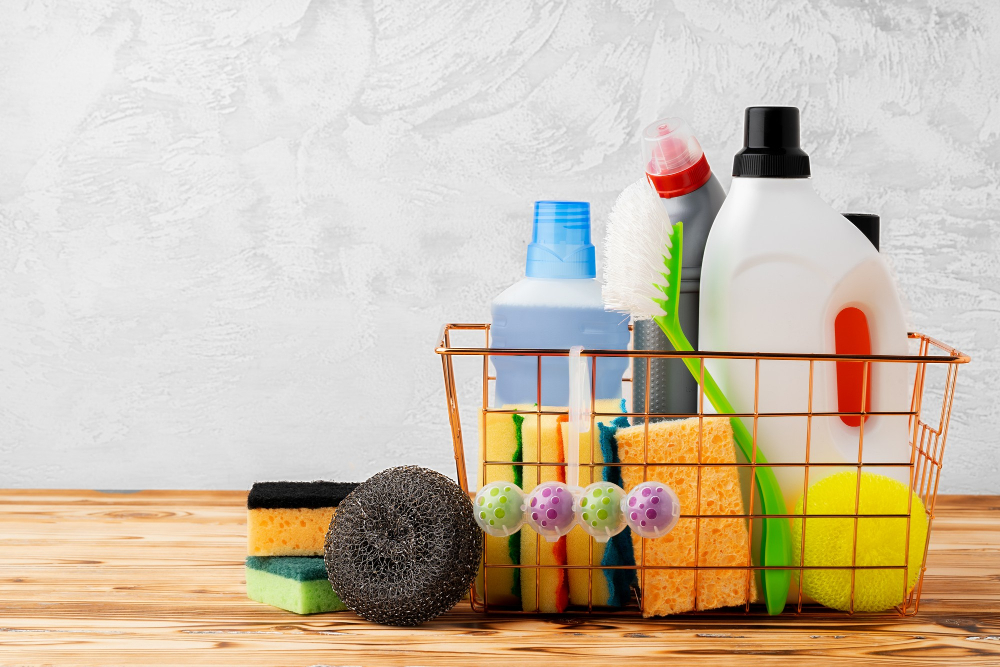
Gathering Cleaning Supplies

You’ll need a few basic items that you probably already have at home, such as dish soap and warm water. However, there are some specialized products that can make the job easier and more effective.
Firstly, consider investing in a degreaser or TSP (trisodium phosphate) solution for removing stubborn grease and grime buildup on kitchen cabinets. These products are especially useful if you haven’t cleaned your cabinets in a while or if they’re located near the stove where cooking oils tend to splatter.
You’ll also need microfiber cloths or sponges for wiping down cabinet surfaces without leaving streaks behind. Avoid using abrasive scrubbers like steel wool pads since they can scratch wood finishes.
Lastly, don’t forget about safety gear! Wear gloves to protect your hands from harsh chemicals and use eye protection when spraying cleaners onto vertical surfaces above head height.
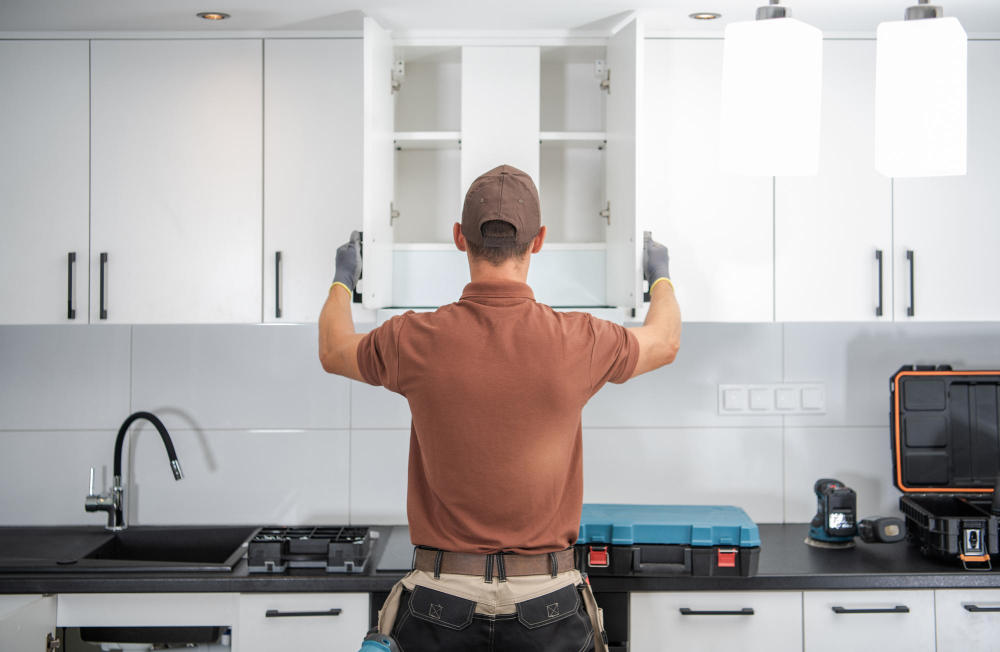
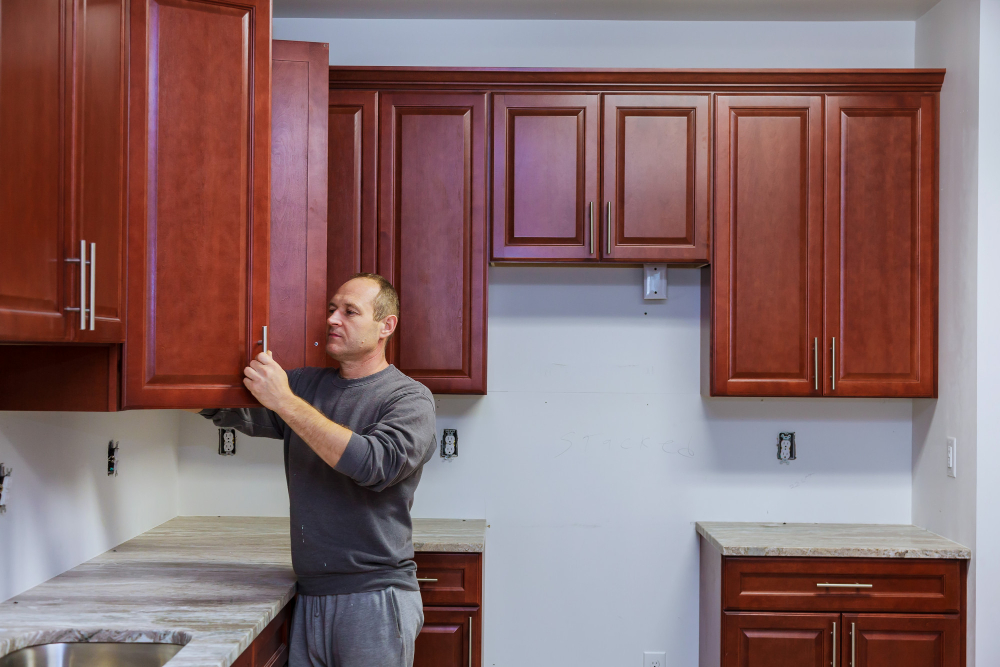
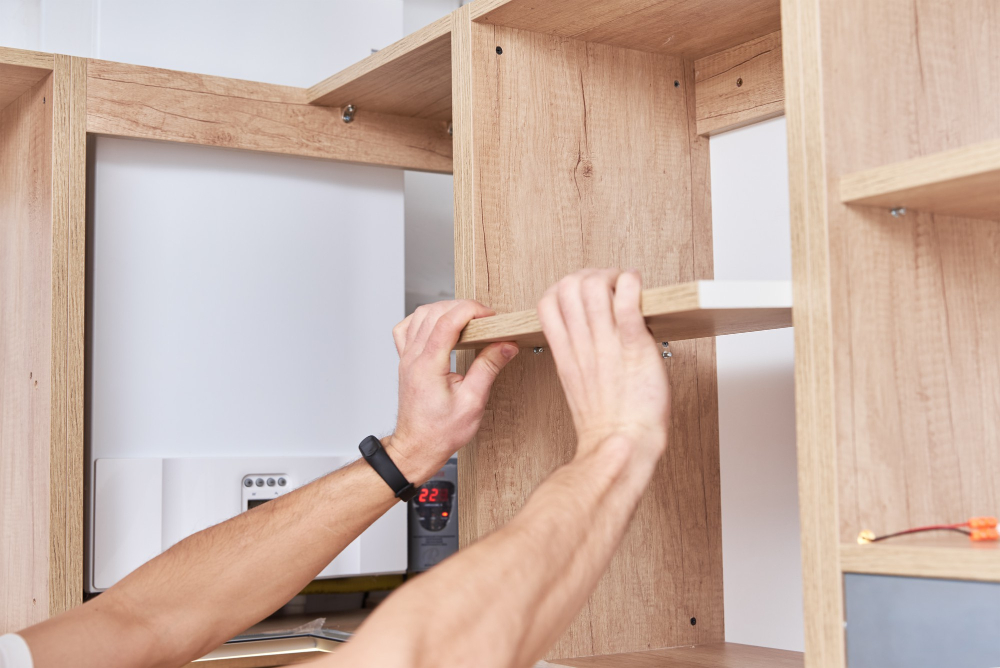
Removing Cabinet Doors
This will make it easier to access all surfaces and ensure that you don’t miss any spots. Use a screwdriver or drill to remove the hinges from both the door and frame, then gently lift off each door and set them aside.
As you remove each door, label it with a piece of tape so that you can easily remember which one goes where when it’s time for reassembly. If your cabinets have adjustable shelves, consider removing those as well for better access during cleaning.
Once all doors are removed, take some time to inspect them closely for any damage or wear-and-tear that may need repair before painting. Look out for cracks in wood panels or chipped paint on edges – these should be addressed before moving forward with your project.
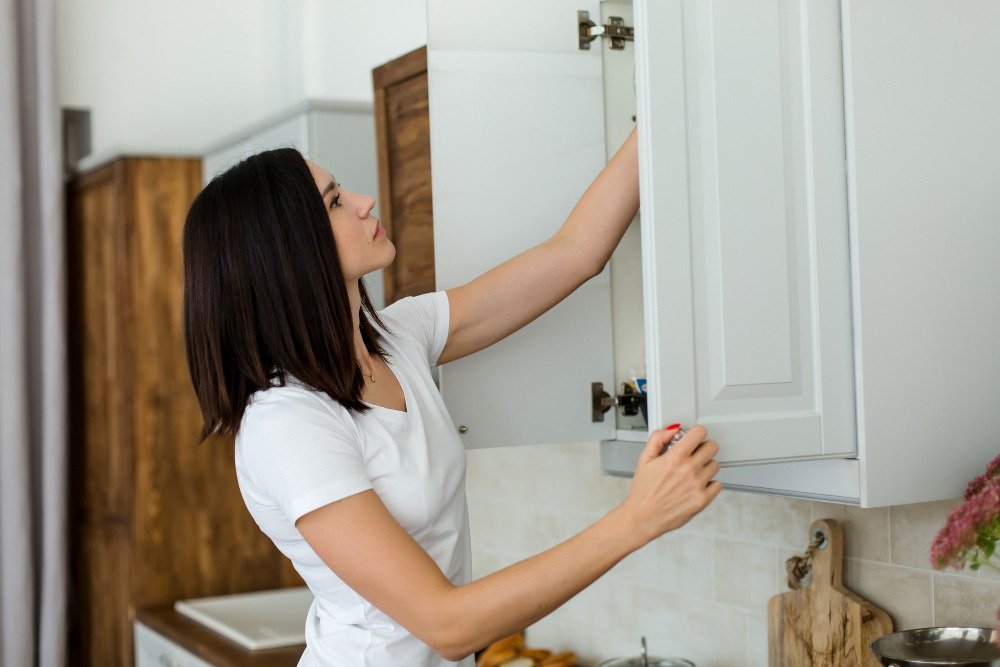
Inspecting Wood Cabinets
This step will help you identify areas that need extra attention during the cleaning process and ensure that your cabinets are in good condition before painting.
Start by examining the cabinet doors, drawers, and frames for cracks, dents or scratches. If there is any significant damage to the wood surface of your cabinets such as deep scratches or gouges then they may require repair work before proceeding with painting.
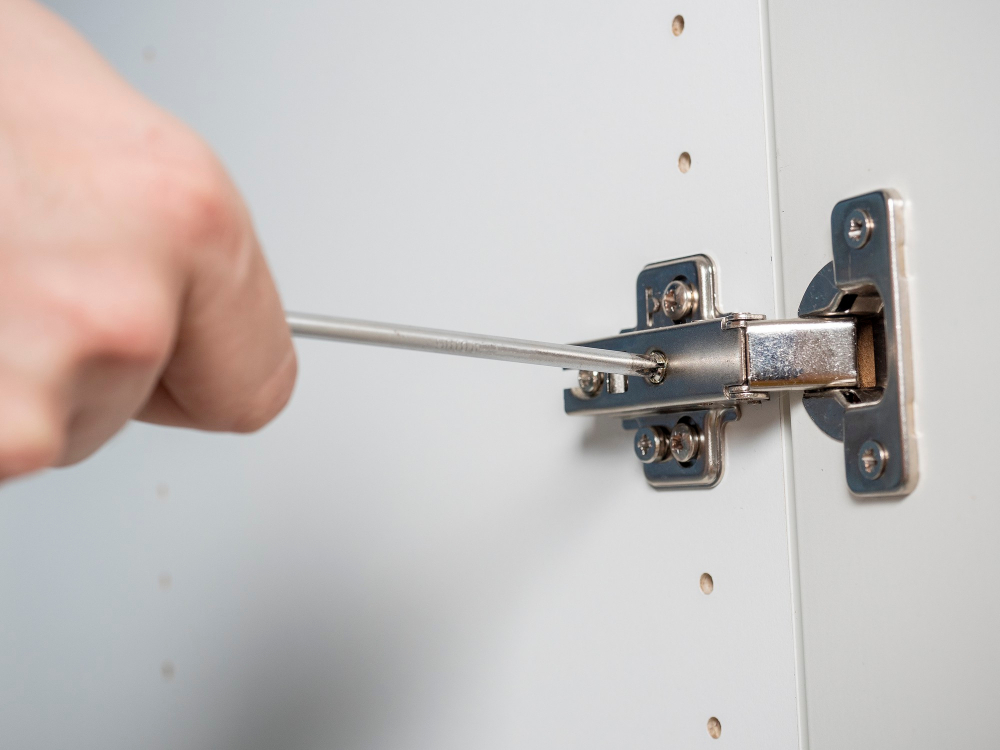
Also check if there are any loose hinges or handles which can be tightened up easily using a screwdriver. Inspecting these small details beforehand will save time later on when you’re ready to paint.
Best Way to Clean Kitchen Cabinets Before Painting
Start by preparing the workspace, removing any items from the countertops and floors, and covering them with drop cloths or plastic sheets. Next, gather your cleaning supplies such as dish soap, warm water, vinegar or TSP solution (trisodium phosphate), microfiber cloths or sponges.
Before you start scrubbing away at your cabinets’ surfaces with these cleaning solutions though it’s important to inspect them for any damage like cracks in woodwork which may need repairing first using wood filler. Once you’ve done this step then begin by wiping down cabinet doors with a damp cloth followed by degreasing them using either vinegar mixed into hot water solution (1:2 ratio) or TSP diluted according to instructions on packaging.
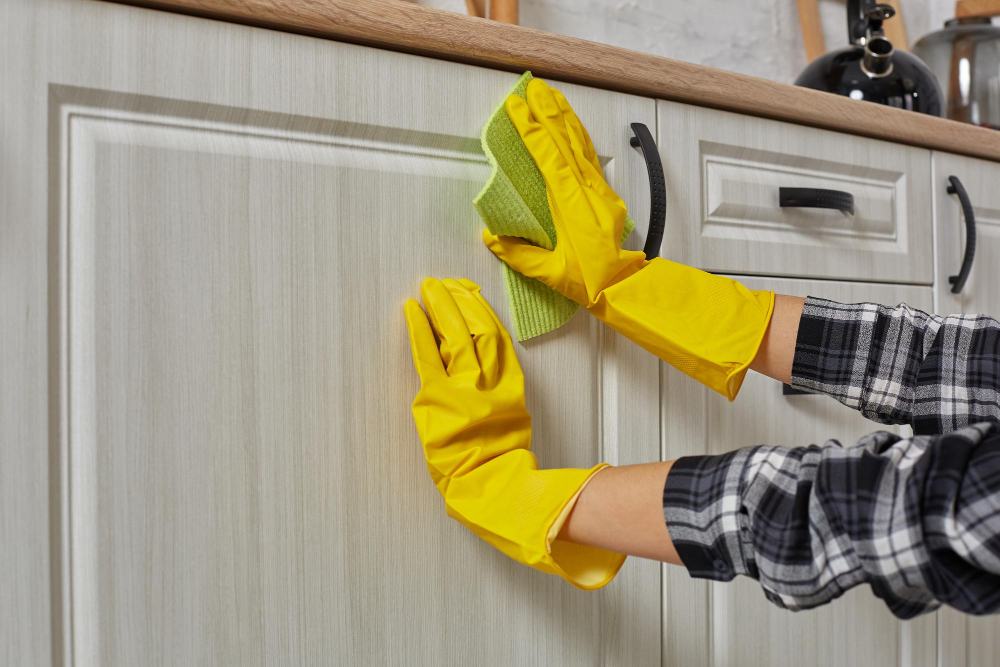
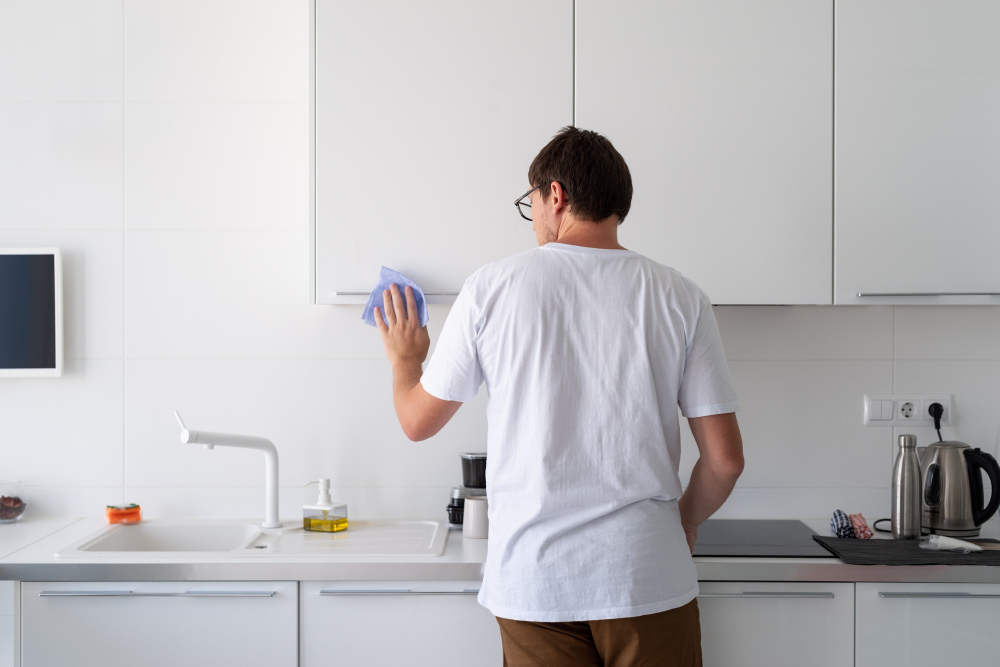
Cleaning Cabinet Surfaces
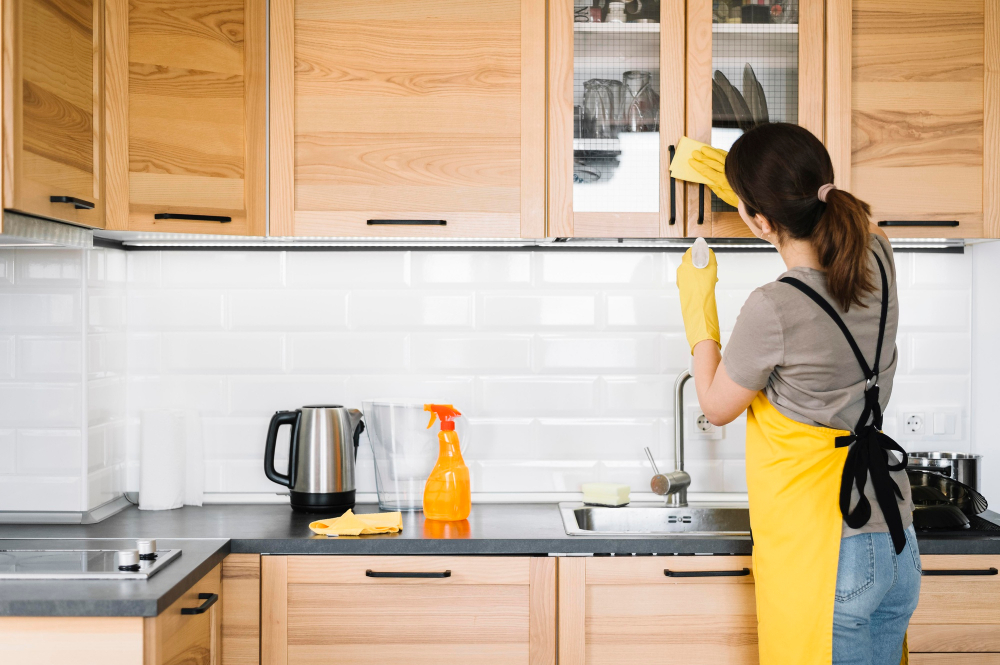
Start by wiping down all visible areas with a soft cloth or sponge and warm water. For stubborn stains or grease buildup, use a gentle cleaning solution such as dish soap mixed with warm water.
Avoid using harsh chemicals that can damage your cabinets’ finish. If you’re unsure about which cleaning products are safe for your cabinets, test them on an inconspicuous area first.
Pay special attention to areas around handles and knobs where dirt and grime tend to accumulate over time. Use a toothbrush or small brush dipped in the cleaning solution to scrub these hard-to-reach spots thoroughly.
Remember not to oversaturate your cabinets with water as this can cause warping or swelling of wood materials. Wipe off any excess moisture immediately after washing each section of the cabinet surface.
Degreasing Cabinets
One of the most important steps in this process is degreasing. Kitchen cabinets are exposed to a lot of grease and grime from cooking, which can build up over time and make it difficult for paint to adhere properly.
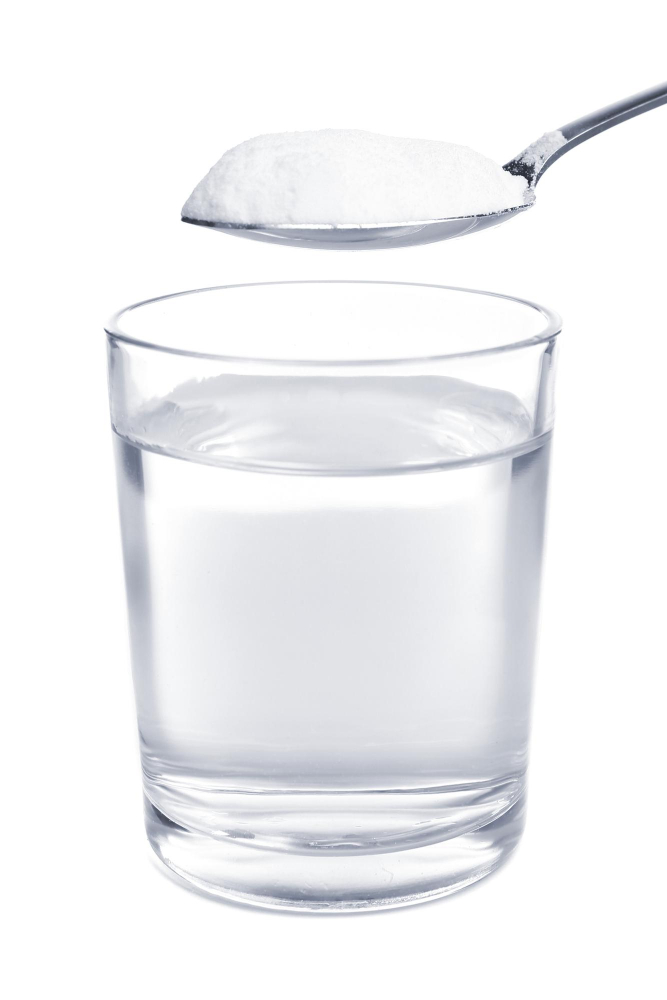
To degrease your kitchen cabinets effectively, you’ll need a strong cleaner that can cut through the grease without damaging the wood or finish. There are many commercial cleaners available on the market specifically designed for this purpose, but you can also make your own solution using household ingredients like vinegar or baking soda.
When applying a degreaser solution, be sure to follow all safety precautions listed on the product label or recipe instructions. Wear gloves and protective eyewear if necessary as some solutions may contain harsh chemicals that could irritate skin or eyes.
Apply an even coat of cleaner onto each cabinet surface with a soft cloth or sponge while paying extra attention to areas around handles where buildup tends to accumulate more frequently than other parts of cabinetry surfaces. Allow enough dwell time before wiping off with clean water-dampened cloth until no residue remains behind.
Using a TSP Solution
One of the most effective ways to clean kitchen cabinets before painting is by using a TSP (trisodium phosphate) solution. This powerful cleaner can cut through grease, grime, and other stubborn stains that may have accumulated on your cabinet surfaces over time.
To use a TSP solution for cleaning your kitchen cabinets:.
- Mix one tablespoon of TSP with two cups of warm water in a bucket.
- Wear gloves and protective eyewear while handling this strong chemical.
- Dip a sponge or cloth into the solution and wring out excess liquid.
- Wipe down all cabinet surfaces thoroughly with the sponge or cloth.
- Rinse off any residue with clean water.
Note that you should avoid using too much water when cleaning wood cabinets as excessive moisture can cause damage over time.
Gentle Scrubbing Techniques
When scrubbing the surfaces of your kitchen cabinets, it’s important to use gentle techniques that won’t damage the wood or finish. Start by using a soft cloth or sponge dampened with warm water and mild dish soap.
Avoid using abrasive sponges or steel wool as they can scratch the surface of your cabinets.
For stubborn spots like grease buildup around handles, you may need to apply a bit more pressure while scrubbing. In this case, try adding baking soda to your soapy solution for extra cleaning power without damaging the cabinet surface.
Remember not to oversaturate wooden surfaces with water as this can cause warping and other damage over time. After gently scrubbing each section of cabinetry thoroughly, rinse off all soap residue with clean water before moving on.
Addressing Stubborn Spots
These can include grease stains, food residue, or even marker or crayon marks left by little ones. Don’t worry; there are ways to tackle these tough spots.
One effective method is to use baking soda and water. Mix equal parts of both ingredients until you have a paste-like consistency.
Apply the mixture directly onto the spot and let it sit for 5-10 minutes before gently scrubbing with a soft-bristled brush.
For more stubborn stains like ink or permanent marker, try using rubbing alcohol instead of water in your baking soda mixture.
If all else fails, consider sanding down the affected area lightly before applying primer and paint over it.
Rinsing the Cabinets

Rinsing is an essential step in cleaning kitchen cabinets before painting because any leftover soap or cleaner residue can interfere with paint adhesion and cause peeling or bubbling later on.
To rinse your cabinets, use a clean sponge or cloth dampened with warm water. Wipe down each surface carefully, making sure to remove all traces of soap and grime.
Change the water frequently as it becomes dirty.
Once you’ve rinsed off all the cleaning solution from your cabinet doors and frames, dry them completely using a clean towel or rag. Make sure there are no wet spots left behind that could affect paint application.
Drying Cabinets Thoroughly
Any remaining moisture can interfere with the adhesion of paint or primer and cause bubbling or peeling later on. To ensure that your cabinets are completely dry, use a clean cloth or paper towel to wipe away any excess water from all surfaces, including inside drawers and shelves.
Next, leave the cabinet doors and drawers open for several hours (or overnight) so that air can circulate freely around them. This will help speed up the drying process and prevent any lingering moisture from causing problems down the line.
If you’re in a hurry or want to be extra cautious about drying time, consider using a fan or hairdryer set on low heat to blow air over your cabinets. Just be sure not to hold it too close as this could damage wood finishes.
Surface Preparation
Surface preparation is a crucial step that ensures the paint adheres well and creates a smooth finish. Before you start sanding or priming, inspect your cabinets for any damage such as cracks, dents or scratches.
Repair any issues with wood filler and let it dry completely before proceeding.
Next up is scuff sanding – this process involves lightly sanding the cabinet surfaces to create a rough texture that helps primer adhere better. Use fine-grit sandpaper (220 grit) and work in circular motions until all areas are evenly sanded.
After scuff-sanding comes applying primer – this step seals porous wood fibers and provides an even base coat for paint application later on. Choose a high-quality oil-based primer specifically designed for kitchen cabinetry; apply using long strokes in one direction only.
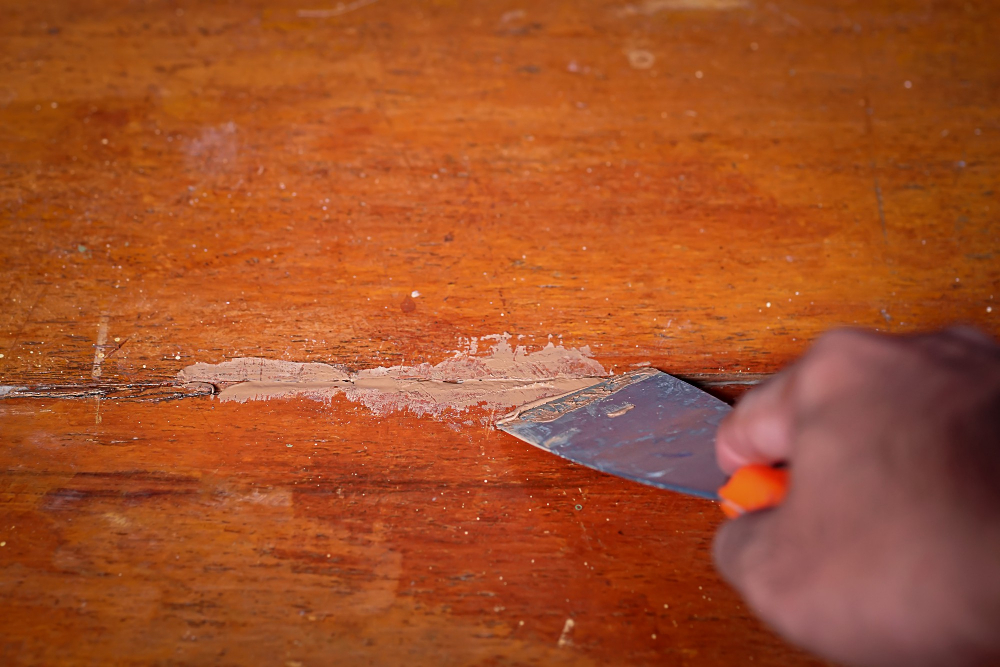
Repairing Any Damage
Look for cracks, dents, scratches or holes in the woodwork. If you find any damage, it’s important to fix it before painting as paint won’t cover up these imperfections and may even highlight them.
Small scratches can be filled with wood filler and sanded down once dry. For larger damages like dents or holes, use a putty knife to apply the filler into the damaged area until level with the surrounding surface of your cabinet door or drawer front.
Allow time for drying according to manufacturer instructions then sand smooth using fine-grit sandpaper until flush with surrounding surfaces. Once repaired and sanded smooth again wipe clean all surfaces thoroughly so they are free from dust particles which could affect adhesion when applying primer coat later on in this process.
Scuff Sanding Cabinets
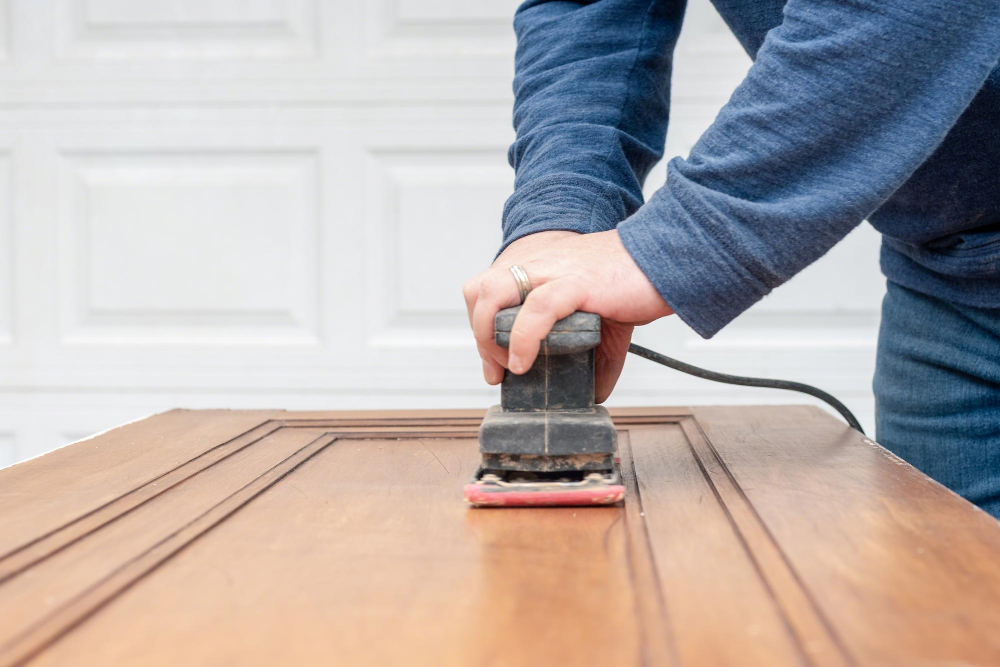
Scuff sanding is a process of lightly abrading the surface of the wood to create a rough texture that helps paint adhere better. It also removes any remaining gloss or sheen from previous finishes.
To scuff sand your cabinets, you’ll need 220-grit sandpaper and a hand sander or an orbital sander. Start by removing all hardware such as knobs, handles, hinges etc., then use your hand sander or orbital sander with 220-grit paper to gently rub down each cabinet surface until it feels slightly rough.
Be careful not to oversand; you don’t want to remove too much material from the wood. Afterward, wipe away any dust with a clean cloth before moving on.
Scuff-sanding is an essential step in preparing kitchen cabinets for painting because it ensures that primer and paint will stick well without peeling off later on due to poor adhesion caused by smooth surfaces.
Applying a Primer

A primer helps the paint adhere better to the surface and provides an even base for color application. It also seals any stains or discolorations that may have been missed during cleaning.
When selecting a primer, choose one that’s specifically designed for kitchen cabinets. These primers are formulated to withstand high humidity levels and resist staining from food splatters or grease buildup.
Before applying the primer, make sure you’ve covered all surfaces with painter’s tape to protect areas you don’t want painted. Use a brush or roller (depending on your preference) to apply an even coat of primer over all cabinet surfaces – including doors, drawers, frames and sides – following manufacturer instructions regarding drying time between coats.
Once dry (usually 24 hours), lightly sand any rough spots using fine-grit sandpaper before wiping down with a clean cloth again in preparation for painting.
Selecting the Paint
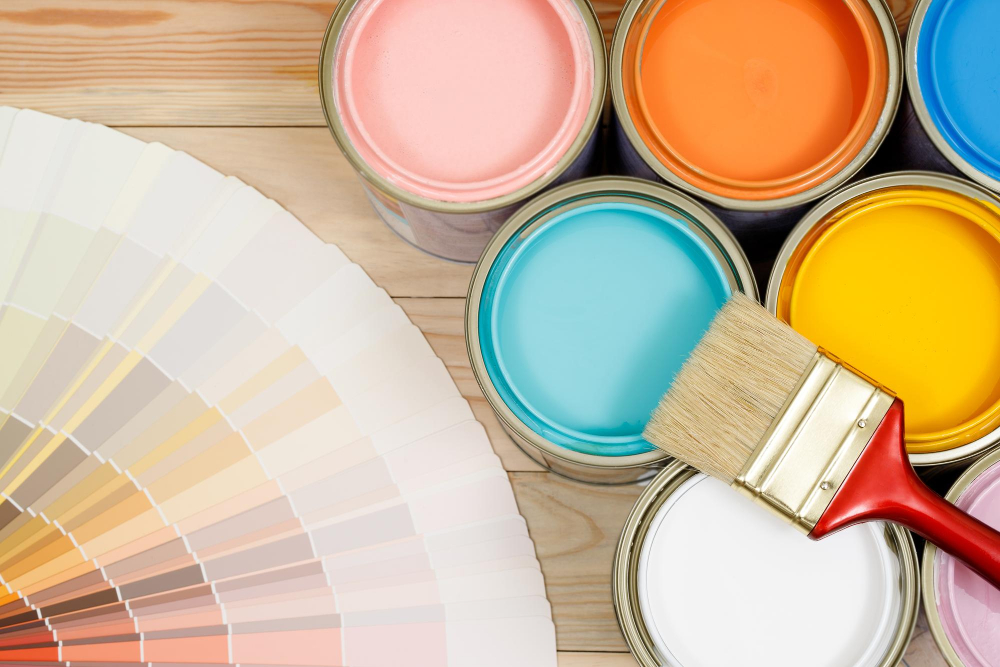
Choosing the right type of paint is crucial for achieving a professional-looking finish that will last for years to come. When selecting a paint, consider factors such as durability, ease of application, and color options.
For kitchen cabinets specifically, it’s best to choose a high-quality enamel or acrylic latex paint that can withstand frequent cleaning and exposure to moisture. These types of paints are also easy to clean up with soap and water.
When it comes to colors, white is always a classic choice for kitchen cabinets as it creates an airy feel in the space while making other elements stand out. However, if you’re feeling bold or want something unique try experimenting with different shades like navy blue or forest green.
Paint Application Tips
Here are some tips for a smooth and successful application:.
1. Use a high-quality brush or roller: A good quality brush or roller will help you achieve an even finish with fewer strokes.
2. Apply thin coats: It’s better to apply several thin coats of paint than one thick coat that can drip or sag.
3. Allow sufficient drying time between coats: Follow the manufacturer’s instructions for drying times between each coat of paint.
4. Paint in the right order: Start by painting the inside edges and openings of cabinet doors before moving on to larger surfaces like panels, sides, and fronts.
5. Don’t forget about hardware: If you’re not replacing your cabinet hardware, make sure to remove it before painting so that you can get full coverage on all surfaces.
By following these simple tips, your newly painted kitchen cabinets will look beautiful for years to come!.
FAQ
Can I use Dawn to clean kitchen cabinets?
Yes, you can use Dawn to clean kitchen cabinets as it effectively removes grease, splatters, and food messes with a simple solution of dish soap and water.
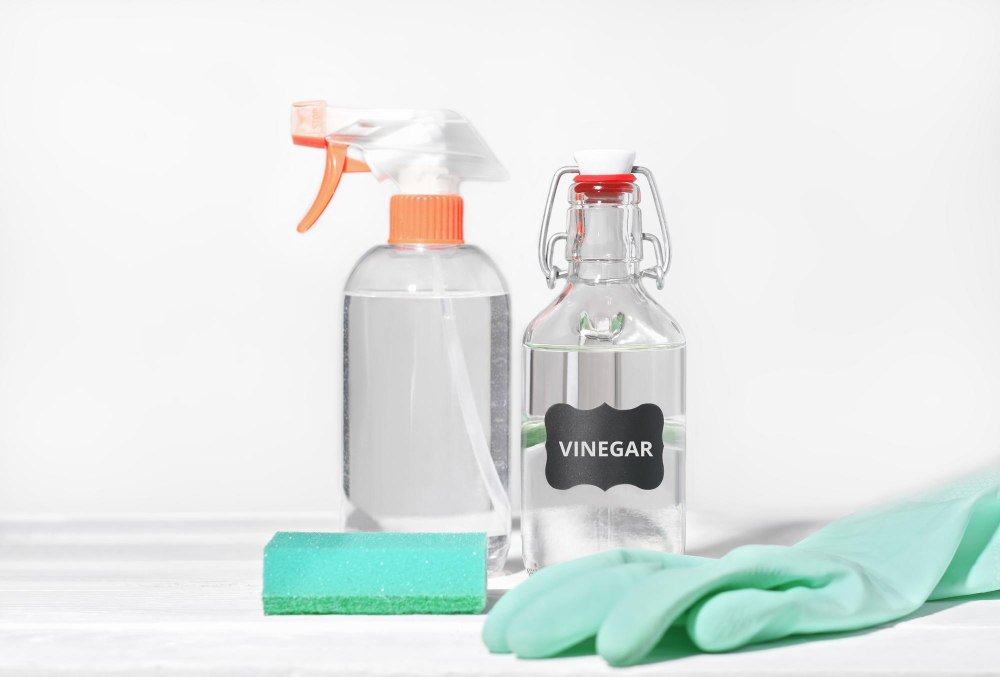
What is the best cleaner for wooden kitchen cabinets?
The best cleaner for wooden kitchen cabinets is a 50/50 solution of vinegar and warm water.
What is the best cleaner to get grease off of kitchen cabinets?
The best cleaner to get grease off of kitchen cabinets is warm, soapy water, as dish soap is designed to cut through grease.
How do you clean sticky wood cabinets?
To clean sticky wood cabinets, mix 1 cup of water, 1 teaspoon of white toothpaste, and 2 tablespoons of baking soda, then scrub cabinets with a sponge dipped in the mixture and rinse with a damp cloth.
What type of degreaser should be used for cleaning kitchen cabinets prior to painting?
“A suitable degreaser for cleaning kitchen cabinets prior to painting is a water-based, non-abrasive cleaner specifically designed for surfaces to be painted.”
How can I effectively remove stains from wooden cabinets before applying paint?
To effectively remove stains from wooden cabinets before applying paint, you should clean the surface with a wood cleaner and degreaser, then lightly sand it for better paint adhesion.
Are there any natural cleaning solutions suitable for preparing kitchen cabinets for painting?
Yes, a natural cleaning solution of equal parts vinegar and water is suitable for preparing kitchen cabinets for painting.


