Last updated on
Learn the effective steps to eliminate grease from your kitchen exhaust fan, ensuring it runs efficiently and safely.
Key takeaways:
- Wear protective gloves and gather necessary tools/materials
- Turn off kitchen exhaust fan and confirm power is off
- Use a degreasing cleaner or create a natural solution
- Clean blades, interior, and soak the filter
- Rinse thoroughly, dry completely, and reassemble
What's Inside
What You’ll Need
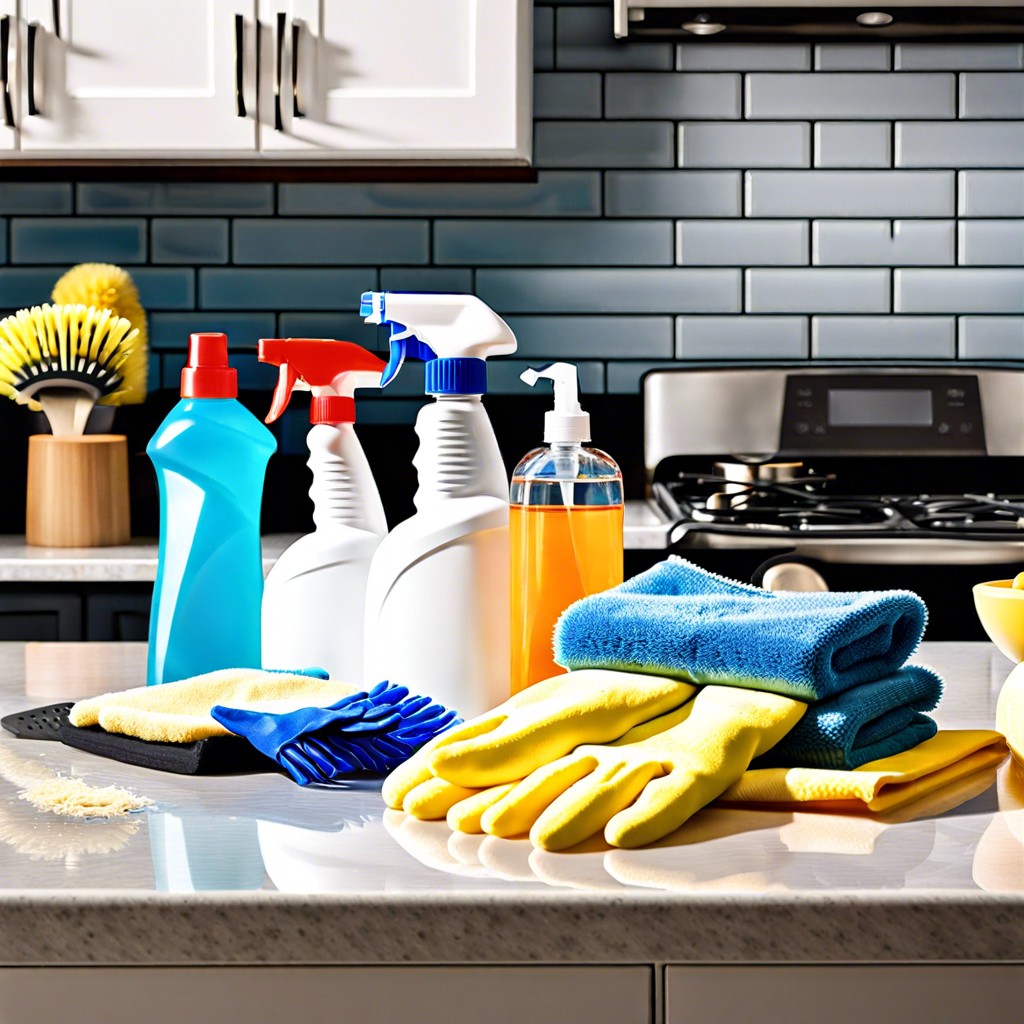
Equipping yourself with the right tools and materials is essential for tackling grease effectively. Here’s the breakdown:
- Protective Gloves: Grease can be grimy and difficult to handle, and some degreasing solutions can be harsh on the skin.
- Degreasing Cleaner: Choose a cleaner specifically designed to cut through grease. Natural options like a vinegar and baking soda solution can also work wonders.
- Soft-Bristle Brush: This will be gentle on the fan parts and effective at scrubbing away sticky residues.
- Screwdriver: Often necessary for removing the cover or filter for thorough cleaning.
- Warm Water: Helps in diluting the cleaner and softening the grease.
- Microfiber Cloths or Sponges: Ideal for wiping surfaces without leaving lint or scratches behind.
- Toothbrush or Paint Brush: These can reach into the nooks and crannies, ensuring a detailed clean.
- Large Pan or Basin: Perfect for soaking the filter.
- Paper Towels or Old Towels: Useful for laying under the area you’re cleaning to protect surfaces and for drying washed parts.
Having this lineup at your disposal streamlines the process, ensuring you can dive straight into the task with efficiency and effectiveness.
Switch Off the Kitchen Exhaust Fan
Before diving into the grease-cleaning process, safety is paramount. Ensuring that the exhaust fan is powered down eliminates the risk of electrical accidents.
Locate the circuit breaker or the switch controlling power to your kitchen fan and turn it off. Take a moment to confirm that the fan is not operational by trying to turn it on briefly. This is an essential step that not only keeps you safe from electrical hazards but also prevents the fan from accidentally being turned on during the cleaning process.
If your exhaust has a light or any other electrical component, make sure those are off as well. With the power securely disabled, you can proceed to clean the exhaust fan without worry.
Prepare a Degreasing Cleaning Solution
Diving right into the concoction that’s going to tackle the tough grease, you have several options at your disposal. If you’re looking for something readily available in your kitchen, a mixture of warm water and dish soap can work wonders. For a more robust solution, combine 1/4 cup of baking soda with a few squirts of liquid dish soap and a gallon of hot water.
For those who prefer commercial products, there are many degreasers on the market specifically designed for kitchen grease. These products often require you to simply spray them on the affected area, wait a prescribed amount of time, and then wipe away the grime.
Alternatively, white vinegar with water in equal parts makes an effective natural degreasing agent. Spraying this solution and letting it settle for a few minutes will help in breaking down the grease.
When using any degreasing agent, make sure you wear gloves to protect your hands. Also, keep the area well-ventilated as fumes from commercial cleaners or even the vinegar can be quite potent. Remember, the cleaning solution should be capable enough to cut through the grease but gentle enough not to damage the exhaust fan parts.
Clean the Exhaust Fan Blades and Interior, Along With the Filter
Diving straight into the heart of the process, here’s the step-by-step approach to tackling the grease on your exhaust fan blades and interior:
1. Remove the filter: Most filters are designed for easy removal. Slide or pop it out according to your model’s instructions.
2. Soak the filter: Submerge the filter in your prepared degreasing solution. Let it sit for a good 10 minutes or so to break down the accumulated grime.
3. Wipe the blades and interior cover: While the filter is soaking, dip a cloth or sponge in the degreaser and begin wiping the blades and interior cover. Work in a circular motion to loosen the grease effectively.
4. Reach the nooks and crannies: Use an old toothbrush or a specialized cleaning brush to get into the hard-to-reach areas where grease tends to build-up.
5. Rinse thoroughly: Once the grease has been removed, it’s important to rinse these parts with clean water. A well-rinsed fan will perform better and prevent any cleaning solution from becoming a sticky residue.
6. Dry everything completely: Moisture is the enemy of exhaust fans as it can lead to rust or mold. Dry each component with a clean, soft towel before reassembling.
Remember, regular cleaning can prevent the arduous task of removing thick, baked-on grease and will prolong the life of your kitchen exhaust fan. It’s not just about cleanliness; it’s about maintaining an efficient, fire-safe kitchen environment.


