Last updated on
Discover the most effective techniques for maintaining sparkling clean kitchen mats with our easy-to-follow guide, ensuring a hygienic and visually appealing cooking space.
Kitchen mats are an essential part of any household. They not only add to the aesthetics of your kitchen but also provide a comfortable cushioning for your feet while you stand and work.
However, with constant use, these mats can quickly accumulate dirt, grime, and spills that can make them look unsightly and unhygienic. Cleaning kitchen mats may seem like a tedious task, but it’s a necessary one to ensure the longevity of your mats as well as maintain a clean environment in your kitchen.
In this article, we will guide you through some simple yet effective ways to clean your kitchen mats and keep them looking fresh and new for years to come.
Key takeaways:
- Choose the right size and material for your kitchen mat.
- Different types of kitchen mats offer unique features and benefits.
- Gather cleaning supplies like a vacuum, soap, and brush.
- Remove loose debris and vacuum the mat regularly.
- Spot clean stains and follow care instructions for machine or hand washing.
What's Inside
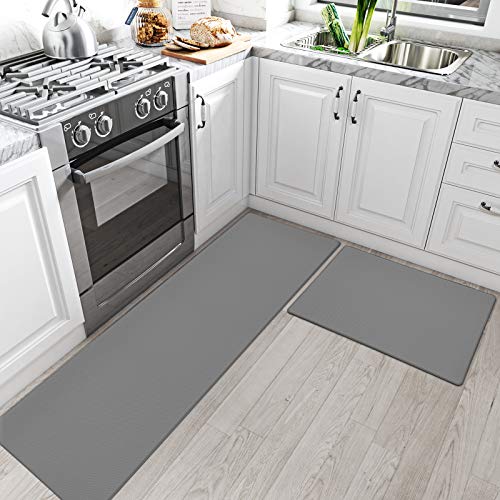
Choose the Right Mat

When it comes to choosing the right kitchen mat, there are a few things you should consider. First and foremost, think about the size of your kitchen and where you plan on placing the mat.
You want to make sure that it fits comfortably in your space without being too small or too large.
Next, consider what type of material would work best for your needs. Rubber mats are great for providing cushioning and slip-resistance but can be difficult to clean if they have deep grooves or textures.
Foam mats offer excellent comfort but may not be as durable over time.
Lastly, think about any specific features that might benefit you such as anti-fatigue properties or antimicrobial protection.
Types of Kitchen Mats
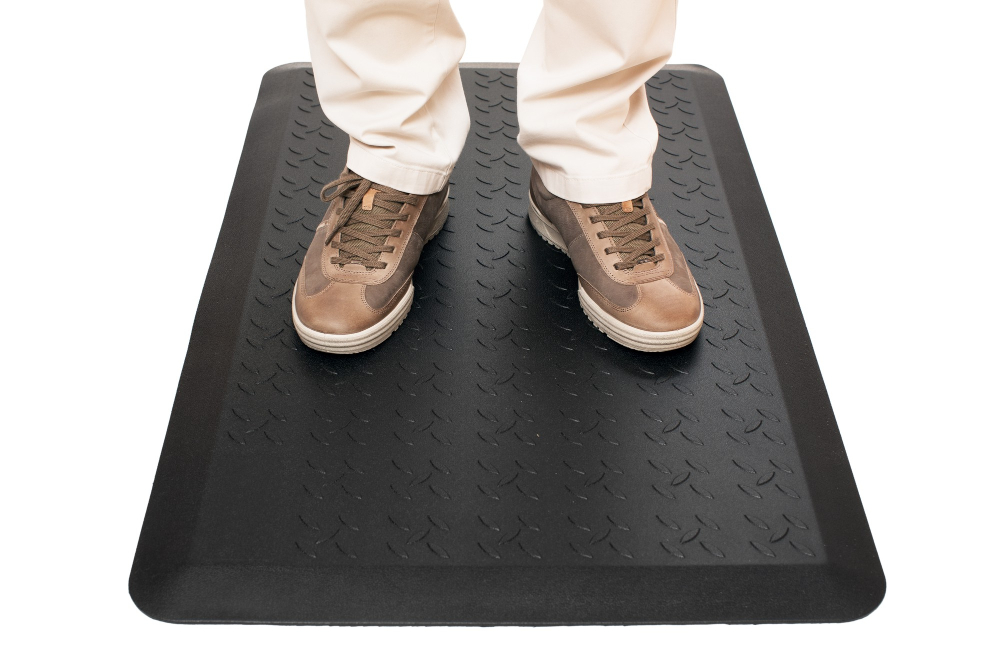
Each type has its unique features and benefits that cater to different needs. The most common types of kitchen mats include anti-fatigue mats, gel-filled mats, foam-based mats, rubberized floor runners or tiles and woven rugs.
Anti-fatigue Mats: These are designed with a cushioned surface that provides support for your feet while standing for long periods in the kitchen.
Gel-Filled Mats: These have a layer of gel inside them which helps distribute weight evenly across the mat’s surface providing extra comfort when standing on them.
Foam-Based Mats: Made from high-density foam material these provide excellent cushioning underfoot but may not be as durable as other options.
Rubberized Floor Runners or Tiles: Rubber is an excellent choice if you’re looking for durability and slip-resistance. They come in various sizes so you can customize according to your space requirements.
Woven Rugs – Woven rugs add texture and warmth to any room including kitchens; however they may not offer much support when compared with other mat options.
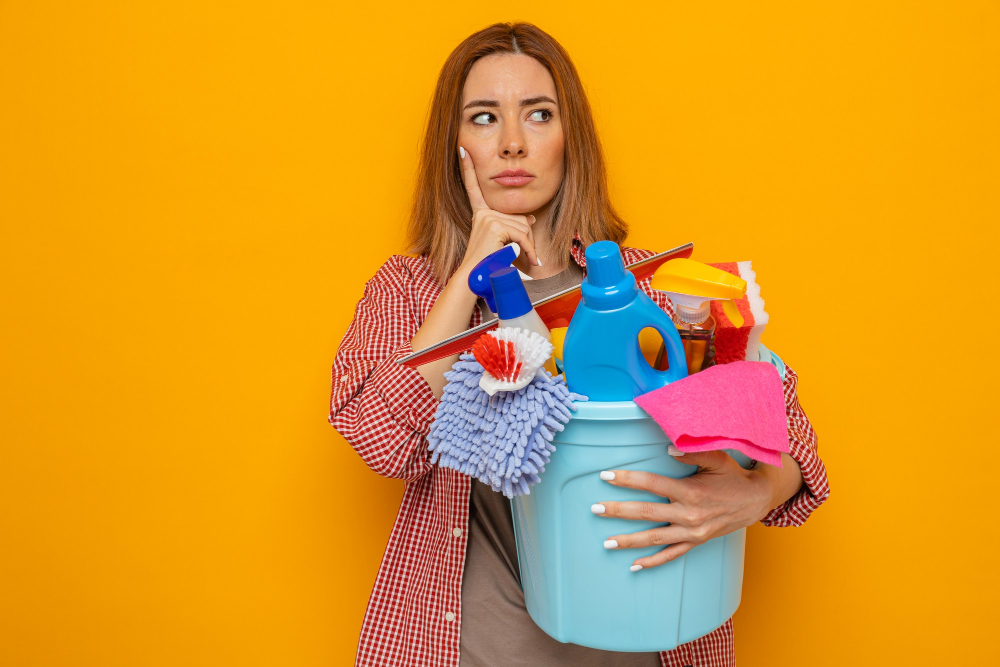
Gather Cleaning Supplies
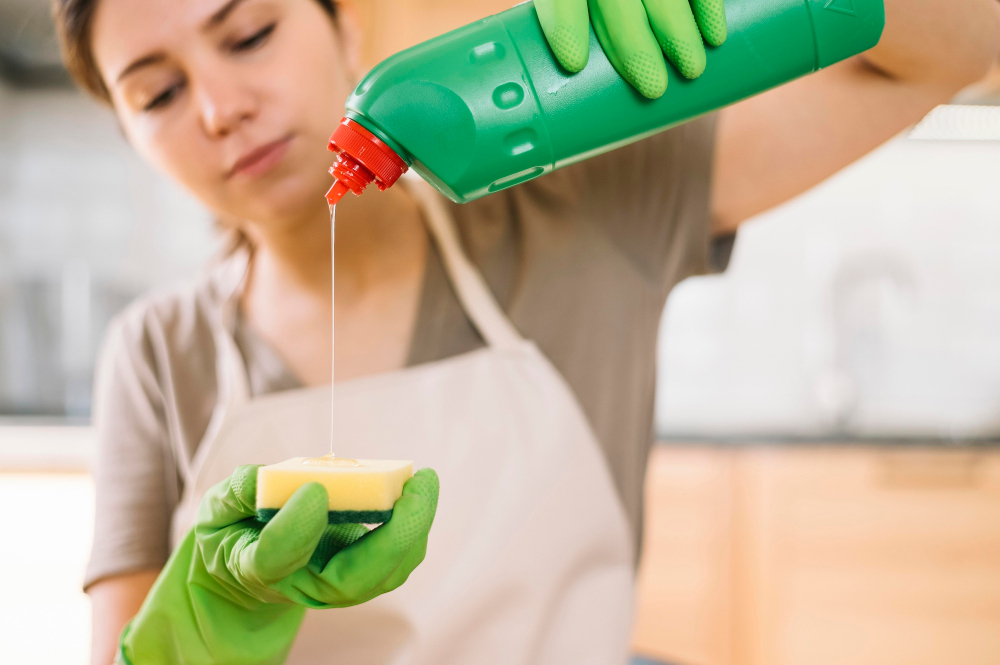
This will save you time and ensure that you have everything on hand when needed. The good news is that most of these items are readily available in your home or local store.
To clean a kitchen mat, here are some of the supplies you’ll need:.
- A vacuum cleaner with an upholstery attachment
- Mild dish soap or laundry detergent
- Warm water
- Soft-bristled brush or sponge
- White vinegar (optional)
- Baking soda (optional)
Pre-cleaning Preparation

This will make the process more efficient and ensure that you have everything you need on hand.
Firstly, remove any items from on top of or around the mat so that it is easily accessible. Next, sweep or vacuum the surrounding floor to prevent any loose debris from getting onto your freshly cleaned mat.
Gather all cleaning supplies such as a bucket of warm water, mild detergent (dish soap works well), a scrub brush or sponge for spot-cleaning stains, and disinfectant spray if needed.
It’s also important to check whether your kitchen mat has specific care instructions provided by its manufacturer. If so, follow those guidelines carefully while preparing for pre-cleaning tasks.
Remove Loose Debris
This step is crucial as it helps prevent dirt and grime from getting embedded in the fibers of your mat during the cleaning process. Start by shaking off any loose crumbs or food particles onto a trash can or outside if possible.
Next, use a stiff-bristled brush to scrub away any remaining debris on both sides of the mat. Be sure to get into all corners and crevices where dirt may have accumulated over time.
If you don’t have a stiff-bristled brush, you can also use a broom with firm bristles for this task. Once you’ve removed as much loose debris as possible, move on to vacuuming your kitchen mats thoroughly using an attachment that won’t damage them.
Vacuum the Mat
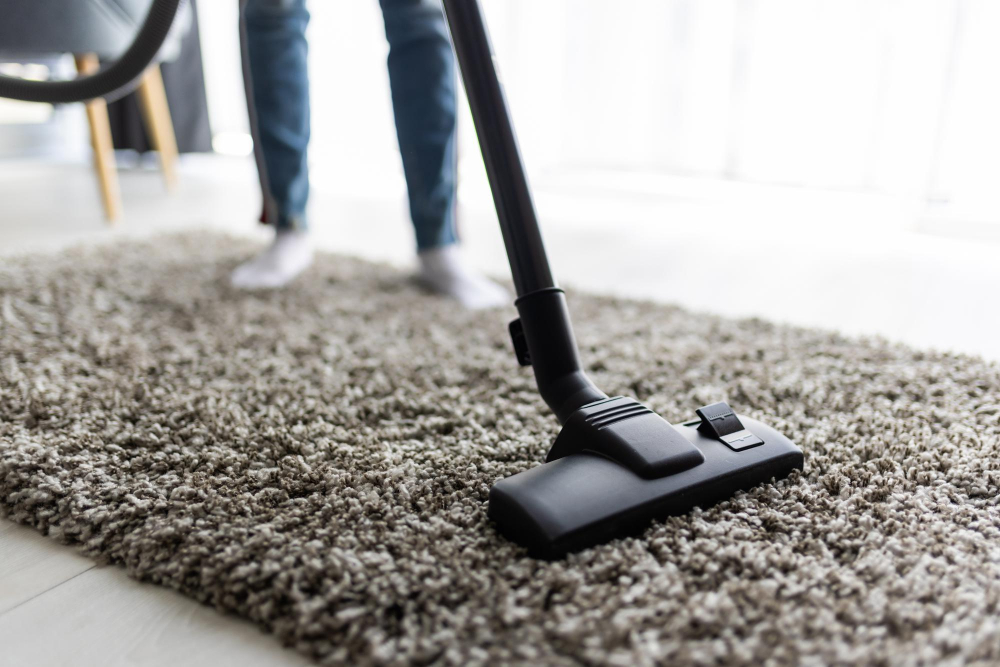
This will help remove any remaining dirt and dust that may have settled on the surface of your mat. Use a vacuum cleaner with a hose attachment to reach all corners of the mat, including under furniture or appliances if necessary.
When using a vacuum cleaner on your kitchen mats, make sure you use it gently so as not to damage them. Avoid using beater bars or brushes as they can cause scratches and wear down fibers over time.
Vacuuming should be done regularly in between deep cleaning sessions for optimal maintenance of your kitchen mats. By doing this simple task frequently, you’ll keep dirt from accumulating and prevent stains from setting in too deeply.
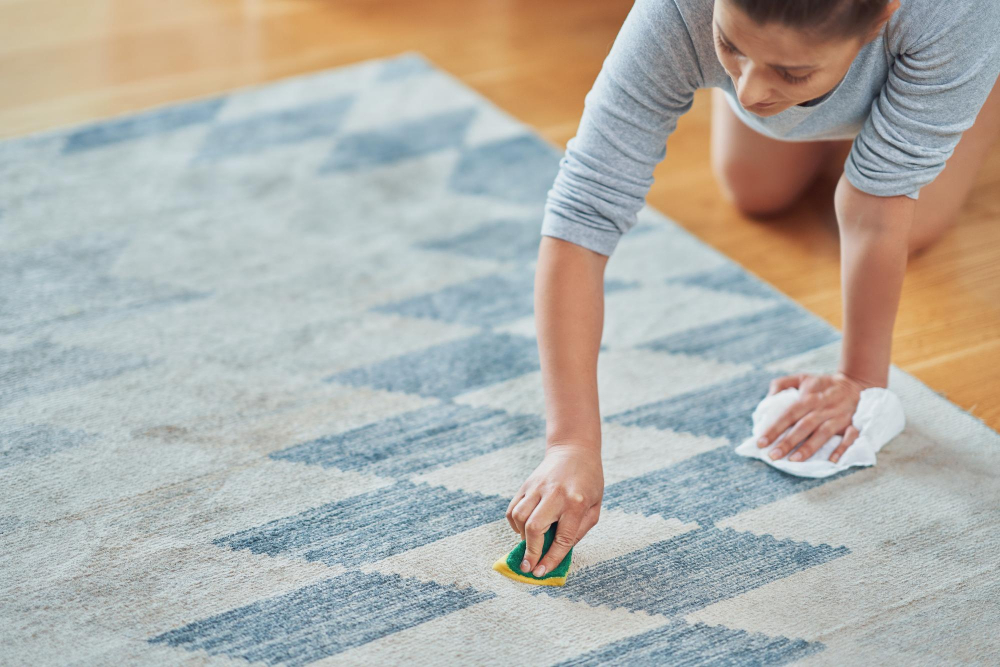
Spot Clean Stains
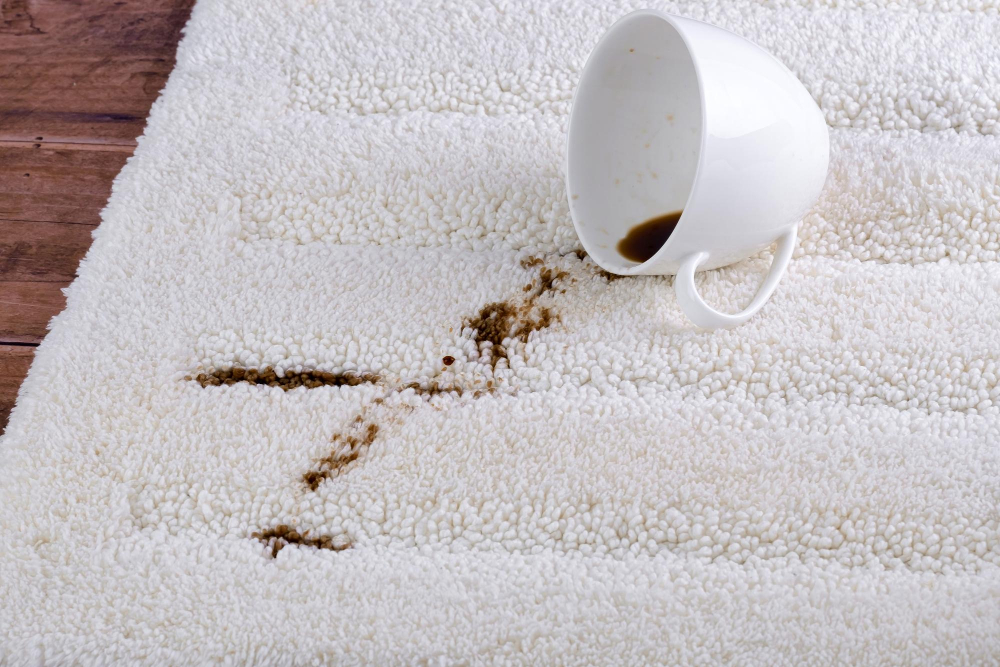
It’s essential to tackle these stains as soon as possible before they set in and become difficult to remove. For spot cleaning, start by blotting the stain with a clean cloth or paper towel to absorb any excess liquid.
Avoid rubbing the stain vigorously as it can push the spill deeper into the fibers of your mat.
Next, mix a solution of warm water and mild dish soap in a spray bottle. Spray this solution on the stained area until it is damp but not soaking wet.
Let it sit for 5-10 minutes so that it can penetrate deep into your mat’s fibers.
Afterward, use another clean cloth or sponge dipped in warm water to rinse off any soap residue from your kitchen mat thoroughly.
Can You Use a Washer and Dryer?
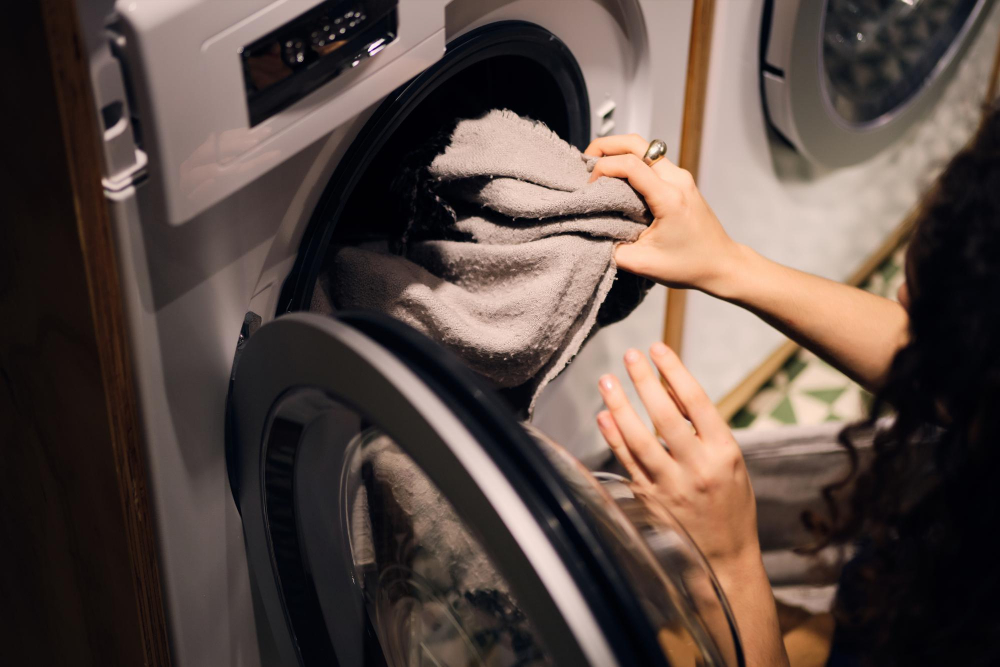
Some mats are machine-washable, while others require hand washing or spot cleaning only. Before throwing your mat into the washing machine, check its care label for specific instructions on how to clean it.
Machine-washable mats can be cleaned using a gentle cycle with cold water and mild detergent. Avoid using bleach or fabric softeners as they can damage the fibers of your mat over time.
Once washed, tumble dry on low heat or air-dry outside if possible.
However, not all kitchen mats are suitable for machine washings such as those made from natural materials like bamboo and jute which may shrink when exposed to water.
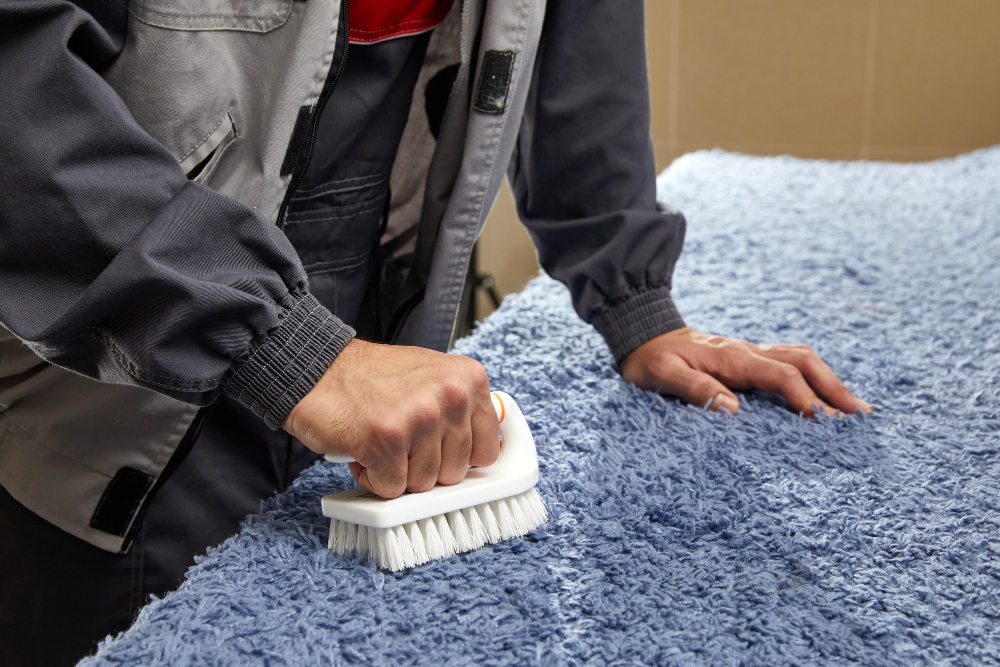
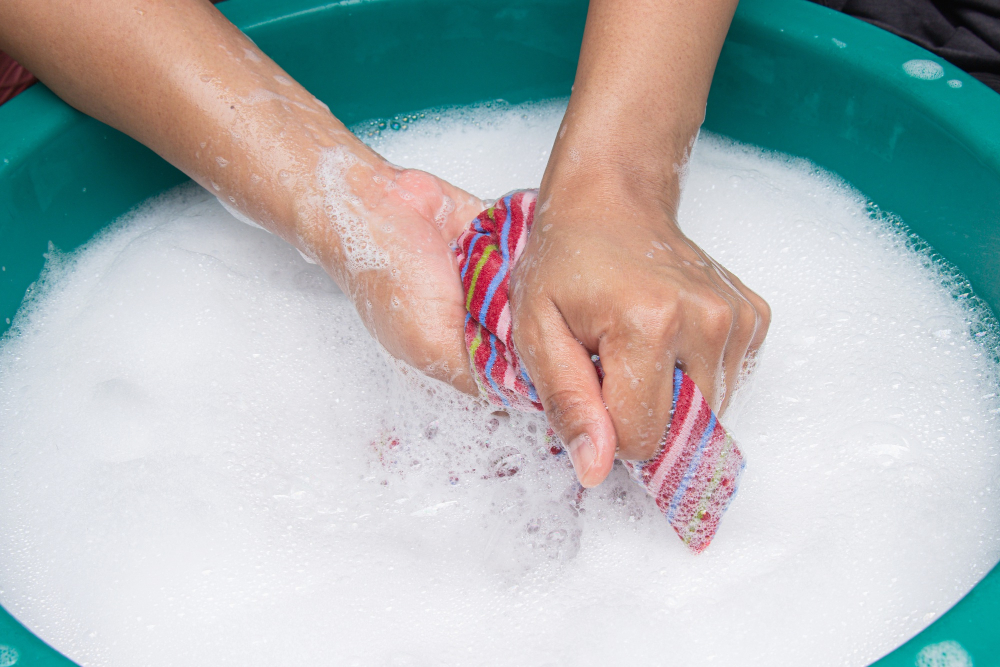
Hand Washing Techniques
Here are some simple steps to follow:.
- Fill a bucket with warm water and add a few drops of dish soap.
- Dip a soft-bristled brush or sponge into the soapy water and gently scrub the mat in circular motions.
- Pay extra attention to any stains or spots on the mat, using more pressure if necessary.
- Rinse off all soap residue with clean water until no suds remain.
- Hang up your kitchen mat to air dry completely before placing it back on the floor.
By following these easy hand washing techniques, you can keep your non-machine washable mats looking fresh and new for longer periods of time while ensuring that they remain hygienic for use in food preparation areas.
Machine-Washable Mats
These types of mats can be easily cleaned by tossing them into the washing machine, making it an ideal choice for busy households. However, before you throw your mat into the washer, make sure to check its care label first as some may require specific washing instructions.
When using a washing machine to clean your kitchen mat, avoid using hot water or harsh detergents that can damage the material. Instead, use cold water and mild detergent specifically designed for delicate fabrics.
Once washed, hang or lay flat the mat out in direct sunlight until completely dry before placing it back on your kitchen floor. Avoid putting wet or damp mats back onto floors as this could lead to mold growth.
Hand-Washing Mats
Hand washing allows you to clean your mat thoroughly without damaging it. To start, fill a large basin or bathtub with warm water and add some mild detergent or dish soap.
Place the mat in the water and use a soft-bristled brush to scrub away any dirt or stains gently.
Be sure to rinse off all of the soap residue before hanging up your mat to dry completely. Avoid using bleach on colored mats as this can cause discoloration over time.
Disinfecting the Mat
Disinfecting is an essential step in cleaning your kitchen mats as they are prone to bacteria buildup due to constant exposure to moisture and food spills. To disinfect your mat, you can use a mixture of warm water and vinegar or bleach solution.
For vinegar solution, mix equal parts of white vinegar with warm water in a spray bottle. Spray the mixture on the surface of the mat until it’s damp but not soaking wet.
Let it sit for 5-10 minutes before wiping off with a clean cloth.
If you prefer using bleach solution instead, mix one tablespoon of bleach per gallon of water in a bucket or sink large enough for submerging your mat completely. Soak the mat for 5-10 minutes before rinsing thoroughly with clean water.
Remember always read manufacturer instructions first as some mats may have specific care requirements that should be followed closely when disinfecting them.
Drying the Mat

Damp mats can quickly become a breeding ground for bacteria and mold, which can lead to unpleasant odors and health hazards. The drying process will depend on the type of mat you have.
For machine-washable mats, follow the manufacturer’s instructions regarding drying methods. Some may be tumble-dried at low heat settings while others may need to air dry completely.
If hand washing your mat or spot cleaning stains with water-based solutions, wring out as much excess water as possible using a towel or sponge before hanging up in an airy location away from direct sunlight until fully dried.
Rubber-backed mats should not be exposed to direct sunlight during drying time since this could cause discoloration and damage over time. Instead, place them in a well-ventilated area indoors until they are completely dry.
Maintaining Kitchen Mat Cleanliness
Regular maintenance will not only keep your mat looking new but also prevent the buildup of dirt and grime that can lead to unpleasant odors and bacteria growth.
One way to maintain kitchen mat cleanliness is by wiping down spills as soon as they occur. This prevents stains from setting in and makes cleaning easier in the long run.
You can use a damp cloth or paper towel for this purpose.
Another tip is to sweep or vacuum around the area where your kitchen mats are placed regularly. This helps remove any loose debris that may accumulate on top of them, preventing it from getting trapped underneath.
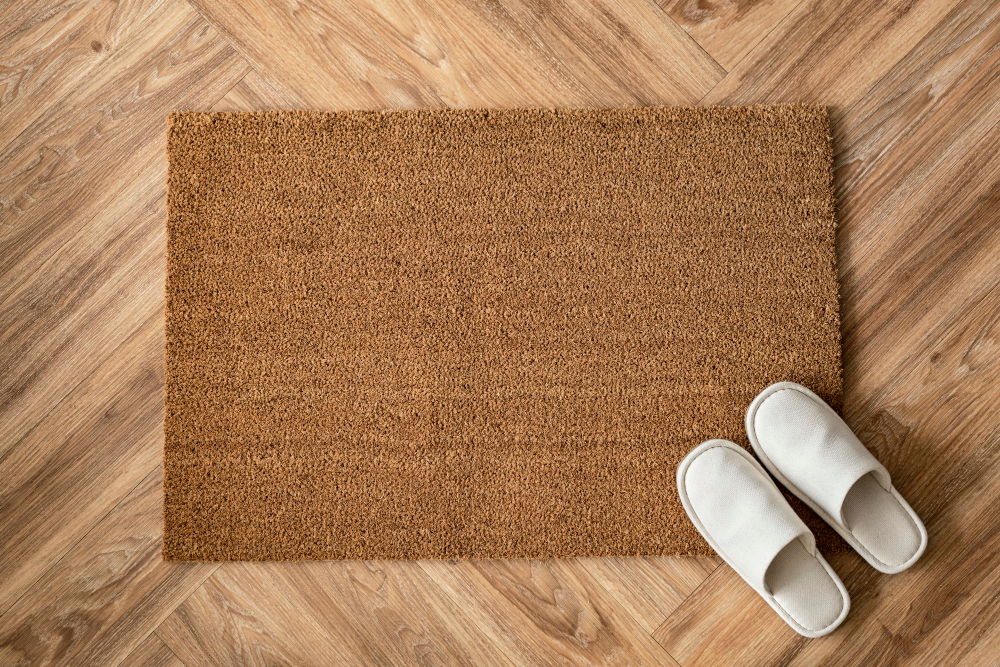
Lastly, consider placing a doormat outside your entrance door leading into the house; this will help reduce dirt being tracked onto your mats when people enter with dirty shoes.
How Often Should You Clean Kitchen Mats?
Therefore, it’s essential to clean your kitchen mats regularly. But how often should you do it? The answer depends on the amount of traffic in your kitchen.
If you have a busy household with kids or pets running around all day long or if you cook frequently, then cleaning your mat once a week is recommended.
On the other hand, if there isn’t much activity in your kitchen or if you don’t use the mat as often as others might do so every two weeks would suffice. However, keep an eye out for any visible stains or spills; these should be cleaned immediately regardless of when last time was that they were cleaned.
Check the Tag for Care Tips
The tag will provide valuable information on how to clean and maintain your mat without damaging its material or structure. Some mats may require special treatment, such as hand washing or air drying only, while others can be machine washed and dried.
If there are no care instructions on the tag or if you’re unsure about how to proceed with cleaning your mat safely, contact the manufacturer for guidance. They will be able to advise you on what products and techniques are safe for their product.
Ignoring these guidelines could lead to damage that is irreversible; therefore it’s crucial always checking before starting any cleaning process.
Replacing Old Mats
If your mat is showing signs of wear and tear, it may be time to replace it. Signs that indicate you need a new mat include frayed edges, cracks or tears in the material, or if the cushioning has flattened out.
When shopping for a new kitchen mat, consider factors such as size and thickness to ensure that you get one that fits your needs. Look for mats made from durable materials like rubber or vinyl which are easy to clean and maintain.
Replacing old mats not only ensures hygiene but also adds an aesthetic appeal to your cooking space by giving it a fresh look with vibrant colors or patterns on the new ones.
5 Simple Anti-Fatigue Mat Cleaning Tips
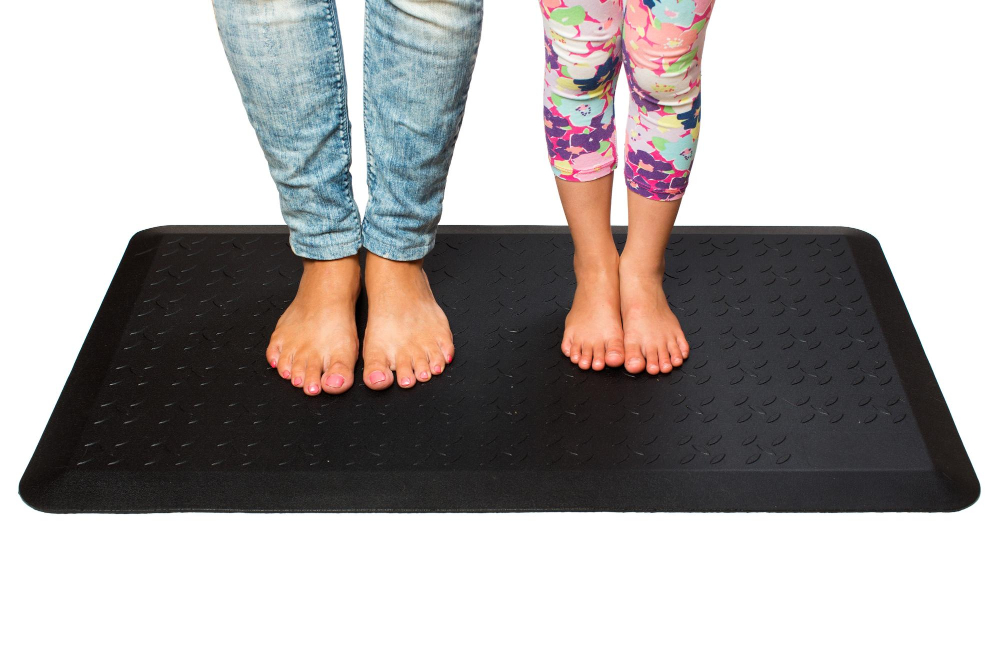
These mats provide extra cushioning and support to reduce fatigue and discomfort, making them an essential accessory for any home cook. However, like all other types of kitchen mats, anti-fatigue mats require regular cleaning to maintain their effectiveness and longevity.
Here are five simple tips that will help you keep your anti-fatigue mat clean:.
- Sweep or vacuum the mat daily to remove loose debris.
- Spot-clean spills immediately with a damp cloth or sponge.
- Use mild soap and warm water to hand-wash the mat once a week.
- Rinse thoroughly with clean water after washing.
- Allow the mat to air dry completely before using it again.
By following these easy-to-follow tips regularly, you can ensure that your anti-fatigue mat remains hygienic while providing maximum comfort during extended periods of cooking time in your kitchen!.
FAQ
Can you wash kitchen mats in the washing machine?
Answer: Yes, some kitchen mats can be washed in the washing machine, but always check the care tag and ensure it is machine washable before proceeding.
How often should you wash your kitchen rug?
One should wash their kitchen rug every one to two weeks, vacuuming it weekly and washing or steaming the floors once every couple of weeks, with a more frequent cleaning for the kitchen floors to minimize food bacteria spread.
Can you wash fatigue kitchen mats?
Yes, you can wash fatigue kitchen mats using mild soap, detergent, or degreaser with hot water between 120 to 140 degrees Fahrenheit to clean the surface and eliminate grease or oil.
What is the best method for cleaning non-slip kitchen mats?
Answer: The best method for cleaning non-slip kitchen mats is to use a mild detergent, warm water, and a soft-bristled brush for a gentle scrub, followed by air drying.
Are there any specific cleaning solutions recommended for different types of kitchen mats?
Yes, for different types of kitchen mats, it is recommended to use mild soap solutions or specially designed commercial cleaners.
How can you maintain the durability and appearance of your kitchen mats through proper cleaning and care?
To maintain the durability and appearance of your kitchen mats, regularly clean them using proper techniques, such as vacuuming, spot cleaning, or machine washing depending on the mat type.


