Last updated on
Discover the simple steps to effectively clean your kitchen sink strainer, ensuring a hygienic and well-maintained space for all your washing needs.
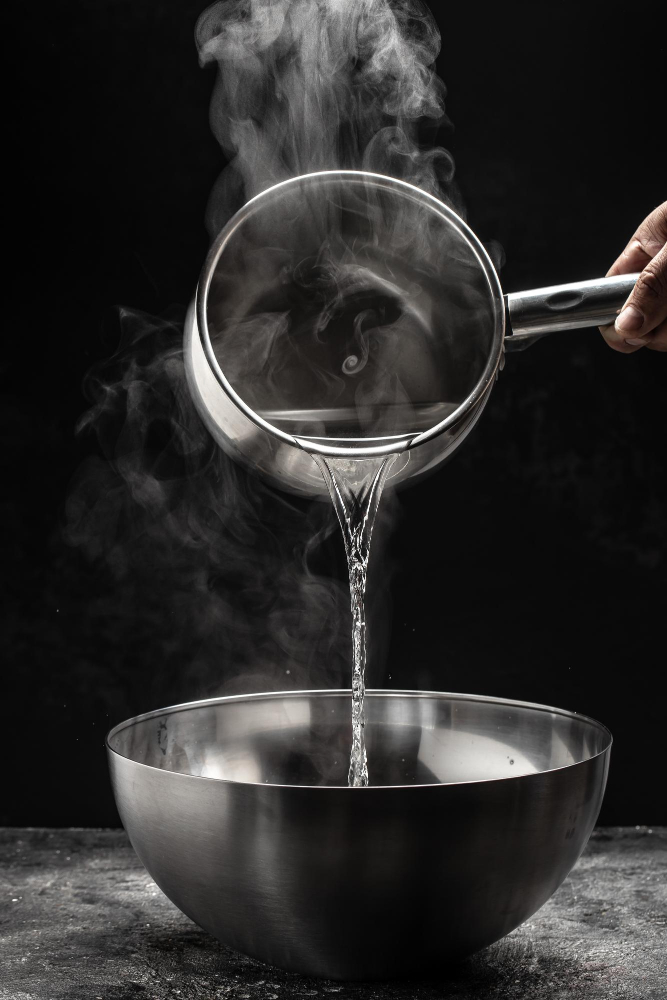
The kitchen sink strainer is one of those things we often forget about until it becomes a problem. It’s easy to overlook, but over time, it can become clogged with food particles and debris, leading to slow draining and unpleasant odors.
But fear not! Cleaning your kitchen sink strainer is a quick and easy task that can be done in just a few minutes with the right tools and techniques. In this article, we’ll guide you through the steps to get your sink strainer back to its sparkling clean state.
So grab your gloves and let’s get started!
What's Inside
Importance of Cleaning Sink Strainer
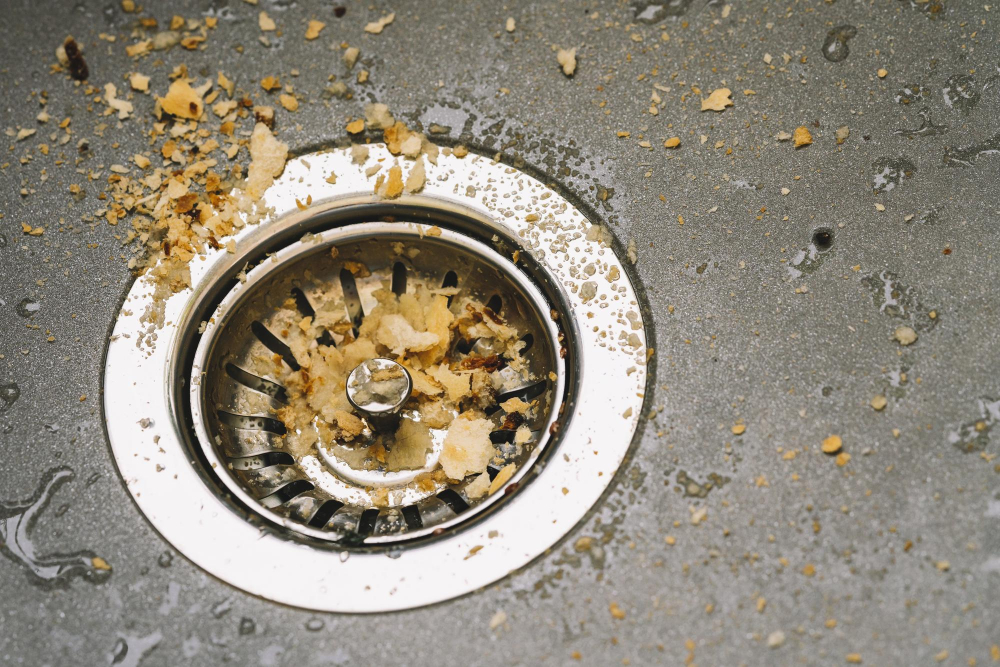
Over time, however, the strainer can become clogged with these materials if not cleaned regularly. This buildup can lead to slow draining water or even cause blockages that require costly repairs.
Cleaning your sink strainer is important for maintaining good hygiene in the kitchen as well. Food particles left on the strainer can attract bacteria and mold growth which could be harmful to you and your family’s health.
Moreover, cleaning a dirty sink strainer may seem like an unpleasant task but it only takes a few minutes of effort every week or so to keep it clean.
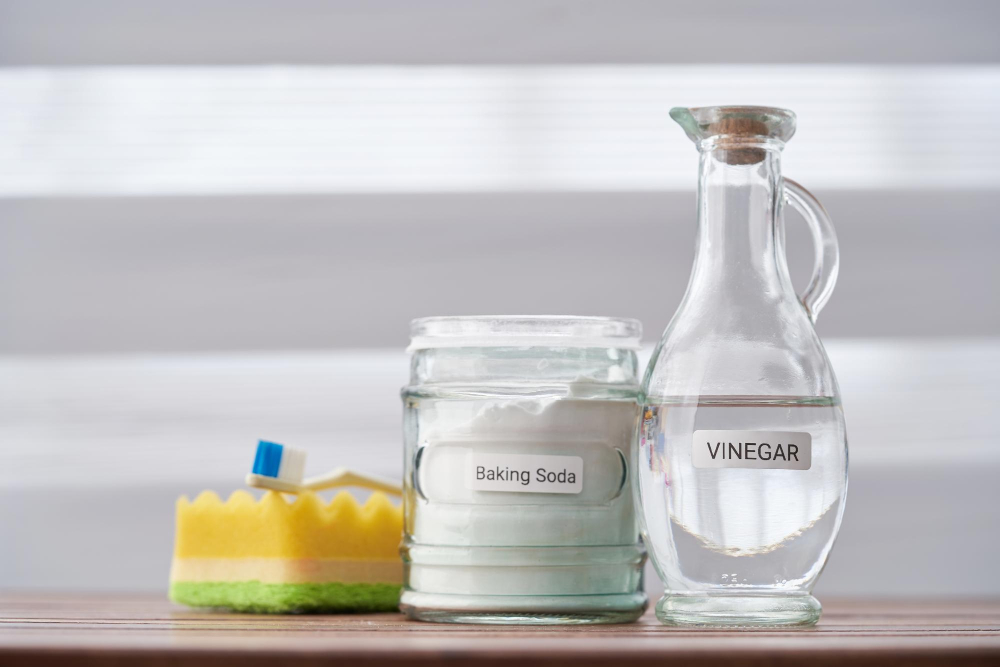
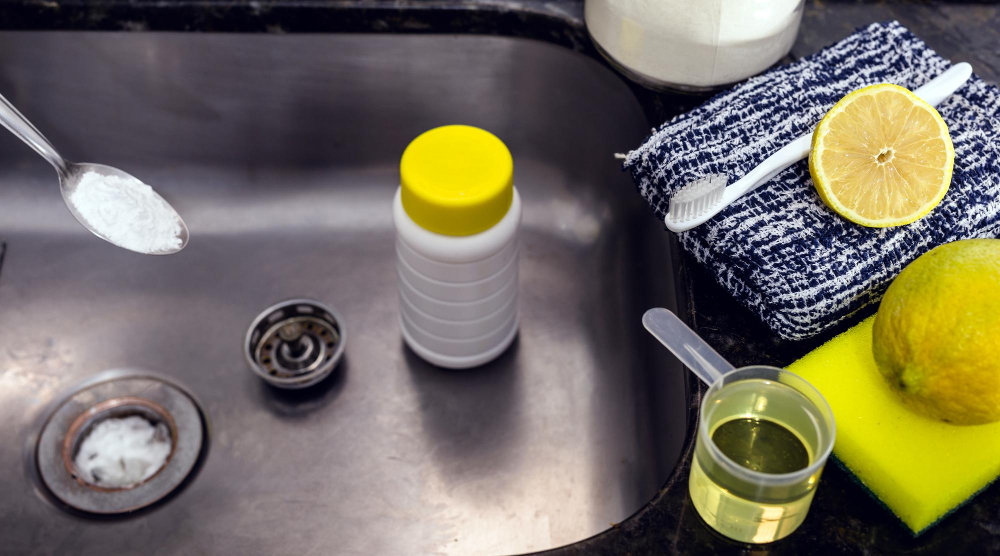
Tools & Materials Needed

You’ll need a few basic items that you probably already have at home:
- Rubber gloves to protect your hands from dirt and grime
- A small scrub brush or toothbrush for scrubbing hard-to-reach areas
- Baking soda or vinegar for natural cleaning solutions (optional)
- Dish soap or any mild detergent of your choice
- A bucket to collect debris
- Clean water source
Pre-Cleaning Preparation
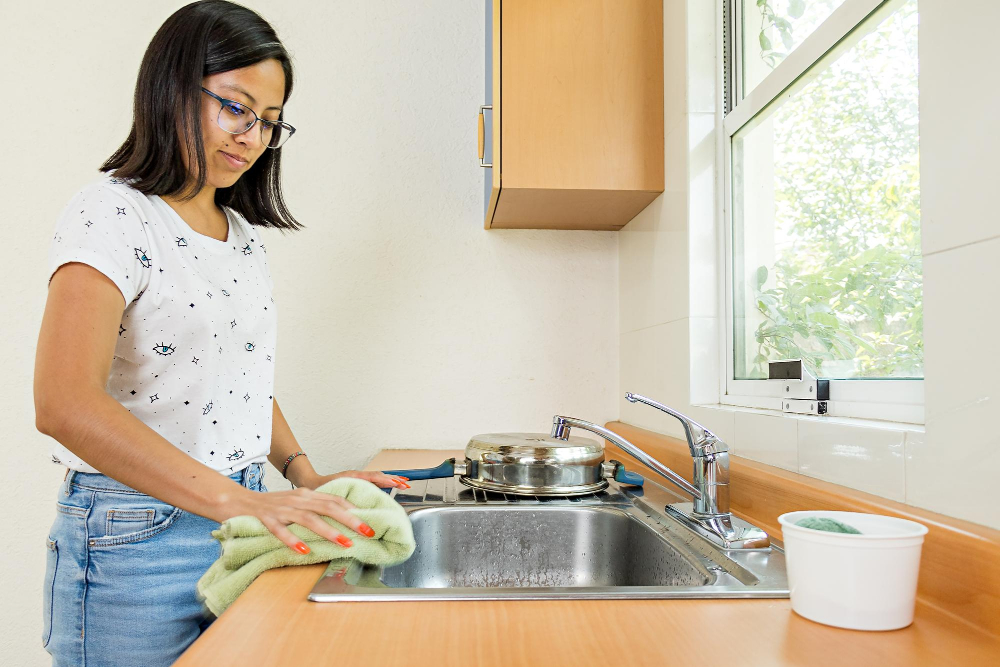
Start by clearing out any dishes or debris from the sink and wiping down the surface with a damp cloth. This will help prevent any additional dirt or grime from getting in your way during cleaning.
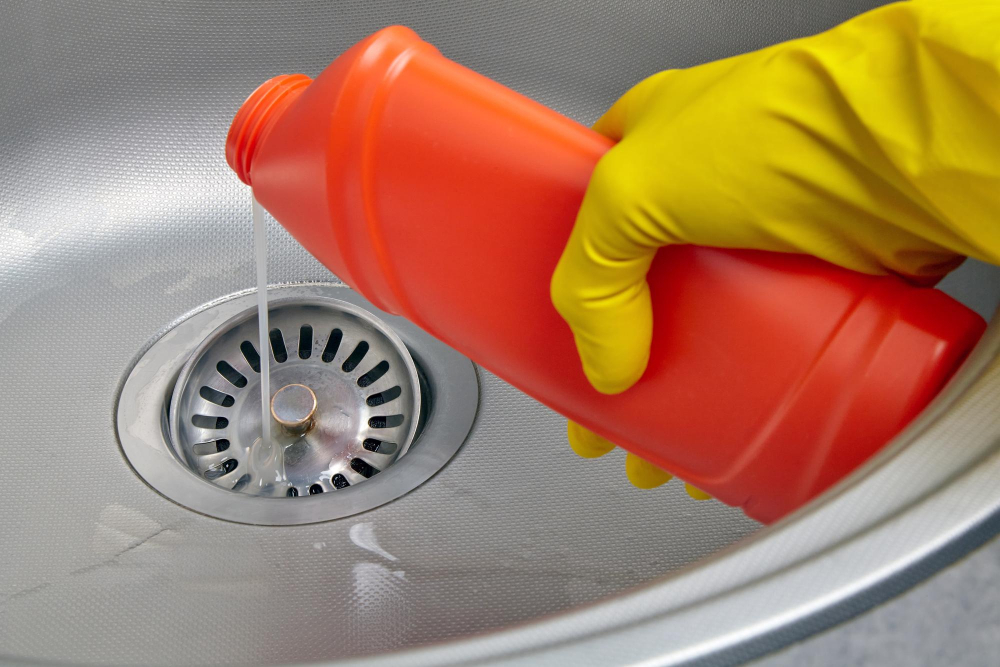
Next, put on a pair of rubber gloves to protect your hands from bacteria and sharp edges. You’ll also want to gather some basic tools for this task such as an old toothbrush, baking soda, vinegar solution (equal parts water & vinegar), dish soap, paper towels or rags.
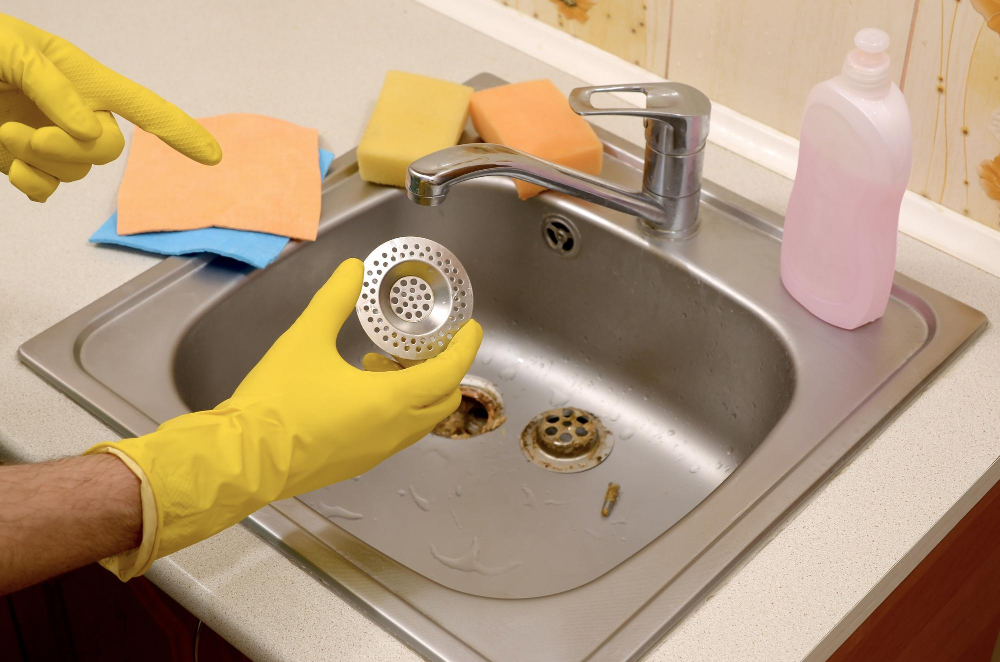
Removing the Sink Strainer
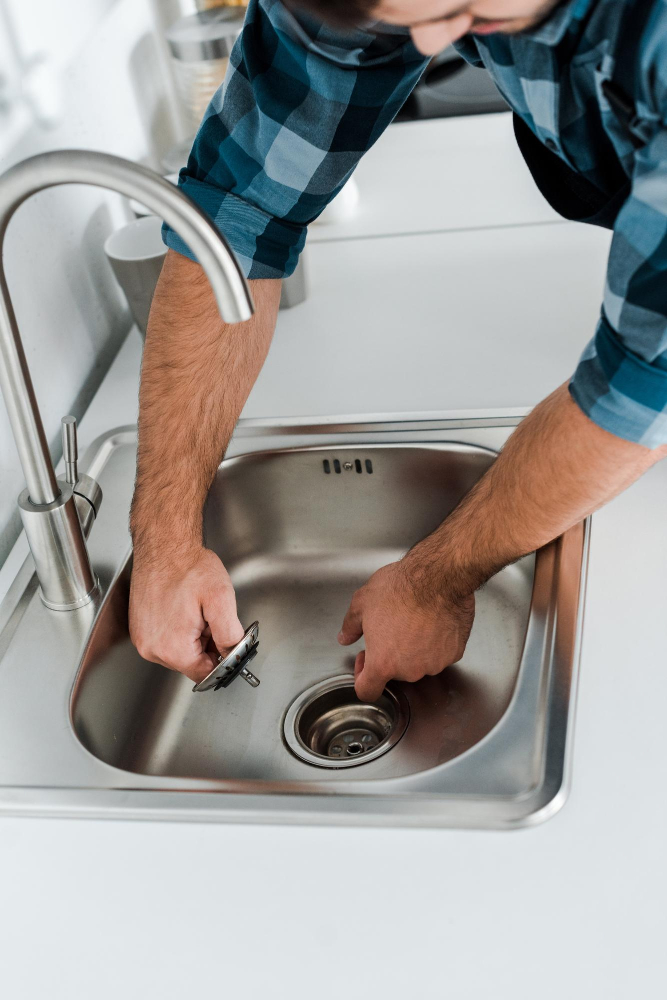
This may seem like a daunting task, but with the right tools and techniques, it’s actually quite simple.
Firstly, make sure that your sink is empty of any dishes or debris. Then locate the locking nut underneath the sink that holds the strainer in place.
Using pliers or a wrench (depending on what type of nut you have), turn it counterclockwise until loose enough to remove by hand.
Once loosened completely, gently lift out both parts of your kitchen sink strainer -the basket and rim- from above. Be careful not to damage any surrounding pipes while removing them as they can be fragile.
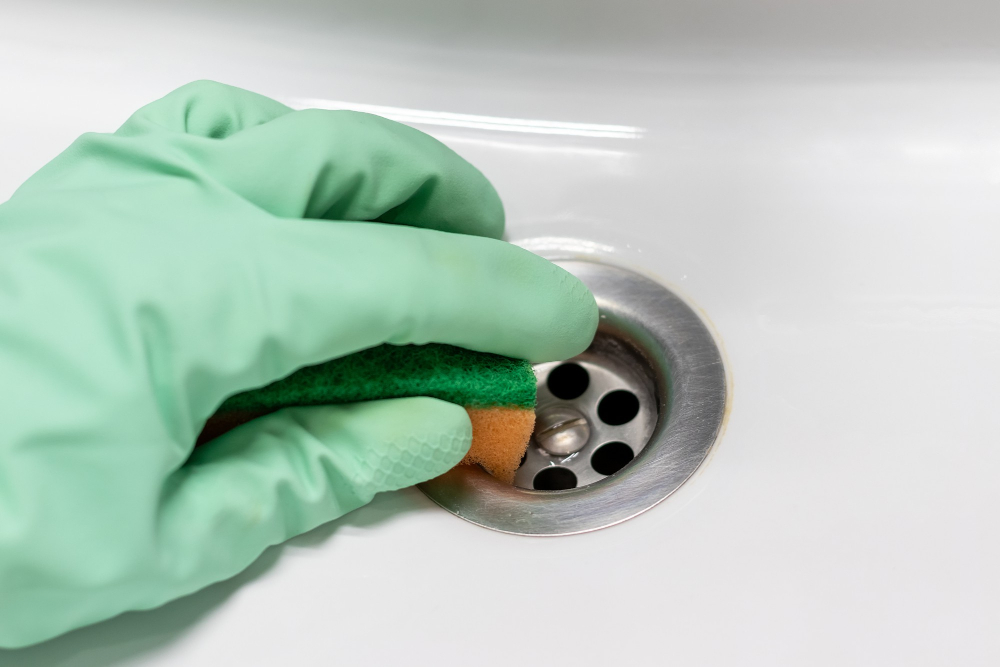
Cleaning the Strainer Basket
This is where most of the food particles and debris accumulate, so it’s important to give it a thorough cleaning. Start by removing any large pieces of debris with your hands or a paper towel.
Then, use an old toothbrush or scrub brush to gently scrub away any remaining residue on both sides of the basket.
If there are stubborn stains that won’t come off with just water and soap, try using baking soda mixed with vinegar for extra cleaning power. Simply sprinkle some baking soda onto the basket and then pour vinegar over it until you see bubbles forming.
Let this sit for about 10 minutes before rinsing thoroughly.
Remember not to use abrasive cleaners like steel wool pads as they can scratch your sink strainer surface permanently. After cleaning both sides of your strainer basket thoroughly rinse under running water making sure all dirt has been washed out completely before moving on to other parts in order not leave behind residues that could cause clogging later on.
Scrubbing the Strainer Rim
This is where food particles and debris tend to accumulate, so it’s important not to skip this step. Using a soft-bristled brush or an old toothbrush, gently scrub around the rim of the strainer until all visible dirt has been removed.
Be sure to pay extra attention to any crevices or hard-to-reach areas.
If you’re dealing with tough stains or buildup that won’t come off with just soap and water, try using a mixture of baking soda and vinegar instead. Simply sprinkle some baking soda onto your brush before dipping it into white vinegar (or apple cider vinegar) then start scrubbing away at those stubborn spots.
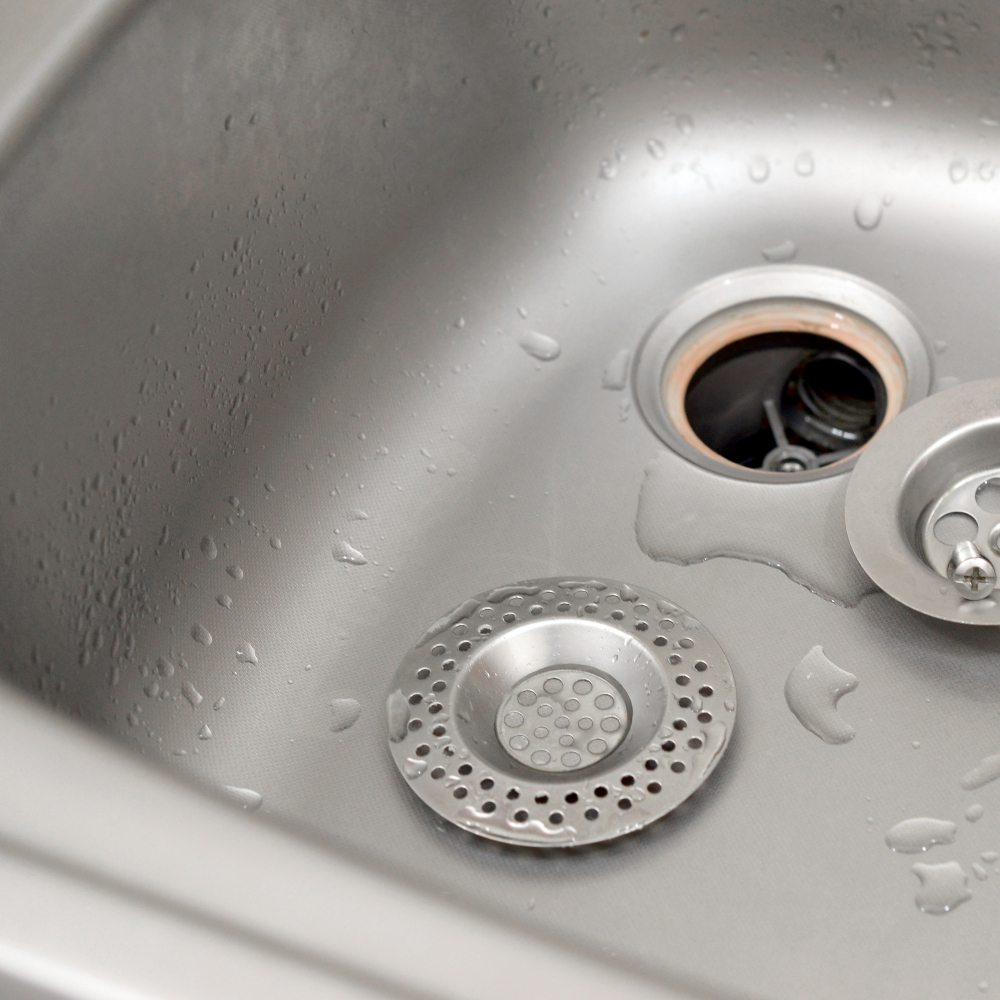
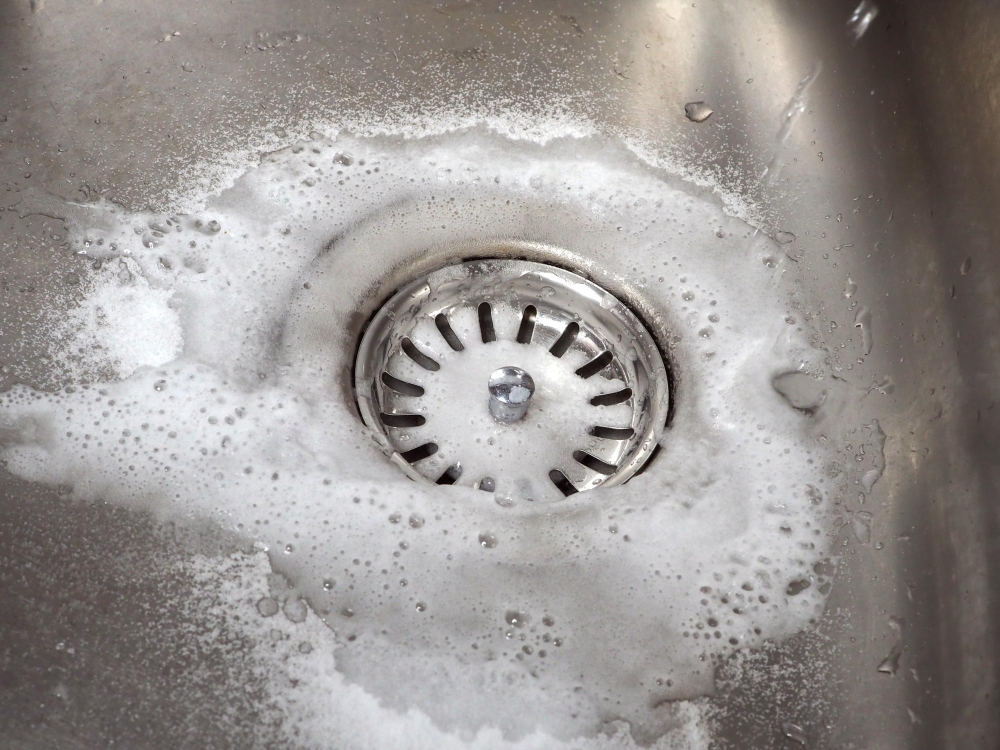
Cleaning the Sink Hole
This area can also accumulate debris and grime over time, leading to unpleasant odors and slow draining water. To clean it properly, start by using a small brush or toothbrush to scrub around the edges of the hole.
You can use an all-purpose cleaner or baking soda mixed with water for added cleaning power.
Next, take a sponge or cloth and wipe down both sides of the sink hole thoroughly. Be sure to get into any crevices where dirt may be hiding.
Rinse everything well with warm water until all traces of cleaner are gone. If there is still some stubborn grime left behind after rinsing, repeat these steps until your sink is sparkling clean again.
Removing Stuck Debris
In this case, you may need to use additional tools such as a toothbrush or small brush to dislodge the debris.
Start by removing any large pieces of food that are visible on top of the strainer basket. Then, using your brush and some dish soap mixed with warm water, gently scrub around the edges of the basket where debris tends to accumulate.
If there is still stubborn residue left behind after brushing, try using a mixture of baking soda and vinegar poured directly onto it. Let it sit for 10-15 minutes before rinsing thoroughly with hot water.
Remember not to use abrasive cleaners or steel wool pads as they can scratch and damage your sink’s finish over time.
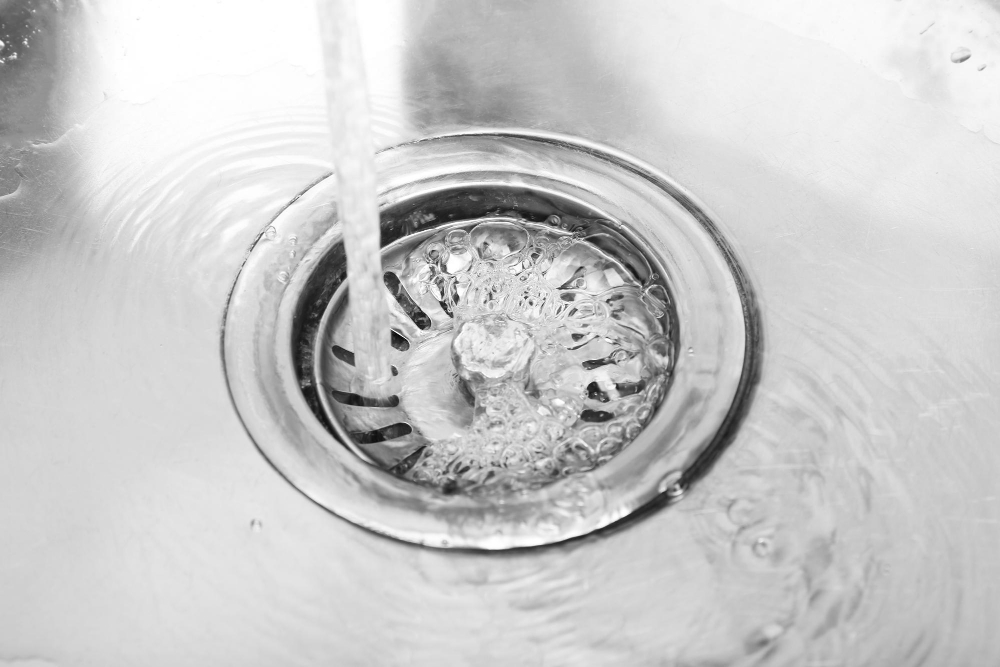
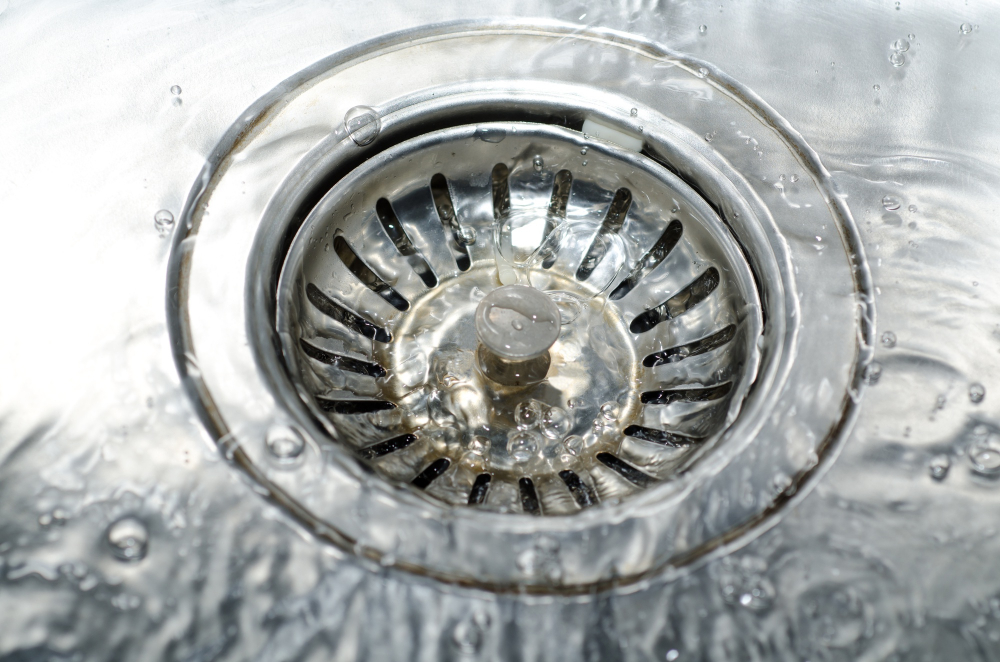
Rinsing the Strainer
Use warm water to thoroughly rinse the strainer under running water. Make sure that all food particles and soap residue are removed from both sides of the strainer.
If there is still some stubborn debris stuck on your sink strainer, use a soft-bristled brush or toothbrush to gently scrub away any remaining dirt or grime. Be careful not to scratch or damage your sink surface while doing so.
After rinsing, inspect the cleaned sink strainer for any signs of damage such as cracks or chips in its structure before proceeding with sanitizing it in preparation for reinstallation.
Rinsing is an essential step in cleaning your kitchen sink strainers since leftover soap residue can cause clogging issues later on if not properly washed away during this stage.
Sanitizing the Strainer
To do this, fill a bowl with hot water and add a tablespoon of bleach. Place the strainer in the solution and let it soak for 10-15 minutes.
After soaking, rinse thoroughly with hot water and dry completely before reinstalling.
Sanitizing your sink strainer is especially important if you’ve been dealing with raw meat or other potentially harmful substances in your kitchen. By taking this extra step, you can ensure that your sink area remains clean and hygienic for all of your food preparation needs.
Remember that regular cleaning and sanitizing will not only keep unpleasant odors at bay but also prevent clogs from forming over time due to accumulated debris on the surface of the filter basket.
How to Clean Tarnished Sink Drain
Tarnish is a thin layer of corrosion that forms on metal surfaces due to exposure to air or water. To remove tarnish from your sink drain, you’ll need some baking soda and vinegar.
Firstly, sprinkle baking soda over the affected area of the sink drain. Then pour vinegar over the top until it starts fizzing up (this reaction helps break down any buildup).
Let this sit for about 10 minutes before scrubbing with a soft-bristled brush or sponge.
Rinse thoroughly with warm water and dry with a clean cloth. If there are still signs of tarnishing after cleaning, repeat these steps until all traces have been removed.
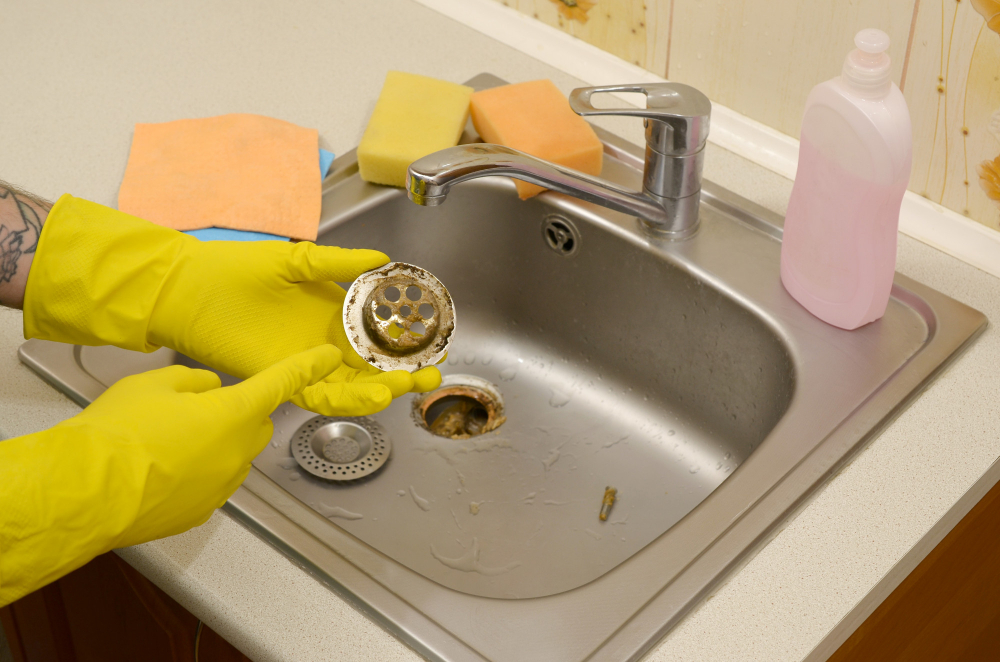
Removing Rust Stains On Stainless Steel Sink Strainers
These stains can be unsightly and difficult to remove, but there are a few methods that can help. One option is to use baking soda and vinegar: mix equal parts of both ingredients into a paste, apply it directly onto the rust stain with an old toothbrush or cloth, let it sit for 10-15 minutes before scrubbing gently in circular motions until the stain disappears.
Rinse thoroughly with water afterward.
Another method involves using lemon juice and salt: cut a lemon in half and sprinkle salt on one of the halves; rub this onto the rusted area until it’s covered completely by juice/salt mixture then leave for about 5 minutes before rinsing off under running tap water.
Reinstalling the Sink Strainer

This is a simple process that requires just a few steps. First, make sure the area around the sink hole is clean and dry.
Then, apply plumber’s putty or silicone caulk to the underside of the strainer rim before placing it back into position in the sink hole.
Next, tighten down on any mounting screws or nuts until they are snug but not overly tight as this can cause damage to your plumbing system over time.
Wipe away any excess putty or caulk with a damp cloth and allow everything to dry completely before using your sink again.
Troubleshooting Common Issues
Here are a few common problems and how to troubleshoot them:
1. Slow draining: If water is still draining slowly even after cleaning the strainer, there may be buildup in the pipes below.
Try using a plunger or drain snake to clear any blockages.
2. Foul odors: A smelly sink can be caused by bacteria buildup in the drain or garbage disposal unit if you have one installed under your sink.
To combat this issue, pour baking soda down the drain followed by vinegar and hot water.
3. Leaks: If you notice leaks around your sink strainer after reinstalling it, check that all parts are properly tightened and sealed with plumber’s putty.
Preventative Maintenance Tips
There are a few additional steps you can take to ensure that your sink strainer stays in good condition for as long as possible.
Firstly, avoid pouring grease or oil down the drain. These substances can solidify and cause blockages in both the pipes and the strainer basket.
Instead, pour them into a container with a lid and dispose of them in the trash once they have cooled.
Secondly, use a drain stopper when washing dishes or preparing food to catch any large pieces of debris before they enter the drain system. This will help reduce strain on your sink’s plumbing system while also preventing damage to delicate items like glassware.
Consider investing in an enzyme-based cleaner designed specifically for kitchen sinks if you frequently experience slow draining or unpleasant odors even after cleaning out your strainer basket regularly. These cleaners work by breaking down organic matter that may be stuck inside pipes without causing harm to plumbing fixtures themselves.
When to Replace a Sink Strainer
If you notice that your sink is draining slowly despite having cleaned the strainer basket thoroughly, it may be time to replace the entire unit. If you see any cracks or chips in the rim of your sink strainer or notice rust forming on metal parts of the unit that cannot be removed through cleaning alone, it’s best to replace it as soon as possible.
Replacing a sink strainer is a relatively simple process and can often be done without professional help. Most hardware stores carry replacement units that are compatible with standard kitchen sinks.
When purchasing a new unit, make sure to measure your current one so you get an exact fit.
Recommended Products for Sink Strainer Cleaning
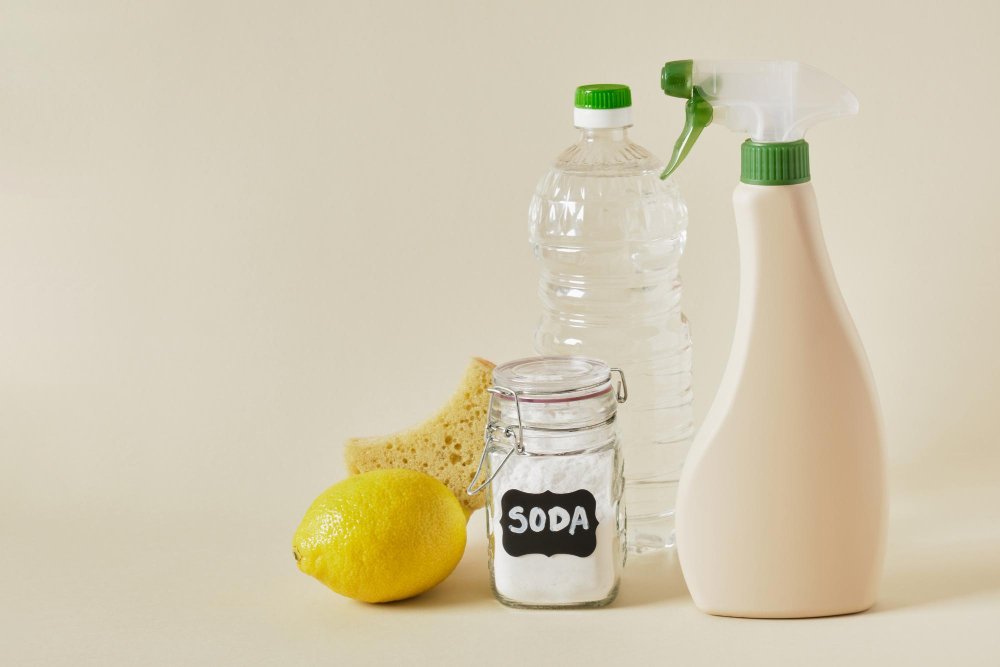
While some people prefer to use natural cleaners like vinegar or baking soda, others may opt for commercial cleaning solutions that are specifically designed for this purpose. Here are a few recommended products that you might find helpful:
1. Bar Keepers Friend: This powder cleaner is great for removing tough stains and buildup on stainless steel sink strainers.
2. Goo Gone Kitchen Degreaser: If your sink strainer has grease buildup, this powerful degreaser can help dissolve it quickly.
3. CLR Calcium Lime Rust Remover: If you have hard water stains or rust on your sink strainer, CLR can be an effective solution.
4. Simple Green All-Purpose Cleaner: For those who prefer a more eco-friendly option, Simple Green is a non-toxic cleaner that works well on most surfaces including plastic and metal.
FAQ
How do you clean a stainless steel strainer?
To clean a stainless steel strainer, wash it immediately after use, scrub with a dish-cleaning brush, and use your kitchen sink to remove hard-to-get bits.
How do you clean a stainless steel sink drain?
To clean a stainless steel sink drain, use a paste of baking soda and water to scrub away light hard water deposits and stuck-on grease and food without scratching the fixture.
What is the best method to remove stubborn stains from a kitchen sink strainer?
To remove stubborn stains from a kitchen sink strainer, soak it in a mixture of warm water and white vinegar, then scrub with a soft brush.
Are there any natural cleaning solutions for maintaining a stainless steel sink and strainer?
A natural cleaning solution for maintaining a stainless steel sink and strainer can be made with baking soda and vinegar.
How often should you clean a kitchen sink strainer to ensure optimal hygiene and performance?
To ensure optimal hygiene and performance, a kitchen sink strainer should be cleaned at least once a week.


