Last updated on
Discover the simple steps to effectively clean your kitchen sink vent, ensuring a fresh and hygienic space for your daily culinary adventures.
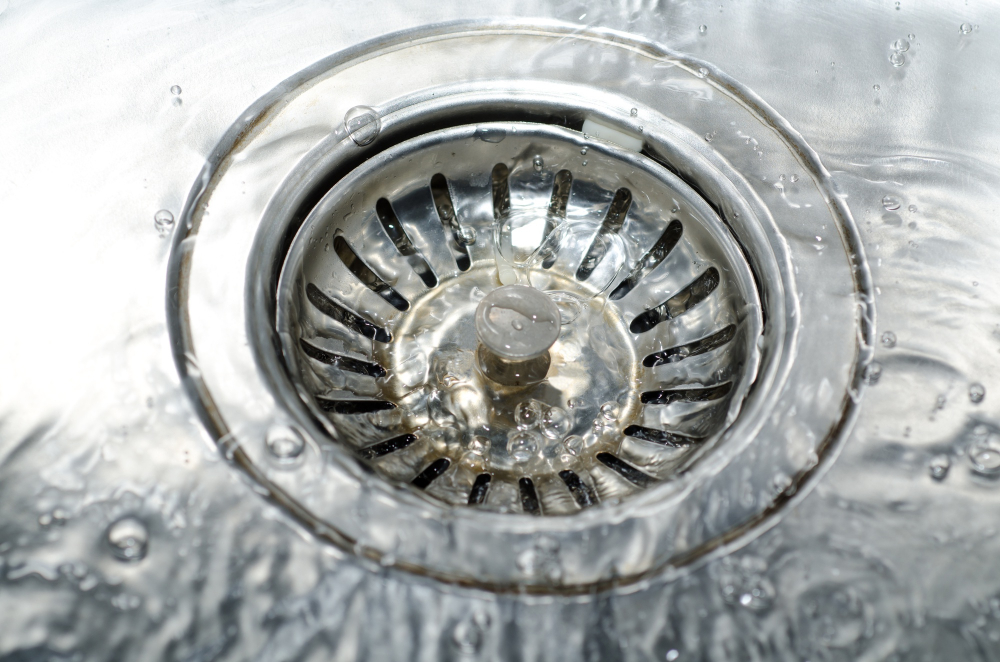
The kitchen sink is one of the most used areas in any home. From washing dishes to preparing food, it’s a hub of activity.
But have you ever noticed a foul smell emanating from your sink? Or maybe the water isn’t draining as quickly as it should be? If so, then your kitchen sink vent might need cleaning. In this article, we’ll show you how to clean your kitchen sink vent and get rid of those unpleasant odors for good!
What's Inside
Importance of Cleaning Sink Vent
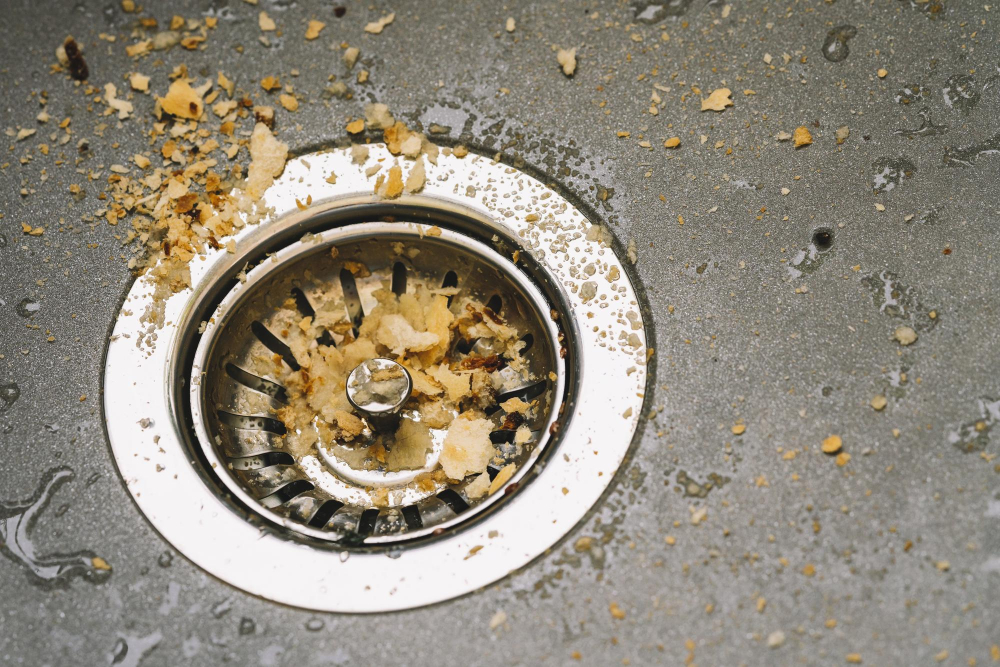
It allows air to flow freely through the pipes, preventing water from backing up and keeping unpleasant odors at bay. However, over time, debris such as food particles and grease can accumulate in the vent pipe, causing blockages that restrict airflow.
This can lead to slow draining sinks or even worse – sewage backups! That’s why it’s crucial to clean your sink vent regularly.
Cleaning your kitchen sink vent not only prevents clogs but also ensures a healthy environment for you and your family. A dirty or clogged sink vent can harbor bacteria and mold growth which poses health risks when left unattended for long periods of time.
By taking the necessary steps to clean out any buildup in your kitchen sink vents on a regular basis (at least once every six months), you’ll be able to maintain proper ventilation throughout all areas of this important space while avoiding costly repairs down the line.
Sink Vent: Location and Function
It’s responsible for allowing air to flow through the drain pipes, preventing water from backing up and causing unpleasant odors in your home. The location of the sink vent can vary depending on the design of your plumbing system, but it’s typically found underneath or behind the sink.
You may also find it located in a nearby wall or ceiling if you have an island-style kitchen setup.
Understanding how your sink vent works is essential to maintaining its proper function and keeping unpleasant smells at bay. When water flows down into the drainpipe, it creates negative pressure that can suck air out of nearby P-traps (the curved section under sinks).
Without proper ventilation, this negative pressure could cause gurgling sounds as well as slow draining issues.
Identifying Sink Vent Issues
Some common signs of a clogged or dirty sink vent include slow draining water, gurgling sounds coming from the drain, and unpleasant odors emanating from the sink.
If you notice any of these symptoms in your kitchen sink area, then it’s likely that your vent needs cleaning. However, if after cleaning there is no improvement in drainage or odor control then there might be other underlying problems with plumbing which require professional help.
Common Causes of Clogged Sink Vents
One common cause is the accumulation of debris such as food particles, grease, and soap scum in the vent pipe. Over time, this buildup can restrict airflow and cause unpleasant odors to emanate from your sink.
Another common culprit is animal nests or debris that may have accumulated on top of your roof’s plumbing vents. These obstructions prevent air from flowing freely through the pipes and out into the atmosphere.
In some cases, improper installation or damage to your plumbing system could also lead to a clogged sink vent. For example, if there are too many bends in your drainpipe or if it’s not sloped correctly towards its destination point (usually a septic tank), then water will accumulate inside instead of draining properly.
Gathering Necessary Tools
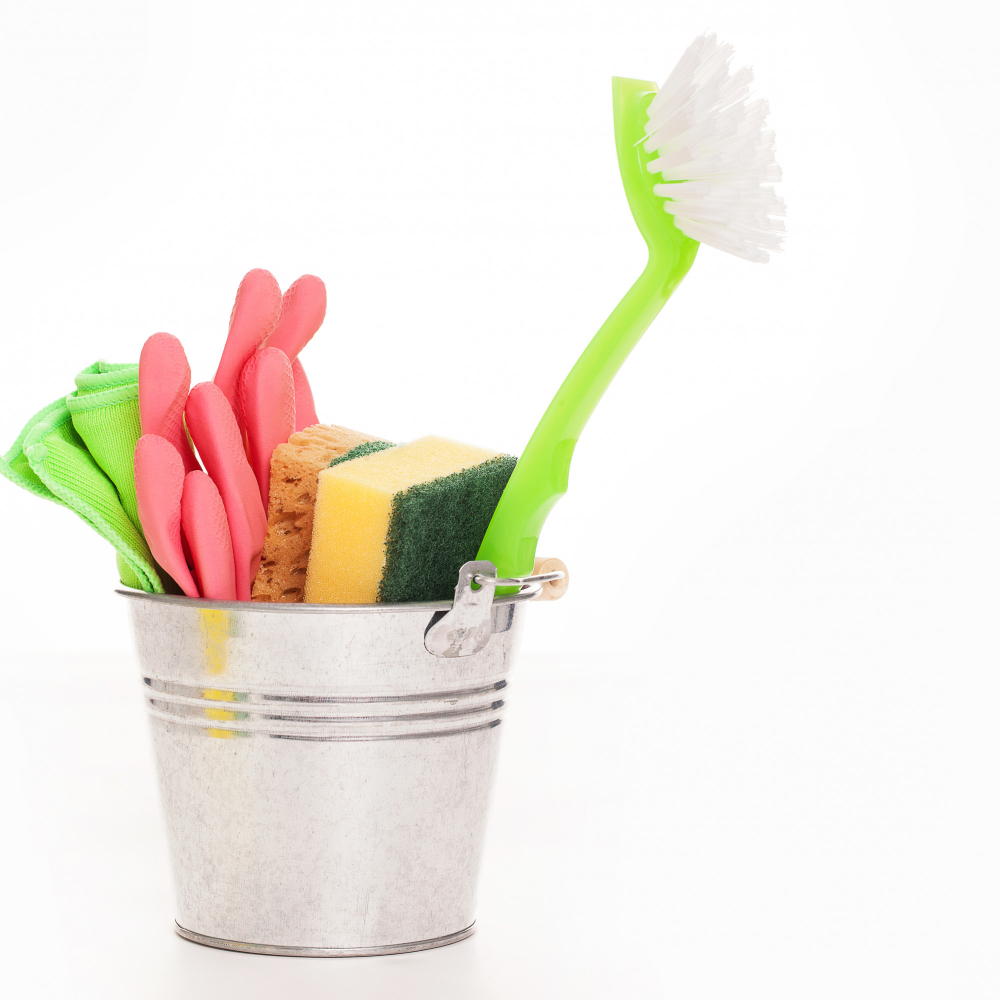
This will ensure that you have everything on hand and won’t need to stop midway through the process. Here are some of the essential tools you’ll need:
1. Screwdriver: You’ll need a screwdriver to remove the screws holding your sink vent cover in place.
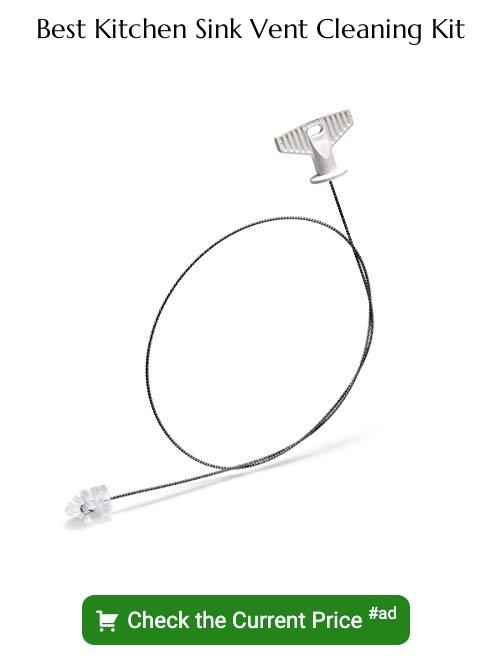
2. Cleaning Brush: A long-handled brush with stiff bristles is ideal for scrubbing away any dirt or debris inside your sink vent pipe.
3. Bucket: You’ll want a bucket handy to catch any water or debris that falls out of your sink vent during cleaning.
4. Gloves and Safety Glasses: It’s always best practice when working with pipes under sinks, so make sure you wear gloves and safety glasses before starting work on this project.
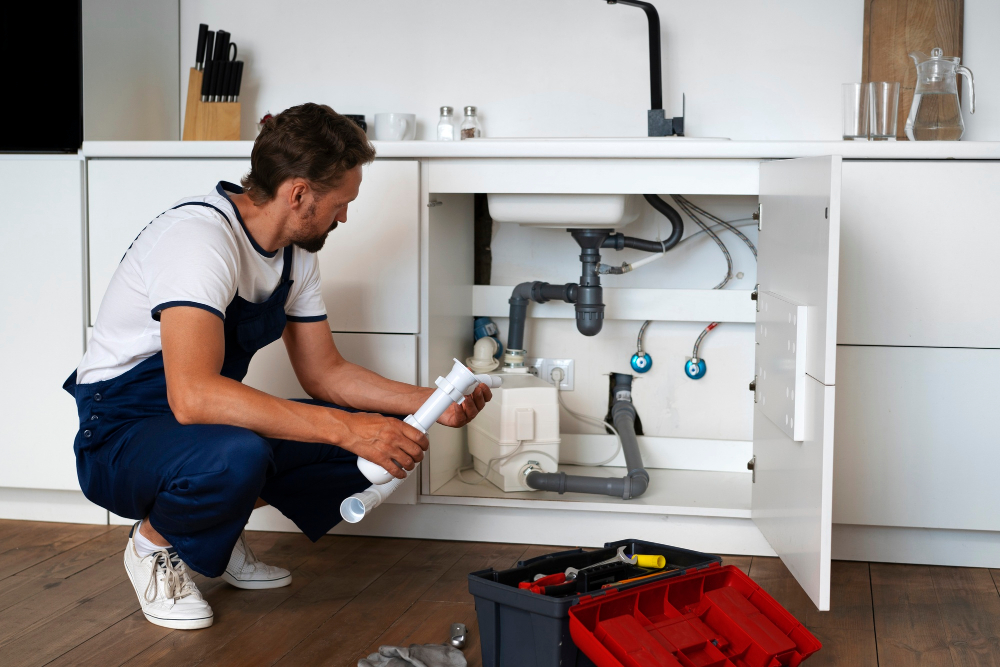
Prepping the Area for Cleaning
This will help prevent any damage or mess during the cleaning process. First, clear out any items from under your sink and place a towel or old cloth on the bottom of the cabinet to catch any debris that may fall during cleaning.
Next, put on gloves and safety glasses to protect yourself from dirt and debris that may be dislodged while removing parts of your sink vent system. It’s also a good idea to have a bucket nearby for collecting dirty water or other materials removed from inside the pipe.
Make sure you have all necessary tools at hand before starting work – including pliers for removing screws holding down covers over vents if needed; screwdrivers (flathead/Phillips) depending on what type of fasteners are used in securing different components together; wire brushes for scrubbing away grime buildup inside pipes etcetera.
Safety Precautions Before Cleaning

First and foremost, make sure that the power supply to any electrical appliances near the sink is turned off. This will prevent any accidental electrocution while working on or around the area.
Next, put on a pair of gloves and protective eyewear to avoid contact with harmful chemicals or debris that may be present in your vent pipe. You should also wear a mask if you have respiratory issues as dust particles can cause irritation.
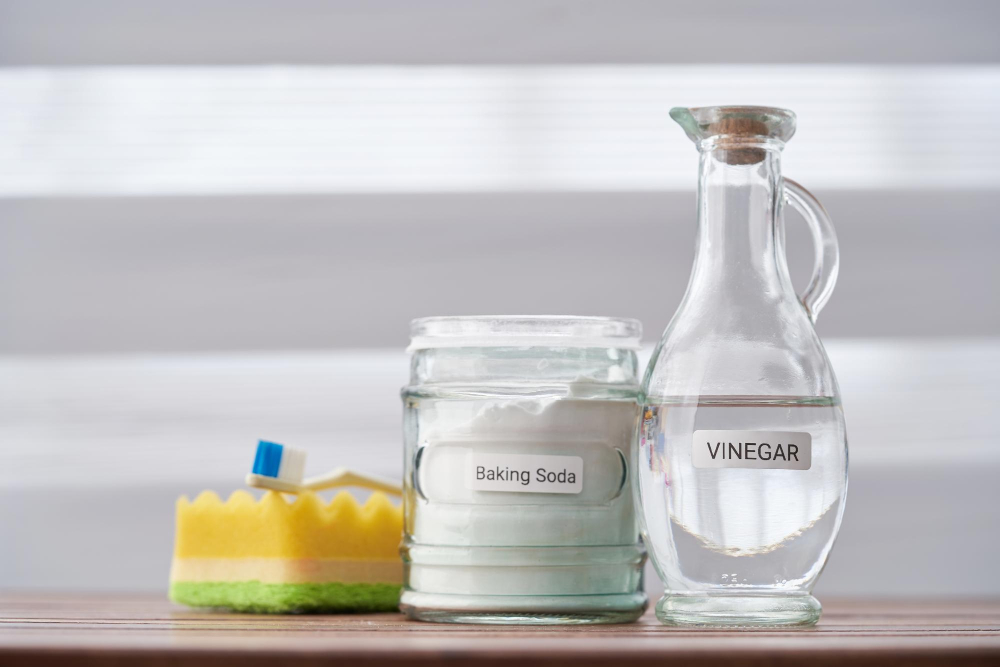
It’s essential not to use harsh chemicals like bleach when cleaning your sink vent as they can damage pipes and create toxic fumes which are hazardous for health. Instead, opt for natural cleaners such as baking soda mixed with vinegar or lemon juice diluted in water.
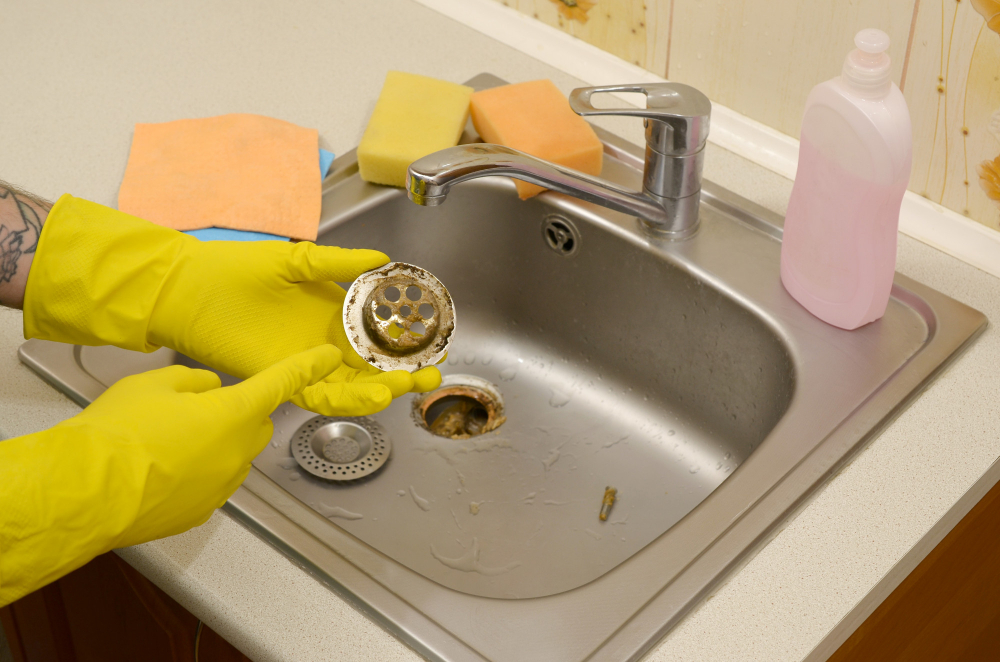
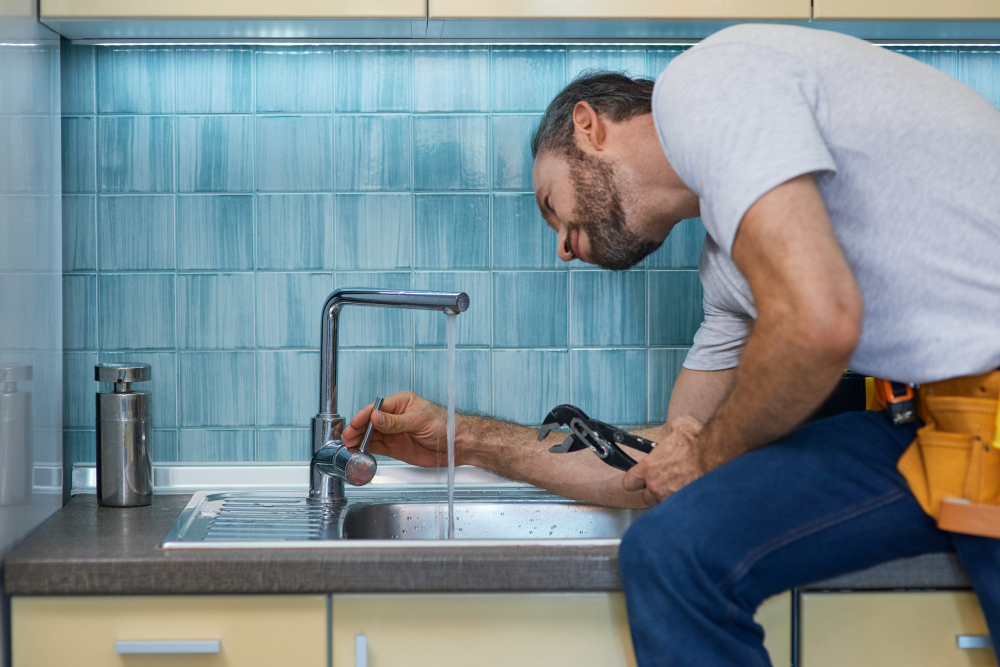
Removing Sink Vent Cover

This is an essential step in accessing and cleaning your kitchen sink vent.
To remove the cover, locate its position on your sink. It is usually located at or near the top of your sink basin or behind it.
Once you’ve found it, use a screwdriver to unscrew any screws holding it in place.
If there are no visible screws, try prying off the cover with a flathead screwdriver or gently pulling on one end until it pops out of place.
Be careful not to damage any surrounding tiles or fixtures while removing the cover. If you encounter resistance during removal, stop immediately and assess if there are additional steps required before proceeding further.
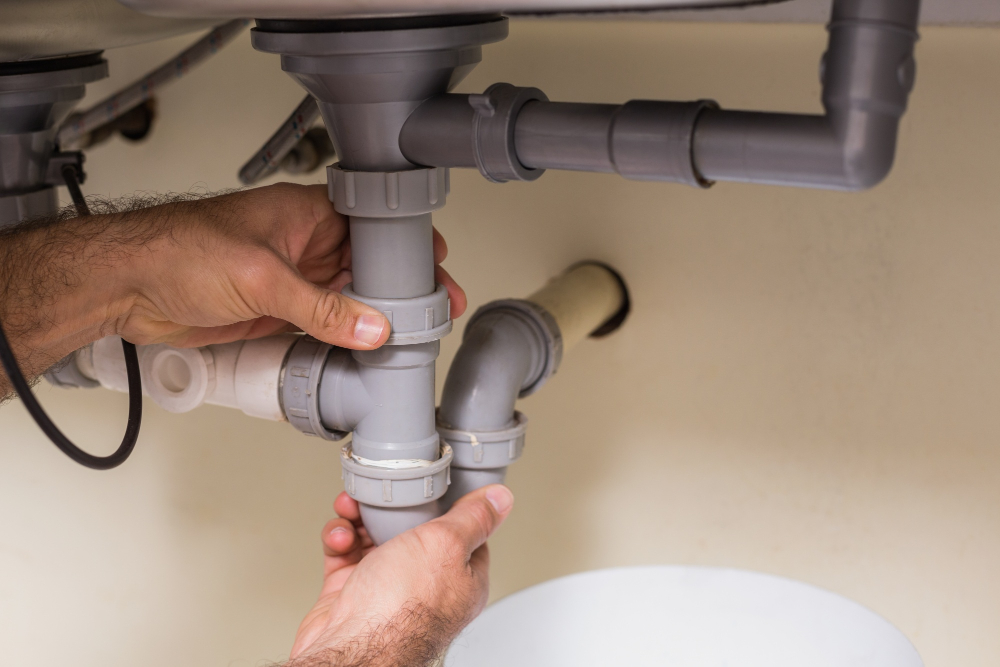
Cleaning Sink Vent Pipe

The pipe is usually made of PVC or metal and can be cleaned using a variety of methods.
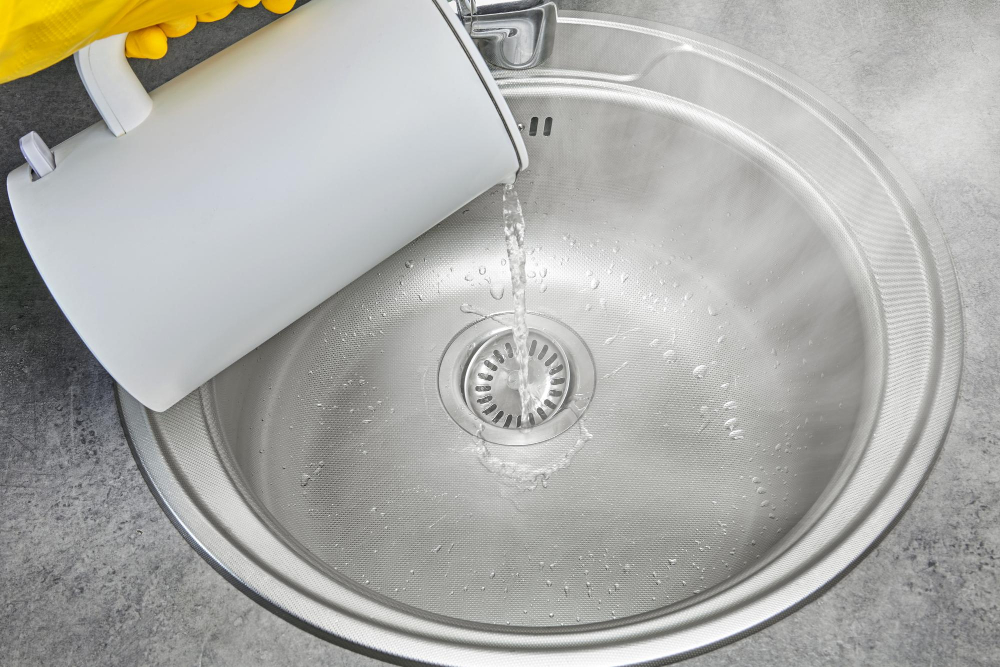
First, use a flashlight to inspect the inside of the pipe for any visible blockages. If there are no visible obstructions, then pour hot water down into the vent opening and let it sit for several minutes.
This will help loosen any debris that may be stuck in your pipes.
Next, use a plumbing snake or wire hanger to clear out any remaining blockages in your sink vent pipe. Insert either tool into one end of your sink vent until you feel resistance from an obstruction; then gently push through until it clears on other side.
Flush out all debris with hot water again before reassembling everything back together as per instructions provided by manufacturer manual or professional plumber advice if needed.
Clearing Sink Vent Blockages
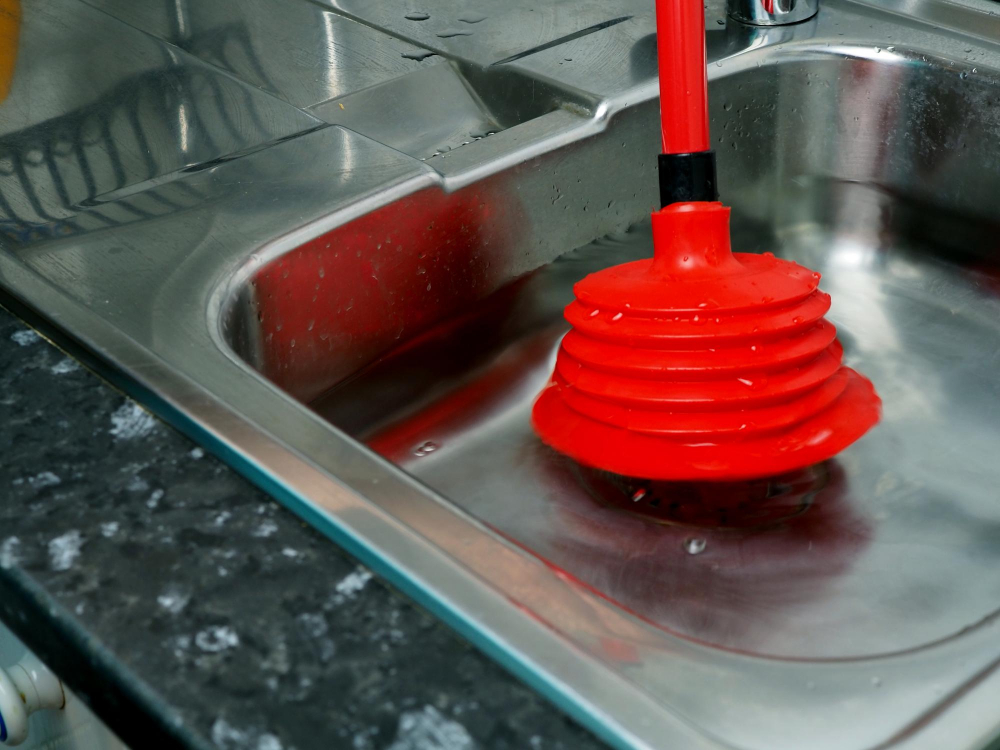
Here are some simple steps to follow:
1. Use a plunger: Place the plunger over the sink drain and create a tight seal around it.
Fill up your sink with enough water so that there is about an inch of water above the rubber cup of your plunger. Then, plunge vigorously for several minutes.
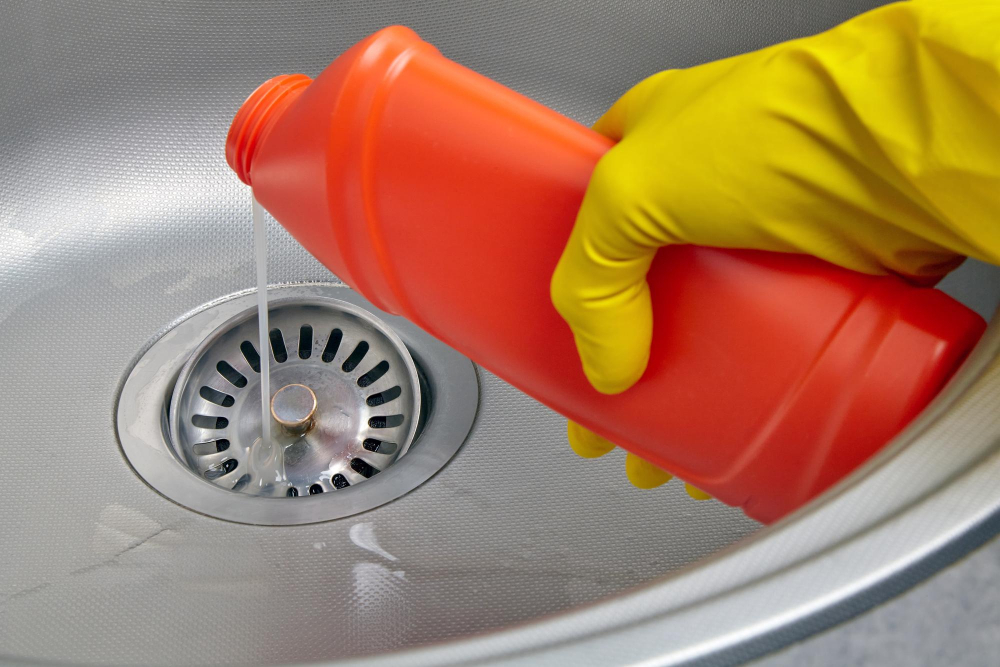
2. Try using baking soda and vinegar: Pour half a cup of baking soda down into your drain followed by one cup of white vinegar (or apple cider vinegar).
Let this mixture sit in place for 30 minutes before flushing with hot water.
3. Use an auger or snake tool: If plunging doesn’t work, try using an auger or snake tool to break up any stubborn blockages in your vent pipe.
4. Call in professional help: If none of these methods work, then it may be time to call in professional help from a plumber who can use specialized tools like hydro-jetting equipment or cameras to locate and remove any obstructions within the pipe system.
Cleaning Sink Vent Cover
The cover is usually located at the top of your sink and can be easily removed with a screwdriver or pliers. Before removing it, make sure that you have placed a towel or cloth underneath to catch any debris that may fall out.
To clean the cover, use warm soapy water and a scrub brush. You can also use an old toothbrush for hard-to-reach areas.
Be gentle when cleaning as some covers are made of delicate materials like plastic or chrome.
If there are stubborn stains on your sink vent cover, try using baking soda mixed with vinegar instead of soap and water. This mixture will help break down any grime buildup without damaging your kitchen fixtures.
After cleaning thoroughly, rinse off all soap residue from both sides of the vent cover before reattaching it back onto its original position over the pipe opening in your kitchen sink.
Reassembling Sink Vent
Start by placing the cover back onto the vent pipe and securing it in place with screws or clips. Make sure that all parts are properly aligned before tightening any screws.
Next, carefully slide the vent pipe back into its original position under your sink. Ensure that there is no kinking or bending of pipes during this process as this can cause blockages later on.
Turn on your faucet to check if water flows smoothly down your drain without any gurgling sounds coming from your sink. If everything seems fine, then congratulations! You have successfully cleaned and reassembled your kitchen sink vent!
Remember to perform regular maintenance checks on a monthly basis to prevent future clogs and unpleasant odors from developing in your kitchen space.
Proper Vent Maintenance
To keep your vent functioning properly, it’s important to take a few extra steps.
Firstly, avoid pouring grease or oil down the drain as this can cause blockages in the pipe and lead to unpleasant odors. Instead, pour excess grease into a container and dispose of it in the trash.
Secondly, run hot water through your sink after each use for at least 30 seconds. This helps prevent any buildup from accumulating inside the pipes.
Lastly, consider using an enzyme-based cleaner once every month or two to help break down any organic matter that may be stuck inside your pipes.
Preventing Future Sink Vent Issues
One of the easiest ways to do this is by being mindful of what goes down your drain. Avoid pouring grease or oil down the sink as they can solidify and cause blockages in the vent pipe.
Another way to prevent future issues is by using a mesh strainer over your drain. This will catch any food particles or debris that could potentially clog up your sink vent.
Regular maintenance is also key in preventing future problems with your kitchen sink vent. Make sure you clean it at least once every six months, depending on how often you use it.
Lastly, if you notice any signs of an issue with your kitchen sink vent such as slow draining water or unpleasant odors coming from the drain, address them immediately before they become bigger problems that require professional help.
When to Clean Your Vent Pipe

How often should you do it? The answer depends on several factors, including the frequency of use and the type of food waste that goes down your drain.
If you cook frequently or have a large family, then it’s recommended that you clean your sink vent pipe at least once every three months. However, if you rarely use your kitchen sink or live alone, then cleaning it twice a year may be sufficient.
Another factor to consider is what goes down your drain. If you’re in the habit of pouring grease or oil down the drain, then this can quickly clog up your vent pipe and cause issues with drainage.
In this case, more frequent cleaning may be necessary.
Ultimately, keeping an eye (and nose) out for any signs of blockage or unpleasant smells is key in determining when to clean out your kitchen sink vent pipe.
Signs of a Clean Vent
Here are some signs that your vent is now clean and functioning properly:
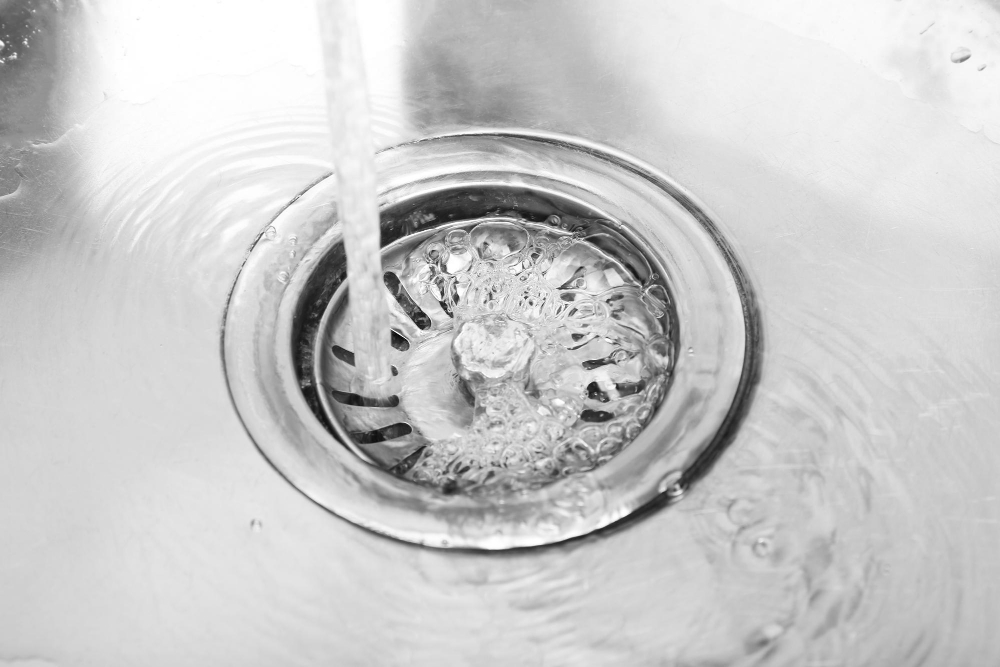
1. No more foul odors: A clean sink vent should eliminate any unpleasant smells coming from your drain.
2. Water drains quickly: If water is draining faster than before, then this means there were blockages in the pipe that have been cleared out.
3. No gurgling sounds: Gurgling noises indicate air trapped in the pipes due to a clogged or blocked sink vent; these sounds should disappear after cleaning.
4. Sink bowl fills up less frequently: When a clog occurs in the ventilation system, water will fill up faster than usual; after cleaning, you’ll notice that it takes longer for this to happen again.
Regular Maintenance for Sink Vents
By doing so, you can prevent future blockages and ensure a fresh-smelling kitchen.
One way to maintain your sink vent is by pouring hot water down the drain once a week. This helps break down any grease or food particles that may have accumulated in the pipe.
Another tip is to avoid pouring oil or grease down the drain as they can solidify and cause blockages over time. Instead, dispose of them in a separate container and throw them away in the trash.
Lastly, consider using an enzyme-based cleaner every few months. These cleaners are designed specifically for breaking down organic matter like food scraps and oils without damaging pipes or causing harm to the environment.
Signs You May Need a Professional

Here are some signs that indicate you may need expert help:
1. Persistent odors: If unpleasant smells continue to linger even after cleaning the sink vent, there could be a more serious issue at play.
2. Slow drainage: If water continues to accumulate in your sink or takes longer than usual to drain away, it’s possible that there is a blockage further down the pipe.
3. Strange noises: Gurgling sounds coming from your kitchen sink can indicate an issue with air flow through the vent pipe.
4. Water damage: Any visible signs of water damage around your kitchen sink area should not be ignored as they could point towards leaks caused by damaged pipes or vents.
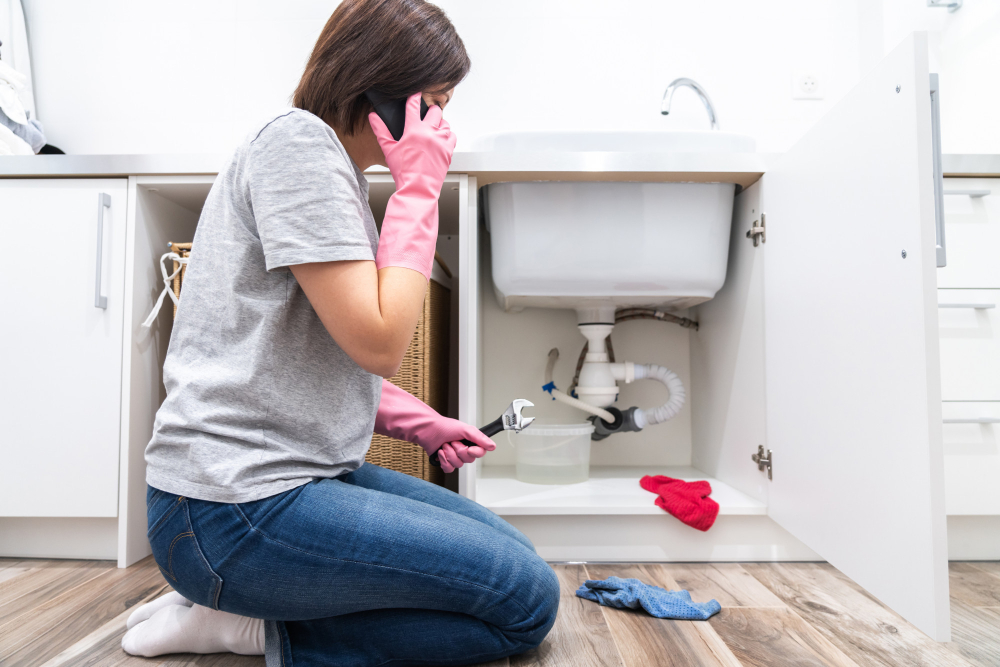
Professional Help for Cleaning Sink Vents

A plumber can help diagnose any underlying issues with your plumbing system that may be causing problems with your sink vent. They have specialized tools and equipment to clear even the most stubborn blockages safely.
Professional plumbers also have experience dealing with different types of sinks, pipes, and vents. They can quickly identify the root cause of any problem and provide an effective solution that will keep your kitchen smelling fresh for longer.
While calling in a professional might seem like an added expense, it’s worth considering if you’re struggling to clean out your sink vent on your own or if there are persistent issues despite regular maintenance efforts. In some cases, ignoring these problems could lead to more significant plumbing issues down the line – so don’t hesitate to reach out for help when needed!
FAQ
Can a sink vent get clogged?
Yes, a sink vent can get clogged, as it is usually located on the roof and can easily accumulate dirt and debris.
How do you unclog a plumbing vent without getting on the roof?
To unclog a plumbing vent without getting on the roof, run hot water for a while from a faucet on the uppermost floor of your home to create heat and steam that may melt any snow or ice blocking the vent.
What are the common causes for a kitchen sink vent to become clogged?
Common causes for a kitchen sink vent to become clogged include build-up of grease, food particles, and debris.
What preventative measures can be taken to avoid clogging of a sink vent?
To prevent clogging of a sink vent, regularly clean and maintain the vent, removing debris and ensuring proper airflow.
Are there any tools or products designed specifically for cleaning and maintaining kitchen sink vents?
Yes, there are specialized tools and products, such as vent brushes and pipe cleaners, designed specifically for cleaning and maintaining kitchen sink vents.


