Last updated on
Learn the effective steps to clean your kitchen walls and revitalize your cooking space with everyday supplies.
Key takeaways:
- Spot test cleaners to protect your paint or tile finish.
- Dust walls before cleaning to minimize mess.
- Use mild soap and avoid harsh chemicals.
- Clean small sections at a time for a thorough clean.
- Dry walls after cleaning to prevent watermarks and mold.
What's Inside
General Tips
Before diving into the nitty-gritty of wall cleaning, consider these general tips to streamline your process and safeguard your surfaces. Firstly, always do a spot test with your chosen cleaner, finding an inconspicuous area to confirm it doesn’t damage the paint or tile finish. A quick patch test can save a world of heartache later on.
Secondly, dusting your walls with a microfiber cloth or duster ahead of washing minimizes the mud factor. Dust and grime mixed with water during the cleaning process can create more of a mess, so preempt with a gentle once-over.
Thirdly, mild soap is your friend; harsh chemicals can turn your cleaning dream into a nightmare, stripping away paint or leaving streaks. Go gentle. Less is often more when it comes to the potion for your walls.
Finally, arm yourself with patience. Wall cleaning isn’t a race to the finish line. Tackle small sections at a time for a thorough clean, ensuring no spot is left uncared for. Remember, Rome wasn’t built in a day, and your kitchen walls don’t need to be sparkling in an hour.
Keep these tips at your fingertips, and you’ll navigate the chore with grace and efficiency.
What You’ll Need
Diving right in, you’ll want to gather a few trusty tools to tackle the job effectively. First off, a sponge or microfiber cloth works wonders for most surfaces without leaving scratches in their wake. You’ll appreciate having a soft-bristled brush on hand for nudging stubborn grime out of nooks and crannies.
On the materials front, a bucket of warm, soapy water is your go-to for a general wash-down. If you’re facing more stubborn stains, consider an all-purpose cleaner or a homemade solution of vinegar and water for a natural alternative. Keep in mind that a dash of baking soda gives that extra oomph to remove those pesky grease spots.
For walls with a touch more texture, bring in a magic eraser. It’s like a little elbow grease in sponge form. And don’t overlook the importance of rubber gloves to protect your hands when using cleaning solutions. Remember, the goal is to freshen up the kitchen, not your skin.
Lastly, have some clean towels or paper towels nearby to dry surfaces and prevent streaks after the wash-down. With these items at the ready, you’re primed to transform those walls from grimy to gleaming.
Equipment / Tools
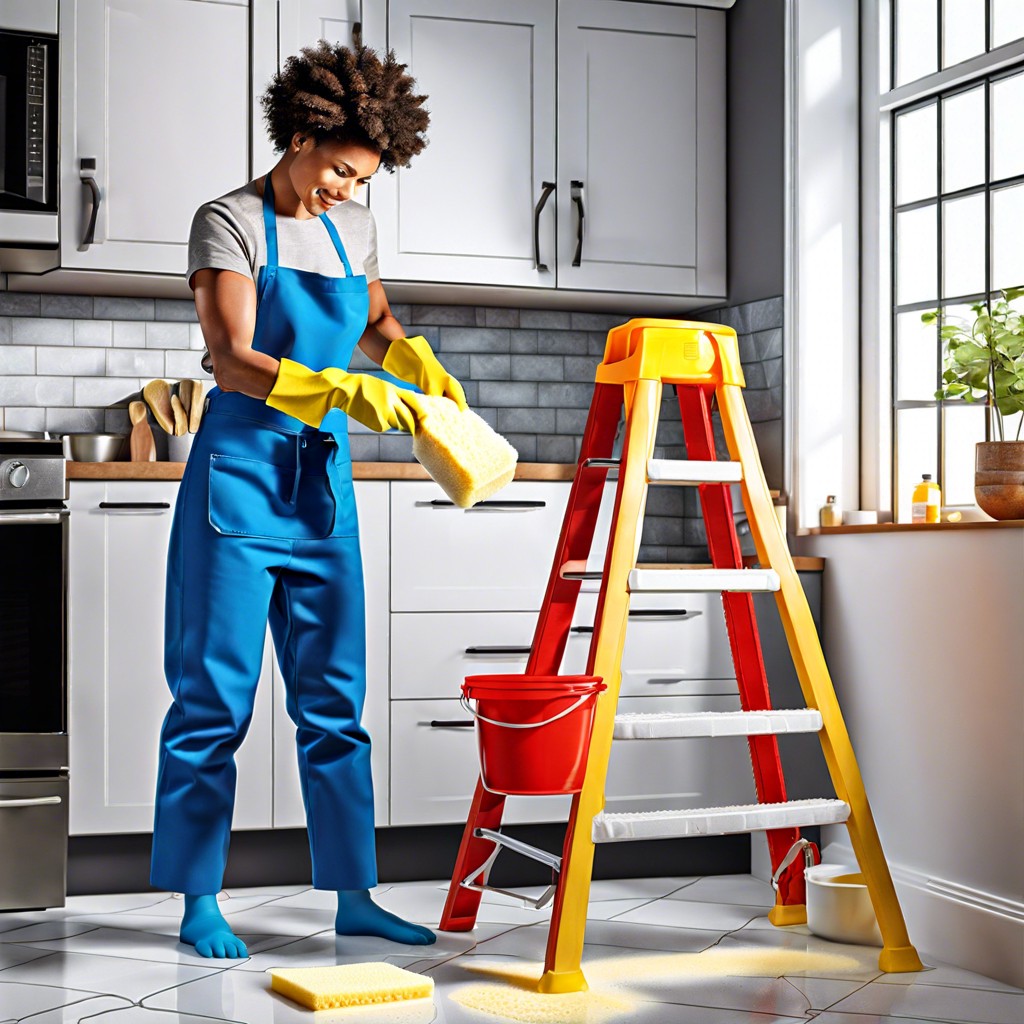
Roll up your sleeves because it’s time to gather your cleaning armory. First off, you’re going to need a sturdy step stool or a step ladder. This will be your trusty steed, helping you reach those upper corners where grease and grime love to throw secret parties.
Next, arm yourself with a good pair of gloves. You want to protect those piano-playing, dish-washing, high-fiving hands of yours. With your hands shielded, reach for a soft sponge or a gentle scrub brush. Think of these as your paintbrushes, delicately but effectively wiping away the splatters and spots.
Don’t forget a bucket of warm water to plunge your sponge or brush into. It’s like your base camp for dunking and rinsing. Keep a separate, dry cloth or towel at arm’s length too — it’s your trusty sidekick that will swipe away the suds and reveal the sparkle.
Lastly, for those hard-to-remove spots, a plastic scraper or an old credit card can work magic. They’re like the ninjas of your toolkit, sliding off the gunk without leaving a trace on your walls. Keep it gentle – no wall deserves a scar.
Put these tools together, and you’re ready to battle those blemishes with finesse.
Materials
Let’s dive straight in with the materials you’ll need to make your kitchen walls sparkle again. Arm yourself with a gentle dish soap that can cut through grease without being abrasive. White vinegar is next on the list, your secret weapon against stubborn stains with its natural disinfectant properties. Baking soda is another must-have; when it comes to lifting grime, it’s a powerhouse. And for a final touch, grab some essential oils like lemon or lavender to leave a fresh scent in their wake. Combine these with warm water, and you’ve got a homemade solution that’ll tackle dirt without the harsh chemicals.
Remember to have a selection of cleaning cloths – microfiber works wonders for ensuring a streak-free finish. For the tougher spots, magic erasers can do the trick, but use them cautiously as they might dull the paint if you get carried away. Lastly, don a pair of rubber gloves to protect your hands. Now, with your kit ready, those kitchen walls don’t stand a chance!
Instructions
Begin by dusting off the walls with a microfiber cloth or a feather duster to remove cobwebs and loose dirt. This pre-cleaning step paves the way for more thorough attention later on.
Mix a few drops of mild dish soap with water in a bucket for a gentle cleaning solution. For greasier spots, consider adding a dash of baking soda to the mix to break down the oil.
Dip a soft sponge or cloth into the solution, wring it out well to avoid drips and streaks, and then gently wipe the walls. Work in small sections, moving from the top down to prevent dirty water from trickling onto cleaner areas.
For stubborn stains, apply a dab of the cleaning mixture directly to the mark and let it sit for a minute or two. Use a soft brush or cloth to scrub the spot in a circular motion gently.
After scrubbing, immediately rinse the wall with a clean cloth and plain water to avoid leaving soapy residue or moisture that could damage the paint or wall surface.
Be patient; some spots may need a bit of elbow grease. Remember, aggressiveness can lead to unwanted paint touch-ups, so maintain a balance between firmness and gentleness.
Finally, dry the walls with a clean towel to prevent watermarks and ensure no excess moisture lingers, which could lead to mold issues.


