Last updated on
Learn the best techniques for gently and effectively cleaning your painted cabinets to keep them looking their best without damaging the finish.
Key takeaways:
- Gather cleaning supplies: Use soft cloths and non-abrasive cleaner.
- Mix cleaning solution: Dilute dish soap or use pH-neutral cleaner.
- Tackle greasy spots: Use warm water, dish soap, and vinegar.
- Cleaning cabinet hardware: Remove hardware and clean with soapy water.
- When to call a professional for refinishing: Peeling paint, discoloration, persistent odors, structural damage.
What's Inside
Gather Cleaning Supplies
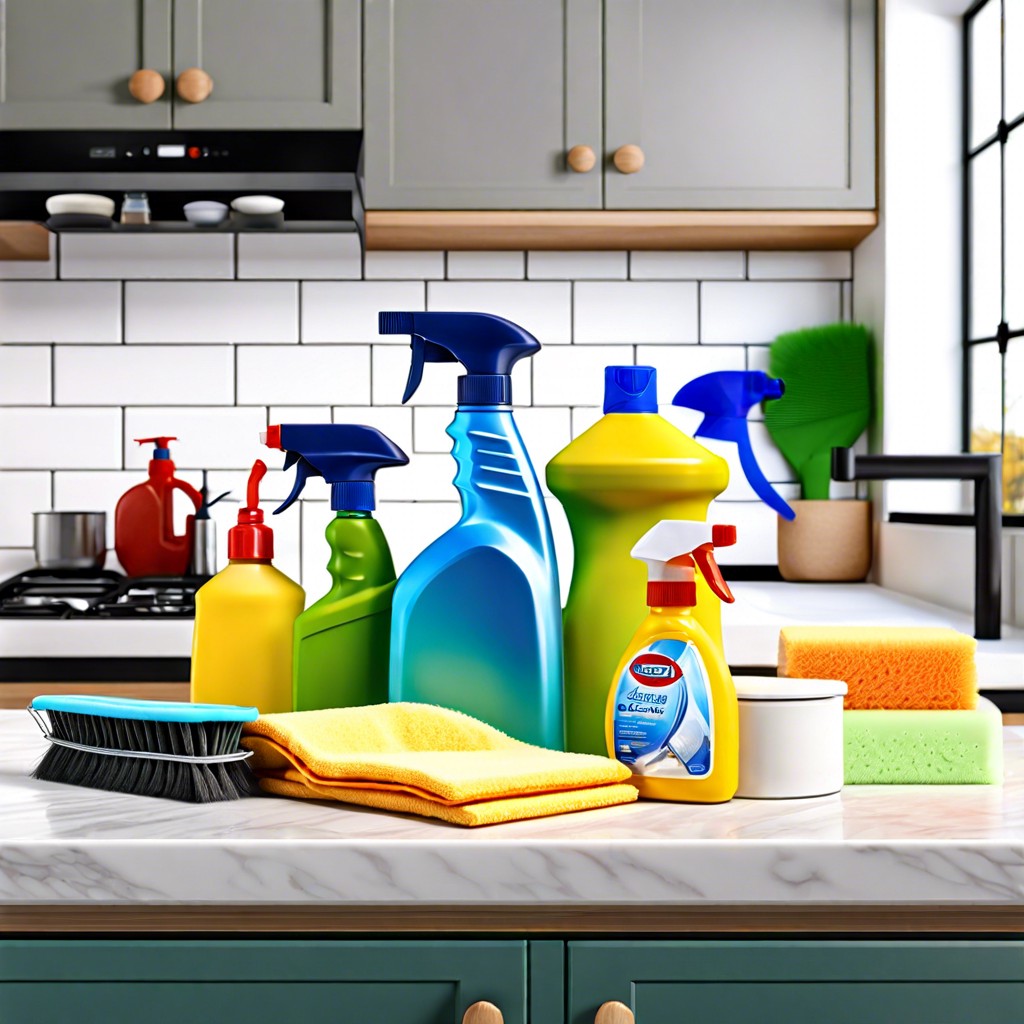
Having the right tools within arm’s reach streamlines the cleaning process. Start by selecting a gentle, non-abrasive cleaner to preserve the paint’s integrity. Opt for mild dish soap that easily cuts through grease without damaging the finish.
Soft cloths are ideal to avoid scratching the painted surface. Microfiber cloths work exceptionally well since they trap dirt and are gentle on surfaces. A small bucket is useful to hold the cleaning solution and wring out cloths. For tougher stains, have a soft-bristled brush on hand to agitate dirt without marring the paint.
Always keep clean water nearby to rinse your cloth, preventing the spread of dirt. And have a dry towel on hand to meticulously dry off the cabinets, preventing water stains and streaks.
Remember to avoid using harsh chemicals like bleach or ammonia-based cleaners, which can strip the paint and dull the finish. Stick with simple, gentle supplies for a successfully cleaned cabinet that looks its best.
Mix Cleaning Solution
For a gentle yet effective solution, dilute a few drops of mild dish soap in a bucket of warm water. If you’re dealing with a higher level of dirt and grime, add half a cup of vinegar to the mixture to amplify its cleaning power.
For those preferring a ready-made solution, a pH-neutral cleaner is your best bet to preserve the paint’s integrity. Remember, avoid using harsh chemicals like ammonia or bleach, as they can damage the paint finish.
The key here is to make a gentle cleaner that’s tough on dirt but easy on your cabinets. Test your solution in an inconspicuous spot to ensure it doesn’t damage the finish before you proceed.
Tackle Greasy Spots
It’s inevitable – kitchens equal cooking, and cooking leads to grease. Even with routine cleaning, you might notice some spots that resist your usual wipe-down. Fear not, there’s a method to the madness of removing stubborn grime from your cabinets.
First, mix a solution of warm water with a few drops of dish soap, known for its degreasing properties. Adding baking soda to this mix can create a gentle scrub that’s perfect for tough spots without damaging the paint. Apply this mixture with a soft cloth, scrubbing in a circular motion. The warmth helps to soften the grease, making it easier to lift off the surface.
For those areas that laugh in the face of soap and water, grab white vinegar – our secret weapon against stickiness. Use a 50/50 solution of vinegar and warm water, spray it directly onto the grease, and give it a minute to work its magic. The vinegar’s acidity is a natural degreaser and safe for most painted surfaces.
Remember to be patient. Sometimes, these greasy foes require a little soak time. Let your cleaning solution sit for a few minutes, then gently wipe away. If a spot requires a bit more elbow grease, repeat the application, but always avoid harsh scrubbing, which can strip away paint.
Once the grease is gone, make sure to go over the area with plain water to remove any leftover cleaning solution, and follow with a dry cloth to prevent any moisture damage. With these tips, you’ll have your cabinets back to their original splendor in no time.
Cleaning Cabinet Hardware
Diving into the finer details, hardware such as knobs, pulls, and hinges might be small, but they can accumulate grime that detracts from your cabinets’ appearance. To effectively spruce them up, remove them with the appropriate screwdriver, ensuring you keep the screws in a safe place. A warm, soapy water bath can dislodge stubborn dirt, with an old toothbrush as your mini scrubbing tool for the nooks and crannies.
For a natural shine, consider dabbing a soft cloth in vinegar or brass cleaner for metallic finishes, but always test a small area first to avoid damage. Once they gleam, dry them thoroughly to prevent moisture-related issues before reattaching them, taking care not to over-tighten screws. This attention to detail not only revives the hardware but can also elevate the entire look of your kitchen or bathroom with minimal effort.
When to Call a Professional for Refinishing
Sometimes, cleaning isn’t enough to restore your painted cabinets to their former glory. It’s crucial to recognize when a deep clean transitions into the need for a professional refinishing job.
Peeling or Cracking Paint: If you spot areas where the paint is lifting away from the wood or cracking, a surface clean won’t remedy the underlying issue. These signs indicate that the existing paint job is failing, and a professional’s skills are required to strip, prepare, and repaint the surfaces.
Discoloration Beyond Cleaning: After years of use, paint may discolor, especially in high-heat or sunlit areas. If your cabinets have yellowed or faded unevenly, and cleaning does not even out the tone, this may be a job for a refinisher.
Persistent Odors: Wood can absorb odors over time, which cleaning might not remove, especially if there has been smoke damage or the cabinets are near cooking areas. A refinisher can seal and repaint the surfaces, locking out smells and giving your kitchen a fresh start.
Structural Damage: If there’s water damage or the wood has started to warp or rot, it’s not just a cosmetic issue. A professional can assess whether it’s a repair or refinish job, ensuring the integrity of your cabinets.
Recognizing these warning signs can save you time and ensure your cabinets not only look good but also last longer. Always consult with a professional if you’re unsure about the condition of your cabinets.


