Last updated on
Learn a quick and easy method for cleaning your sink faucet head with household items.
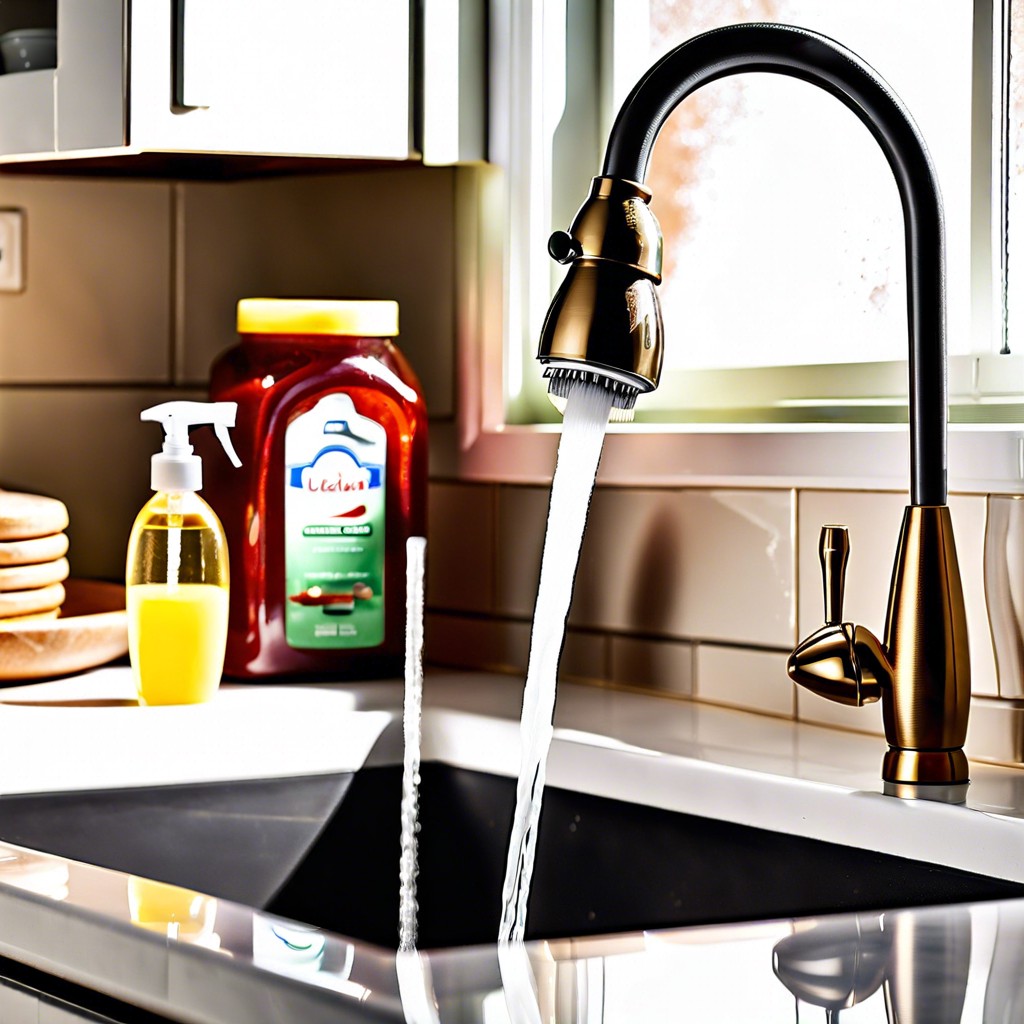
Ever stared at your sink faucet head and wondered if it’s trying to recreate a Jackson Pollock painting with water spray? Fear not! This guide is your new best friend when it comes to mastering the art of faucet cleaning. From mixing a magical cleaning potion to taming stubborn aerators, we dive into each step with thoroughness and a sprinkle of humor. Prepare to arm yourself with a toothbrush and vinegar because we’re on a mission to make your faucet sparkle like it’s auditioning for a TV commercial.
Key takeaways:
- Gather vinegar, bowl, toothbrush, and cloth.
- Remove aerator for deeper cleaning.
- Mix vinegar and water solution.
- Soak faucet head for 15-30 minutes.
- Scrub and rinse for a sparkling finish.
What's Inside
What You’ll Need

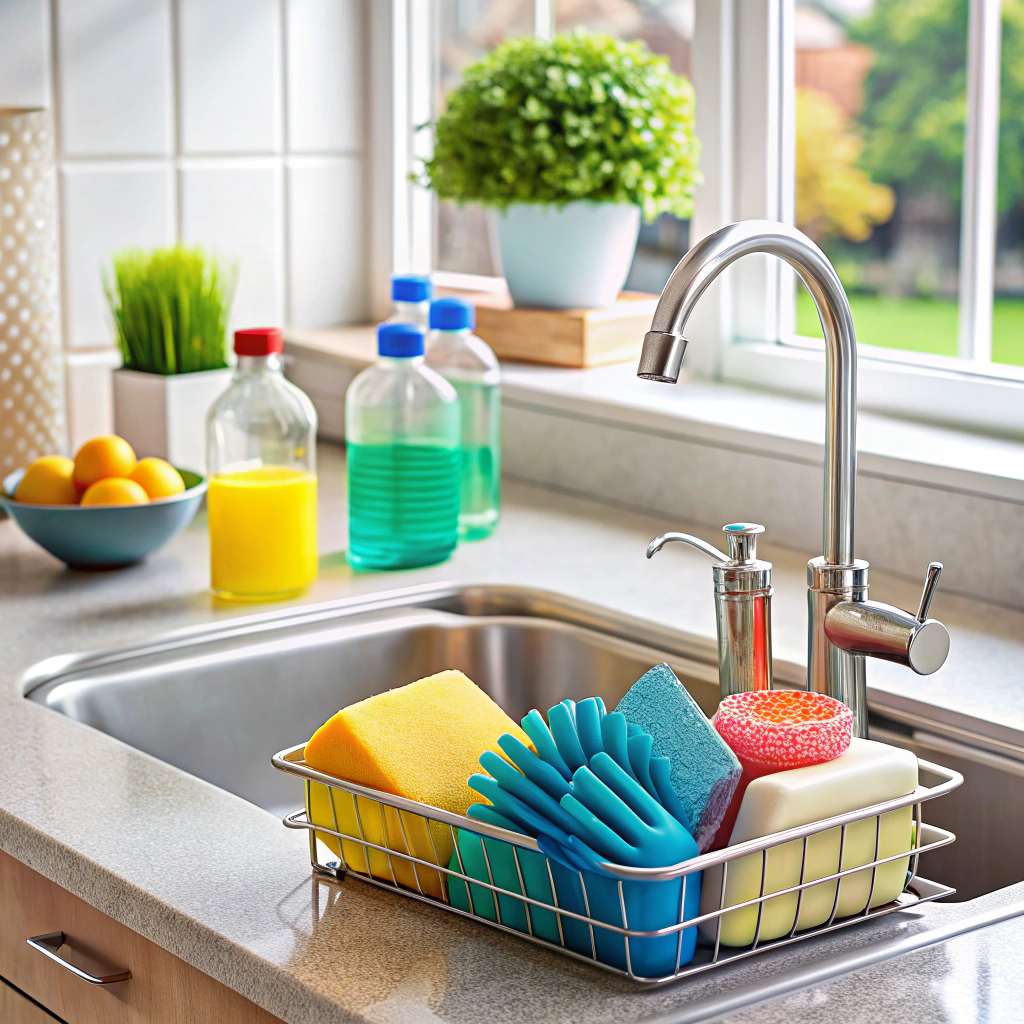
To tackle the faucet head cleaning task, gather a few simple supplies. First, you’ll need white vinegar. It’s the unsung hero in the cleaning world, solving grime crimes everywhere.
Grab a small bowl or plastic bag for some wet magic. Prefer scrubbing? Use an old toothbrush, perfect for reaching into those nooks and crannies. It’s like a dentist visit, but for your faucet.
A soft cloth is essential for drying and polishing. Let’s make that faucet sparkle. Just try not to blind yourself with the shiny!
Lastly, have some rubber bands or twist ties handy if you’ll be securing the bag under the faucet. The genius method for hands-free soaking. Who knew plumbing could pair with fashion?
Remove Aerator (Optional)
If your faucet head has an aerator, removing it can make cleaning more effective and less like a battle with stubborn gunk.
– Most aerators can be unscrewed by hand. Grip it gently and twist counter-clockwise like opening that stubborn pickle jar. Just try to avoid launching it into the sink abyss!
– Stuck aerators may need a gentle nudge. Use pliers wrapped in a cloth for a bit of extra torque without scratching.
– Remember the order of washers and screens inside. Reassembling should be less of a puzzle and more like putting on socks.
Removing the aerator not only helps clear stubborn buildup but also keeps water flow smooth, so you don’t end up with that impromptu shower you didn’t sign up for while washing dishes.
Mix Cleaning Solution
Let’s get down to business. A fabulous cleaning solution is just vinegar and water, no need to overcomplicate it. Channel your inner chemistry teacher, and mix equal parts of water and white vinegar. Magic happens when you combine these two.
For a bit of flair, add a dash of baking soda. Yes, that same baking soda that’s been sitting at the back of your fridge. It provides a gentle abrasion without scratching up your faucet, unless you have a vendetta against faucet freedom.
If you want your shiny sink friend to smell like a stroll through a lemon grove, add a few drops of essential oil. Lavender, lemon, or even something that smells like the ocean breeze works. Voilà, your aromatic cleaning concoction is ready for action. Get ready to see this mixture make short work of hard water stains and gunk.
Soak Faucet Head
Find a suitable bowl or cup large enough to fully submerge the faucet head. Fill it with a solution of equal parts water and white vinegar, a kitchen superhero for all things clean. The vinegar works like a charm to break down mineral deposits and grime that love to hang out where they shouldn’t.
Leave the faucet head soaking for about 15-30 minutes. Let those pesky deposits loosen up. It’s like giving your faucet head a spa day—it deserves it.
If the faucet head can’t soak easily, you can secure a plastic bag filled with the vinegar solution around it. Use a rubber band to keep the bag in place. Just make sure the faucet doesn’t look like it’s trying out for a new trend in fashion accessories.
Remove the faucet head from its spa bath, and marvel at how much less crusty it is. Onward to the scrub phase!
Scrub With Toothbrush
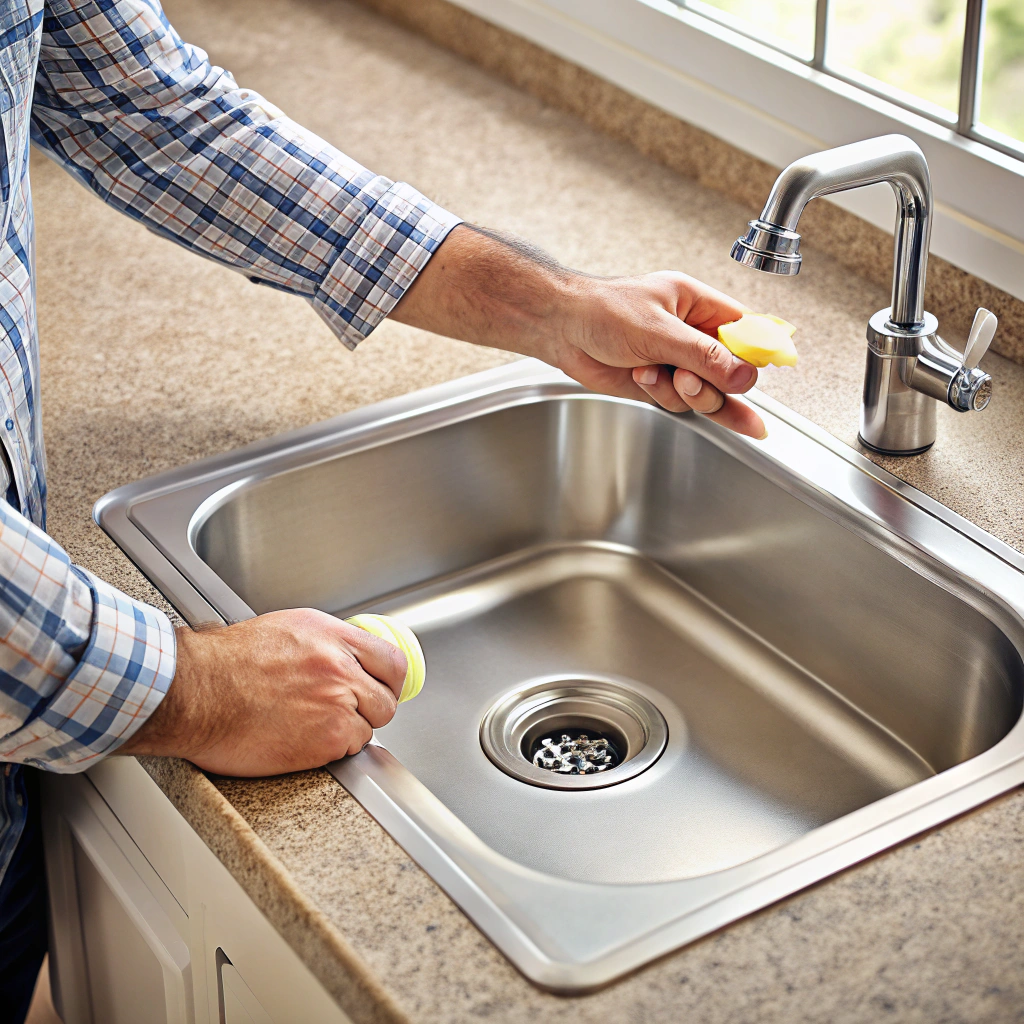
Now, it’s time to channel your inner dentist. Grab an old toothbrush, preferably one that’s no longer in service for your pearly whites. Its bristles are perfect for attacking stubborn grime.
- Gently scrub around the faucet head, focusing on those sneaky areas where mineral deposits like to hide.
- Use circular motions. Pretend you’re the Picasso of cleaning.
- Pay extra attention to the nooks and crannies, just like cleaning behind your ears.
For an added boost, sprinkle a bit of baking soda onto the toothbrush. It’s like adding turbo power to your scrubbing mission.
Keep a cool head. If the toothbrush slips and flies across the room, simply pretend it was an elaborate cleaning dance move.
Rinse and Dry Faucet Head
Once you’ve scrubbed the faucet head like it’s never been scrubbed before, it’s time to give it a refreshing rinse. Use warm water to wash away any lingering soap or grime. Think of it as a mini-spa day for your faucet head, without the cucumber slices.
Thoroughly ensure all cleaning solution is gone, because nobody wants soapy water the next time you fill a glass.
After rinsing, grab a soft, clean towel and lovingly pat the faucet head dry. This step is important to avoid water spots and maintain that gleaming finish. Plus, it’s like giving your faucet a nice warm hug, which it politely appreciates.
How to Clean a Faucet Aerator
Alright, let’s dive into that little bugger. It’s a tiny, often overlooked part, but the faucet aerator can hold its own grime festival if ignored!
Start by finishing the removal, if you haven’t already. A pair of pliers helps if it’s being stubborn.
The main mission here is to evict any mineral deposits and gunk. A vinegar bath is just what it needs—a spa day you’d envy, minus the fruity umbrella drink.
Now, let it soak in vinegar for about 30 minutes. This does wonders on mineral buildup, turning crusty bits into mush, which is much easier to clean.
While waiting, you could hum a tune or practice your one-handed cooking skills (patience really isn’t a skill most of us own).
After soaking, grab a toothbrush and gently scrub, focusing on the small holes to ensure water will flow without its usual drama.
Finally, rinse it well because no one likes a vinegar-scented glass of water. Reassemble as your faucet breathes a sigh of relief for its renewed culinary waterfall duties.
Now you’re a faucet whisperer—what’s next?
Soak Aerator in Vinegar
Here’s where the magic of vinegar enters our cleaning symphony.
Grab a bowl or cup and fill it with white vinegar. It’s like kryptonite for mineral deposits. Dunk the aerator in this bath of wonder and let it soak for about 30 minutes. The vinegar will break down all that hard, crusty gunk, making it as easy to remove as bad dance moves at a wedding.
- Use enough vinegar to fully submerge the aerator.
- For stubborn build-up, soak longer. We all need a spa day sometimes.
- Keep the vinegar bath close to the sink for easy access.
Now sit back, relax, and let the vinegar do its thing. Remember, patience is a virtue, and so is a sparkling faucet.
Scrub Aerator and Reassemble
Time to get scrubbing. Use an old toothbrush for this task. It’s the perfect tool for removing stubborn mineral deposits. Not on your teeth, of course. Gently scrub the aerator screen and its parts. Think of it as exfoliating your faucet’s face.
Rinse everything thoroughly with warm water. Check for any stubborn deposits. If they persist, give them another gentle scrub.
Reassemble the aerator. Follow your mental breadcrumbs to reverse the disassembly process. No need to look at mystical ancient scrolls, just remember which part goes where. Screw it back onto the faucet. Finger-tight should be enough. Handymen not required.
Now, do a quick water test. Enjoy the improved flow without random sprays shooting everywhere. Congratulations, you’ve just given your faucet a spa day!


