Last updated on
Learn clever and stylish ways to disguise those pesky kitchen soffits and transform your cooking space.
Key takeaways:
- Crown molding adds elegance and distraction to soffits.
- Beadboard introduces texture and interest to soffits.
- Open shelves turn soffits into functional design elements.
- Contrasting paint colors can transform soffits into accents.
- Faux cabinet facades create hidden storage and style.
What's Inside
Supplies Used for This Kitchen Soffit Makeover

Start by grabbing some crown molding. It adds an elegant touch and distracts from those pesky soffits. Next, you’ll need 1×3″ boards – both horizontal and vertical. These create a lovely paneled effect, giving your space a custom-built feel.
Don’t forget caulk. It fills gaps and gives smooth, seamless lines. Paint that matches your kitchen’s decor is a must-have to polish things off.
Lastly, a trusty miter saw and level will make sure your cuts and placements are spot on.
So, in summary: crown molding, 1×3″ boards, caulk, paint, miter saw, and a level. Ready, set, disguise!
How to Disguise a Kitchen Soffit
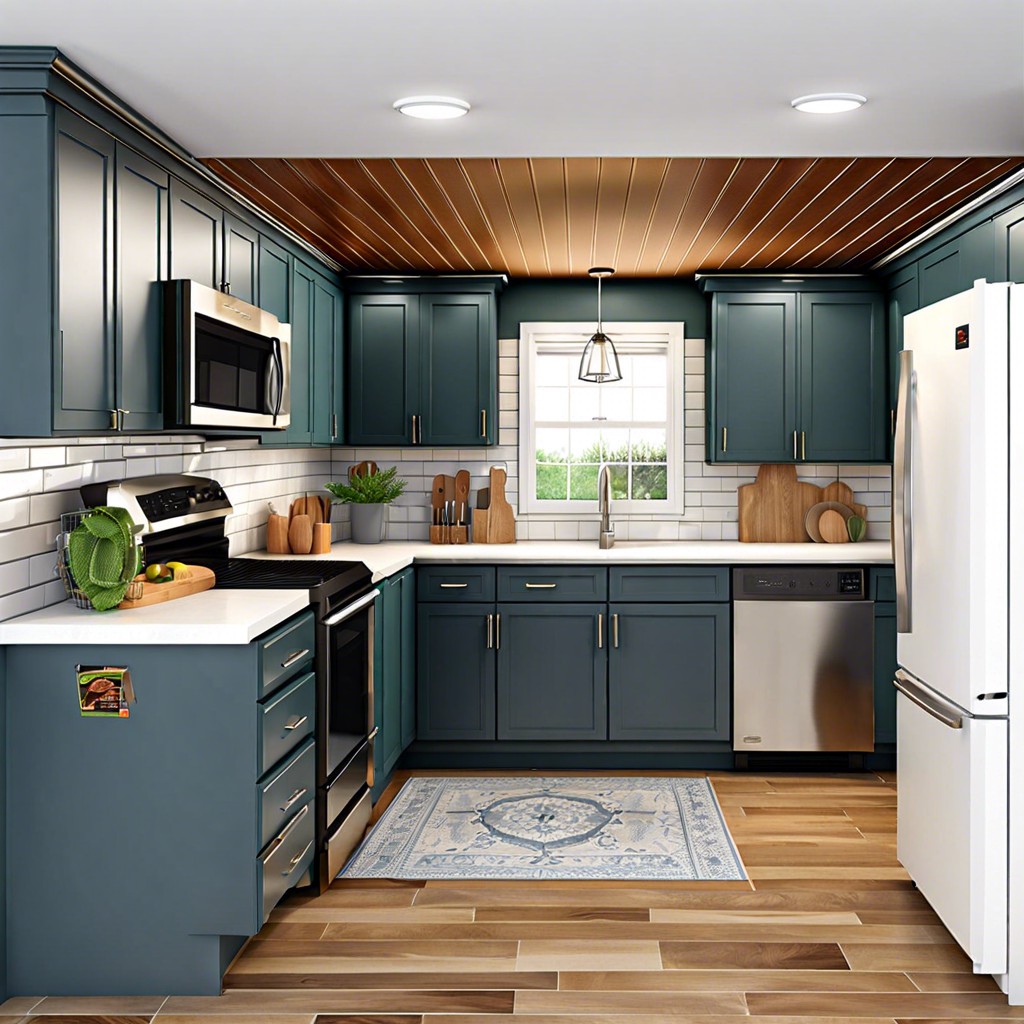
First, consider crown molding. It’s like adding a classy hat to your soffit. This can tie the room together with a touch of elegance.
Another fantastic trick is using beadboard. It adds texture and interest, making that soffit more noteworthy and less like, well, a giant chin in the kitchen.
Install open shelves right in front of the soffit. Shelves can be your best friend, turning the soffit into a backdrop for your favorite cookbooks and quirky kitchen gadgets.
For a pop of fun, paint the soffit a contrasting color. It turns an eyesore into a statement piece. Think of it as the accent wall of your kitchen ceiling.
If you’re feeling crafty, create a faux cabinet facade. This involves extending your existing cabinets up to the soffit, turning it into hidden storage. Ingenious and practical!
Step 1: Attach Crown Molding to Top of Soffit
Start by choosing a style of crown molding that suits your kitchen’s aesthetic. Whether it’s classic or modern, pick something that adds a touch of elegance.
Measure the perimeter of the soffit. You want those cuts to be precise. Remember, “measure twice, cut once” saves a lot of headaches.
Miter the corners at a 45-degree angle. It sounds daunting, but with a little practice, you’ll be the Michelangelo of miter joints.
Use a nail gun or adhesive to securely attach the molding to the top edge of the soffit. Ensure it’s level and flush, or else your souffle might not be the only thing looking a little deflated.
For those with a bit more patience and attention to detail, filling any gaps or nail holes with caulk and sanding for a smooth finish can make the difference between ‘DIY’ and ‘designer’.
Lastly, paint the crown molding to match or complement your existing cabinets and kitchen decor. This step really ties everything together and makes your soffit look intentionally stylish, instead of just… there.
Step 2: Attach 1×3″ Horizontal Boards to Soffit
Secure the horizontal 1×3 boards along the length of the soffit. Make sure they are flush with the bottom edge for a seamless look. This will create the framework for your stylish disguise.
Use a level to ensure the boards stay straight; you don’t want a wonky soffit! Caulk any gaps to make it look polished. Trust me, even your mother-in-law will be impressed.
For added flair, consider painting the boards a color that complements your kitchen. Think of this as a makeover for your kitchen’s least favorite feature. Your soffit will thank you.
Can’t reach the top easily? Stand on a sturdy ladder or enlist a tall friend. Preferably one with a steady hand and a sense of humor—laughter makes DIY more fun!
Remember, measure twice, cut once. Sawdust in your cereal is never a good look.
Step 3: Attach Vertical 1×3″ Boards to Soffit
Now that you’ve got your horizontal boards in place, it’s time to add those vertical 1×3” beauties. This step is a bit like giving your soffit a stylish pinstripe suit. Here’s how to do it right
- Measure twice, cut once. You don’t want a bunch of mismatched board lengths making your soffit look like it’s had a bad haircut.
- Space them evenly. Consistency is key – use a spacer to ensure equal gaps between each board. It’s like arranging a parade; everyone needs to be in perfect formation.
- Nail them down securely. You don’t want your vertical boards to become independent thinkers and start shifting around. Secure each board to the soffit frame for a stable and attractive finish.
- Use a level. A crooked board is like a crooked picture – it’s going to bug you every time you look at it. So, take a moment to make sure each board is perfectly vertical.
Voilà! Your soffit is now sporting those chic vertical lines, giving it a brand-new look with a touch of class.
Step 4: Caulk
Grab your caulking gun and channel your inner Picasso—it’s time for some caulking magic. This step ensures a smooth, professional finish. Here’s what to keep in mind:
Apply caulk along the seams where the boards meet the soffit and each other. This covers any gaps or imperfections.
Use a caulking smoothing tool or your finger (pro tip: keep a bowl of water nearby to dip your finger in for a smoother glide) to even out the caulk.
Work in small sections to prevent the caulk from drying before you smooth it out. Nobody wants lumpy caulk, right?
Check for any missed spots once the first layer is dry. A second pass may be needed to get a flawless appearance.
Wipe away any excess with a damp cloth before it dries. Trust me, dried caulk removal is a task no one enjoys.
Remember, a good caulking job bridges the gap between a DIY project and a professional look. Plus, it’s oddly satisfying.


