Last updated on
Discover the simple process of extending your kitchen island by adding legs, instantly transforming it into a more spacious and functional centerpiece for your home.
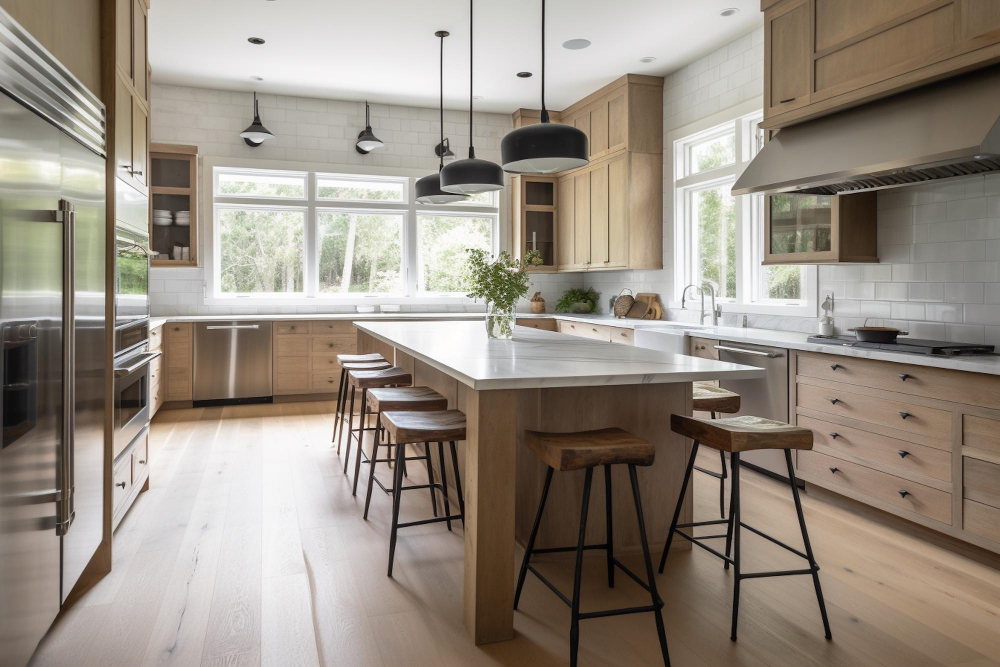
Are you tired of your cramped kitchen and looking for ways to extend your counter space? One solution is to add legs to your kitchen island. Not only does it provide more room for meal prep, but it also adds a touch of elegance to your kitchen decor.
In this article, we’ll guide you through the process of extending your kitchen island with legs, including the tools and materials needed, as well as some design tips to make sure it fits seamlessly into your existing space. So let’s get started on transforming your kitchen into a functional and stylish hub for cooking and entertaining!
Key takeaways:
- Assess space and needs before extending kitchen island
- Evaluate size, shape, and design of existing kitchen island
- Choose extension style that complements kitchen decor
- Plan extension layout based on workflow and functionality
- Determine appropriate size and select suitable leg design
What's Inside
Assessing Space and Needs
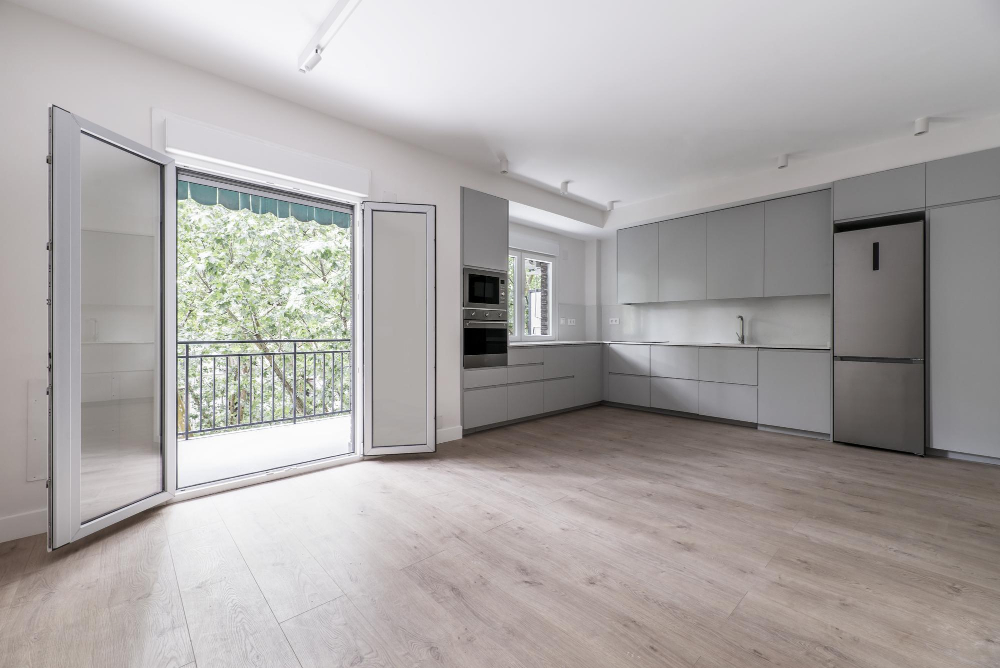
Before extending your kitchen island with legs, it’s important to assess the available space and your needs. Consider how much additional counter space you require and whether an extension will fit comfortably in your kitchen layout.
Take into account the size of existing appliances, such as stovetops or ovens, that may be affected by the new addition.
Assessing your needs also involves considering how you use your kitchen island. Do you need more prep space for cooking? Or do you want a larger surface area for entertaining guests? Understanding what functions are most important to you will help determine the ideal size and style of extension.
Assessing Your Kitchen Island

Take a good look at its size, shape, and design to determine if adding legs is the right solution for you. Consider how much space you have in your kitchen and whether an extended island will fit comfortably without impeding movement or creating clutter.
Assessing your existing kitchen island also involves evaluating its functionality. Is it used primarily for meal prep? Do you use it as a dining area or workspace? Understanding how you currently use the space can help guide decisions on what type of extension would be most beneficial.
Take note of any potential obstacles that may affect the installation process such as plumbing or electrical outlets located near or under the existing countertop surface.
Choosing the Ideal Extension Style
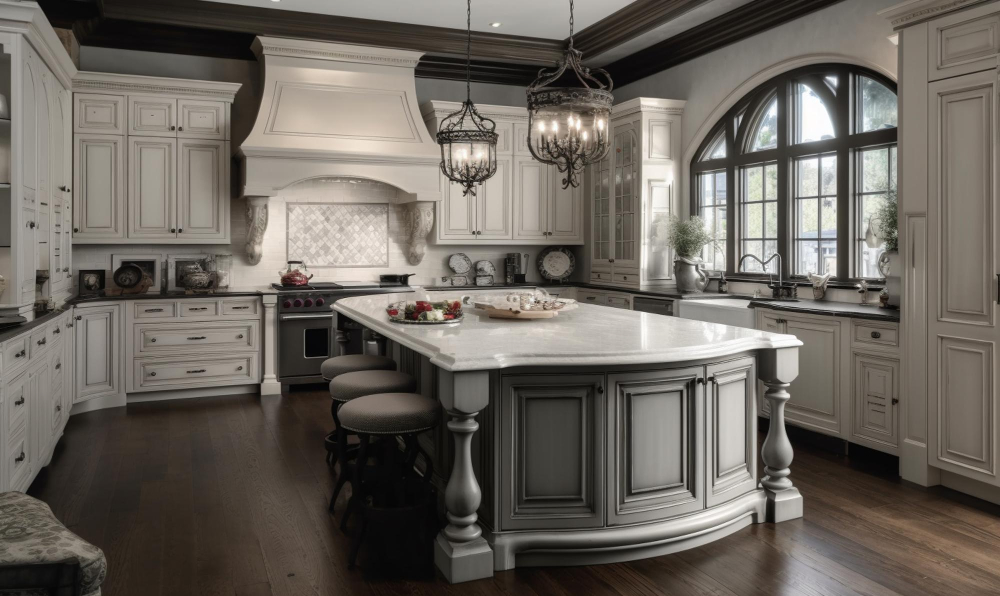
The ideal extension style will depend on the overall design of your kitchen and personal preferences. Some popular options include traditional turned legs, sleek metal supports, or rustic wooden posts.
Consider the existing decor in your home when choosing an extension style. If you have a modern kitchen with clean lines and minimalistic features, then metal supports may be a great option for you.
On the other hand, if you prefer a more classic look for your space that is warm and inviting then traditional turned legs might be perfect.
Another factor to consider when selecting an extension style is functionality; do not sacrifice function over form! For example: if you plan on using this extended surface as additional seating area during meal times or entertaining guests – make sure that it can support weight without wobbling or tipping over.
Planning Your Extension Layout

This will help ensure that the new addition fits seamlessly into your existing space and meets all of your needs. Consider how much additional counter space you need and where it would be most useful in terms of workflow.
Take a look at the current layout of your kitchen and think about how an extended island could improve its functionality. Do you need more prep space near the stove or sink? Would adding seating make mealtime easier for family gatherings or entertaining guests?
Once you have determined what changes are necessary, sketch out a rough design on paper to visualize how everything will fit together. Keep in mind any obstacles such as appliances, cabinets, or doors that may affect placement.
Determining the Extension Size
This will depend on several factors such as how much space you have available in your kitchen and what activities you plan to use the extended surface for.
To get started, measure the length and width of your existing countertop. Then decide how much additional space you need based on what tasks or appliances will be added to this area.
For example, if you plan on adding a sink or cooktop, make sure there is enough room for them without overcrowding.
It’s also essential to consider traffic flow around the island when determining its size. You don’t want an extension that makes it difficult for people to move around freely in your kitchen.
Once all these factors are taken into account, choose an appropriate size that meets both functional needs and aesthetic preferences while still fitting within available space constraints.
Selecting Island Legs Design
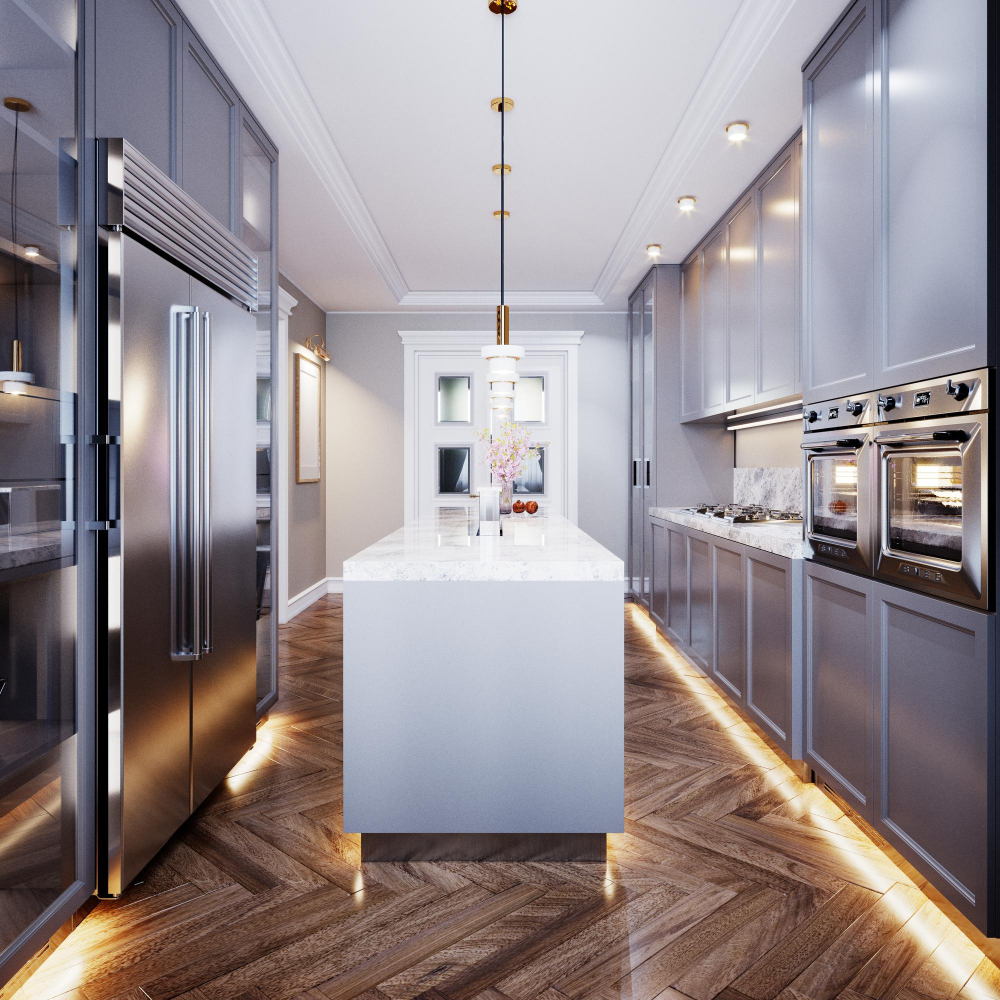
The style you choose will depend on the overall aesthetic of your kitchen and personal preferences. Some popular designs include tapered legs, turned legs, and straight square or rectangular posts.
Tapered legs are wider at the top and gradually narrow towards the bottom. They provide a sleek look that works well in modern kitchens with clean lines.
Turned legs have intricate details carved into them for an elegant touch that complements traditional or vintage-style kitchens.
Straight square or rectangular posts offer a simple yet sturdy option that can work in any kitchen style.
Consider also whether you want your island to be mobile by adding casters to its base; this is especially useful if you need more flexibility when rearranging furniture during parties or gatherings.
Choosing the Right Legs for Your Extension
First and foremost, you want to make sure that the legs match the style of your existing kitchen decor. If you have a modern or minimalist design, sleek metal or wooden legs may be ideal.
For more traditional kitchens, ornate carved wood designs can add an elegant touch.
Another important factor is stability and weight-bearing capacity. The legs should be able to support not only the extended countertop but also any appliances or items placed on top of it without wobbling or collapsing.
Lastly, consider how much space you have available in your kitchen as well as personal preferences when selecting leg height and thickness options.
Material Options for Legs
The most popular materials include wood, metal, and acrylic.
Wooden legs offer a classic look that can complement any kitchen decor style. They come in various types of wood such as oak or maple and can be stained or painted to match your existing cabinetry.
Metal legs provide a modern touch with their sleek design and durability. Stainless steel is a popular choice due to its resistance to rusting and staining.
Acrylic legs offer an elegant look while also being lightweight yet sturdy enough for supporting the extended countertop surface. They come in clear or colored options that add visual interest without overwhelming other elements of your kitchen design.
Proper Measurements
This will ensure that the extension fits seamlessly into your existing space and provides the extra counter space you need. Begin by measuring the length and width of your current kitchen island, as well as its height from floor to countertop.
Next, determine how much additional counter space you want to add by deciding on a suitable extension size. Keep in mind that adding too much can make it difficult for people to move around in the kitchen or create an imbalance between different areas of your home.
Once you have determined how big of an extension is needed, measure out where each leg will be placed on both sides of the island. Make sure they are evenly spaced apart and positioned at a distance that allows for comfortable seating if desired.
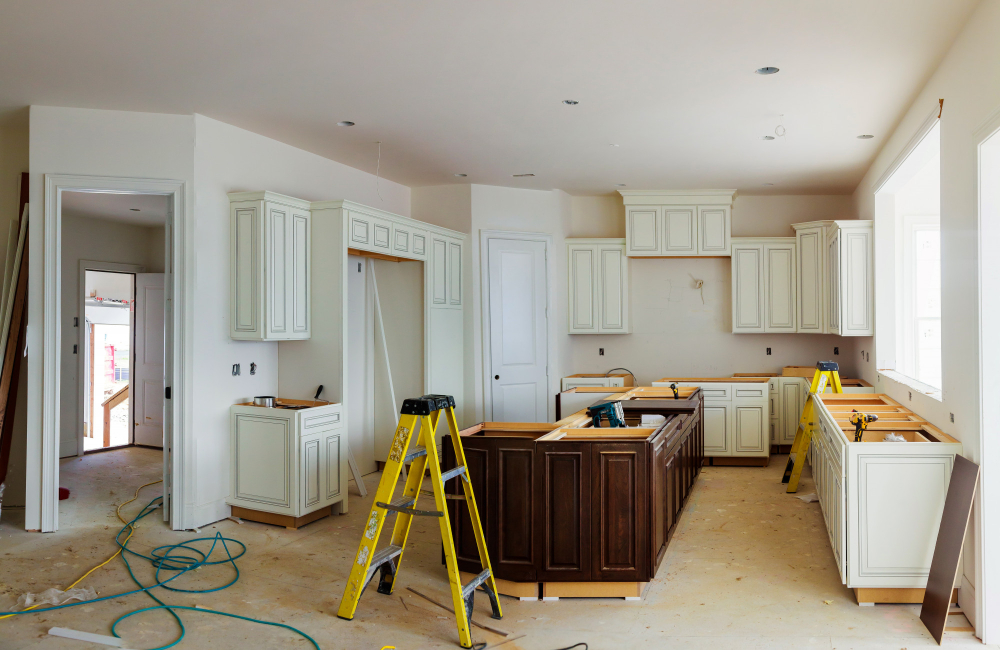
Tools and Materials Required

You’ll need a measuring tape, level, saw (circular or jigsaw), drill/driver with bits and screws, wood glue or construction adhesive, sandpaper (80-120 grit), clamps for securing the legs in place during installation.
In addition to these basic tools and materials required for any DIY project involving woodworking tasks like cutting lumber pieces into specific sizes or drilling holes through them as needed; there are some additional items that may be useful depending on your specific needs such as a router if you want to add decorative edges on your countertop surface.
By having everything ready before starting work ensures that you can complete this project efficiently without any unnecessary delays.
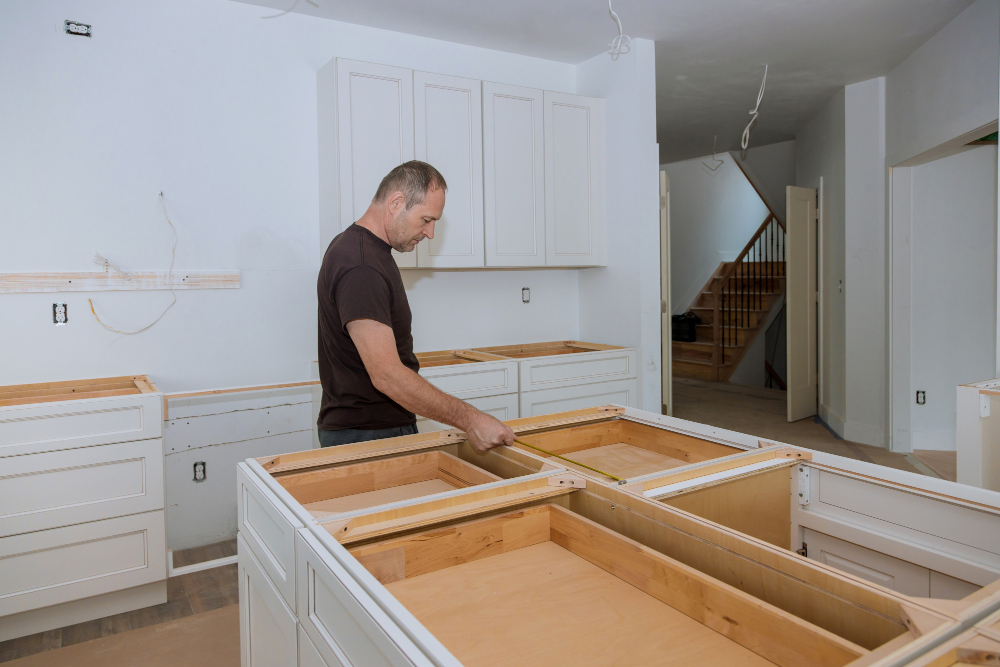
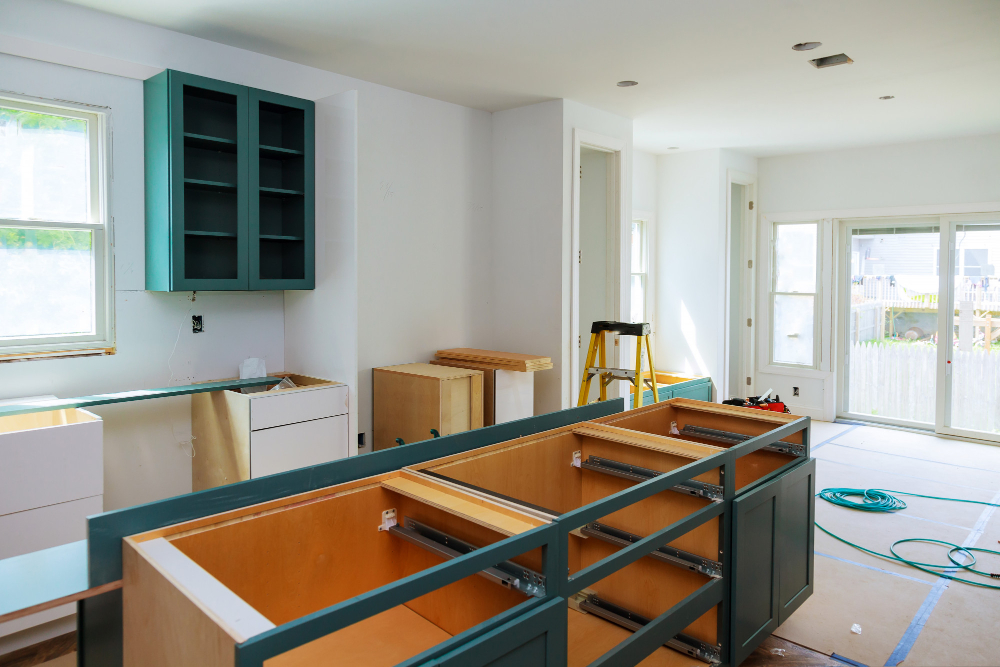
Preparing the Kitchen Island
Begin by clearing off any items on the countertop and removing drawers or cabinets that may obstruct your work area. Next, turn off all electrical appliances connected to the island and disconnect any plumbing fixtures if necessary.
Once you’ve cleared out space around your kitchen island, use a leveler tool to ensure that it is even from all sides. If there are any uneven spots or bumps on the surface of your countertop, sand them down until they’re smooth.
If you plan on attaching legs directly onto an existing countertop without replacing it entirely with a new one, make sure that its thickness can support additional weight before proceeding further.
Lastly, clean up debris from sanding and wipe down surfaces with a damp cloth for better adhesion when installing support structures later in this process.
Removing Old Countertops
This step is crucial in ensuring a smooth installation process for your new extended surface. First, turn off any electrical or plumbing connections that may be attached to the countertop.
Then, use a pry bar and hammer to gently lift up on one corner of the existing countertop until it begins to loosen from its base.
Next, work your way around each edge of the countertop using a putty knife or scraper tool as needed until all sides are free from their supports. Be sure not to damage any surrounding walls or cabinets during this process.
Installing Support Structure
This is an essential step in ensuring that your extended surface is stable and secure. The type of support structure you need will depend on the size of your extension, as well as its design.
For smaller extensions or those with simple designs, wooden brackets may be sufficient to provide adequate support. However, for larger extensions or more complex designs that require additional weight-bearing capacity, metal brackets or even custom-built frames may be necessary.
Before installing any type of support structure, make sure to measure carefully and mark out where each bracket should go. Use a level to ensure that everything is straight and even before drilling holes into both the island base and new countertop surface.
Once all brackets are securely attached in place using screws or bolts (depending on their material), test them by applying pressure from different angles to ensure they can withstand daily use without wobbling or shifting around.
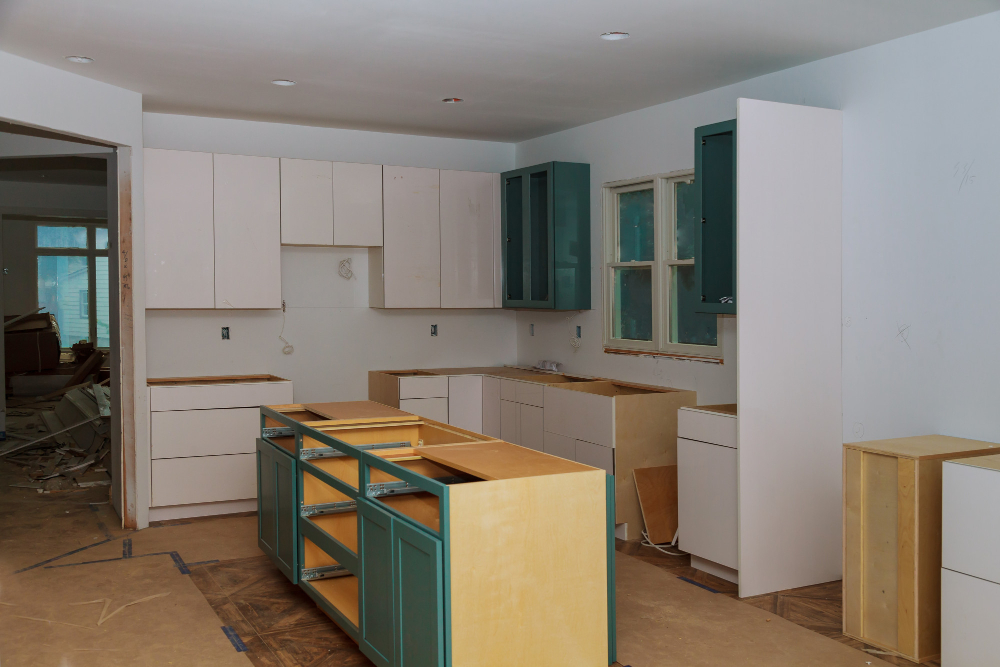
Attaching the Legs
The first step is to position the legs in their designated spots and mark where they will be attached. Make sure that each leg is level and plumb before attaching them.
Next, drill pilot holes into both the leg and support structure using a drill bit slightly smaller than your screws. This will prevent splitting or cracking of wood when you attach screws.
Then, use wood screws to secure each leg in place by driving them through the pilot holes into the support structure underneath. Be sure not to over-tighten as this can cause damage or instability.
Double-check that all legs are securely attached and level before moving on with installing new countertops onto your extended kitchen island surface.
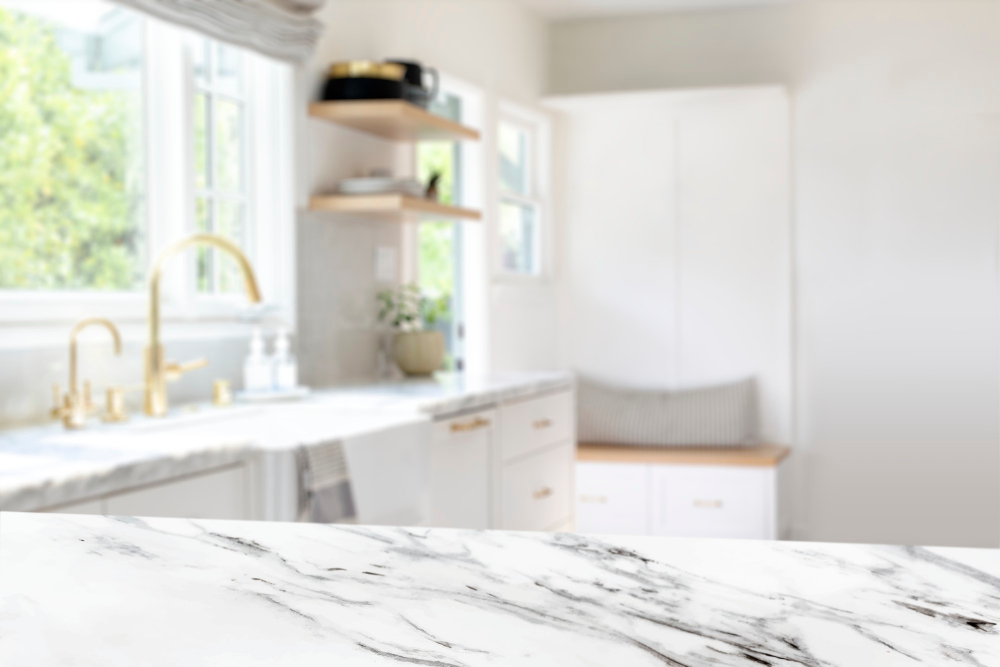
Installing New Countertops
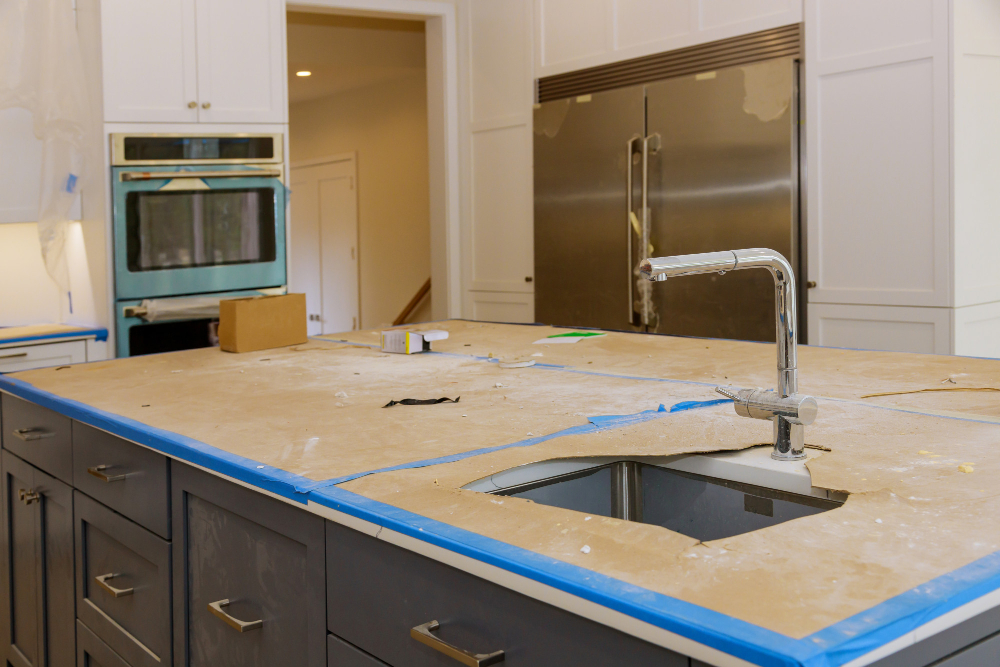
This is where you can really get creative with your design choices. There are a variety of materials available for countertops, including granite, marble, quartz, and laminate.
When selecting your countertop material consider factors such as durability and maintenance requirements. Granite is a popular choice due to its durability while marble offers an elegant look but requires more upkeep than other options.
To install new countertops on your extended kitchen island follow these steps:.
- Measure the dimensions of the area where you will be installing the countertop.
- Cut out any necessary holes for sinks or appliances before placing them onto their designated areas.
- Apply adhesive along all edges that will come into contact with another surface (such as walls).
- Carefully place each piece onto its designated area making sure they fit snugly together.
- Use clamps or weights if needed until adhesive dries completely.
Securing Extended Surface
This will prevent any accidents or damage caused by an unstable structure. One way to do this is by using brackets or screws to attach the extension securely onto the support structure underneath.
You can also use adhesive materials such as construction glue for added stability.
Another consideration when securing your extended surface is ensuring that it remains level with your existing countertop. Use a spirit level tool during installation and make adjustments as necessary until both surfaces are even.
It’s essential not only for safety reasons but also for aesthetic purposes, especially if you plan on adding bar stools or chairs around your kitchen island extension area.
Safety Precautions
First and foremost, make sure that the area around your kitchen island is clear of any obstacles or hazards. This will ensure that you have enough space to work safely and efficiently.
Be sure to wear appropriate protective gear such as gloves and eye protection when handling tools or materials. It’s also a good idea to have a first aid kit on hand in case of any accidents.
When installing the support structure for your extension, make sure it is securely attached to both the floor and existing countertop before proceeding with attaching the legs. This will prevent any wobbling or instability once everything is installed.
Safety and Stability Considerations
The last thing you want is for your new extension to collapse or wobble while you’re preparing a meal. To ensure that the legs are secure and stable, make sure they are attached properly to both the support structure and the countertop.
Be mindful of weight distribution on your extended surface. Avoid placing heavy appliances or objects on one side of the counter as this can cause an imbalance in weight distribution leading to instability.
It’s also essential that you choose sturdy materials for both support structure and legs such as hardwoods like oak or maple which can withstand daily wear-and-tear without compromising their structural integrity.
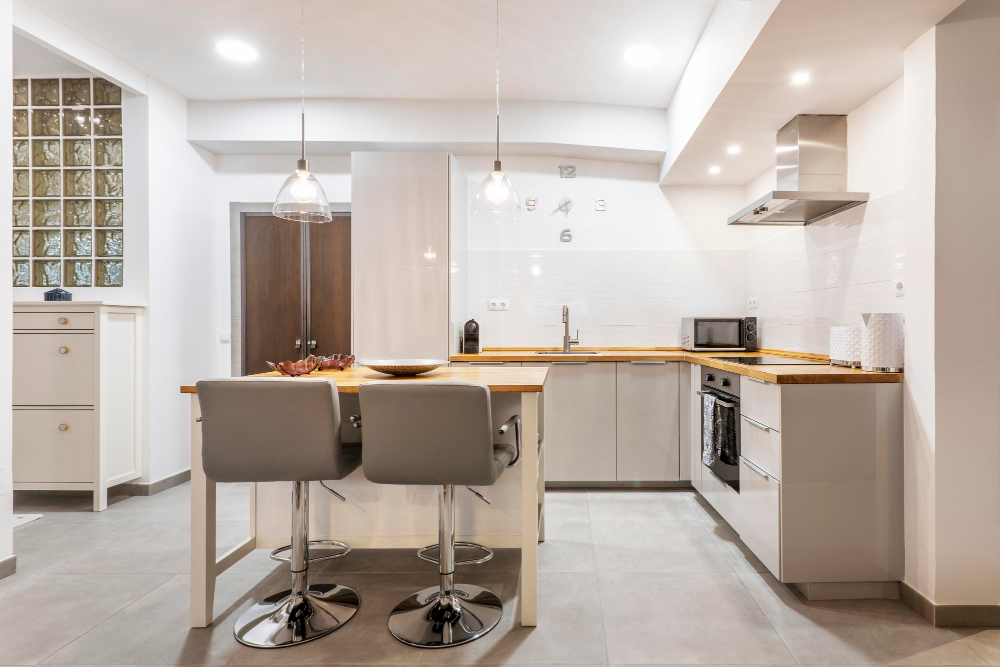
Finishing Touches
This is where you can really make your new addition stand out and complement the rest of your kitchen decor. One way to do this is by adding a coat of paint or stain that matches or complements the existing cabinets and countertops.
Another option for finishing touches is to accessorize with decorative items such as plants, vases, or even a fruit bowl. These small additions can bring life and color into your space while also making it feel more inviting.
Don’t forget about lighting! Adding pendant lights above your newly extended island not only provides additional task lighting but also adds an extra layer of style and sophistication.
Maintenance and Care Tips

Regular cleaning is essential to keep the surface looking its best. Use a soft cloth or sponge and mild soap solution to wipe down the countertop after each use, being careful not to scratch or damage the surface.
Avoid using abrasive cleaners or scrubbers that can cause scratches on your new countertops. If you spill anything acidic like lemon juice, vinegar, tomato sauce on your countertop clean them immediately as they can leave stains if left unattended.
It’s also important to be mindful of heavy objects placed on top of the extended area as this could cause instability in the structure over time leading up accidents in future. By following these simple maintenance tips and taking proper care of your newly extended kitchen island with legs will ensure that it remains functional and beautiful for years ahead!
FAQ
How do you attach legs to a kitchen island?
Attach legs to a kitchen island by making a frame using corner brackets based on measurements, securing the frame to the island with screws, cutting legs to appropriate height, and adding legs by securing corner brackets with the center screw into the leg.
Can you make a kitchen island taller?
Yes, you can make a kitchen island taller by increasing the standard height from 36″ to 38″ or even 42″ for a bar-height eating area, and then choosing appropriate bar stools for the new height.
How much clearance do you need for legs at kitchen island?
For adequate leg clearance at a kitchen island, knee depth should be 18 inches for a 30-inch-high island, 15 inches for a 36-inch height, and 12 inches for a 42-inch-high island.
What type of materials can be used for kitchen island legs?
Kitchen island legs can be made from materials such as wood, metal, or stainless steel.
How do you reinforce a kitchen island when adding extra weight, such as a countertop or sink?
Reinforce a kitchen island by installing additional supports, like brackets or legs, to distribute the extra weight from the countertop or sink evenly.
What are the best styles or designs for extending a kitchen island using legs?
The best styles or designs for extending a kitchen island using legs include traditional turned legs, modern square or tapered legs, and industrial metal legs.


