Last updated on
Discover the simple steps to accurately calculate the square footage for your backsplash, ensuring a perfect fit and beautiful addition to your kitchen space.
Are you planning to give your kitchen a fresh new look by adding a backsplash? One of the most important steps in this process is figuring out how much tile you need. But don’t worry, it’s not as complicated as it may seem! In this article, we’ll guide you through the simple steps to calculate the square footage for your backsplash project.
With our tips and tricks, you’ll be able to confidently purchase the right amount of tile and get started on creating your dream kitchen in no time!
Key takeaways:
- Measure each wall in inches from end-to-end and multiply length by height for each section.
- Add up all measurements for the overall square footage in square inches.
- Consider irregular spaces or cutouts separately and add them back into the total calculation later.
- Add 10-15% waste allowance for cuts and mistakes during installation.
- When in doubt, hire a professional to accurately measure and install your backsplash.
What's Inside
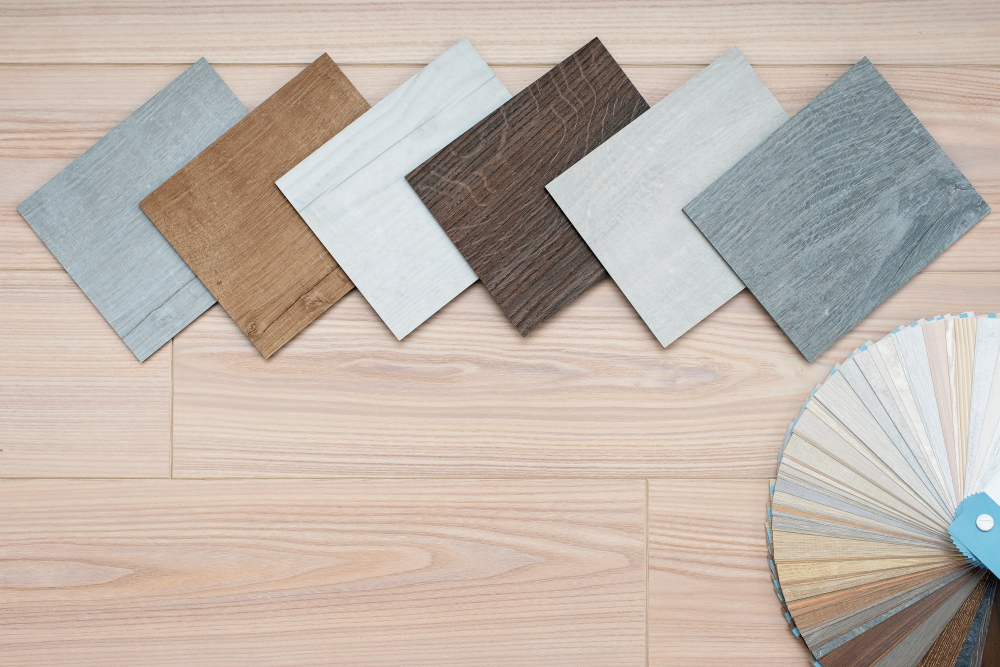
Choosing Backsplash Material
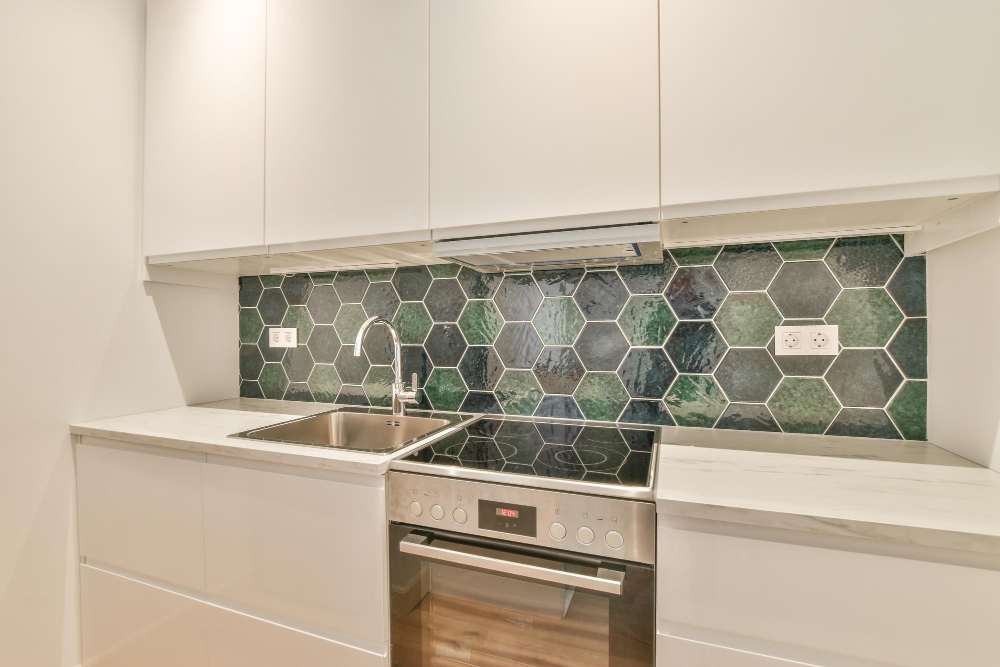
The most popular materials include ceramic, porcelain, glass and natural stone tiles. Each type has its own unique characteristics that can enhance the look of your kitchen in different ways.
Ceramic tiles are a classic choice for backsplashes due to their durability and affordability. They come in various sizes and colors which makes them easy to customize according to your preferences.
Porcelain is another great option as they have low water absorption rates making them resistant against stains or scratches. Porcelain also offers an array of design options with finishes ranging from matte or glossy surfaces.
Glass tiles offer a modern touch with their sleek appearance while reflecting light beautifully throughout the room creating an illusion of more space than there actually is!
Natural stone such as marble or granite provides elegance and sophistication but requires more maintenance compared to other materials mentioned above.
How to Measure for Backsplash Tile
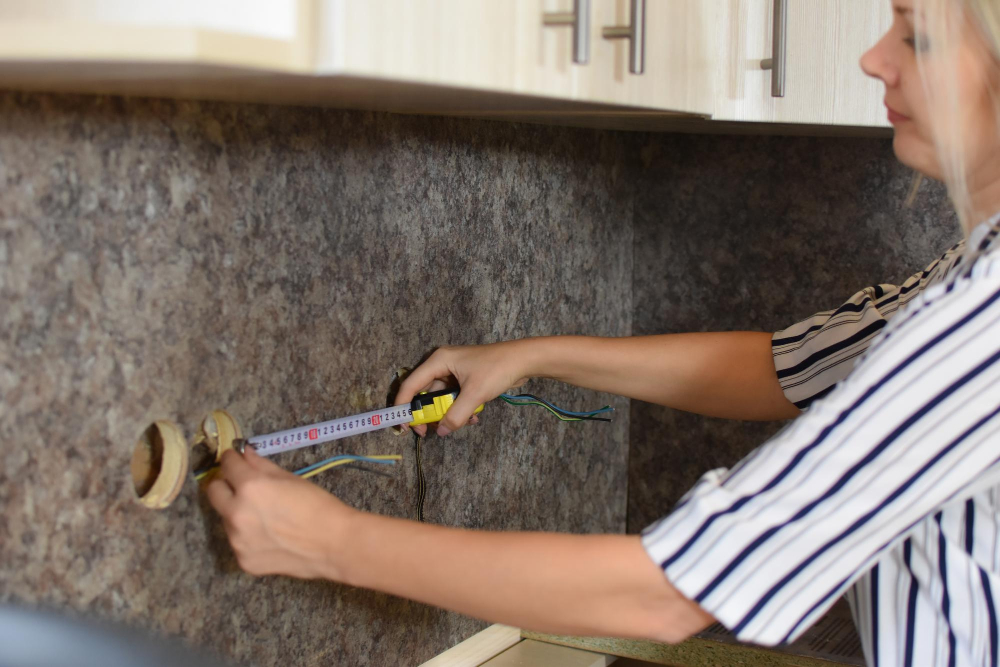
Measuring for a backsplash is not as simple as measuring a square or rectangle-shaped room. You need to take into account any obstacles such as outlets, switches, and corners that may affect how much tile you’ll need.
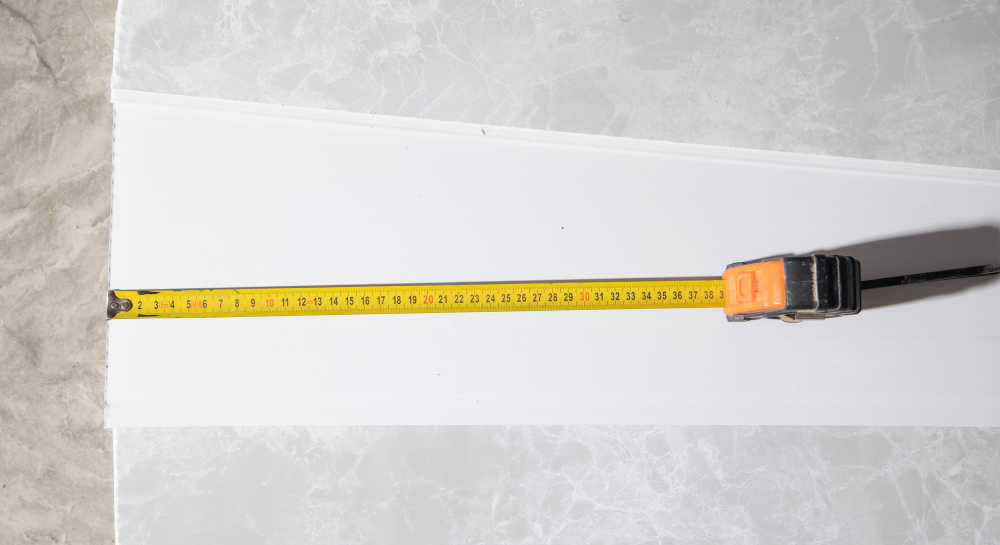
To start measuring your space accurately, grab a tape measure and follow these steps:
- Measure the length of each wall in inches from end-to-end.
- Measure the height of each wall in inches from top-to-bottom.
- Multiply both numbers together (length x height) for each section of wall that needs tiling.
- Add up all sections’ measurements together; this will give you an overall measurement in square inches.
It’s important to note that if there are any irregular spaces or cutouts on your walls (such as windows), they should be measured separately and added back into your total calculation later on.
Measuring Area for Backsplash

Measuring accurately is crucial in ensuring that you purchase enough tile and avoid any unnecessary waste or additional trips to the store.
To begin measuring, start by calculating the total square footage of your backsplash area. Measure both the width and height of each section separately using a tape measure.
Multiply these two numbers together for each section and add them up to get your total square footage.
It’s important not only to consider standard measurements but also irregular spaces such as corners or areas around outlets that may require special cuts or adjustments. Be sure to take precise measurements of these areas as well so that you can factor them into your calculations.
Measuring Irregular Spaces
If your kitchen has an unusual shape or you have to work around obstacles like windows or cabinets, you’ll need to take some extra steps to get accurate measurements.
One way to measure irregular spaces is by breaking them down into smaller sections. For example, if you have a backsplash area that wraps around a corner and then continues along another wall, measure each section separately and add the square footage together.
Another option is using graph paper or an online tool that allows you to create a digital floor plan of your kitchen. This will help ensure accuracy when measuring odd-shaped areas as well as provide visual representation for planning purposes.
Calculating Square Footage

This is a crucial step in determining how much tile you will need for your project.
To calculate square footage, simply multiply the length and width measurements of each section together. For example, if one section measures 3 feet by 2 feet and another measures 4 feet by 1 foot, then their total square footage would be (3 x 2) + (4 x1) =10 sq ft.
It’s important to note that when measuring irregular spaces or areas with curves or angles, it may be necessary to break them down into smaller sections before calculating their individual square footages. Once all sections are calculated individually they can then be added together for a final total.
By accurately calculating your backsplash’s required tile quantity based on its exact size in terms of surface area ensures minimal waste while also saving money on unnecessary purchases.
Factoring in Outlet Spaces

These areas can be tricky to measure accurately, but with a few simple steps, you’ll have no trouble getting the right measurements.
Firstly, locate all of the outlets and switches on the wall where you plan to install your backsplash. Then measure from one side of each outlet or switch plate cover to the other side.
Be sure not to include any part of the actual electrical box in your measurement.
Next, add an additional 10% waste allowance for each outlet or switch space that will require tile cuts around them. This extra allowance ensures that you have enough tile material even if there are mistakes during installation.
Adding Waste Allowance
This is because you may need to cut tiles in order to fit them around outlets or other obstacles on the wall. Some tiles may break during installation or cutting.
To determine how much extra tile you’ll need for waste allowance, add 10-15% of the total square footage calculated earlier. For example, if your kitchen backsplash measures 20 square feet in total area after accounting for outlet spaces and irregularities on the wall surface; adding an additional 10-15% will give you a final measurement of approximately 22-23 square feet.
By adding this extra amount of tile into your calculations from the beginning stages ensures that there will be enough material available even if some pieces are unusable due to damage or incorrect cuts made during installation.
Adding a waste allowance might seem like an unnecessary step but it can save time and money by avoiding delays caused by running out of materials mid-project.
Let’s Start Measuring!
It’s also important to clean your backsplash area thoroughly so that there are no obstructions or debris in your way.
Start by measuring the height and width of each section where you plan on installing tile. Multiply these two numbers together for each section to get its square footage.
If any sections have irregular shapes or cutouts for outlets, measure those areas separately and add them into your total square footage calculation.
It’s always better to overestimate than underestimate when it comes to purchasing tile, so be sure to add an extra 10% – 15% waste allowance onto your final measurement calculations.
Once you’ve completed all measurements accurately with precision using our tips above, calculate the total square footage needed by adding up all individual sections’ measurements plus waste allowance.
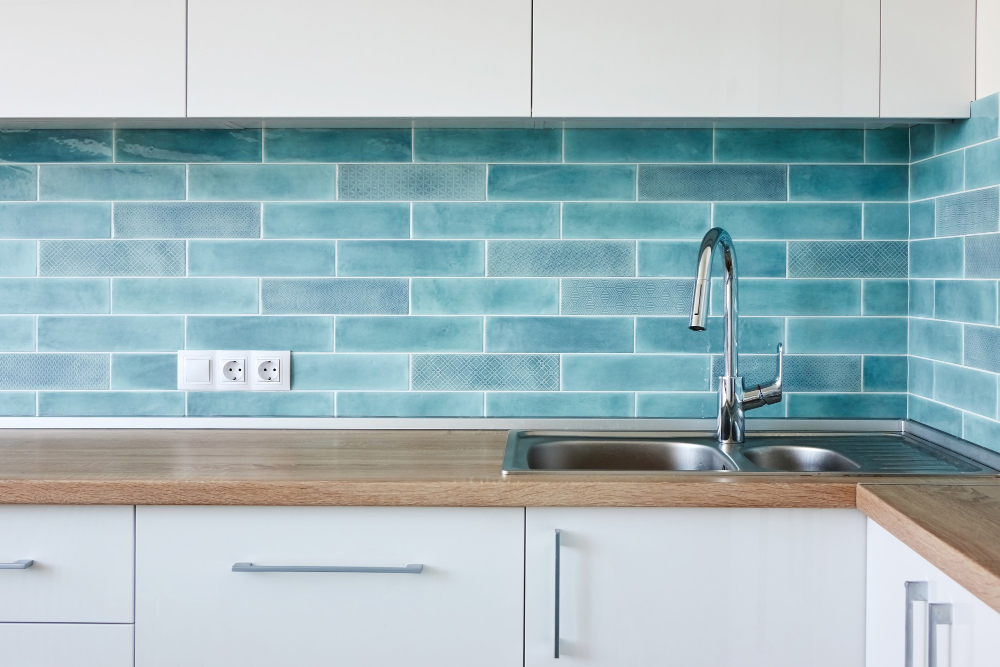
Choosing Tile Size

First and foremost, you’ll want to think about the overall look you’re going for. Larger tiles can create a more modern and streamlined appearance, while smaller tiles can add texture and visual interest.
Another factor to keep in mind is the size of your kitchen space. If you have a small kitchen or limited wall space for your backsplash, larger tiles may overwhelm the area.
In this case, smaller or medium-sized tiles would be more appropriate.
It’s also important to consider any patterns or designs on your chosen tile when selecting its size. Intricate patterns may not translate well onto large-format tiles due to distortion during installation.
Ultimately, choosing the right tile size will depend on personal preference as well as practical considerations such as budget and ease of installation.
Estimating Tile Quantity
The amount of tile required will depend on the size and shape of your tiles, as well as any patterns or designs that you plan to incorporate.
To estimate the number of tiles needed for a project, start by measuring the length and width dimensions in inches. Then divide each dimension by the length or width measurement of one individual tile.
This will give you an idea about how many full tiles are needed for each row.
Next, consider any cuts that may be necessary around outlets or other obstacles in your backsplash area. You can use partial pieces from cut tiles to fill these spaces but make sure not to waste too much material while cutting them down.
It is always better to purchase extra materials than running out during installation because if there is a shortage later on then it might become difficult finding matching colors and sizes again.
Preparing for Installation

Before you start laying down tiles, make sure that the surface is clean and free of any debris or grease. If necessary, use a degreaser to remove any stubborn stains.
Next, ensure that the wall is smooth and even by filling in any holes or cracks with spackle. Allow it to dry completely before sanding down the area until it’s flush with the rest of the wall.
If you’re installing tile over an existing backsplash or other tiled surface, be sure to rough up its surface using sandpaper so that new adhesive can properly bond.
Plan out your tile layout beforehand by creating a mock-up on paper or using painter’s tape on your walls. This will help ensure that everything fits together nicely and looks aesthetically pleasing once installed.
Hiring a Professional

A professional installer will be able to accurately measure and install your backsplash, ensuring that it fits perfectly and looks beautiful. While this may cost more than doing it yourself, it can save you time and stress in the long run.
When choosing a professional installer, make sure to do your research beforehand. Look for reviews online or ask friends and family members if they have any recommendations.
It’s also important to get multiple quotes from different installers so that you can compare prices.
Once you’ve chosen an installer, communicate clearly with them about what type of material you want for your backsplash as well as any specific design requests or concerns about measurements. With their expertise on hand, they’ll be able to guide you through the process smoothly while delivering quality results.
Final Measurement Tips for Specific Areas

For example, if you have a range hood or other appliances installed on the wall where you plan to add your backsplash, you’ll need to measure around them carefully. Similarly, if your kitchen has any corners or angles that aren’t perfectly square, it’s important to take those into account when calculating the square footage of tile needed.
Another area that can be tricky is behind the sink. To ensure proper coverage and avoid unsightly gaps between tiles and fixtures like faucets and soap dispensers; make sure to measure from one edge of the sink basin all around its perimeter until reaching another edge.
Finally yet importantly: don’t forget about windows! If your kitchen has windows above counters where you want a backsplash installed; then consider measuring each window separately as they may vary in size depending on their location within this space.
What Do You Need To Consider While Measure the Area of Your Backsplash For Peel and Stick Tiles?

Firstly, make sure that the surface is clean and dry before applying any tiles. Secondly, take into account any obstacles such as outlets or switches that may require special cuts in your tile pieces.
Another important consideration is whether you want your backsplash to cover only a portion of the wall or extend all the way up to cabinets or countertops. If you’re unsure about how much coverage you want, it’s always better to measure more than less so that you have enough material on hand.
Lastly, keep in mind that peel and stick tiles come in various sizes and shapes; therefore choose one which suits best with your kitchen decor theme while keeping practicality at its core.
The Bottom Line: Final Thoughts

Remember to take accurate measurements of your kitchen space and factor in any irregularities or obstacles such as outlets or windows. Don’t forget to add in waste allowance when calculating the square footage needed for your tile project.
Choosing the right material and size of tiles is also crucial in ensuring that you have enough tiles without overspending on unnecessary extras. If you’re unsure about how much tile you need or don’t feel confident doing it yourself, consider hiring a professional who can help guide you through this process.
By following these simple steps outlined above, measuring for your backsplash will be stress-free and enjoyable! So go ahead – get creative with different materials and designs to create an eye-catching focal point that will transform your kitchen into an inviting space where everyone wants to gather around!
FAQ
How much is backsplash labor per sq ft?
The backsplash labor cost per sq ft is $6 to $15 on average.
How do I figure out how much tile I need per square foot?
To figure out how much tile you need per square foot, multiply the tile’s width and length, divide by 144, and then divide the room’s area by the square footage of one tile.
What is the average size of a kitchen backsplash?
The average size of a kitchen backsplash is typically 4 inches in height, extending from the countertops to 3-6 inches up the wall.
How many 12×12 tiles for 144 square feet?
To calculate the number of 12×12 tiles needed for 144 square feet, divide the square footage by the area of each tile: 144 square feet / (12 inches x 12 inches) = 144 square feet / 144 square inches = 1 tile.
What factors can affect the cost of installing a backsplash in a kitchen?
Factors affecting the cost of installing a backsplash in a kitchen include material, labor, size, and complexity of design.
How can I estimate the amount of grout and adhesive needed for a backsplash?
To estimate the amount of grout and adhesive needed for a backsplash, calculate the surface area to be covered and consult manufacturer recommendations based on the tile size and layout.
Are there different installation methods for various tile materials in a backsplash project?
Yes, different tile materials require specific installation methods for a backsplash project.


