Last updated on
Master the art of fixing a broken cabinet frame because it can save you a costly trip to a professional repairman.
Fixing a broken cabinet frame isn’t as daunting as it might seem. All you require are the right tools and a little dedication to breathe new life into your worn-out furniture.
In this straightforward guide, we’ll be teaching you the step-by-step process to make your cabinet frame sturdy and good as new. Whether it’s a chunk snapped off the edge, a fracture line running through the wood, or a missing part, we’ve got you covered with detailed instructions, tips, and insights.
Stick around as we dive into the wonderful world of DIY repairs and cabinet restoration.
Key takeaways:
- Identify the damage and assess the severity
- Gather the necessary tools and materials for the repair
- Remove the broken cabinet frame carefully
- Clean the area and inspect for additional damage
- Select suitable wood and cut the replacement piece precisely
What's Inside
Identifying the Damage
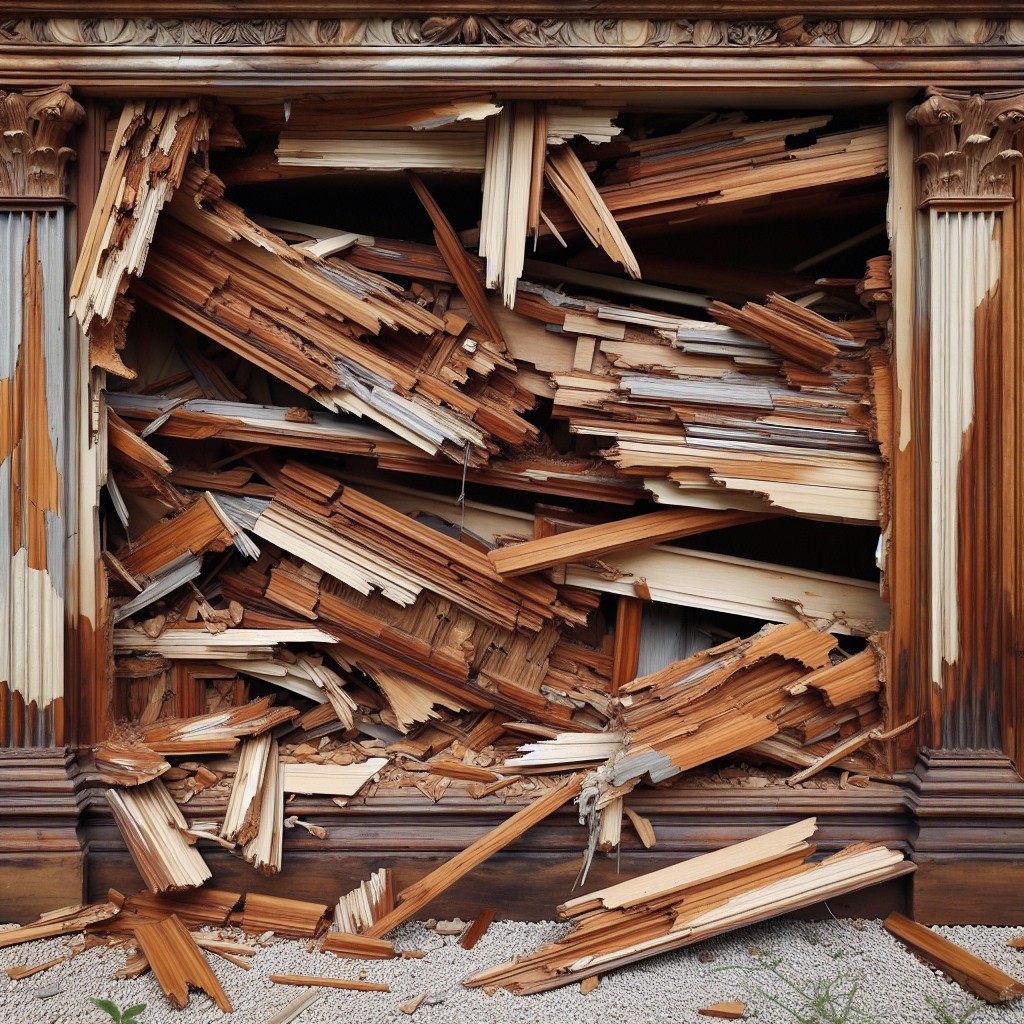
If there is a visible crack or split, put it at the top of your repair list, as these are clear signs of a broken frame. But remember, not all damage is obvious. Sometimes the severity isn’t evident until you apply pressure, causing hidden damage to emerge or worsen.
Don’t miss to check for splintered wood, loose screws, or any signs of rot – exact indicators of a repair need. Using a magnifying glass may reveal tiny cracks or areas where the glue has degraded. Being thorough in your damage assessment will ultimately save you time and effort further down the line.
Choosing the Right Tools
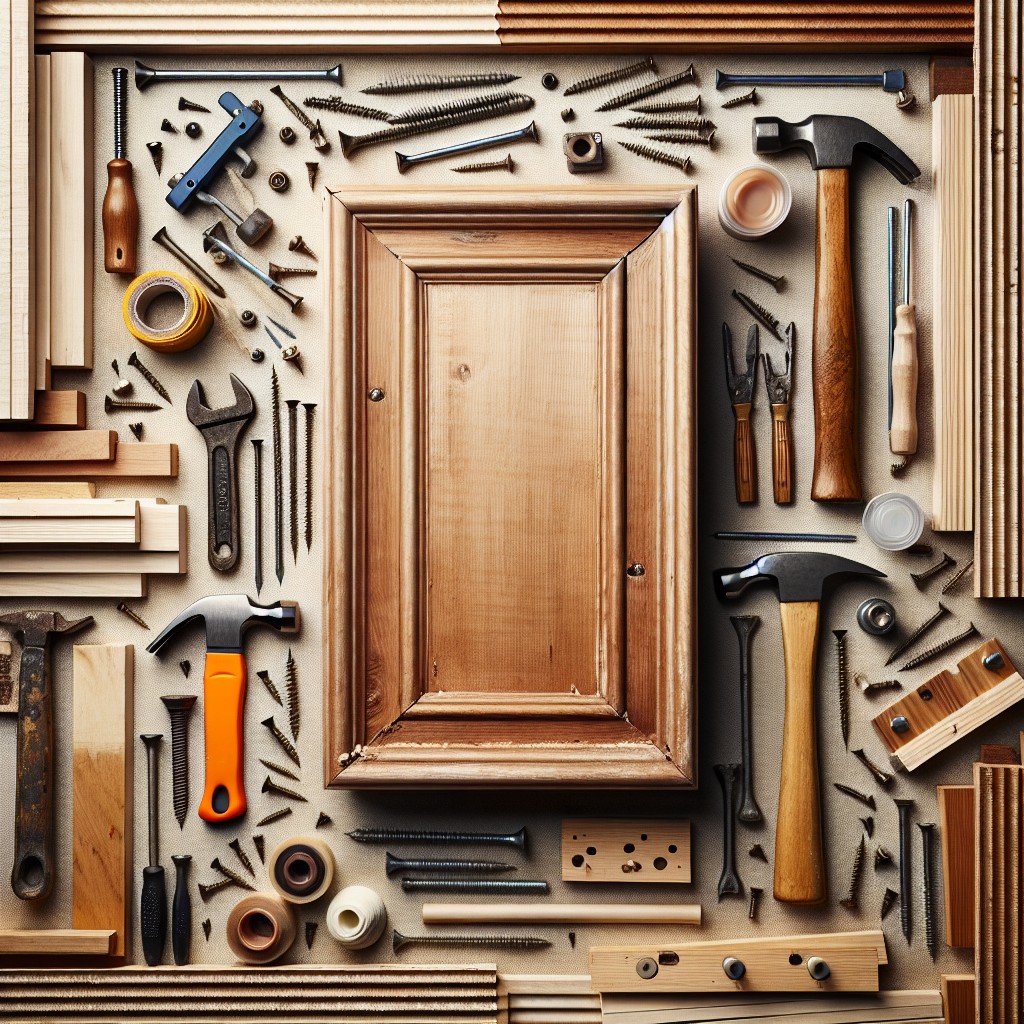
Having a good set of tools can make all the difference. For this project, you’ll need a saw – a jigsaw or circular saw will work perfectly for cutting the replacement piece of wood. A pair of clamps will hold the new piece in place as the glue dries. Sandpaper (both rough and fine grit) will aid in smoothing out the cut piece and the repaired area. A tangible helper: a paintbrush for the primer and paint application. Lastly, don’t forget the screwdriver. It will come in handy when adjusting the hinges or repairing the drawers. Bear in mind, the better the tools, the better the outcome.
Gathering Necessary Materials
Before the repair can start, it’s essential to equip yourself with the right set of materials. Here’s a brief list of items you’ll need:
- Replacement wood: Always pick a piece that matches the type and grain of the original cabinet. If unavailable, consider a close substitute that can be painted to blend seamlessly.
- Wood glue: This works as the primary adhesive for your cabinet repair, ensuring the replaced piece stays firmly in place.
- Sandpaper: Needed for smoothing out the area after the repair, as well as preparing the new wood piece. A rough and a fine grain should suffice.
- Primer and Paint: Depending on your cabinet’s finish, you might need a matching paint or stain. If your cabinets are painted, a good primer helps the paint adhere better to the surface.
- Carpenter’s Clamp: It will secure the new piece to the cabinet, ensuring a tight and seamless bond.
- Saw: Depending on the size of the new piece, you may either need a simple hand saw or a circular saw. Always remember to follow proper safety measures while using such tools.
- Euro Hinges & Screws: These are crucial if the hinges were damaged. Ensure you pick the proper size and type for your cabinet.
- Screwdriver and Drill: For removing and reassembling the cabinet door. Using a drill is optional but may speed up the process considerably.
- Back Plates: To provide sturdy support to the structure and cover worn areas if any.
Ensure all materials are within reach before you start the repair to make the process seamless and efficient.
Remove the Broken Cabinet Frame
Begin by unscrewing the cabinet from the wall or detaching it from the base if it’s a freestanding unit. Carefully eliminate any doors or drawers to gain full access to the frame. Keep all screws in a safe place for reassembly.
Take special care when tackling corners since they tend to be vulnerable spots. If the damage is extensive, you might need to disassemble the sections adjacent to the impacted area. Remember, a gentle approach avoids causing further damage.
Clean the Area
Once you’ve successfully removed the broken part of the cabinet frame, it’s time to get down to cleaning. This step is crucial to ensure a smooth and secure fix. You’ll need a soft cloth and a mild cleaning solution. Here’s how to proceed:
1. Wipe down the entire area with the cloth to remove loose dust and debris. This prepares the surface for further actions and helps to identify smaller, hidden damages.
2. Dip the cloth in the mild cleaning solution and gently clean the area. This will eliminate any grease or stubborn dirt that might interfere with repair efforts.
3. Dry the cleaned area properly before moving forward. Ideally, let it air dry to prevent trapping any moisture, which could lead to more issues down the line.
In doing so, you’re paving the way for a more effective and durable cabinet repair.
Inspect for Additional Damage
Once the damaged cabinet frame is removed, it is a golden opportunity to give your cabinet a full health check. Watch out for more issues that have been concealed by the broken frame. Check for signs of warping, splintering, or decay.
Ensure there is no fungal infection in the wood, such as wood rot or mold; these could potentially jeopardize the lifespan of your cabinets. If there are tiny holes in the wood, it could mean an infestation of wood-boring insects such as powderpost beetles, in which case, an exterminator is needed.
Also, take a look at the joineries. Loose or worn out joints can lead to further frame problems down the line. A detection at this point can save you a world of trouble later on.
Finally, inspect the hardware. Do the hinges, pulls or knobs function smoothly or are they showing signs of wear and tear? If latter is the case, consider replacing them at this point to save time and effort later.
Select Suitable Wood for the Repair
Selecting the ideal wood type is crucial for a successful repair. High-quality plywood, particle board, or medium density fiberboard (MDF) are common choices to match most cabinet builds.
Compare these options against your current frame to find the best match.
When making your selection, consider durability, design, and quality. If the current cabinet is made of a specific wood type, try to stay consistent. For plywood, options like birch or oak deliver a close resemblance to most factory-made cabinets.
Particle board, on the other hand, is cost-effective and easy to handle – perfect for cabinets that aren’t subjected to heavy use.
MDF, in the higher price range, provides supreme strength and durability.
Make sure you measure carefully for a precise fit. The board size should directly correspond to the damaged area to ensure a seamless replacement.
Try to inspect the grain and color match as much as possible to ensure a more uniform appearance post-repair.
Remember to take your time during this step, precision is key in cabinet repair.
Cutting the Replacement Piece
Having selected your wood, measure the dimensions of the broken cabinet frame section. Aim for precision, as a proper fit is crucial. Use a pencil to mark the required lengths on your new wood piece.
Once your measurements are drawn, it’s time to cut. Use a miter saw for an accurate, clean cut. Ensure to follow safety guidelines while operating. Wear safety glasses and gloves, and keep fingers clear of the blade.
If your cabinet frame has intricate designs, a jigsaw could be more appropriate. Cut slowly and steadily, following your pencil marks. Remember, it’s better to cut slightly larger rather than smaller; you can always sand down excess but can’t add to a piece that’s too short.
After cutting, do a dry fit into the frame. This will let you see if additional cuts or adjustments are needed.
Sanding the Replacement Piece
Once your chosen piece has been trimmed to fit the broken area perfectly, it’s time to give it a smooth finish. Start with a medium-grit sandpaper and rub the surface gently following the grain of the wood. This will help remove any rough edges or splinters that might be present. Switch to fine-grit sandpaper to give the surface a smoother feel. Remember to also lightly sand the corners and edges to avoid sharp points that may cause injuries. Bin dust off and wipe clean, your piece should be smooth and ready for the next steps.
Applying Wood Glue to Pieces
A good application of wood glue is crucial for a strong and long-lasting repair. Start by spreading a small dab of adhesive on both surfaces you wish to connect. Take care not to squeeze out too much. Less is sometimes more in this case.
Use a small brush or finger to evenly distribute the glue over the surface. It’s crucial to cover the entire area to ensure a firm bond. Directly after, join the pieces together. Align them precisely as adjustments post this step can be troublesome.
Always apply pressure to the glued sections. You could either use clamps or if the design of the cabinet doesn’t allow for clamping, a heavy object can suffice. The pressure ensures the glue penetrates into the wood grain, creating a strong bond. After applying, give the glue enough time to dry.
Note that different brands have different drying times, so be sure to check the product label. Avoid placing the cabinet in a high-humidity area while the glue is drying. Moisture can extend drying time or weaken the bond.
Clamping and Setting
Once the wood glue is evenly spread, bring the damaged frame and its new piece together. Ensure that everything aligns correctly.
Apply clamps to hold the parts in position, making sure the pressure is evenly distributed. Wipe away any excess glue that oozes out from the clamps with a damp cloth to avoid hardening on the surface.
Allow adequate time for the glue to dry thoroughly based on the manufacturer’s instructions. It’s essential not to rush the process, as patience at this stage ensures a more robust, longer-lasting repair.
Implementing these actions correctly, you’re ensuring a tighter bond that fits well with the existing cabinet structure.
Sanding the Repaired Area
After allowing the glued piece to set and dry, it’s time to smoothen the surface. Use a medium-grit sandpaper to gently abrade the fixed section. This not only removes any residual glue but also levels out the fixed area with the rest of the cabinet’s surface.
Remember to follow the wood grain during sanding. This will yield a natural looking, seamless finish. It’s normal for the process to take some time, so patience is key here.
Once you’ve accomplished a smooth and level surface, wipe off the dust with a clean microfiber cloth. This prepares the area for the priming and painting stage, ensuring a professional quality finish on your cabinet repair.
To protect the undamaged parts of the cabinet, consider using painter’s tape around the repaired area. This prevents any accidental scratches or dents during the sanding process.
Priming and Painting the Cabinet
After the repaired area is sanded and smooth, begin the painting process. Start with a primer to seal the wood and create a surface conducive to paint adhesion. Let the primer dry according to instructions on the can. Once it is dry, lightly sand the cabinet with a fine sandpaper for a smoother final appearance.
Select a paint that is suitable for your cabinet’s material, preferably one that’s designed for cabinets or high-traffic areas. Apply the paint using a foam roller for larger surfaces and a brush for smaller areas and edges. Ensure thin, even coats for the best finish and allow ample drying time between coats. Always follow the manufacturer’s instructions when it comes to drying time.
Applying a sealant or top coat after the paint can provide extra protection against wear and tear, particularly for cabinets in high-use areas like kitchens or bathrooms. Using a non-yellowing, waterproof top coat will preserve the look of the paint over time and provide an easy to clean surface. Always let the final coat dry thoroughly before handling the cabinet.
Adjust Euro Hinges
First, it’s crucial to understand that Euro hinges are intricate yet highly adjustable hardware pieces. To begin adjustments, locate the screws designated for three types of movements: depth, side-to-side, and height. A Phillips-head screwdriver is your go-to tool for this task.
For height adjustment, find the screw at the base of the hinge. Rotate it clockwise to move the cabinet door up and counter-clockwise to bring it down.
Similarly, depth adjustments can be made via the screw in the hinge arm. Turn it clockwise to move the door closer to the cabinet and counter-clockwise for creating more space.
Lastly, adjust the door’s lateral position by turning the screw holding the hinge to the cabinet box. The same clockwise and counter-clockwise movement applies here.
As you tweak these screws, ensure to make small increments for a perfectly aligned door.
Repair Busted Drawers
From a conspicuously stuck runner to a drawer box falling apart, a good drawer repair solution is just a few steps away.
1. Firstly, empty the affected drawer and remove it.
2. To fix a drawer track issue, measure and buy replaceable runners that suit your drawer design. Simply unscrew the old ones and replace them with the new runners.
3. If the drawer box is the problem, apply wood glue along the joints and press back together. Use a clamp to hold it as it dries.
4. For detached drawer fronts, apply wood glue to the edges of the front piece and reattach it to the drawer. Secure it with a clamp while drying.
5. Once repaired, place the drawer back on its track. Ensure smooth movement by sliding it in and out a few times.
Remember, using the right tools, quality wood glue, and your patience is the key here. And voila! Your drawer is as good as new!
Repair a Broken Drawer Front
To mend a fractured drawer front, start by removing the drawer from the cabinet. Clean away any splintered wood or loose particles from the broken area.
Apply wood glue to the fractured surface carefully, ensuring it covers the area evenly, and firmly press the broken pieces together. Use a clamp to hold the pieces in place and wipe away any excess glue.
Allow ample time for the glue to dry (refer to the glue instructions for the recommended period). If the broken area is still visible after the glue has set, you may need to use a wood filler to hide the damage.
Once the filler dries, sand the surface until it levels with the rest of the drawer front.
Finally, you can repaint or varnish the drawer front to give it a smooth, finished look that matches the rest of your cabinet. Complete this step with patience, perfecting this will make your cabinet look as good as new.
Add Back Plates to Cover Worn Areas
First, measure the dimensions of the worn areas where the back plates will be placed. Choose a style that complements your existing cabinetry for a seamless look. You can find various designs and finishes in your local home improvement store.
Next, position the back plates against the worn spots, ensuring they align correctly. Mark the screw holes carefully using a pencil. For accurate hole placement, use a drill with a drill bit that matches the size of the screws that come with the back plates.
Once holes are drilled, align the back plate and screw it into place. Use a screwdriver to tighten it but avoid over-tightening, as this can cause the wood to split. After applying all back plates, use a soft cloth to wipe away any dust or marks left from installation process.
Adding back plates not only covers worn areas, but it can also provide an aesthetic upgrade to your cabinet, giving it a fresh, refined look.
FAQ
Can you repair damaged cabinets?
Yes, damaged cabinets can be repaired; if the finish is stained or peeling, they can be refinished or refaced, but in case of structural damage, complete replacement may be required.
How do you fix cracked cabinet panels?
To fix cracked cabinet panels, apply carpenter’s glue between the broken pieces, clamp scrap wood pieces on top and bottom to exert pressure during the drying process, and upon drying, fill any remaining holes with wood filler.
What materials are necessary for cabinet frame repair?
To repair a cabinet frame, you will need materials such as wood filler or epoxy, sandpaper, primer, paint or stain, a paintbrush, and perhaps some new hardware if the old ones are damaged.
How do you restore an outdated kitchen cabinet?
To restore an outdated kitchen cabinet, sand the surfaces, apply a primer, repaint using a modern color, and replace old hardware with new, trendy pieces.
Where do you start when stabilizing a wobbly cabinet structure?
Start stabilizing a wobbly cabinet structure by first assessing the loose parts and tightening any visible screws or connectors.
Read More
 How to Choose Kitchen Cabinets: Your Ultimate Buying Guide
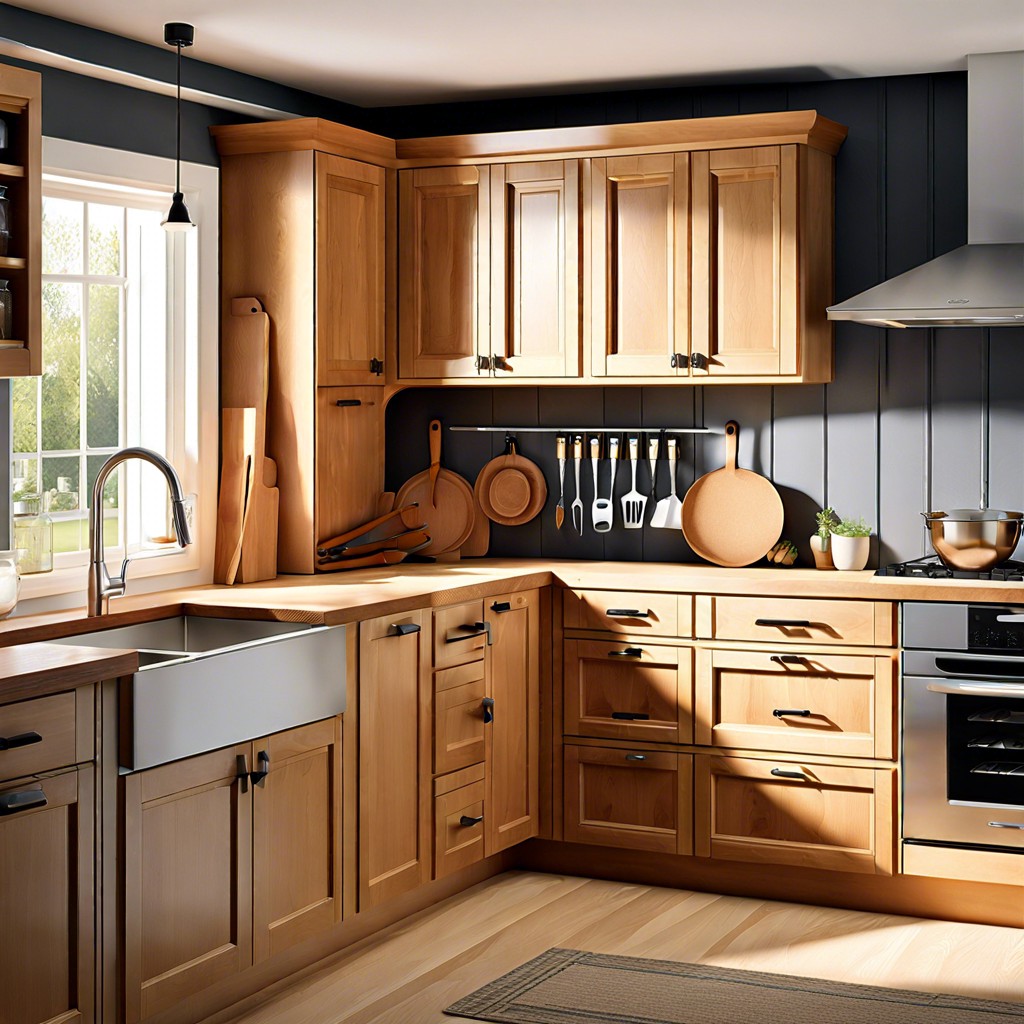 Staining Cabinets: A Step-by-Step Guide to a Fresh Look
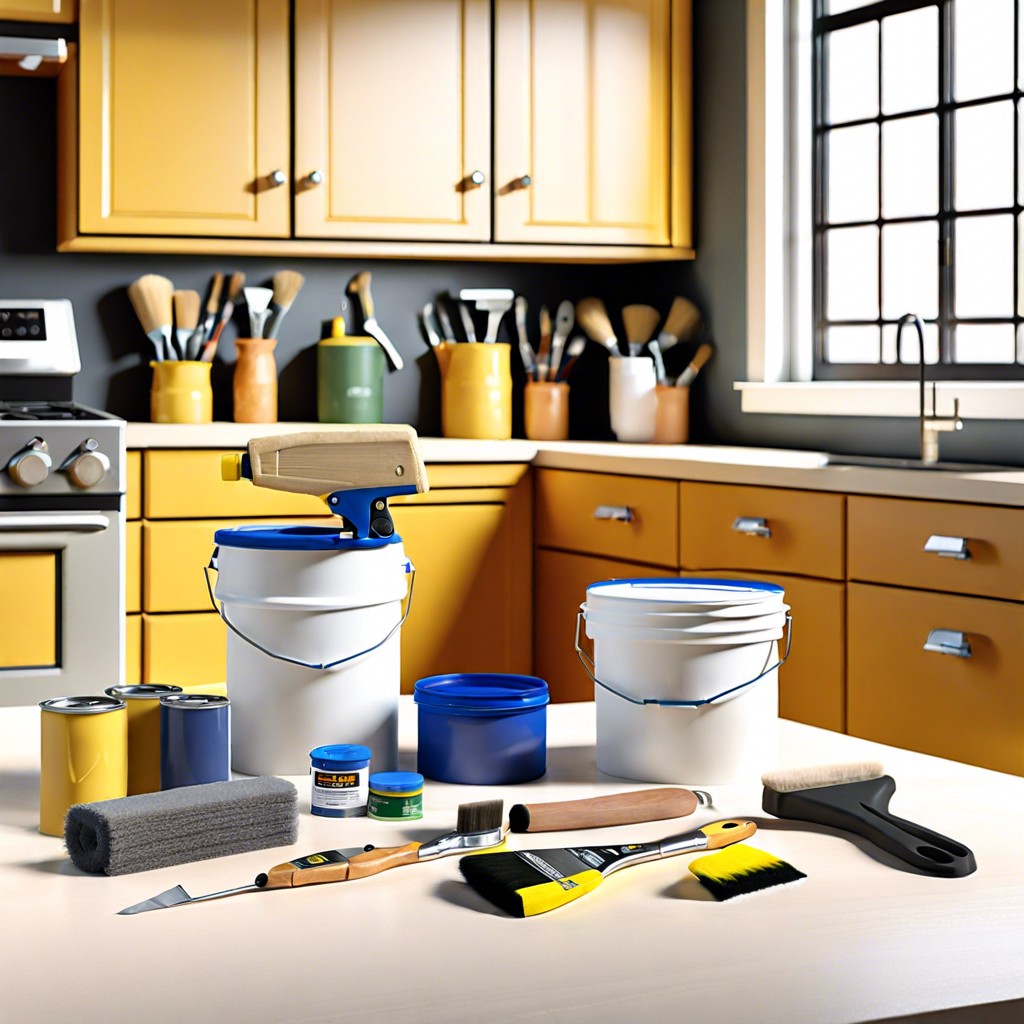 How Long Does It Take to Paint Kitchen Cabinets: A Time-Saving Guide
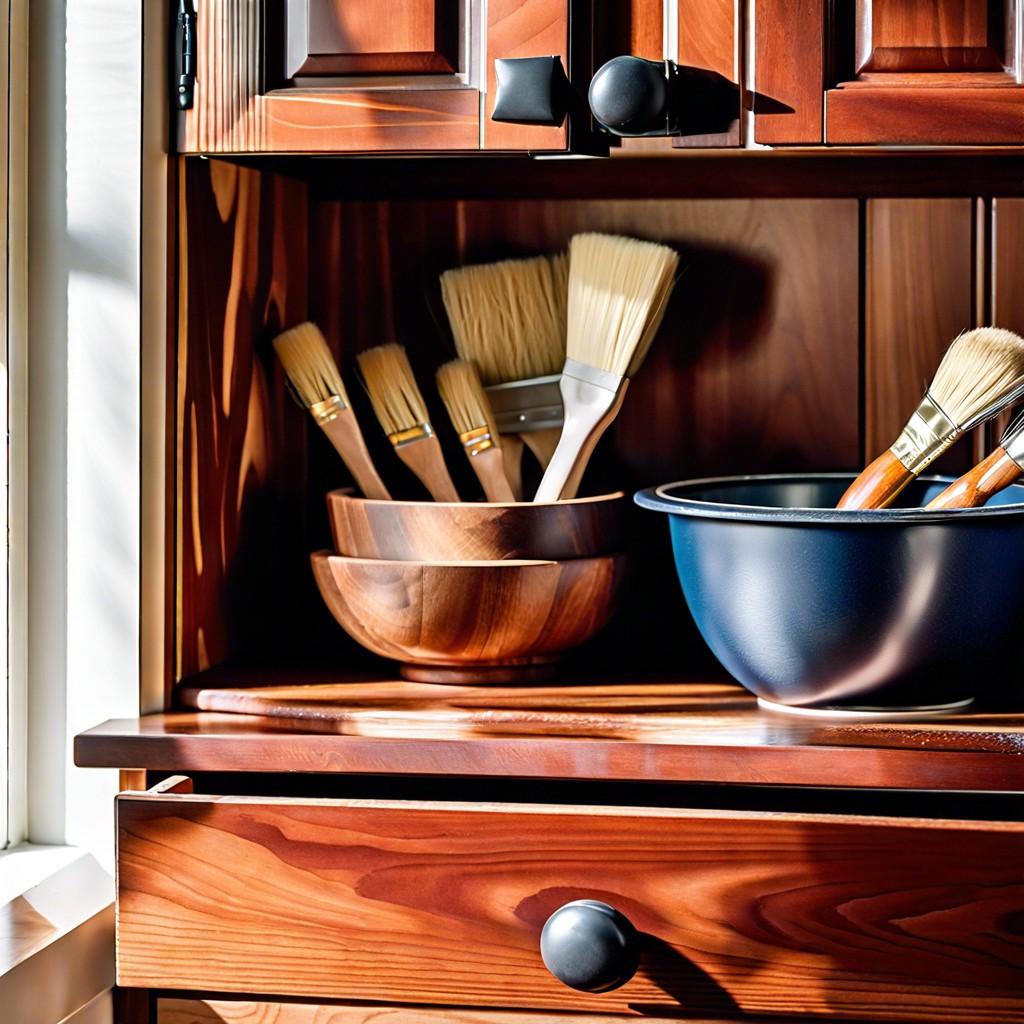 Cost to Refinish Cabinets: A Cheaper Revival
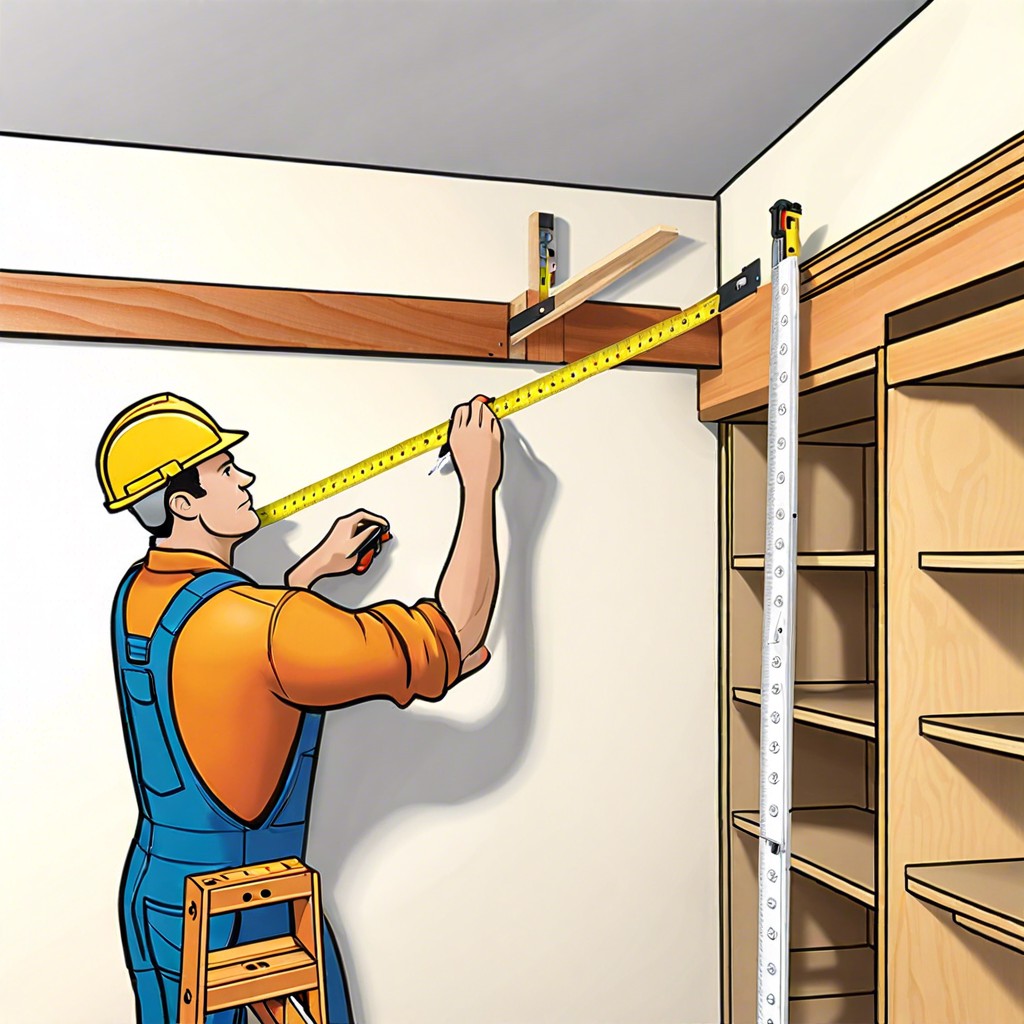 How to Install Upper Cabinets: Tips for a Perfect Kitchen Makeover