Last updated on
In this comprehensive guide, learn a straightforward, step-by-step process to tackle that pesky leaky faucet with ease, saving both time and water.
Key takeaways:
- Turn off the water supply before starting the repair.
- Identify the type of faucet and the source of the leak.
- Replace necessary components based on the type of faucet.
- Reassemble the faucet carefully, ensuring proper fit and alignment.
- Call a professional if the faucet design is complex, there are multiple leaks, parts are corroded, you lack the necessary tools, the leak persists, or there is evidence of water damage.
What's Inside
Turn Off the Water Supply
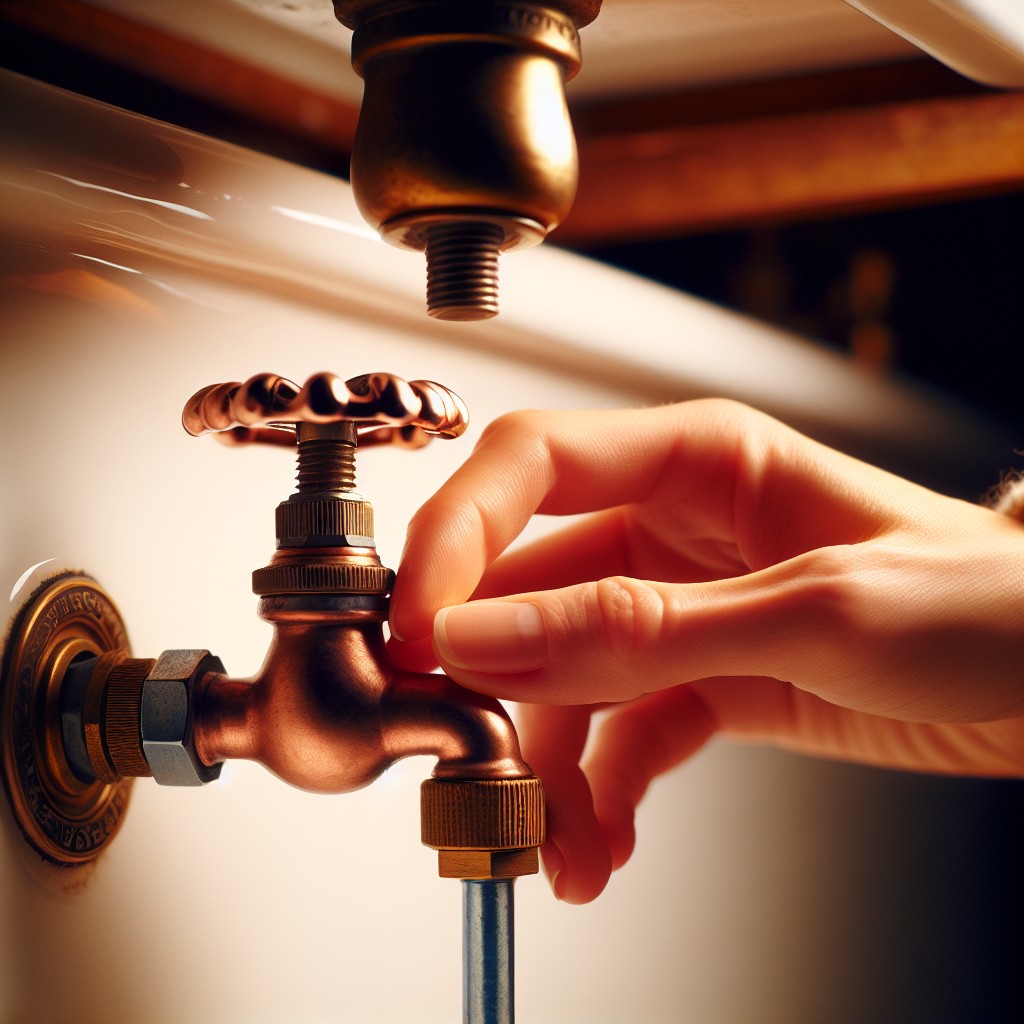
Before diving into the repair process, ensuring that the water supply is halted is crucial. Locate the valves beneath the sink and turn them clockwise to the off position. This step prevents any upcoming spillage during the fix.
If the valves are inaccessible or non-functional, shutting off the main water supply to the home might be necessary. It’s a good idea to open the faucet after the valves are off to relieve any residual pressure and water left in the lines. Remember, a dry workspace is the best starting place for any plumbing repair.
Identify Faucet Type and Source of Leak
Before diving into repairs, pinpointing the type of faucet you’re working with is crucial, as the repair process can vary. There are four main types: compression, ball, cartridge, and ceramic disk. A compression faucet typically has two handles for hot and cold and uses rubber or silicone washers to control water flow. If your faucet drips from the spout, the seats inside the faucet body could be worn. Ball, cartridge, and ceramic disk faucets are washerless and often consist of a single handle.
Identifying where the leak is coming from is next. A leak from the base might suggest an issue with the O-rings, while a drip from the spout often indicates a problem with the valve or seating. Listen for the drip or watch where the water accumulates; this will guide you to the appropriate part to fix. Additionally, if you notice inconsistent water pressure or irregularities in the water flow, these can also signal internal issues that need addressing.
Remember that matching the replacement parts to the existing faucet are imperative for a successful repair. Photograph your faucet or take the removed part to the hardware store to ensure an exact match. This step is essential to ensure that your repair lasts and you don’t have to revisit the problem again in the near future.
Repair the Faucet (Replace Necessary Components)
Diving into the heart of a leaky faucet repair means dealing with the components that are most susceptible to wear and tear. For compression faucets, replacing the washer that rests against the valve seat is often the solution. Over time, these washers become stiff and lose their seal, leading to drips.
Cartridge faucets may require a new cartridge or O-rings if the faucet is leaking around the handle. These components are the main sealing points and can become worn out. Ceramic-disk faucets have durable ceramic cylinders, but fixing a leak usually involves replacing the o-rings or the cylinder itself if it’s damaged.
For ball faucets, which have many parts and can be tricky, a replacement kit is a go-to, as it includes all the parts you’ll need, along with a special tool for disassembly. Having a kit ensures you’re not left guessing which part needs replacement, and it often comes with a diagram to assist in reassembly.
Before various advancements, repairing a leaky faucet might have felt like an elaborate puzzle. Today, most hardware stores offer specific brand repair kits, simplifying the process. Whether it’s a simple rubber washer or a complex arrangement of gaskets and springs, the secret lies in matching the right part to the problem.
Remember, each faucet type has its nuances, and having the manufacturer’s manual or a reliable online guide at your side could be your best tool. As you remove the old parts, it’s helpful to lay them out in the order they were installed – this will make it easier to put everything back in its rightful place.
In replacing any component, the adage “measure twice and cut once”, or in this case, “buy once” applies perfectly. Ensure the replacement parts match exactly to those you removed, avoiding a second trip to the hardware store. Once the new components are in hand, the reassembly process is typically straightforward – reverse the disassembly steps, taking extra care not to overtighten, which can cause new leaks or damage the parts.
Throughout this venture, a spirit of patience and attention to detail will serve well. After all, it’s the small parts that often have the biggest impact on stopping that pesky drip.
Reassemble the Faucet
After replacing worn parts and cleaning away any debris, it’s time to put everything back together. Hand-tighten all components initially to ensure proper fit. Begin by securing the faucet handle with its screw, being careful not to over-tighten which might strip the screw or damage the handle.
For compression faucets, this includes reinstalling the valve seat, stem, and packing nut. With the cartridge faucet, slide the cartridge back into place, followed by the retaining pin or nut.
Next, align the faucet spout and secure it. Remember that O-rings and seals should sit snugly; applying plumber’s grease can facilitate a watertight seal and easier installation. As you reattach supply lines, employ the same care — a firm hand-tightened connection should suffice, with maybe a quarter turn using wrenches or pliers for a secure fit.
Before restoring the water supply, double-check every component’s alignment and security. Gaskets or washers should appear evenly seated, and there should be no loose parts. Ensuring precision during reassembly prevents immediate or future drips, saving water and additional repair time.
When To Call a Professional
While embarking on a DIY faucet repair can be satisfying and cost-effective, certain situations warrant the expertise of a plumber:
1. Complex Faucet Design: If your faucet has a sophisticated design, disassembly and reassembly may require specialized tools or knowledge that only a professional has.
2. Multiple Leaks: When leaks aren’t isolated to one area, the problem could be systemic, hinting at the need for a comprehensive plumbing evaluation.
3. Corroded Parts: Severe corrosion complicates repairs. Professionals can handle the delicate process of removing and replacing parts without causing further damage.
4. Lack of Tools: Professional plumbers come equipped with all necessary tools. If you lack the basics or need a unique tool, it might be more cost-effective to hire a pro.
5. Persistent Leaks: If the leak persists after you’ve attempted a repair, it could indicate a more serious issue that’s not apparent to the untrained eye.
6. Water Damage: Evidence of water damage suggests that the leak may have been prolonged or intense, possibly leading to structural concerns requiring professional assessment.
Remember: timely intervention by an expert can prevent costly damage and ensure the job is done safely and effectively.


