Last updated on
Get ready to learn how to install a sink drain with simple, step-by-step instructions that will leave you feeling like a plumbing pro.
Key takeaways:
- Clear out the cupboard and gather all tools beforehand.
- Turn off the water supply and place a bucket under existing pipes.
- Read the instructions that come with your new drain.
- Gather the right tools and materials including a P-trap.
- Install the garbage disposal, strainer, drain tailpiece, continuous waste pipe, and drain trap. Check for leaks.
What's Inside
Before You Begin
Clear out the cupboard under the sink. You don’t want your cereal boxes turning into makeshift plumbing tools. Trust me on this.
Gather all your tools beforehand. Trying to balance a pipe while frantically searching for a wrench is a recipe for disaster. You’ll need a plumber’s putty, pipe wrenches, a bucket, and a sense of humor.
Turn off the water supply. There’s nothing hilarious about an unexpected indoor waterfall. Locate the shut-off valves under your sink and twist them clockwise until they stop.
Place a bucket under the existing pipes. Even if you turned off the water, there’s always some lingering liquid ready to surprise you.
Read through the instructions that come with your new drain. Yes, I know you think you don’t need them, but it’s like assembling a piece of furniture—more complicated than it looks.
What You’ll Need
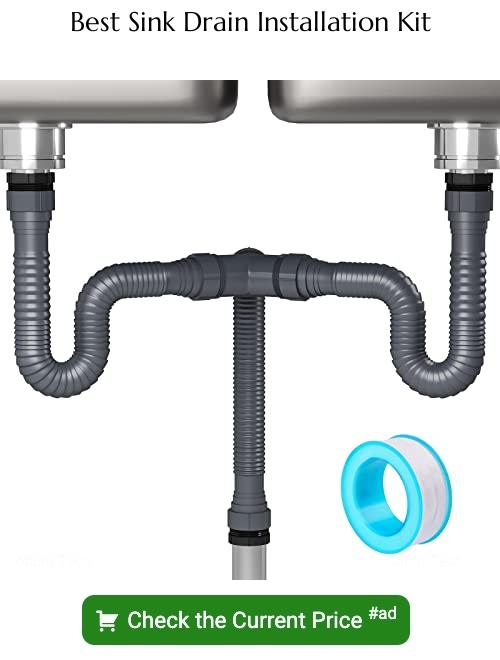
Gathering the right tools and materials makes your job easier and your sink happier. You’ll need a sink drain assembly which typically includes a strainer, gasket, and locknut. Don’t forget a drain tailpiece and continuous waste pipe.
A P-trap is essential—acts like your sink’s bodyguard, protecting your kitchen from unwanted smells. Arm yourself with plumber’s putty, Teflon tape, and pipe joint compound for leak-free bliss.
A basin wrench, adjustable wrench, pliers, and a hacksaw will be your knights in shining armor. Access to a bucket to catch any stray water is a smart move. Extra kudos for grabbing some rags for clean-up, because leaks happen!
Install the Garbage Disposal and Strainer
If you’ve decided to go all-in with a garbage disposal, it’s time to get that monster set up. First, attach the disposal mounting ring to the sink drain’s flange. This step can often feel like a wrestling match with an octopus, so brace yourself.
Once the mounting ring is in place, it’s time to secure the garbage disposal unit. Lift the disposal up (maybe enlist some help because these things can be heavier than they look) and align it with the mounting ring. Twist it into place until it’s locked. If you’re hearing a satisfying click, you’re on the right track.
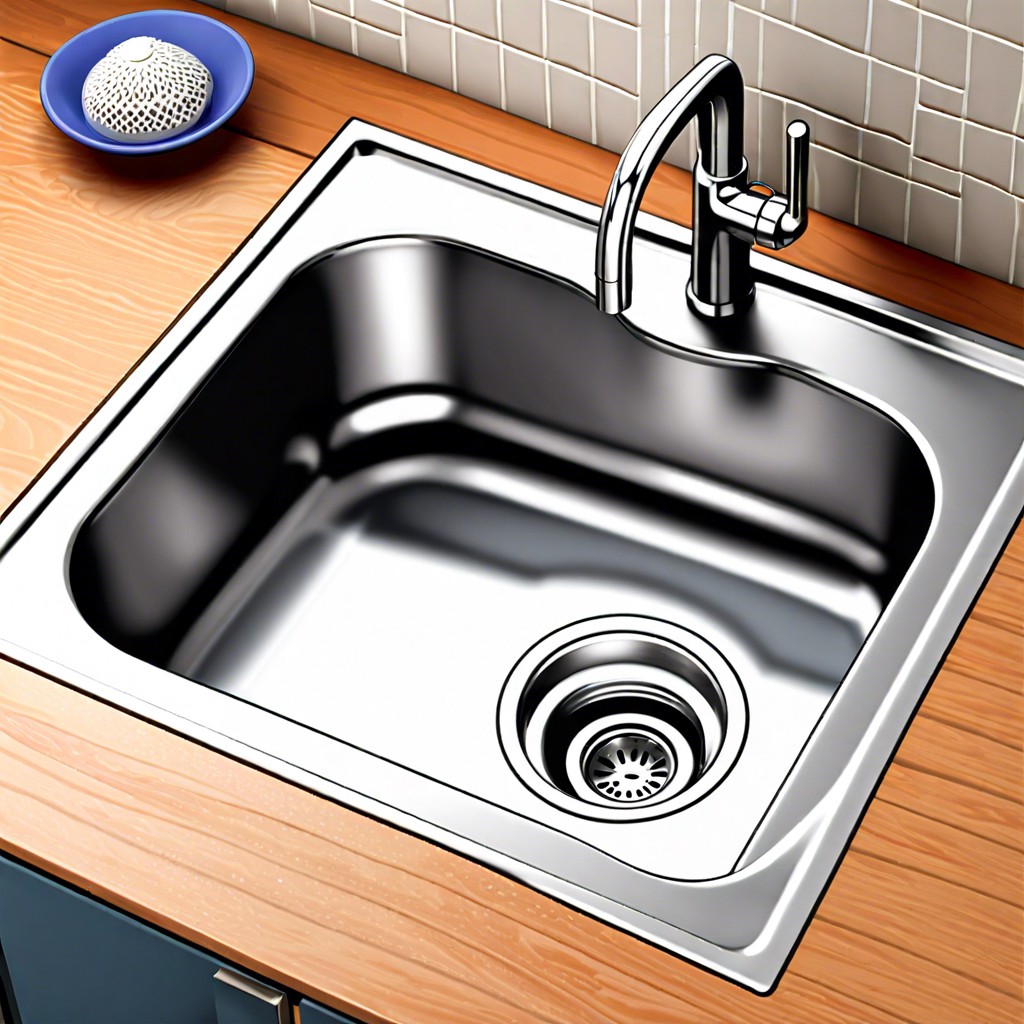
Now for the strainer. The strainer basket fits neatly into the sink hole. Make sure to apply a small bead of plumber’s putty around the underside of the strainer flange before setting it into the sink. Press it down firmly. Gently, so not like a bodybuilder showing off, just enough to seat it well.
Check underneath the sink to ensure the rubber gasket and metal washer are properly aligned on the strainer’s underside. Tighten the strainer locknut until it’s snug. Pro tip: have a friend hold the strainer from the top while you tighten. If no friend is available, get creative with a makeshift clamp, or a cousin who’s easily bribed with snacks.
Avoid over-tightening or going full Hulk on it as you could crack the sink. You’re aiming for snug, not snapped.
Install the Drain Tailpiece and Continuous Waste Pipe
Slide the gasket onto the tailpiece and attach the tailpiece to the sink drain. Tighten the slip nut by hand, then give it an extra quarter turn with pliers for good measure. Make sure it’s snug, but don’t go all Hulk on it. Over-tightening can break the gasket, and no one wants a leaky sink.
Next, grab your continuous waste pipe. Measure it against the tailpiece, and if needed, trim it to fit. You’ll want it shorter than Uncle Bob’s anecdotes but just long enough to connect everything.
Slide a slip nut and washer onto each end of the continuous waste pipe. Gently attach one end to the tailpiece and the other to your garbage disposal’s discharge pipe. Finger-tighten first, then use pliers to finish the job.
Inspect all connections. Ensure washers are in place and slip nuts are secure. Double-check alignment—think straight and steady, not like your Instagram live sessions. This helps prevent leaks and maintains efficient drainage.
Connect the Drain Trap
Now comes the fun part. The drain trap is that U-shaped pipe piece that keeps the sewer smells at bay. Grab it and fit it underneath the sink between the tailpiece and the waste pipe running to the wall.
Make sure the tapered washers are in place between all connections. They may look flimsy, but they’re the heroes of dry cabinets. Tighten the slip nuts with your hand first. You’ll thank yourself for this when you need to adjust later. Once everything’s aligned, use a pair of channel-lock pliers to give it a snug fit, but don’t go Hulk-strong; gentle firmness is key here.
Align the trap with the pipes and make sure there are no odd angles. Traps are not contortionists; keep them straight and aligned. Be attentive to the P-trap height as well, it should align with the wall pipe for a smooth connection without any uphill battles.
Check for Leaks
Turn on the faucet and let the water flow through the newly installed drain. Take a keen look under the sink, paying special attention to all connections and joints.
If you spot a drip, don’t panic. It’s usually a simple fix. Grab a wrench and give the fittings an extra snug tight. Be careful not to over-tighten.
Watch for persistent leaks. If a leak continues, it might be due to misaligned pipes or a defective washer. Double-check the alignment and replace any worn-out washers if needed.
Keep a dry rag handy. After tightening the connections, wipe down the pipes and wait a few moments. If the rag stays dry, you’re good to go.
Tips
Take your time measuring and cutting pipes. This avoids the comedy of errors when they don’t fit.
Keep a roll of plumber’s tape handy. It’s a small hero in preventing leaks.
Hand-tighten connections first, then give them an extra twist with a wrench. But remember, you’re not bench-pressing here—don’t overdo it.
Have a bucket or a towel ready for any unforeseen water splashes. Water surprises are only funny in movies.
Don’t skip the instructions that come with your particular drain parts. Manufacturers sometimes have quirky little details. Following them can save you from pulling your hair out.
Celebrate small wins, like running water down a leak-free drain. High fives are totally allowed.


