Last updated on
Learn the straightforward steps to install cabinet handles and give your kitchen or furniture a functional upgrade.
Key takeaways:
- Gather required tools and materials: tape measure, pencil, drill, screwdriver, level.
- Determine handle placement: center horizontally, traditional or modern approach.
- Mark the drilling points: use measuring tape, create cardboard template.
- Drill pilot holes: use right-size bit, align drill, drill slowly.
- Secure handles with screws: align handles, tighten screws by hand, use a level.
What's Inside
Gather Required Tools and Materials
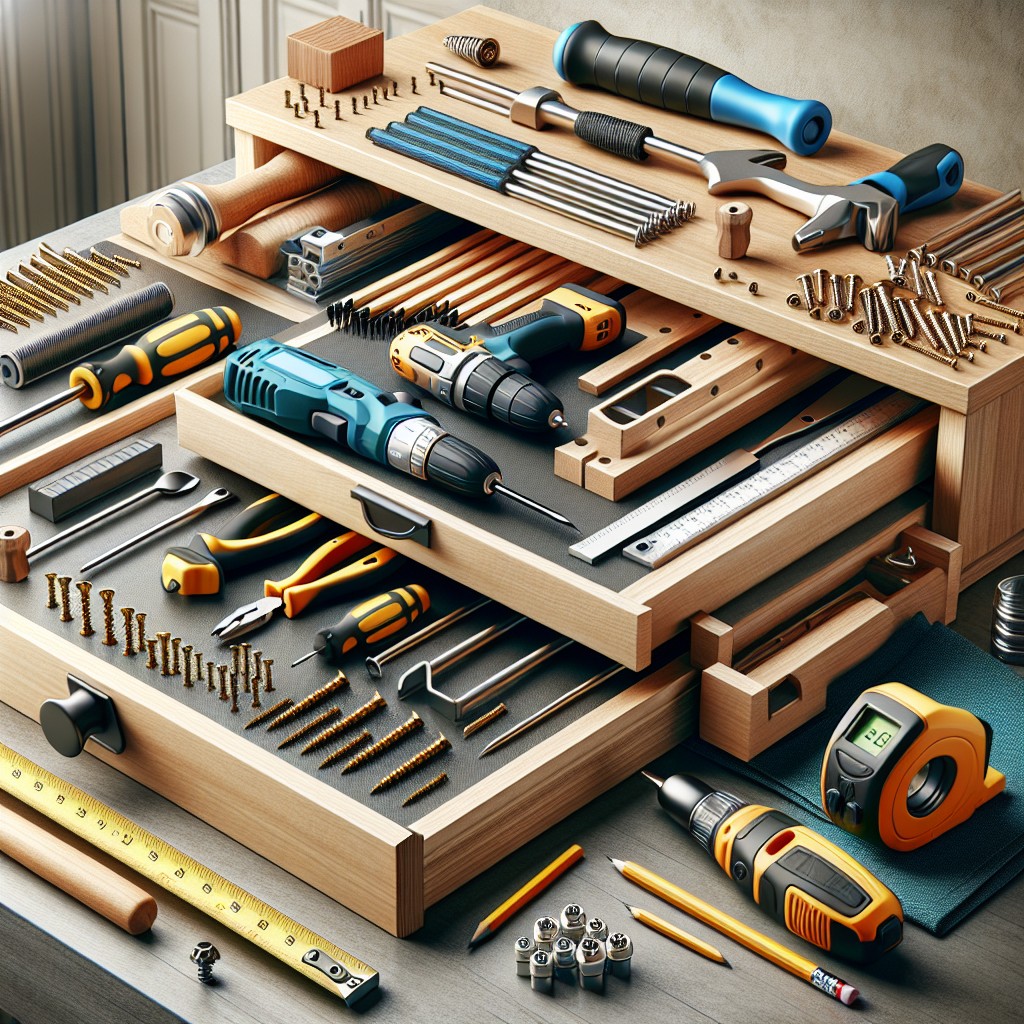
Before embarking on the handle installation journey, ensure you have all the necessary tools and materials at your disposal. A tape measure is vital for precise positioning, while a pencil will be your marking companion.
You’ll need a drill with the appropriate size bit for pilot holes and a screwdriver to fasten the handles. Don’t forget the level to guarantee straight alignment; a wonky handle can throw off the aesthetics of your space.
Lastly, ensure you have the handles and screws, typically provided together but always worth a double-check. Having everything on hand streamlines the process and prevents interruptions.
Determine Handle Placement
Selecting the spot for your cabinet handles is both an aesthetic and a practical decision. For drawers, the most common practice is to center them horizontally. For larger drawers over 24 inches, consider using two handles for ease of use. If you prefer a traditional look, place pulls at the top of lower cabinets and the bottom of upper cabinets, aligned with the door corner. For a modern approach, handles can be positioned vertically along the side edge of the cabinet door.
When setting the position, a useful tip is to create a template from cardboard or purchase a plastic jig. This guarantees consistency throughout all doors and drawers, particularly in kitchens with numerous cabinets. Position the template in the desired location, ensuring it is level, and mark the spots for drilling with a pencil or an awl for precision. Remember, measure twice, drill once—it’s not just a saying, but a philosophy to prevent unnecessary holes and frustration.
Mark the Drilling Points
Accuracy is crucial when marking your drill points to ensure that handles are level and aligned. First, decide if you want your hardware at the bottom, middle, or top of the cabinet door. For drawers, the standard practice is to place the handle in the center of the drawer front.
Once you’ve selected the position, follow these steps:
- Use a measuring tape or ruler to find the desired horizontal location for your handles. This is typically at the center point for single-hole handles or the desired distance from the edges for handles with two screws.
- For two-screw handles, measure the distance between the screw holes. This is your “center-to-center” measurement.
- Create a template out of cardboard or purchase a handle installation jig to ensure consistent placement across multiple doors or drawers. Using the “center-to-center” measurement, mark the corresponding points on your template.
- Position the template on the cabinet or drawer front, using painter’s tape to secure it without leaving residue.
- Where your handle will go, mark drilling points through the template with a pencil. For extra precision, you may use an awl to make a tiny indentation at these marks.
Remember that measure twice, drill once, is not just a saying—it’s your safeguard against crooked handles!
Drill Pilot Holes
Having your drilling points accurately marked, it’s time to put the drill to work. But before you proceed, ensure you’re using a drill bit that matches the size of the screws you’ll use for the handles. This alignment is crucial because a hole too large will result in a loose fit, while one too small might not accommodate the screw, or worse, split the cabinet door or drawer.
Here’s a quick step-by-step on how to drill those pilot holes to perfection:
- Equip your drill with the right-size bit.
- Place a piece of painter’s tape over the marked spot to help prevent the wood from splintering.
- Align the drill bit with the mark and keep the drill perpendicular to the surface for a straight hole.
- Drill slowly, applying steady pressure to create a clean hole.
- Keep a vacuum or a small brush nearby to clear away sawdust and wood shavings after each hole.
Remember, precision is key. Take your time with each pilot hole to ensure your cabinet handles will be both functional and visually pleasing.
Secure the Handles With Screws
Attaching the hardware is the final step now that you’ve done all the prep work. Align your cabinet handle over the pilot holes you’ve drilled. If you encounter resistance as you’re threading the screws, don’t force it—cross-threading can strip the holes and ruin your hard work.
Start with tightening the screws by hand to ensure they fit properly. Once you’re sure they’re catching the threads correctly, use a screwdriver to finish securing them—but take care not to over-tighten, as this can damage the handle or the cabinet door.
For longer handles, it’s wise to fasten the screws partially and adjust to ensure the handle is straight before fully tightening. Using a level can be very handy to double-check alignment before the final tightening. Remember, rushing this final step can lead to skewed handles, so patience and precision are key.
In summary: align handles, start by hand, use the right screwdriver, don’t over-tighten, use a level, and be patient for a flawless finish.


