Last updated on
Learn the practical steps to install cabinets and countertops that can dramatically enhance the functionality and style of your space.
Key takeaways:
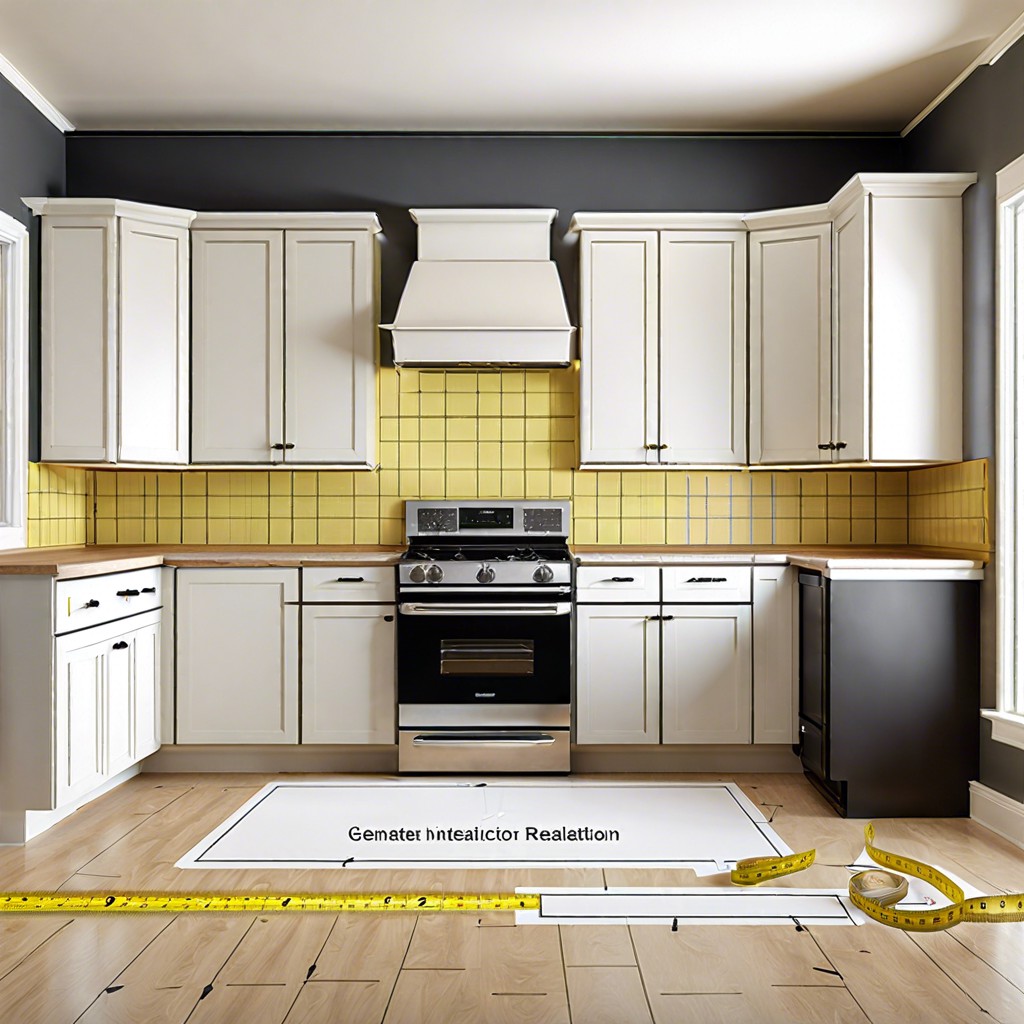
- Accurate measurements are crucial for a successful installation.
- Clear the space and prepare the area before installation.
- Install upper cabinets by aligning with reference lines and securing to studs.
- Install base cabinets, ensuring levelness and stability.
- Secure the countertop in place and check for proper fit.
What's Inside
Measure the Space
Accurate measurements are the cornerstone of any successful cabinet and countertop installation. Without them, you risk misaligned fittings and an overall lackluster transformation. Begin by determining the height, width, and depth of the area where your cabinets will reside. This includes not only the wall space but also accounting for any existing appliances or fixtures that the cabinetry must accommodate. Remember, measure twice, install once.
For upper cabinets, always check the ceiling height and available vertical space. Consider the ‘golden triangle’ in kitchen design for the most efficient layout, placing the sink, stove, and refrigerator in a triangular pattern. This principle ensures your cabinetry and countertops complement the workflow of the space.
When it comes to countertops, overhangs are a detail you can’t afford to overlook. Standard overhangs are about 1 to 1.5 inches, but this may vary based on your design preferences or ergonomic needs. Furthermore, it’s crucial to be mindful of corner spaces; they need precise measurements to ensure the cabinets and countertops fit seamlessly without gaps.
Remember that walls are seldom perfectly straight or square. Use a level to check for any discrepancies from the floor to the ceiling and wall to wall. Adjust your measurements accordingly to avoid surprises during installation, especially when walls have a slight bow or tilt.
Once you’ve made all necessary measurements, create a detailed diagram or blueprint. This visual aid can be immensely helpful during installation. Not only does it serve as a reference point, but it also provides a clearer picture of the end result, ensuring all your efforts contribute to the envisioned transformation of your space.
Prepare for New Cabinetry
Before the installation can commence, clearing your space ensures a smooth transition. Empty existing cabinets, clear countertops, and remove any freestanding appliances. Next, detach and remove old cabinets if present. This task generally requires a screwdriver or a drill and might involve a bit of elbow grease. Ensure you’re careful not to damage walls as you proceed.
Next up, dealing with the wall surface is crucial—patch holes or mend damages to create a smooth canvas for new installations. An often overlooked but key step involves checking for a level floor and plumb walls. Use a spirit level for accuracy as uneven floors and walls can lead to misaligned cabinets.
With your space prepped, locate and mark the studs—this is where you’ll secure your cabinetry. Using a stud finder enables precision. Marking these spots ensures you know exactly where to drive screws during installation, which is vital for secure and stable cabinets.
Finally, create a layout reference. A chalk line or a laser level helps establish a guide for the bottom edge of upper cabinets and the top edge of base cabinets. This visual aid ensures alignment and uniformity across your installation.
Having prepared your area diligently, you’re setting the stage for a transformation that’s both beautiful and efficient.
Install Upper Cabinets
Before you begin, ensure that all the walls are straight and corners are square, which is essential for smooth installation. Any irregularities might need to be corrected beforehand. Start by locating the high point of the floor and marking the wall at the appropriate height for the bottom of the upper cabinets. This benchmark line serves as the reference for aligning the bottom of all the upper units.
Next, move on to find the wall studs. You’ll need to securely anchor your cabinets to these studs, so using a stud finder is a logical step in the process. Once located, mark the stud positions on the wall. This is important as it guides where you will drill when hanging the cabinets.
Armed with these key starting points, lift the first cabinet into place, ensuring it aligns with your reference line and centers over a stud. Use shims, which are thin strips of wood, to adjust the cabinet’s position and achieve level and plumb alignment. Fasten the cabinet to the stud with screws, but don’t fully tighten until you’ve checked that the cabinet is perfectly aligned with your reference line and its neighbors.
Proceed to the next cabinet, positioning it close to the first and clamping the face frames together. Once together, use a drill to create pilot holes and connect the cabinets with screws. Continue this process, working your way around the room, and ensuring all the upper cabinets are joined and leveled correctly before moving on to the base cabinets.
Lastly, always double-check that the doors and drawers on adjacent cabinets line up and open without interference. Any misalignment here could detract from the functionality and aesthetic of freshly installed cabinetry.
Install Base Cabinets
Before anchoring base cabinets in place, ensure the floor is level. Uneven floors can lead to misaligned cabinet doors and drawers, so use shims to adjust heights as needed. Start in the corner and work your way out, using clamps to secure cabinets to one another, ensuring a seamless front.
With the first cabinet set, check again for levelness before proceeding to the next. Drill pilot holes to avoid wood splitting, then secure cabinets to the wall studs with screws. Remember, you want stability; a loose cabinet could compromise the whole installation.
Drawer slides and hardware should be installed before the cabinet is fixed in place if access is difficult post-installation. Keep in mind the placement of plumbing and electrical connections. Cutouts should be made before securing the cabinet to avoid difficult alterations later.
Finally, don’t forget to leave space for appliances. Measure twice to ensure a snug fit for dishwashers, ranges, or refrigerators. With precision in placement and securement, the foundation for your transformative cabinetry is set.
Install the Countertop
Before diving into the actual installation, ensure the base cabinets are level and secure. Any variance can lead to a poor fit or even damage to your new countertop.
Begin by checking the fit of the countertop on the base cabinets. If adjustments are needed, scribe the material to fit the wall contours. For materials like laminate, a belt sander can make quick work of minor adjustments. For heavier stone like granite or quartz, however, it’s crucial to have accurate measurements upfront as they’re not as easy to modify on-site.
Once you’re satisfied with the fit, apply a bead of silicone caulk or construction adhesive along the top of the base cabinets. This will anchor the countertop securely and prevent movement. Lower the countertop into place carefully, ensuring it’s perfectly aligned with the cabinets and walls.
After the countertop is in position, secure it according to the material’s requirements. For example, laminate countertops might have screws that attach from the underside, while stone countertops often rely on their weight and the adhesive to stay put.
For countertops designed to accommodate sinks or appliances, double-check the openings line up precisely before finalizing the installation. It’s much easier to adjust now rather than after everything has set.
Lastly, if your countertop has seams, use a color-matched epoxy or resin to fill them in and create a smooth finish. A properly sealed seam not only prevents water and debris from getting in but also gives your countertop a seamless appearance.
Always consult the manufacturer’s guidelines or a professional for specific details tailored to your countertop material. Proper installation is not just about aesthetics; it also ensures longevity and functionality in your revamped space.


