Last updated on
Learn the steps to successfully install your new countertops with ease and confidence.
Key takeaways:
- Choose the right countertop material for your lifestyle and budget.
- Gather necessary tools like measuring tape, level, drill, and clamps.
- Take precise measurements of your kitchen layout and backsplash area.
- Secure countertop sections with miter bolts for stability.
- Attach countertops to cabinets using steel angles for support.
What's Inside
Selecting the Right Countertop Material

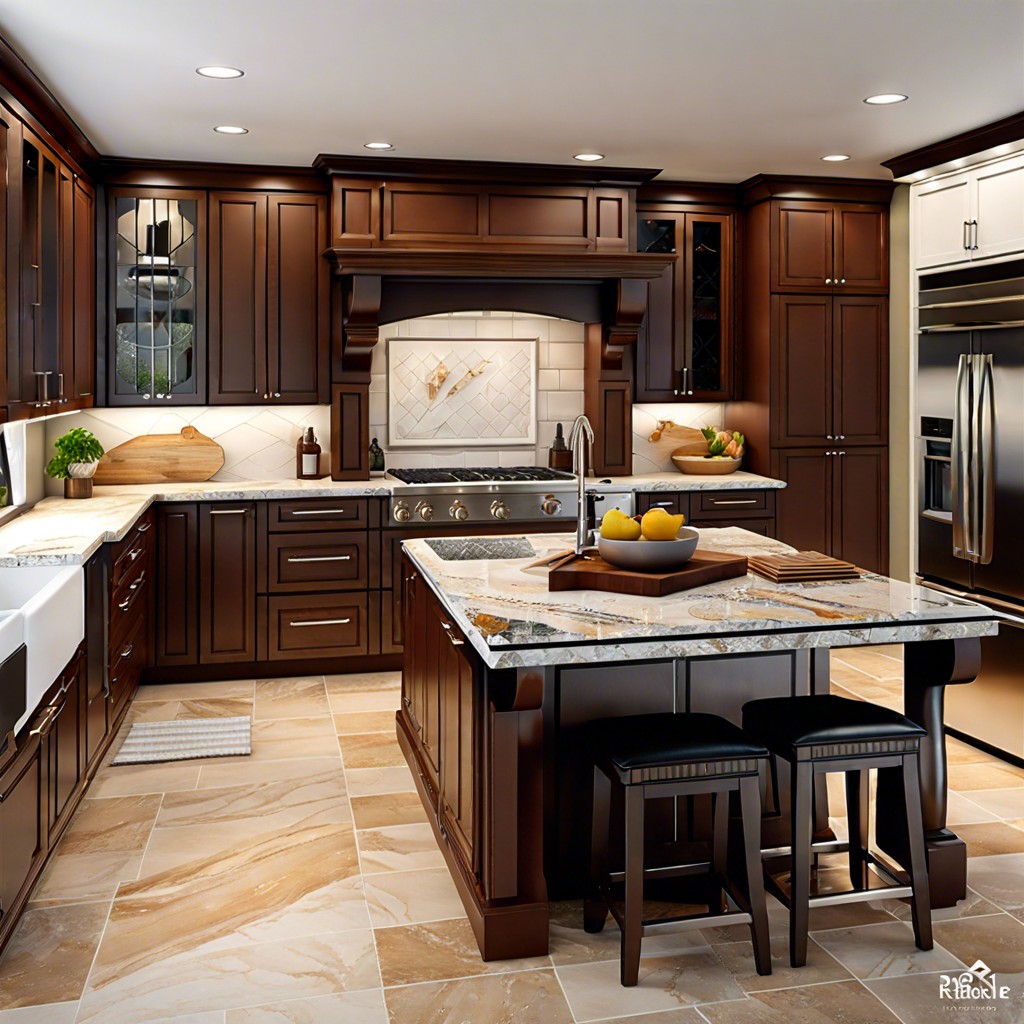
Navigating the sea of countertop options boils down to weighing several key factors. First up, ponder the culinary traffic in your kitchen. If you’re a whiz with the whisk and your counters see frequent food prep, durability should top your list. Think granite or quartz, both champions in the scratch-and-heat-resistance department.
But, if daily life in your kitchen is more reheated leftovers than gourmet creations, you might be after something with more pizzazz and less emphasis on endurance. Cue the subtle sheen of marble or the warm tones of butcher block, both head-turners that can spark kitchen envy.
Let’s talk budgets — they’re as important as the cabinets beneath. Luxury materials like quartzite can make your wallet weep, while laminate counters keep things friendly on the purse strings without skimping on style.
Consider maintenance, too. Some materials demand the occasional sealant session, like a granite needing a good pampering to fend off stains. If your idea of a weekend well-spent doesn’t include buffing countertops, maybe the low-upkeep allure of engineered stone will tempt you.
The cherry on top? Environmental impact. Sustainable choices, like recycled glass or bamboo, let you cook up a storm while keeping Mother Nature in your corner.
In essence, match your choice to your lifestyle, fiscal comfort zone, and design star aspirations — and your countertops will rise to the occasion.
Gathering Necessary Tools and Materials
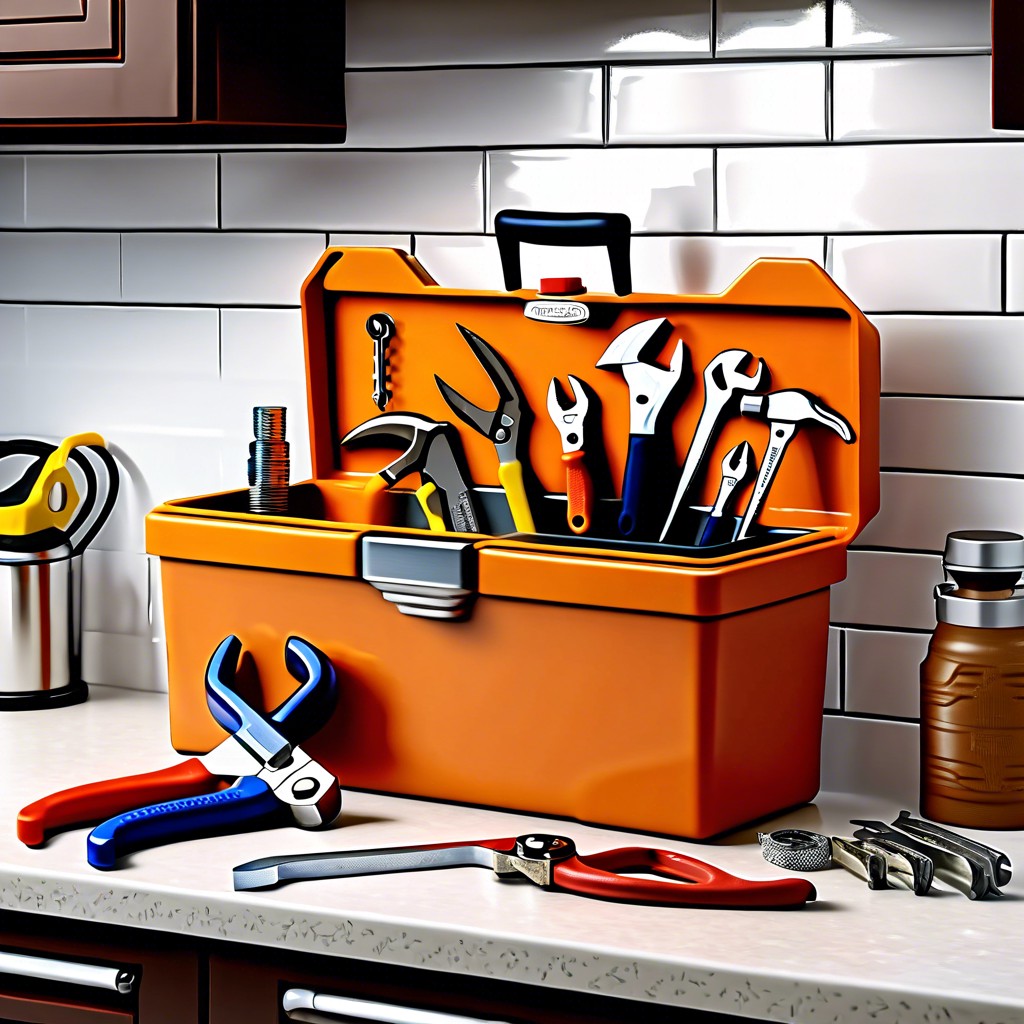
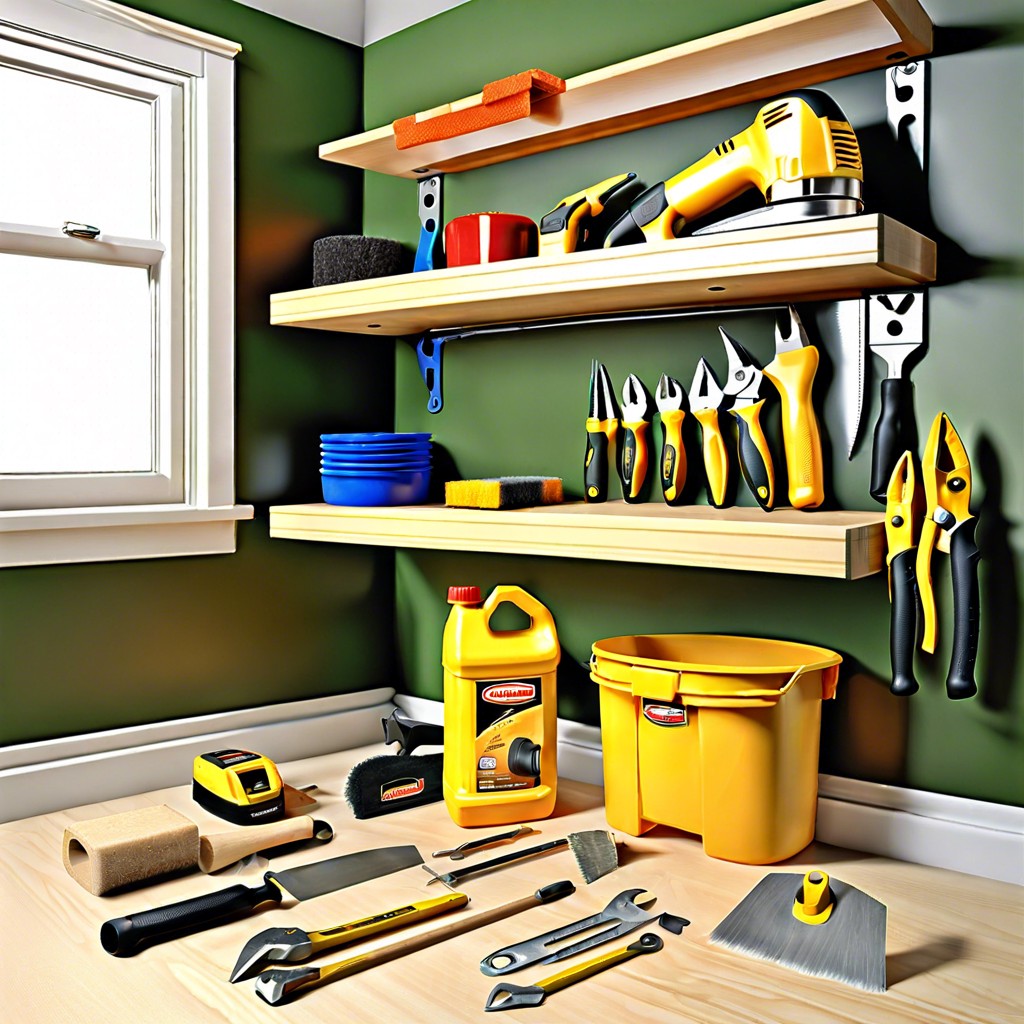
Equipping yourself with the right tools is like finding the pot of gold at the end of the rainbow for any successful installation — it just makes everything better. Think of yourself as a culinary whiz in the kitchen; just as they would never start a recipe without all the ingredients, you wouldn’t start installing countertops without the proper gear. So, let’s stock up!
First up, you’ll want a measuring tape because accurate measurements are the secret sauce. Next, a level — because nobody likes a countertop that’s more slanted than the Leaning Tower of Pisa. A jigsaw is your best mate for cutting out sinks or stovetops, and it plays well with a fine-tooth blade for laminate or a diamond blade for stone. Safety goggles, they’re the chaperone that keeps your eyes safe.
Don’t forget the drill; it’s the dance partner for your screws, ensuring they’re in the right groove. Then there’s the silicone adhesive, the invisible hand that holds everything in place with grace. Color-matched seam filler? Absolutely — it’s like concealer for your countertop seams, making everything look flawless.
Last but not least, clamps are your countertop’s best friends, gripping tighter than a toddler with a favorite toy and ensuring nothing moves while you work your magic. And of course, a few spare rags and denatured alcohol because it’s dirty work and clean finishes matter.
Like a good scout, always be prepared; having these tools at your side is half the battle.
Measuring for New Countertops
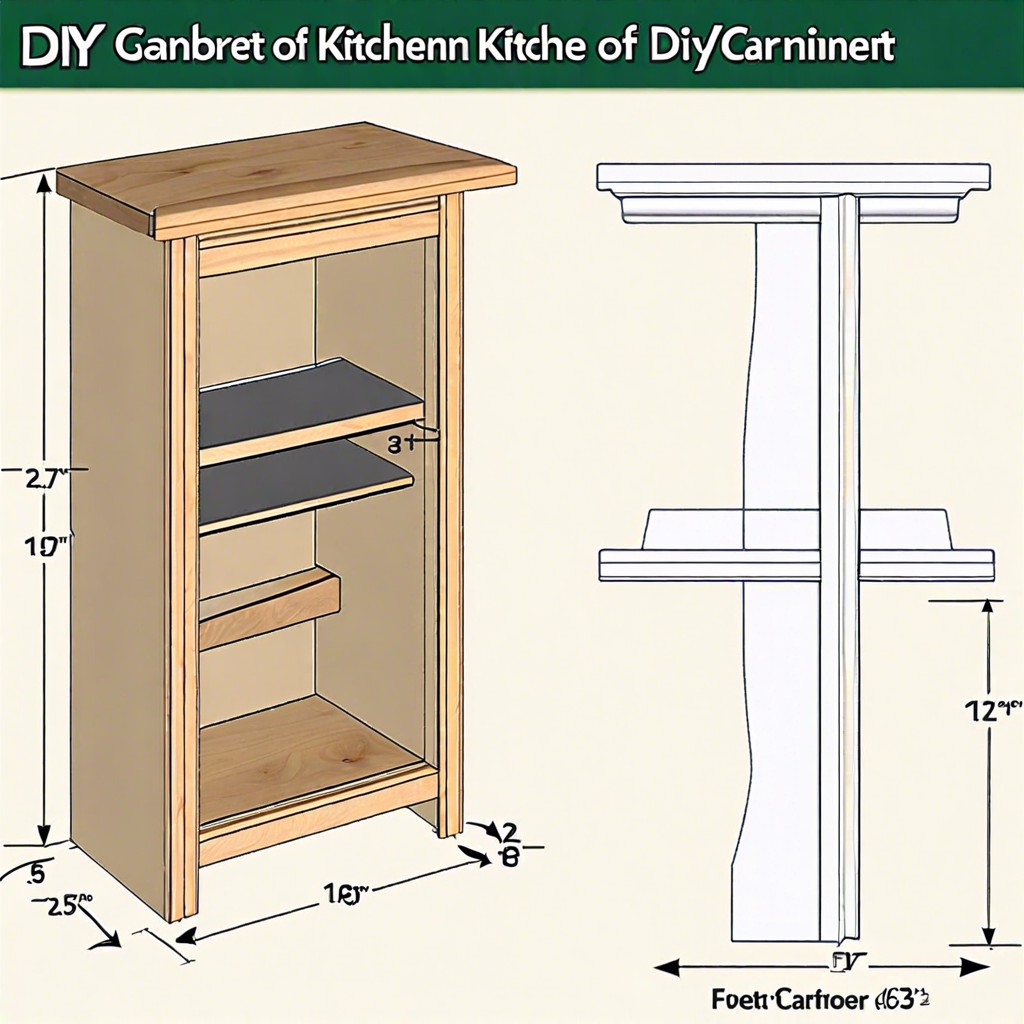
Start by sketching a diagram of your kitchen layout, highlighting areas for the countertop. Precision is key: measure twice, cut once. Grab a measuring tape and record the length and depth of the cabinets where the new surface will rest. Remember to factor in overhang, usually an additional inch or two beyond the cabinet edge, for comfortable usage and aesthetic appeal.
Corners demand special attention. If your design includes an L-shaped section, ensure both sides meet at the correct angle—typically 90 degrees. Don’t forget to account for appliances and sinks. You’ll need to measure the openings accurately to avoid any costly missteps.
For those areas where the countertop meets walls, be aware of any unevenness. Walls can be sneaky, often not as plumb as they appear. Consider a slight allowance in your measurements to achieve a snug fit, preventing gaps and potential debris accumulation.
Lastly, think about your backsplash. If planning to add one, measure the height from the countertop to the bottom of the upper cabinets. This will guide you when selecting or cutting the backsplash material, creating a seamless transition from countertop to wall.
In short, arm yourself with a notepad, pencil, and tape measure. Stay sharp and attentive to details—accurate measurements are the bedrock for a successful countertop installation.
Securing Miter Bolts for Stability
When piecing together your countertop sections, think of miter bolts as the secret agents of stability—they stealthily keep everything solid and seamless. Start by applying a bead of silicone on one edge of the miter joint to create a strong, water-resistant bond. Carefully align the two sections to ensure your seam is tight and virtually invisible.
Once you’ve got them lined up, dive into the cabinet and tighten the miter bolts. These bolts pull the sections together from underneath, ensuring the pieces won’t decide to go their separate ways. Don’t get too enthusiastic with the tightening, though; a firm fix is all you need. Overdoing it could lead to damage, transforming a smooth operation into an unnecessary headache.
Remember to wipe away excess silicone that oozes out from the seam. A clean, damp cloth does the trick, creating a neat and professional look, just like you’d see in those glossy home decor magazines. Keep patrolling the seam until the silicone dries, maintaining that crisp edge. Congratulations, you’re now one step closer to a rock-solid, good-looking countertop that even a secret agent would appreciate.
Attaching Countertops to Cabinets Using Steel Angles
Now that your countertops are cut to perfection and the miter bolts are snugged up tight, it’s time to make sure that beautiful new surface isn’t going anywhere. This is where steel angles strut their stuff.
Think of these metal brackets as the secret agents of support. They’re not the stars of the show, but they’ve got an important role: ensuring that your countertop remains firmly in place. Steel angles are fastened to the underside of the countertop and then to the cabinet. It’s crucial to position them at intervals that will adequately support the weight of the countertop, especially in areas where there is a significant span without cabinets underneath.
Start by holding a steel angle against the cabinet frame, aligning it to be flush with the countertop’s underside. Mark the holes of the bracket on the framework—these are your targets. Grab your drill, and carefully create pilot holes, being careful not to puncture through to the visible part of the cabinetry.
Once the holes are ready, it’s as simple as screwing the brackets securely in place. A pro tip here: don’t play Hercules with the screws. Over-tightening can cause damage, so just snuggle them up until they’re firmly attached.
The number of steel angles needed can vary depending on the size and weight of your countertop. But as a general rule, every 2-3 feet is a good rhythm to follow. This setup will have your countertops ready to tackle anything from a quick coffee brew to a full-on feast prep. It’s the little things, like steel angles, that carry the day.


