Last updated on
Learn how to install a sink drain step by step, ensuring a leak-free and smooth drain system for your kitchen or bathroom.
Key takeaways:
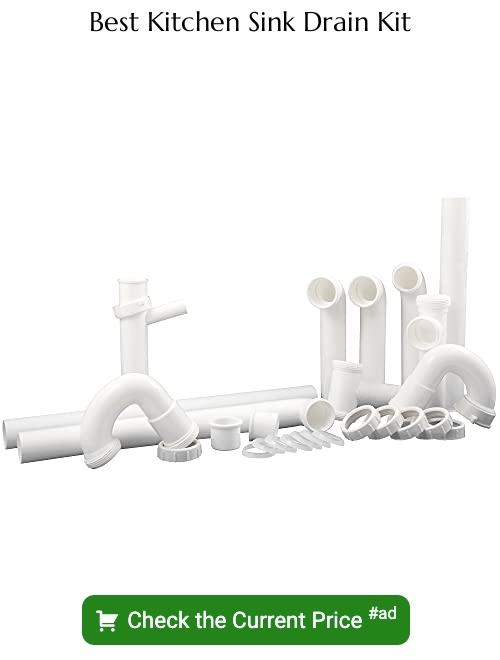
- Gather necessary tools: plumber’s putty, wrench set, pipe tape, P-trap kit, bucket, PVC pipes and fittings.
- Follow step-by-step instructions for installing sink drain.
- Check drain outlet height for proper positioning.
- Install garbage disposal and strainer correctly.
- Connect drain tailpiece, waste pipe, and trap securely.
- Check for any leaks and make necessary adjustments.
What's Inside
What You’ll Need
Gathering your tools is half the battle! Head to your local hardware store or rummage through your trusty toolbox. Here’s your shopping list:
First, you’ll need some plumber’s putty. It’s like a magical dough that helps create a watertight seal.
Grab a wrench set. Preferably adjustable, because who has the time to measure bolts, right?
Pick up some pipe tape. It’s as essential as duct tape in the plumbing world. Seriously.
Don’t forget a P-trap kit. This is the curvy pipe under the sink that looks like plumbing origami. Essential for catching clogs and lost rings.
A bucket. Because nobody likes a wet mess.
Last but not least, get some PVC pipes and fittings. Think of these as the jigsaw puzzle pieces for your sink drain assembly.
Ready? Great. Now let’s avoid turning your kitchen floor into a mini swimming pool!
Instructions
Start by turning off the water supply. Trust me, you don’t want a mini flood. Once that’s done, place a bucket under the old drain to catch any surprise water left in the pipes.
Carefully unscrew the old drain and clean the sink opening. Nothing like a squeaky clean surface for a new fit!
Next, apply a plumber’s putty around the new drain flange. If it feels like Play-Doh, you’re doing it right.
Firmly press the drain into the opening. No need to Hulk smash it, just enough so it’s secure.
From beneath, attach the rubber gasket and mounting nut. Tighten them, but don’t overdo it. We’re securing the drain, not building a spaceship.
Finally, wipe away any excess putty squeezing out—a clean finish makes all the difference.
Check the Drain Outlet Height
First things first, make sure your drain outlet is at the right height. Trust me, you don’t want to skip this step—it can save you some headaches down the line.
Grab your measuring tape. Your drain outlet should be at least a few inches below the sink’s drain hole. This ensures gravity does all the hard work.
If your drain outlet is too high, you’ll need to lower it. That might require some basic plumbing adjustments. Don’t worry, though; you’ve got this.
Double-check the height before proceeding, because redoing it later is no fun. Measure twice, cut once, as they say.
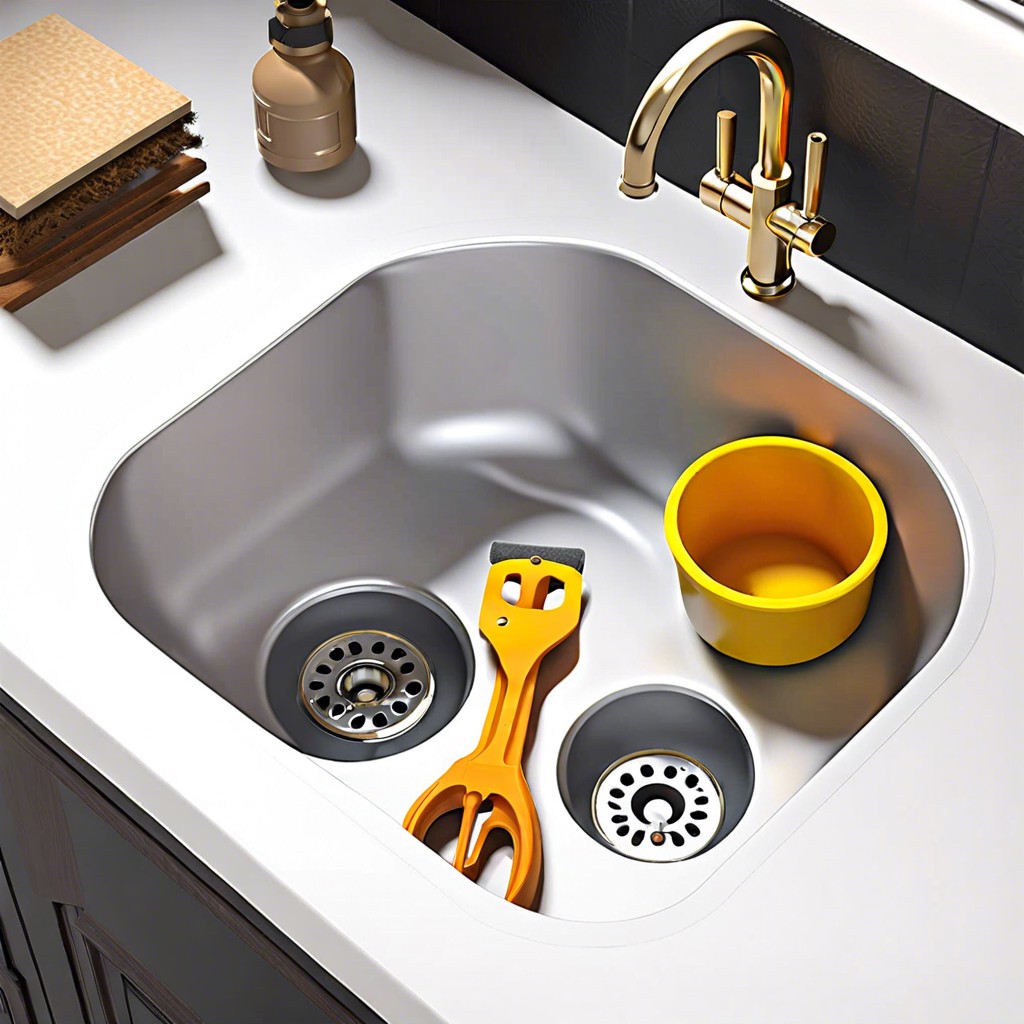
Install the Garbage Disposal and Strainer
First things first, make sure the power is off. We don’t want an electrifying experience, right?
Begin by assembling the garbage disposal. Place the rubber gasket and mounting ring over the flange, then screw it tightly. These components work as the superhero trio, ensuring a no-leak zone.
Next, you’ll want to attach the disposal unit to the mounting ring. Simply twist it into place until it locks. Think of it as securing a lightbulb, but heavier and a tad trickier.
For the strainer, insert it into the sink’s drain hole. Underneath the sink, add another rubber gasket, followed by a metal washer. Tighten everything using a locknut. Picture it like a sandwich – make sure all the layers are snug.
Once everything is securely in place, don’t forget to connect the disposal’s power supply. Voila! You’re one step closer to being your own plumbing hero.
Install the Drain Tailpiece and Continuous Waste Pipe
All set to dive in? Perfect!
First, grab that shiny drain tailpiece and connect it to the bottom of the sink strainer. Hand tighten the slip nut, and remember, folks: righty-tighty, lefty-loosey. No need to channel your inner Hulk here.
Next, you’ll need the continuous waste pipe. It’s the horizontal pipe that runs from the garbage disposal to the other sink bowl. Slide the slip nut over one end of the pipe, then snugly fit it into the drain tailpiece. Secure the nut just enough to hold it in place.
Finally, adjust the alignment so everything lines up as straight as a ruler on exam day. Tighten all connections, but don’t overdo it—this isn’t a weightlifting competition.
There you have it, you’re one step closer to a fully functional sink drain.
Connect the Drain Trap
Time to bring out your inner plumber!
First, make sure the trap arm extends no more than 24 inches from the trap to the waste line. Longer than that and you might need a handyman hotline.
Fit the trap’s curved section to the sink’s tailpiece. Think of it as connecting the dots, but with a slight twist.
Align the trap arm with the waste line inlet. If it doesn’t fit like a glove, you can trim it. Remember, we’re not carving a turkey, just a gentle cut.
Hand-tighten the slip nuts. No Hulk strength needed. Just enough to secure everything.
Finally, double-check those connections. An extra snug here and there can save you from unexpected waterworks later.
Feel like Bob the Builder yet? You’re almost there!
Check for Leaks
All done? Great! Time to channel your inner Sherlock Holmes. Leaks can be sneaky, but with a keen eye, you’ll catch them.
First, turn on the faucet and let the water flow. Start with a low flow and then increase to full blast.
Keep a lookout under the sink. Use a flashlight if you need to. Water loves to hide in shadows.
Run your fingers along the joints and pipes. Sometimes leaks are too small to see but easy to feel.
Place a dry paper towel around the connections. If it gets wet, you’ve got a leak.
Don’t forget to check the garbage disposal connection. That one’s a master of stealth.
If you spot any leaks, tighten the connections gently. Still leaking? A little plumbing tape can work wonders.
Now take a step back, admire your handiwork, and pat yourself on the back. You’ve just tackled the beast of under-sink plumbing!


