Last updated on
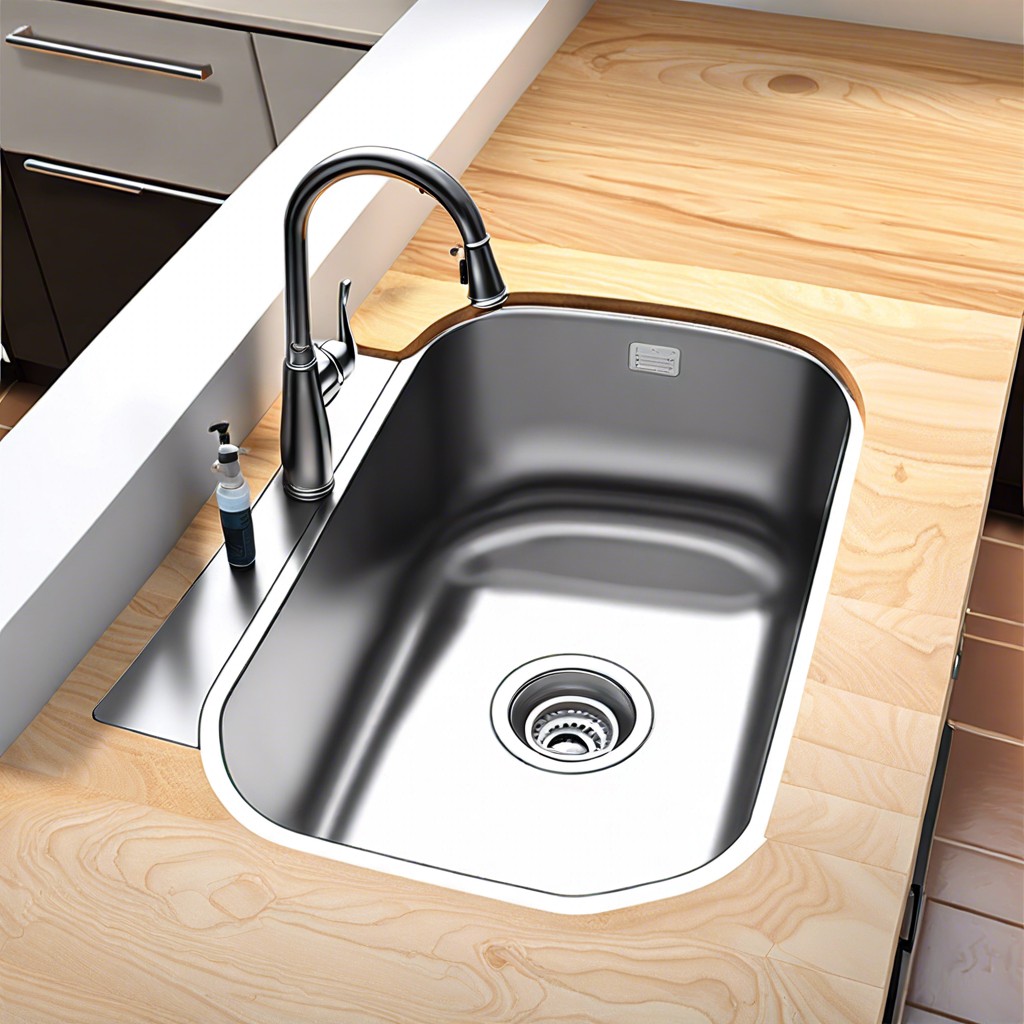
Learn how to install an undermount sink with simple, step-by-step instructions to enhance your kitchen’s functionality and style.
Key takeaways:
- Measure the countertop and sink for compatibility
- Cut the countertop to fit the sink dimensions
- Apply silicone sealant to the rim of the sink
- Secure the sink under the countertop using clips and adhesive
- Connect the sink to the plumbing system
What's Inside
Measure the Countertop and Sink to Ensure Compatibility
Precision is your best friend when it comes to ensuring that your new undermount sink will fit perfectly with your countertop. Here’s how to get the measurements right:
Start by checking the base cabinet size. It needs to be at least three inches wider than the sink for a proper fit. Next, grab your tape measure and note the dimensions of both the sink and the intended installation area on the countertop. It’s not just about confirming that the sink will fit width and length-wise; depth is crucial, too, to avoid any surprise encounters with pipes or fittings underneath.
Don’t forget to take into account the sink’s position relative to other fixtures. You wouldn’t want the sink so close to the backsplash that you can’t install a faucet, right? Measure the distance from the proposed location of the sink to any nearby structures to ensure everything will be comfortably accessible.
Armed with these measurements, you can confidently proceed, knowing that your sink and countertop are about to become best fits!
Cut the Countertop to Fit the Sink Dimensions
First, grab your tape measure and confirm the dimensions specified by the sink manufacturer. Precision here is key—not only for the sink’s length and width but also depth. These numbers guide your cutting, ensuring the sink sits flush with the countertop.
Next, trace the outline directly onto the countertop surface using a non-permanent marker. Most undermount sinks come with a template to make this step foolproof. If yours doesn’t, no panic! Just position the sink upside down on the countertop, ensuring even spacing from the edges, and trace around it.
Now, the exciting part: cutting! Arm yourself with a power saw suitable for your countertop material—be it a circular saw for laminate or a diamond blade for granite. Always wear safety goggles because fashion should never compromise safety. Cut along the inside of your traced line to allow for the sink’s lip to rest properly beneath the countertop.
Lastly, smooth out any rough edges with a file or sandpaper. This not only helps with the installation but also prevents future snags on your favorite kitchen towel. Who knew that installing a sink could also save a towel?
Apply a Silicone Sealant to the Rim of the Sink
Silicone sealant isn’t just the sticky stuff that gives you an excuse to get messy; it’s crucial for a watertight bond between your sink and countertop. Think of it as the secret agent that prevents water from sneaking into your cabinets below.
First, make sure the sink’s rim and the countertop’s surface are as clean as a whistle. Any dust or debris can make the sealant less effective – kind of like trying to glue something with a layer of dust in between. No go!
Next, apply a consistent bead of silicone around the entire rim. It’s like piping frosting on a cake, only less tasty. Make sure it’s even but generous. Skimping on sealant might leave room for leaks, and nobody wants a mini flood under their beautiful new sink.
Lastly, gently place the sink onto the sealant-covered rim under the countertop. Press it down evenly to ensure the sealant spreads properly, sealing away any gap where water might try to escape. This isn’t just about preventing leaks; it’s about defending your kitchen’s underbelly!
Secure the Sink Under the Countertop Using Clips and Adhesive
After applying the silicone sealant, it’s time to firmly attach the sink from below. Start by positioning it precisely under the correctly sized opening in your countertop. Ensuring this alignment prevents any future woes like leaks or misfitting!
Next, grab those mounting clips. Typically, several are needed, distributed evenly around the sink’s perimeter. Attach each clip to the sink first, then to the underside of the countertop. This dual anchorage fosters a stronger mount. Afraid of commitment? Don’t worry, these clips are designed for a secure yet reversible attachment.
Now, let’s talk adhesives. A good-quality adhesive offers another layer of security. Apply it along the edge where the sink and countertop meet. This not only fortifies the hold but also acts as an extra sealant against water seepage. Just imagine, it’s like the superhero cape for your undermount sink—extra protection never hurts!
Remember, patience is key during drying. Allow ample time for both the adhesive and sealant to cure fully, as per their specific instructions. This waiting period ensures everything sets perfectly and holds like a charm. Yes, watching adhesive dry can be as thrilling as watching paint dry, but much like a slow-cooked stew, good things come to those who wait!
Connect the Sink to the Plumbing System
Once your sink is securely in place, it’s time to make it functional by hooking it up to your home’s plumbing. Begin by attaching the faucet to the sink, if it’s not already attached. This typically involves inserting the faucet into pre-drilled holes and securing it with nuts from underneath.
Next, connect the water supply lines to the faucet. These are usually clearly marked for hot and cold, so it’s hard to mix them up—just don’t get distracted thinking about why hot is on the left! Once you’ve tightened these connections, attach the drain. This involves fitting the drain assembly into the hole at the bottom of the sink and attaching the drainpipe. Use plumber’s putty to seal it, ensuring no future leaks make you question your plumbing skills.
Finally, if you have a garbage disposal unit, this is the moment to hook it up. Attach it directly to the drain assembly and link it to the power supply, ensuring that it’s ready to tackle whatever kitchen scraps come its way.
Once everything is connected, do a run-through with the water to check for any leaks. It’s better to catch a small problem now than a big one later when you’re knee-deep in water!


