Last updated on
Discover the essential steps to effectively insulate under your kitchen cabinets, ensuring energy efficiency and a cozy atmosphere in your home.

Are you tired of feeling the chill in your kitchen every time you step inside during the winter months? Do you find yourself cranking up the heat just to make cooking a little more bearable? Well, fear not! There’s a simple solution to this problem that doesn’t involve blasting your heating system. Insulating under your kitchen cabinets can make a huge difference in keeping your kitchen cozy and warm all year round.
In this article, we’ll go over everything you need to know about insulating under kitchen cabinets and how it can benefit you in the long run. So grab a cup of coffee and let’s get started!
What's Inside
Importance of Insulating Under Kitchen Cabinets
Insulating under your kitchen cabinets is an essential step in maintaining a comfortable and energy-efficient home. Without proper insulation, the cold air from outside can seep into your kitchen through gaps and cracks, making it difficult to maintain a consistent temperature.
This not only makes cooking uncomfortable but also increases your energy bills as you try to compensate for the lost heat.
Moreover, insulating under kitchen cabinets helps prevent moisture buildup that can lead to mold growth or damage to wooden surfaces over time. It also reduces noise transmission between floors if you have multiple levels in your home.
By taking the time to properly insulate under your kitchen cabinets, you’ll be able to enjoy a more comfortable living space while saving money on heating costs throughout the year.
Types of Insulation Materials
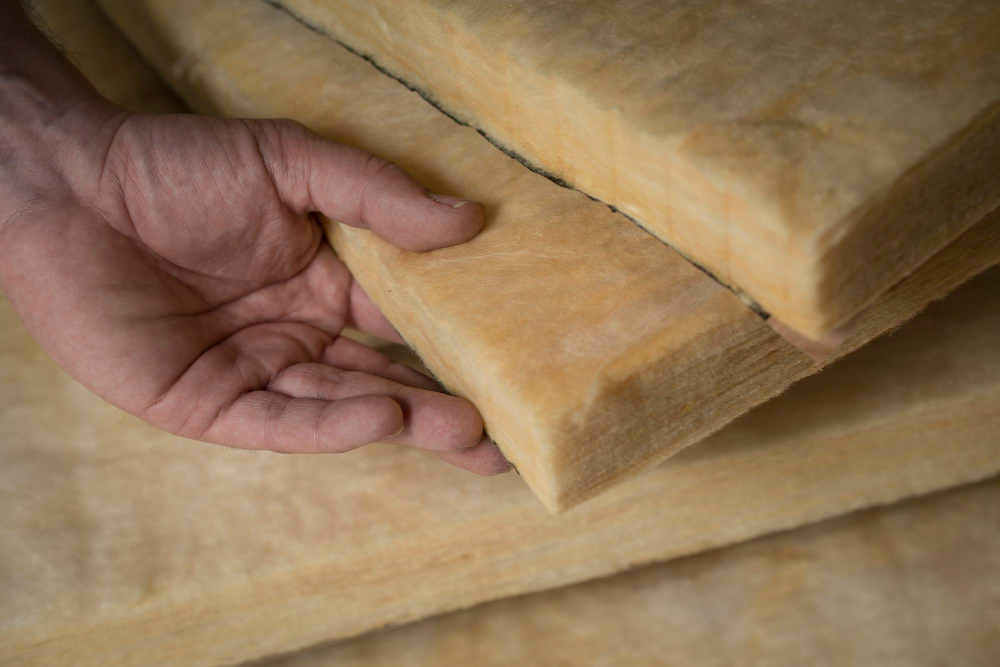
Each type has its own unique properties and benefits, so it’s important to consider which one will work best for your specific needs.
One popular option is fiberglass insulation. This material is made up of tiny glass fibers that trap air pockets and slow down heat transfer.
It’s relatively easy to install and can be cut to fit any space.
Another common choice is foam board insulation, which consists of rigid panels made from polystyrene or polyurethane foam. Foam board provides excellent thermal resistance and moisture protection but may require more effort during installation due to its rigidity.
Spray foam insulation is another option that offers superior sealing capabilities by filling in gaps with expanding foam spray. However, this method requires professional installation as the chemicals used can be hazardous if not handled properly.
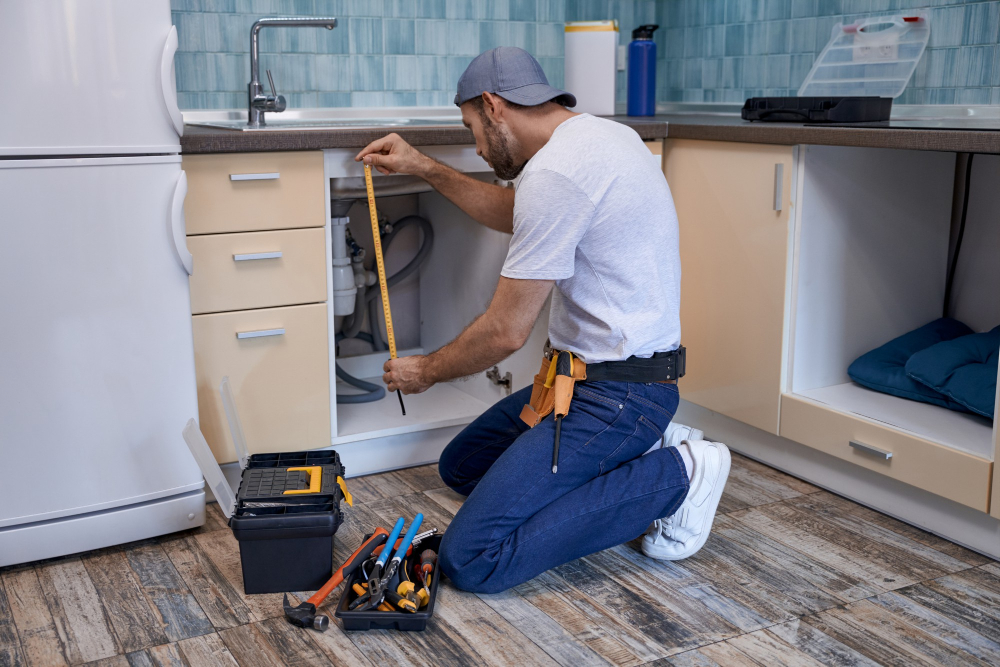
Measuring Cabinet Spaces for Insulation
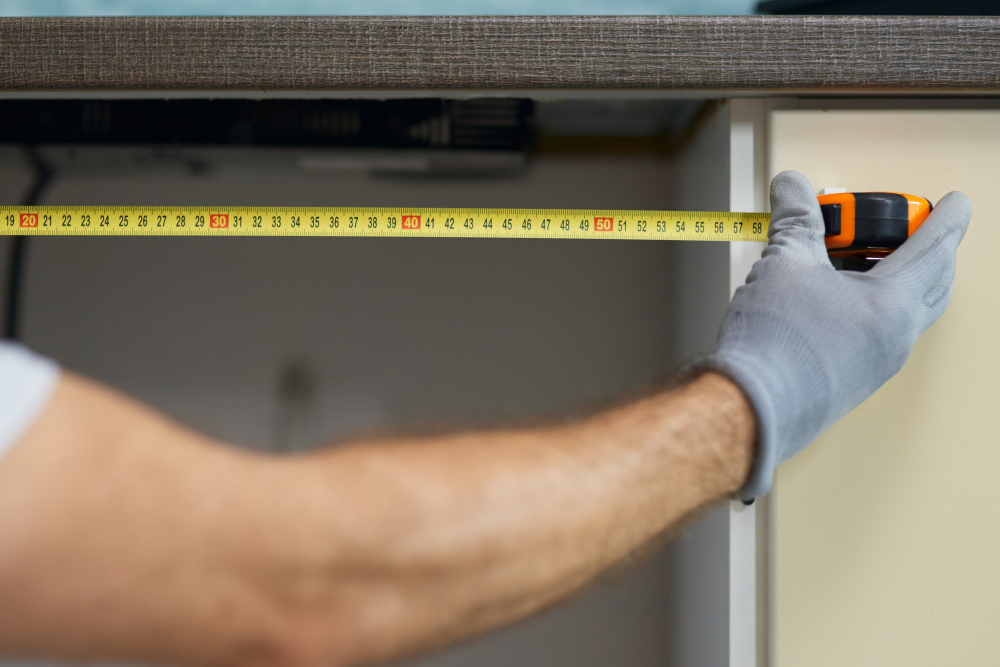
This will help you determine how much insulation material is needed and ensure a proper fit. To get started, grab a measuring tape and follow these simple steps:
- Measure the length of each cabinet space from one end to another.
- Measure the width of each cabinet space from front to back.
- Multiply the length by width for each individual cabinet space to calculate its square footage.
- Add up all of the square footage measurements for all cabinets that need insulation.
Once you have determined how much insulation material is required based on your measurements, it’s time to select an appropriate thickness level that suits your needs best.
Selecting the Right Insulation Thickness
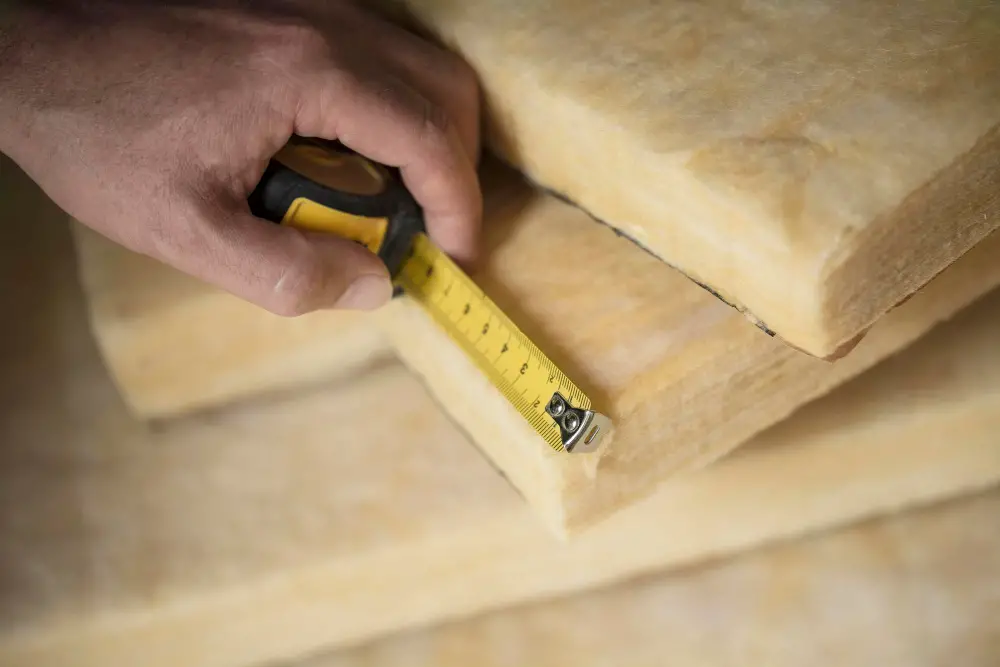
The thickness of the insulation will determine how well it can trap heat and prevent cold air from seeping in. It’s important to note that thicker doesn’t always mean better when it comes to insulation.
In fact, using an excessively thick layer of insulation may not be necessary for your specific needs and could end up being a waste of money.
To select the right thickness for your under-cabinet insulation, consider factors such as climate conditions in your area, cabinet material type (wood or metal), and whether you have any pipes or plumbing running underneath them that need protection from freezing temperatures.
Typically, a 1-inch thick foam board is sufficient for most kitchens with moderate climates. However, if you live in an area with harsh winters or extreme temperature fluctuations throughout the year then opting for thicker foam boards might be more appropriate.
DIY Foam Board Insulation Installation
Here’s how you can install foam board insulation yourself:
1. Measure the space: Before purchasing your foam boards, measure the length and width of the cabinet spaces that need insulating.
2. Cut the boards: Using a utility knife or saw, cut your foam boards to fit snugly into each cabinet space.
3. Apply adhesive: Apply construction adhesive onto one side of each foam board before placing it into its designated spot under the cabinets.
4. Secure in place: Use duct tape or another strong tape to secure each piece in place while allowing time for drying (usually 24 hours).
5. Seal gaps with spray foam: Once all pieces are secured, use spray foam insulation around any remaining gaps between pieces and along edges where they meet walls or floors.
Installing Fiberglass Insulation
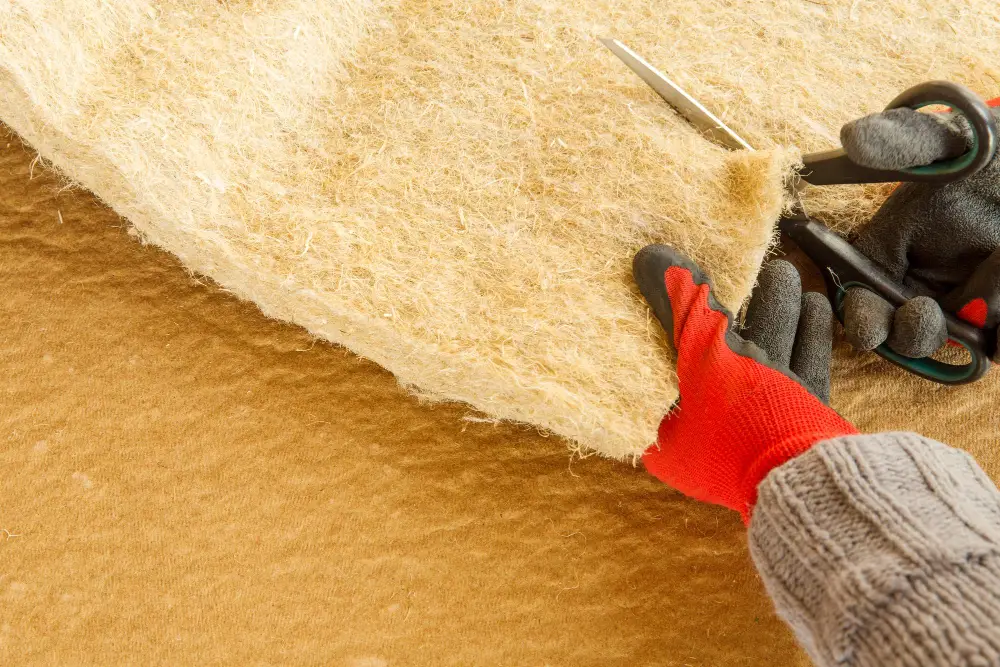
It’s also relatively easy to install, making it a great option for those who prefer DIY projects. To install fiberglass insulation, you’ll need to measure the space between your cabinet floor and the subfloor accurately.
Once you have your measurements, cut the fiberglass batts or rolls accordingly using scissors or a utility knife. Be sure not to compress them too much as this can reduce their effectiveness in trapping heat.
Next, place the cut pieces of insulation into each cavity under your kitchen cabinets until they fit snugly against all sides of each cavity without any gaps left behind. If necessary, use duct tape or another adhesive material around edges where there may be small gaps that cannot be filled with insulation alone.
It’s important always to wear protective gear such as gloves and goggles when handling fiberglass materials since they can cause skin irritation if touched directly with bare hands.
Using Spray Foam Insulation
It’s also great for preventing air leaks, which can significantly reduce energy costs.
To use spray foam insulation, you’ll need to purchase a kit from your local hardware store or online retailer. The kit will typically come with everything you need to get started, including the spray nozzle and the foam itself.
Before applying the spray foam, make sure to clean out any debris or dust from underneath your cabinets. Then simply attach the nozzle to the canister and start spraying in even strokes along all edges of each cabinet space until they are completely filled with foam.
Be careful not to overfill as this could cause damage or warping of your cabinetry. Once finished, allow ample time for drying before installing any new fixtures or appliances beneath your newly insulated kitchen cabinets.
Insulating Pipes and Plumbing
Uninsulated pipes can cause heat loss, leading to higher energy bills and a colder kitchen. Insulating the hot water supply line will help keep the water temperature consistent, reducing the amount of time it takes for hot water to reach your faucet or sink.
When insulating pipes under your cabinets, you’ll want to use pipe insulation sleeves made from foam or fiberglass. These sleeves are easy to install and come in different sizes depending on the diameter of your pipes.
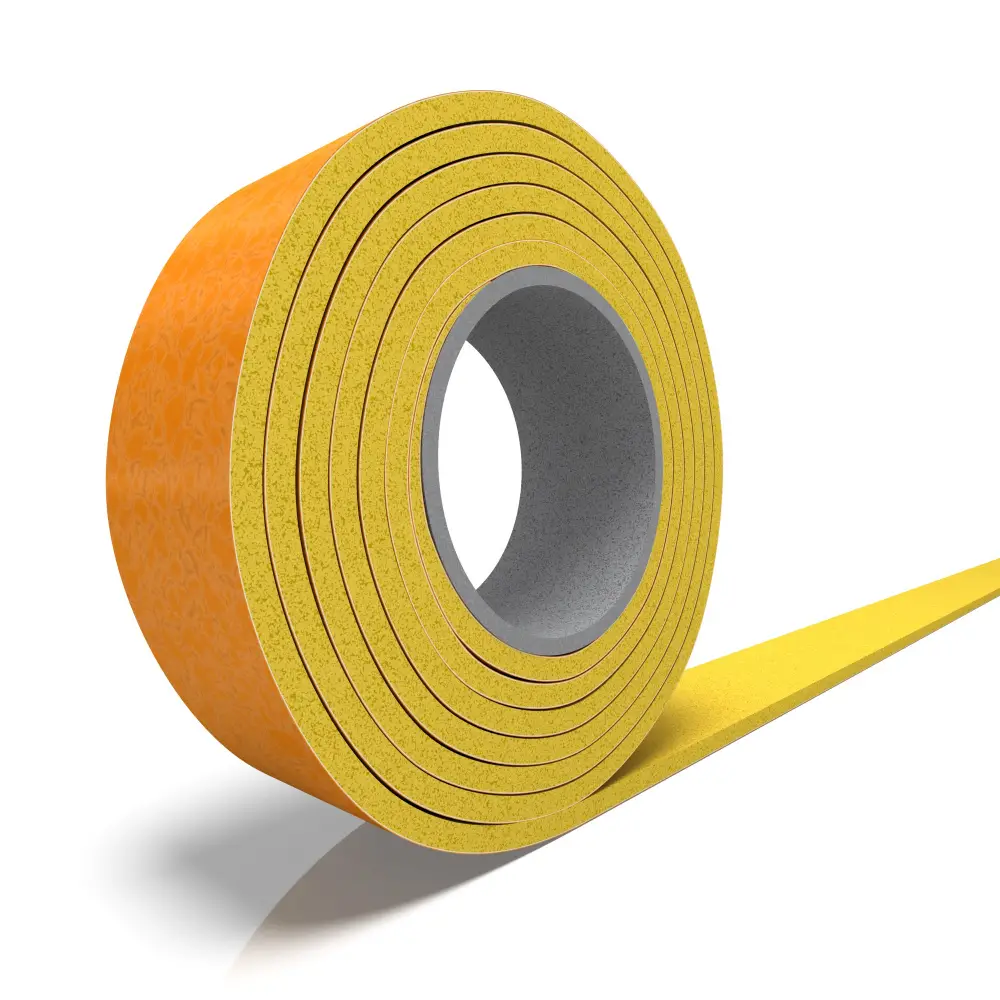
It’s also important not to forget about any exposed plumbing fixtures such as valves or faucets that may be located under cabinets. You can use foam insulation tape around these areas for added protection against cold air infiltration.
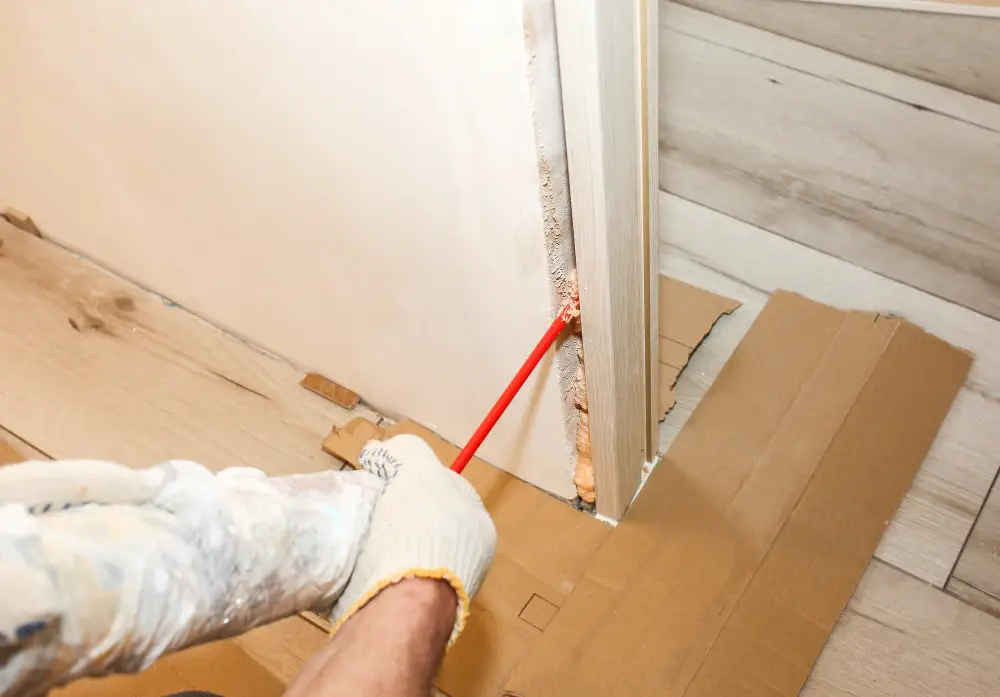
How To Seal Gaps Under Kitchen Cabinets

These gaps can allow cold air to seep into your home, making it harder to maintain a comfortable temperature. Not only that, but they can also let in pests and moisture, which can lead to mold growth and other issues.
To seal the gaps under your cabinets effectively, you’ll need some basic tools like caulk or weatherstripping tape. First off, clean the area thoroughly with a damp cloth or vacuum cleaner before applying any sealant material.
Next up is measuring the length of each gap so that you know how much material you will need for sealing them properly. You may use foam backer rod as filler if there are large spaces between cabinet bases and floors.
Once everything’s measured out correctly, apply caulk along all edges where there are openings between cabinetry units and walls/floors/ceilings using a caulking gun until completely filled up with no visible cracks left behind after drying time has passed (usually 24 hours).
Weatherstripping tape works well too; cut strips according to measurements taken earlier then press firmly onto surfaces being sealed while ensuring proper adhesion throughout its entire length by smoothing out any bubbles present during application process – this helps prevent drafts from entering through these areas when temperatures drop outside!
Preventing Mold and Moisture Issues

When warm air meets cold surfaces, it creates condensation that can lead to mold growth over time. This problem can be especially prevalent in kitchens where there’s a lot of cooking, washing dishes, and running water.
To prevent this issue from happening, you need to ensure proper ventilation in your kitchen by installing exhaust fans or opening windows when cooking or using hot water. Sealing gaps around pipes with caulking will help keep moisture out.
Another way to prevent mold growth is by choosing the right insulation material for your cabinets. Some materials are more resistant to moisture than others; for example, closed-cell foam board insulation has a higher resistance level compared to fiberglass batts.
Maximizing Energy Efficiency

By reducing heat loss through the floor, you’ll be able to maintain a comfortable temperature in your kitchen without having to rely heavily on heating systems. This means that you’ll be using less energy overall and ultimately saving money in the long run.
To maximize energy efficiency even further, consider investing in other insulation projects around your home such as insulating walls or attics. Upgrading to more efficient appliances like refrigerators or dishwashers can also make a significant difference.
By taking these steps towards maximizing energy efficiency throughout your home, not only will you reduce costs but also contribute positively towards environmental sustainability efforts.
Insulation Maintenance Tips
Here are some tips for maintaining your under-cabinet insulation:
1. Check for gaps and cracks: Regularly inspect the area beneath your cabinets for any gaps or cracks that may have formed over time.
These can allow cold air in and warm air out, reducing the efficiency of your insulation.
2. Clean regularly: Dust and debris can accumulate on top of the insulation material, which can reduce its effectiveness over time.
Use a vacuum cleaner with a brush attachment to clean up any dirt or dust that has accumulated.
3. Monitor moisture levels: Insulation is susceptible to mold growth if exposed to high levels of moisture over an extended period of time; therefore, monitor humidity levels in areas where you have installed under-cabinet insulations.
4.Replace damaged sections promptly: If you notice any damage such as tears or holes in the insulating material during inspection replace them immediately before they become bigger issues.
Evaluating Insulation Performance

This will help you determine if the insulation is working effectively or if there are any issues that need to be addressed.
One way to evaluate insulation performance is by checking for drafts and cold spots in your kitchen. If you notice any areas that still feel chilly, it may indicate a problem with the installation or type of insulation used.
Another method is by monitoring energy bills before and after installing the under-cabinet insulation. If there’s a significant decrease in energy usage, then it means that the new installation has improved energy efficiency.
It’s also essential to keep an eye out for moisture buildup or mold growth as these can indicate poor ventilation and improper sealing of gaps around pipes and plumbing fixtures.
Cost of Under-Cabinet Insulation

The size of your kitchen and the type of insulation you choose will play a significant role in determining how much you’ll spend. DIY foam board insulation is one of the most affordable options, with materials costing around $50-$100 for an average-sized kitchen.
Fiberglass batts are another popular choice that can range from $150-$300 for materials alone.
If you’re looking for something more high-end like spray foam insulation or hiring a professional contractor to do the job, expect to pay significantly more – anywhere from $500-$2000 or even higher depending on various factors such as location and complexity.
While it may seem like quite an investment upfront, keep in mind that proper under-cabinet insulation can save you money in energy bills over time by reducing heat loss and improving overall energy efficiency throughout your home.
Hiring a Professional Insulation Contractor

A reputable contractor will have the necessary experience and tools to get the job done quickly and efficiently. They can also provide valuable advice on which type of insulation material would work best for your specific needs.
When looking for a contractor, it’s important to do your research beforehand. Check their credentials, read reviews from previous customers, and ask for references if possible.
You’ll want someone who is licensed and insured in case any accidents occur during installation.
While hiring a professional may cost more than doing it yourself initially, they can save you money in the long run by ensuring that everything is installed correctly without any gaps or mistakes that could lead to energy loss or moisture issues down the line.
Insulation Safety Precautions

Before you begin any insulation project, make sure to take the necessary precautions to protect yourself and your home. Wear protective gear such as gloves, goggles, and a mask when handling insulation materials.
Avoid touching or inhaling fiberglass insulation as it can cause skin irritation and respiratory problems.
If you’re using spray foam insulation, ensure proper ventilation in the area where you’ll be working since fumes from this type of material can also cause health issues if not handled correctly.
Before starting any installation work on electrical wiring or plumbing pipes under your cabinets make sure that they are turned off at their source so that there is no risk of electrocution or water damage during the process.
Pros and Cons of Insulating Kitchen Cabinets

On the one hand, it can help keep your kitchen warm and cozy during cold weather, reduce energy bills by preventing heat loss, and prevent moisture buildup that could lead to mold growth. Insulation can also help protect pipes from freezing in colder climates.
On the other hand, insulating under your cabinets may not be necessary if you already have adequate insulation elsewhere in your home or if you live in a warmer climate where temperatures rarely drop below freezing. Moreover, improper installation of insulation materials could cause more harm than good by trapping moisture inside walls or creating fire hazards.
It’s important to weigh both sides before deciding whether or not to insulate under your kitchen cabinets. Consider factors such as climate conditions in your area and existing levels of home insulation before making a decision.
Installing and Securing the Insulation

The installation process will vary depending on the type of insulation you choose. For foam board or fiberglass batts, cut them to fit snugly into each cabinet space.
Use a utility knife or scissors for foam board and a serrated knife for fiberglass batts.
For spray foam insulation, follow manufacturer instructions carefully as this can be tricky to apply without proper training.
After installing your chosen material, use adhesive tape or staples (for fiberglass) to secure it in place. Make sure there are no gaps between pieces of insulation as this can reduce its effectiveness.
It’s important not only to insulate under kitchen cabinets but also seal any gaps around pipes and plumbing that may allow cold air in from outside walls or crawl spaces beneath your home.
FAQ
What should I put under my kitchen cabinets?
Under your kitchen cabinets, you should put a cushioned liner for heavy cookware or canned goods, and adhesive-backed paper for cabinets with light use, as they provide protection and are easy to clean.
Why is it so cold inside my kitchen cabinets?
The cold inside your kitchen cabinets occurs because warm air cannot flow through cabinet doors, causing the enclosed space to cool off and remain cold.
How do I stop Draught under my kitchen units?
To stop draught under your kitchen units, insert cavity wall insulation, seal gaps between skirting boards and floors, and install a thermal or insulated material under suspended flooring.
How do you insulate a cold kitchen?
Insulate a cold kitchen by using materials like fiberglass, cellulose, or spray foam to prevent heat from escaping and improve overall comfort while saving money on heating expenses.
What are the best insulation materials to use under kitchen cabinets?
The best insulation materials to use under kitchen cabinets are rigid foam insulation and mineral wool insulation.
Can insulating kitchen cabinets improve overall energy efficiency in the home?
Yes, insulating kitchen cabinets can improve overall energy efficiency in the home.
What are the potential cost savings associated with properly insulating under kitchen cabinets?
Properly insulating under kitchen cabinets can potentially lead to cost savings by reducing energy consumption and improving overall household energy efficiency.


