Last updated on
Learn how to make a custom cabinet door with this simple, step-by-step guide.
Key takeaways:
- Measure for Length – Accurate measurements are crucial for a well-fitted cabinet door.
- Shop for Materials – Choose durable wood and gather necessary tools.
- Cut Parts to Length – Precision is key when cutting stiles, rails, and panels.
- Cut the Groove – Create a groove for the panels to fit snugly into.
- Cut the Tenons – Cut tenons to fit into the grooves for a sturdy assembly.
What's Inside
Measure for Length
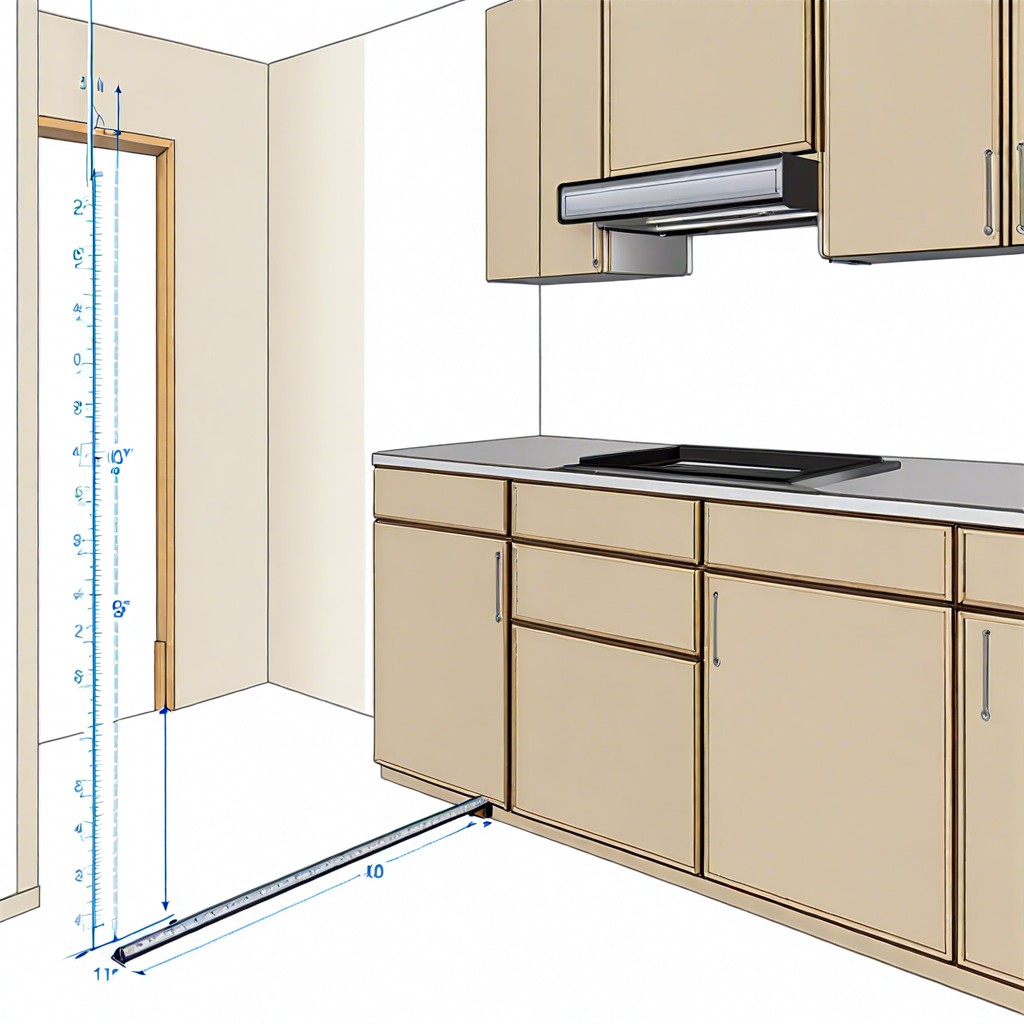
Let’s start with the basics! Grab that measuring tape like it’s the last cookie at a party. Precision is key here; one wrong measurement, and that cabinet door could look like it belongs in a funhouse.
First, measure the opening where the door will be. Width and height are your best friends here. Take note of the exact dimensions, and remember to allow for clearance, about 1/8 inch on each side. Think of it as giving your door a little breathing room.
Measure twice, cut once. It’s a cliché for a reason. Double-check those numbers before picking up that saw. An extra minute spent measuring saves hours of frustration later.
Lastly, consider the style. Do you want inset or overlay doors? Inset doors fit within the cabinet frame, while overlay doors sit on top. Your measurements will differ based on this choice, so plan accordingly. Simple, yet crucial for avoiding a DIY disaster!
Shop for Materials
Head to your local hardware store or lumberyard with your measurements in hand. Choose a durable wood like oak, maple, or cherry for longevity and a touch of class. Plywood works if you’re on a budget; plus, it paints well for a sleek finish.
Don’t forget to pick up some wood glue, clamps, and a finishing kit with sandpaper, primer, and paint or stain. This tiny shopping spree should also include hinges and handles that match your kitchen’s style. Oh, and grab a piece of scrap wood for practice cuts – you’ll thank yourself later.
Finally, double-check your shopping list. No one wants to realize they’re out of sandpaper halfway through a project.
Cut Parts to Length
Precision is key here. This is where wood meets sawdust dreams.
First, measure twice and cut once. Get your tape measure and mark the dimensions meticulously. You want all pieces uniform to avoid a wobbly, off-kilter door.
Next, fire up your table saw. Keep your fingers at a safe distance—because you’ll need those for future DIY projects, like making lemonade!
Cut your stiles (the vertical pieces) and rails (the horizontal ones) according to your marks. Double-check lengths before making the final cuts.
Separately, if you’re going for a solid panel door, this is the time to cut the panel too. For frame-and-panel doors, ensure your cuts allow for the panels to fit snugly but not too tight.
Example: If you’re making a shaker-style door, your stiles and rails will typically be 2.5 inches wide.
Always remember: Wood has a quirky personality. Sometimes it shifts slightly after cutting, so plan for the occasional sanding or trimming.
And voila, you’re ready to groove and tenon!
Cut the Groove
For this step, you’ll want to set up your table saw with a dado blade. Not as scary as it sounds, promise! The goal here is to create a groove or a “channel” in the stiles (the vertical parts) and rails (the horizontal parts). Think of it as crafting a neat little pathway for your cabinet door panels to snugly fit into.
First things first, adjust the blade height to about one-third the thickness of your stiles and rails. This makes sure your groove isn’t too deep, but still large enough to hold the panel securely.
Next, set your fence to the desired groove position, usually about a quarter of an inch from the edge. Run each stile and rail through the saw, guiding them steadily but not too hastily. Your groove should be clean and straight, causing you to feel just a little bit like a woodworking wizard.
If you’ve got more parts to groove, keep the same setup on your table saw for consistency. It’s like baking a batch of cookies; you want each one to come out uniformly delicious.
Lastly, don’t forget to do a dry fit before gluing anything. This ensures everything lines up nicely, and there’s nothing worse than realizing your grooves are a smidge off after the glue’s already set. Happy grooving!
Cut the Tenons
Now that your grooves are ready, it’s time to tackle the tenons. Think of these as the little puzzle pieces that fit snugly into the grooves you just created.
First, use a table saw or a dado set to cut your tenons. Aim for a perfect fit – snug, but not tight enough that you’ll need a sledgehammer to assemble your door.
When making those cuts, ensure your tenons are centered on the ends of your rails. A lopsided tenon equals a wobbly door. And that’s no fun unless you’re going for a funhouse vibe.
Double-check the tenon length. It should reach into the groove but stop just short of the bottom. No one wants protruding tenons; save that look for avant-garde art.
Finally, test fit before you commit with glue. If it slides in happily, you’re golden. If not, make tiny adjustments until it’s just right.
Tenon cutting isn’t magic, but doing it well sure feels like it when everything fits perfectly.
Assemble With Glue and Clamps
Time to bring it all together!
Start by applying wood glue to the grooves and tenons. Trust me, it might be messy, but it’s the best kind of sticky situation.
Once the glue’s on, fit the pieces together. It’s like adult Lego, but with more splinters.
Now, grab some clamps and tighten them on all sides. You want the joints tight, just not tight enough to make the wood scream for mercy.
Check to make sure everything’s square. No wobbly cabinets allowed.
Leave it clamped for at least 24 hours. Patience is crucial here—think of it as giving your masterpiece some beauty sleep.
Relax, take a break, maybe have a cookie. Your cabinet door is glued, clamped, and soon to be fabulous.
Finish With Hinges and Handles
Time to add the cherry on top. Positioning hinges can be tricky but not if you follow a few simple tips. First, make sure to place them about 2 inches from the top and bottom edges of the door. This provides sturdy support.
For the handles, choose something that matches your kitchen’s style. Rustic? Sleek? Go wild. A good rule of thumb is to place knobs about 2.5 to 3 inches from the corner of the door.
Double-check that everything lines up straight. No one likes a wonky door. And when in doubt, a level is your best friend. Just be careful not to over-tighten screws. Use a power drill at a low speed to avoid splitting the wood.
Lastly, have a little fun with it. Your cabinet door should make you smile every time you go for a snack!


