Last updated on
Discover the step-by-step process of transforming ordinary base cabinets into a stunning and functional kitchen island that will elevate your cooking space.
Are you tired of your kitchen’s lack of counter space? Do you find yourself constantly struggling to prep meals or entertain guests in a cramped area? If so, it may be time to consider adding a kitchen island. But before you go out and buy an expensive pre-made island, why not try making one yourself with base cabinets? Not only is it cost-effective, but it also allows for customization to fit your specific needs and style.
In this article, we’ll guide you through the process of creating your very own DIY kitchen island using base cabinets. So grab your tools and let’s get started!
Key takeaways:
- Building a kitchen island with base cabinets is cost-effective and customizable.
- Choose sturdy cabinets that match your existing cabinetry.
- Plan the layout and size of the island based on your needs and kitchen space.
- Measure accurately and consider clearance space around the island.
- Select a suitable countertop material and install it securely.
What's Inside
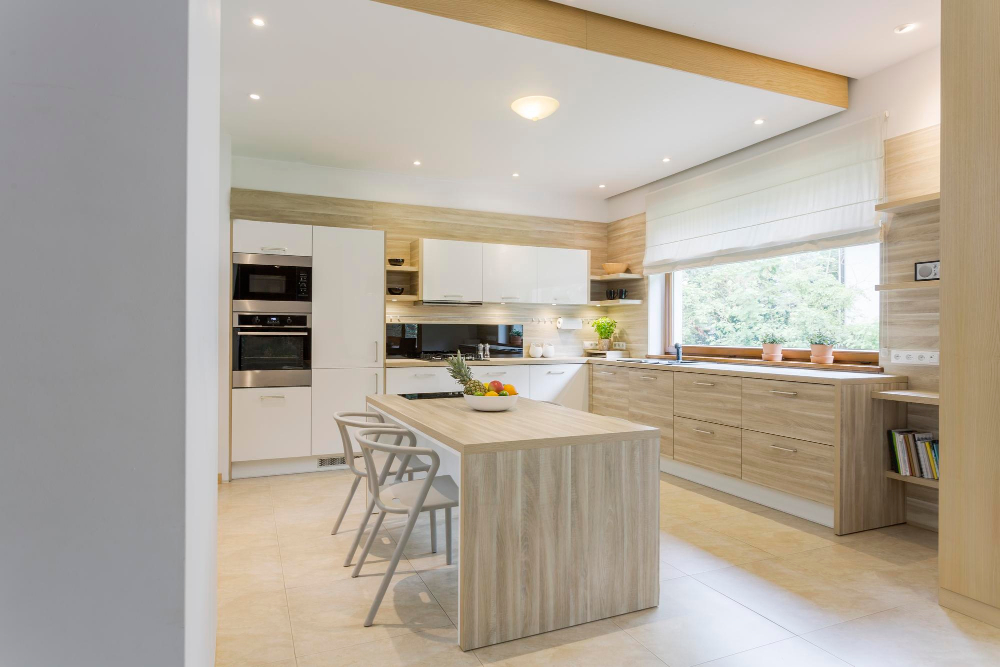
Introduction to Kitchen Islands
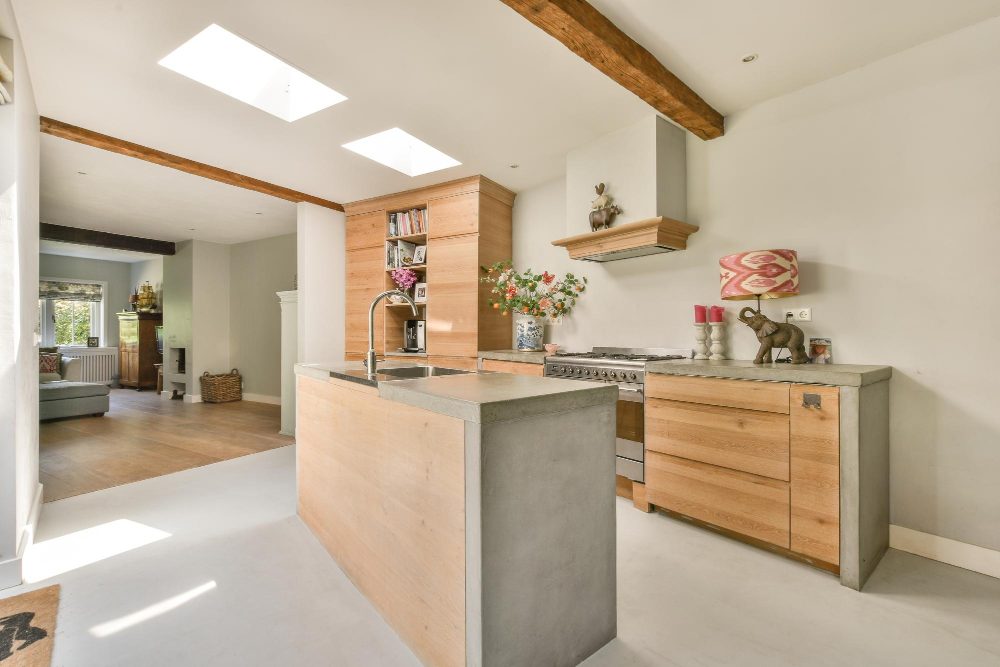
Kitchen islands have become a popular addition to modern homes, and for good reason. They provide extra counter space, storage options, and can even serve as a gathering spot for family and friends.
A kitchen island is essentially a freestanding piece of furniture that sits in the center of your kitchen or off to one side. It can be used for food prep, cooking, dining or entertaining guests.
There are many different types of kitchen islands available on the market today – from pre-made units with built-in appliances to custom-built designs made specifically for your space. However, making your own DIY kitchen island out of base cabinets is an affordable way to create something unique that fits both your style preferences and functional needs.
Choosing the Right Base Cabinets
First and foremost, you want to make sure that the cabinets you select are sturdy enough to support the weight of a countertop. Look for solid wood or plywood construction with reinforced corners and joints.
Next, think about how many cabinets you will need based on your desired size and layout. Consider factors such as storage needs, appliance placement, and traffic flow in your kitchen.
It’s also important to choose base cabinets that match or complement your existing cabinetry if they will be visible from other areas of the room. This can help create a cohesive look throughout your space.
Don’t forget about hardware options such as drawer pulls and cabinet knobs – these small details can have a big impact on both function and style!.
Planning Your Kitchen Island Layout
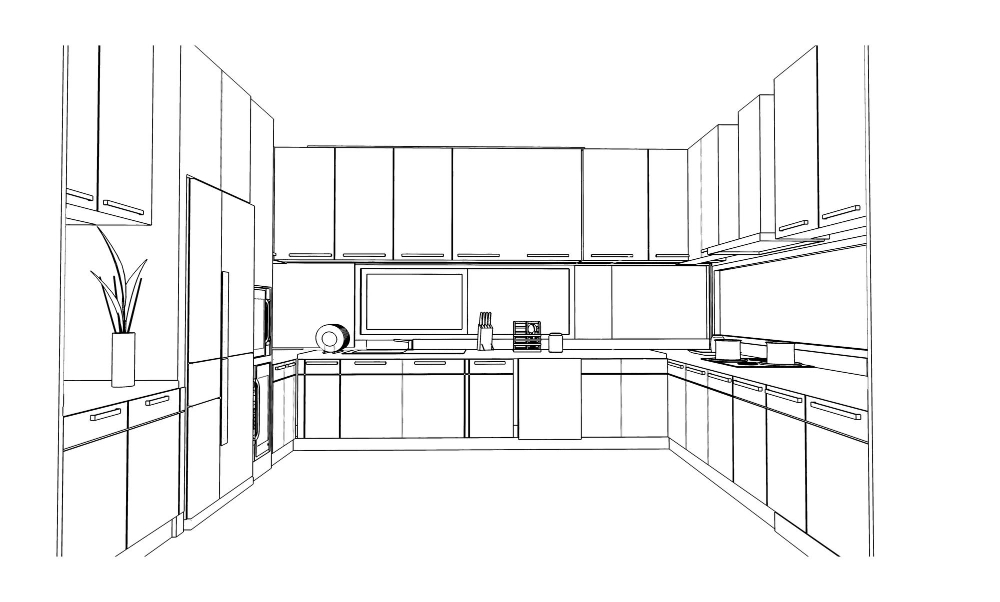
Consider how you want your island to function and what features are most important for your cooking needs. Do you need extra storage space? Would seating be beneficial for entertaining guests or family meals? Will it serve as an additional prep area?
Take into account the size of your kitchen and where the island will fit best in terms of traffic flow. You don’t want it blocking any major walkways or doorways.
It’s also essential to measure everything accurately before purchasing any materials or starting construction. This includes measuring the length, width, and height of both the base cabinets and countertop material.
Measuring Your Space
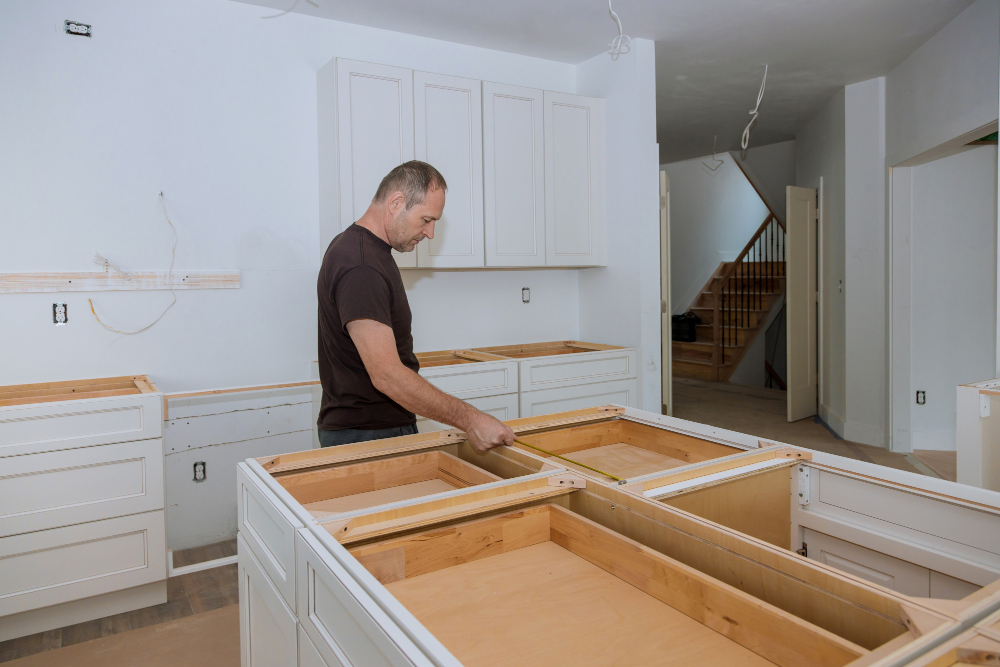
This step is crucial because it will determine the size and shape of your island. You don’t want a kitchen island that’s too big or too small for your space, as this can make cooking and entertaining difficult.
To get started, grab a measuring tape and measure the length and width of the area where you want to install your kitchen island. Make sure to take into account any obstacles such as cabinets or appliances that may affect its placement.
Once you have these measurements in hand, consider how much clearance space is needed around each side of the island for comfortable movement while cooking or socializing with guests. A good rule of thumb is at least 36 inches on all sides.
Determine Kitchen Island Placement and Size
The first step is to measure your kitchen space and consider how much room you need around the island for comfortable movement. You don’t want a cramped cooking area that makes it difficult to move around or open cabinet doors.
When deciding on placement, think about how you will use the island. Will it be primarily used as a prep station or as an additional seating area? If used for food preparation, place it near appliances such as ovens and refrigerators so that ingredients can easily be transferred from one surface to another.
The size of your kitchen island should also depend on its intended use. A larger family may require more counter space than someone who cooks only occasionally or lives alone.
Consider adding extra features like built-in storage compartments if needed.
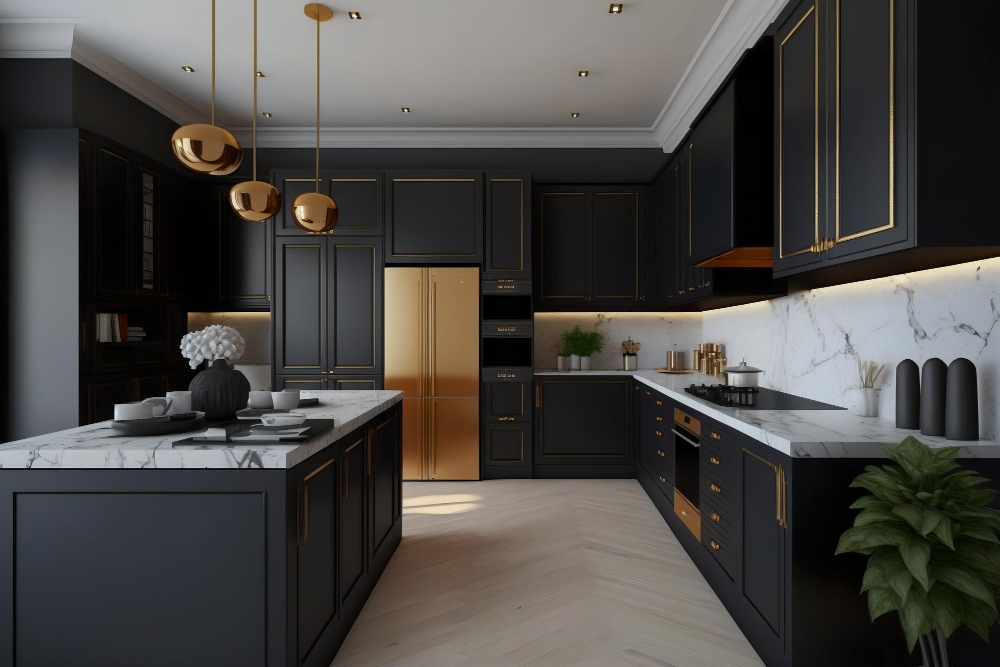
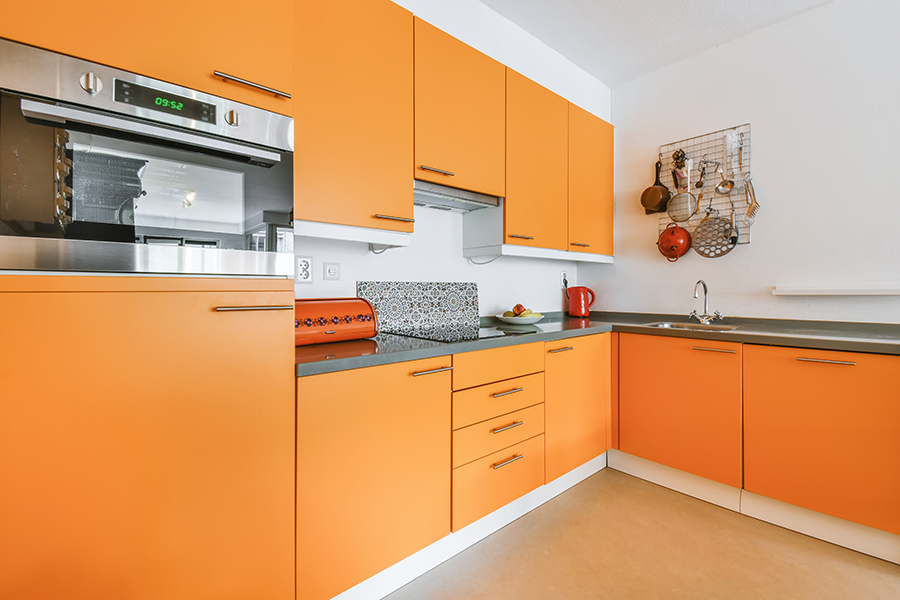
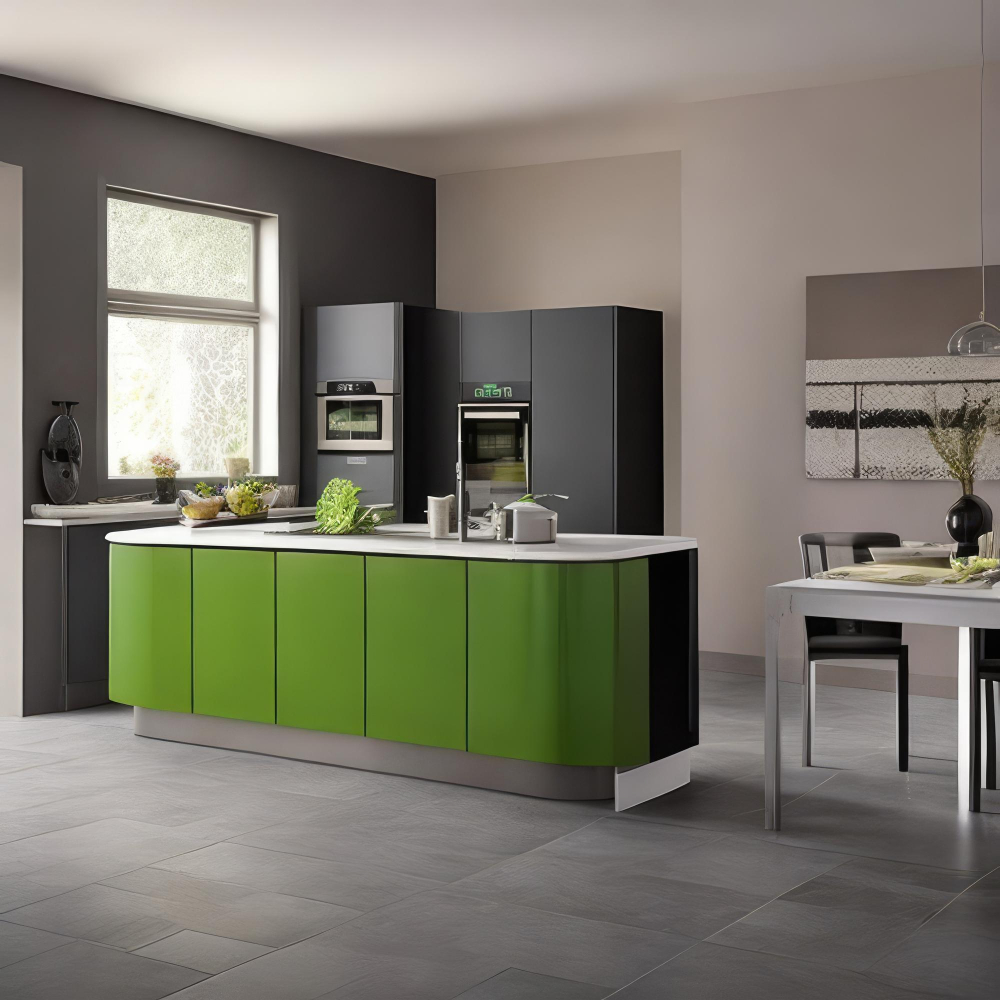
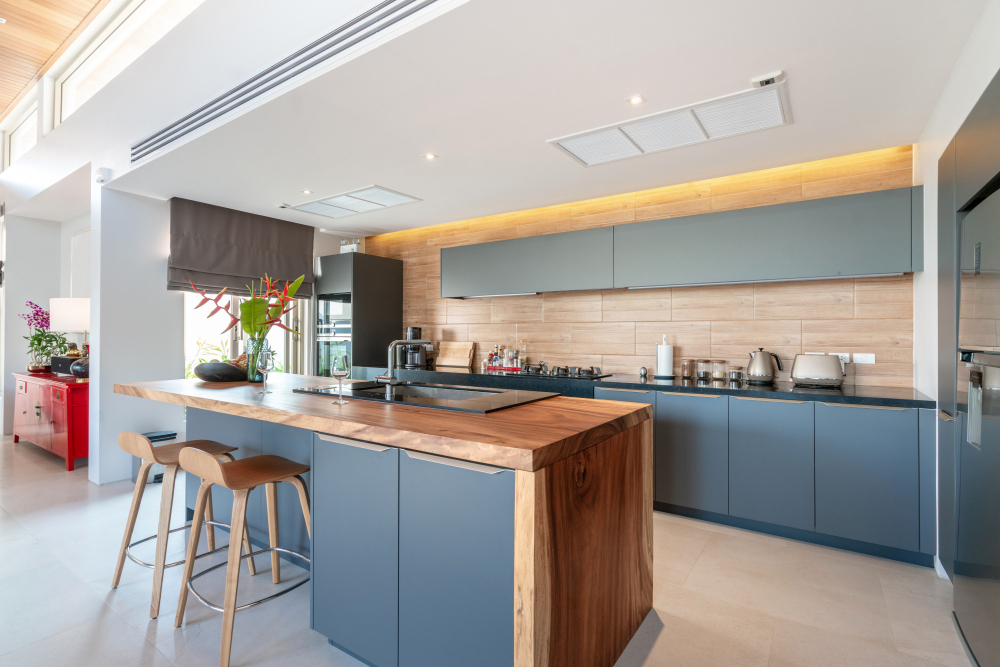
Selecting the Countertop Material
The right countertop can make all the difference in both functionality and style. There are many options available, each with its own pros and cons.
One popular choice is granite, which offers durability and a natural stone look that adds elegance to any kitchen. However, it can be expensive and requires regular sealing to prevent stains.
Another option is quartz, which has become increasingly popular due to its low maintenance requirements and wide range of colors available. It’s also highly durable but may not offer as much heat resistance as other materials.
For those on a budget or looking for an eco-friendly option, consider butcher block or bamboo countertops. These materials add warmth to your space while being easy on your wallet (and the environment).
However they require more upkeep than some other options such as granite or quartz.
Ultimately choosing a countertop comes down personal preference based on factors like cost-effectiveness, durability, aesthetics etc.
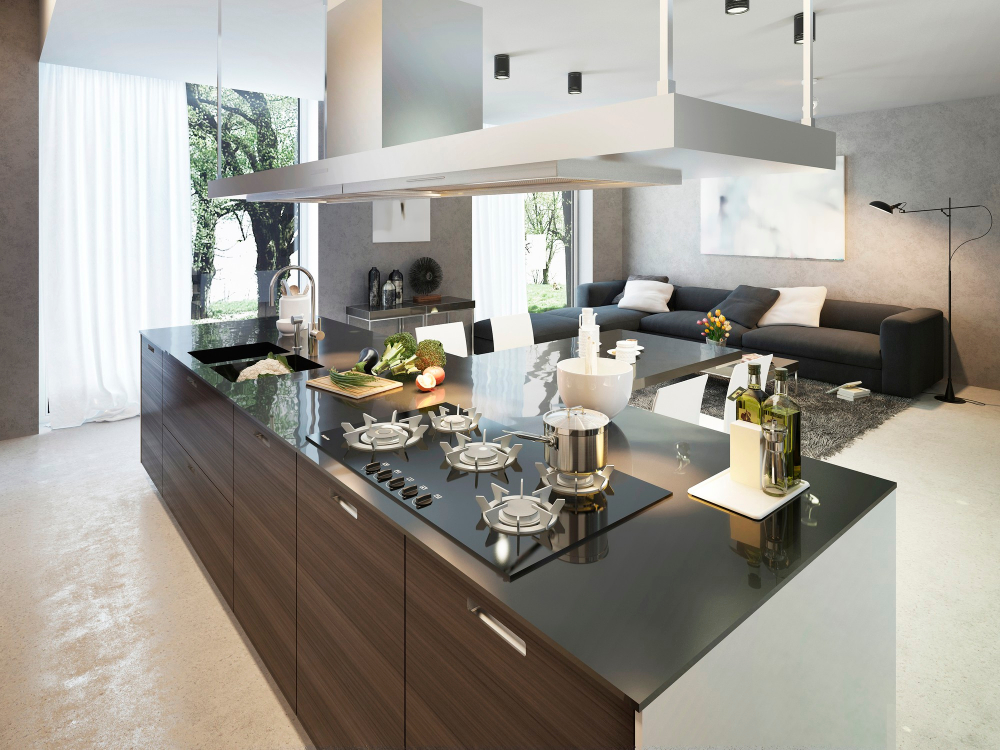
Kitchen Island Countertop Options
The countertop is not only an essential element of your island’s functionality but also plays a significant role in its overall aesthetic appeal.
There are several options available when it comes to kitchen island countertops, each with its unique advantages and disadvantages. One popular choice is granite, which offers durability and resistance to scratches and heat damage.
Marble is another option that provides elegance but requires more maintenance due to its porous nature.
If you’re looking for something more affordable yet still stylish, consider laminate or butcher block countertops. Laminate can mimic the look of natural stone at a fraction of the cost while being easy to clean and maintain.
Butcher block adds warmth and texture while providing an excellent surface for food preparation.
Other materials such as concrete or quartz offer their own benefits depending on your needs and preferences.
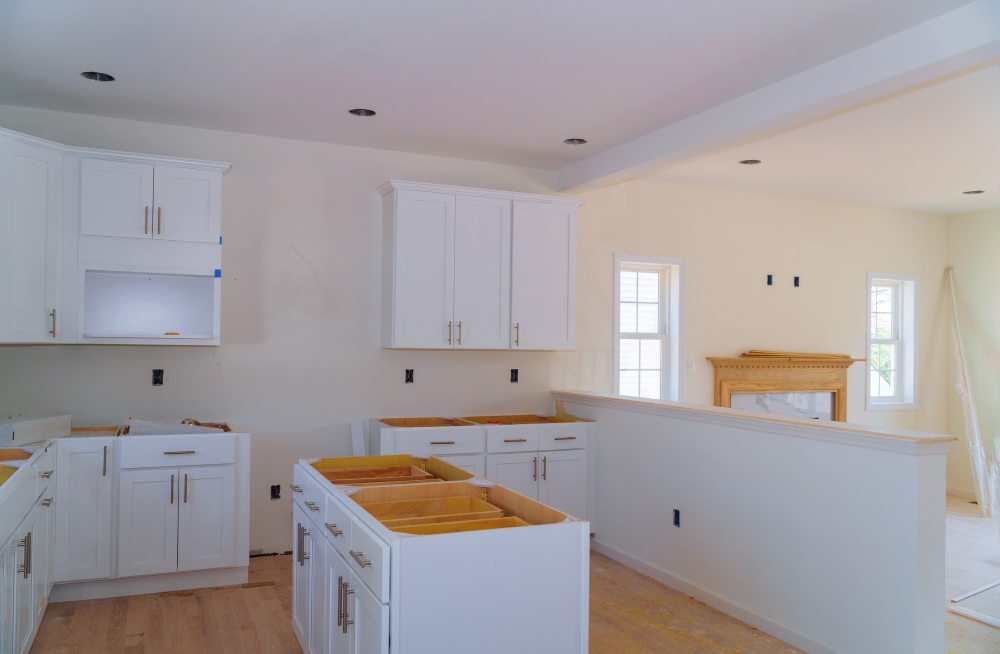
Preparing the Cabinets for Assembly
This step is crucial in ensuring that your DIY project goes smoothly and results in a sturdy and functional kitchen island.
Firstly, remove any drawers or shelves from the cabinets to make them easier to work with. Next, check that all of the cabinet pieces are included and undamaged before beginning assembly.
It’s also important to read through the manufacturer’s instructions carefully before starting. While most base cabinets will be similar in construction, there may be slight variations depending on brand or model.
Gather all necessary tools such as a drill/driver with appropriate bits/screwdriver heads (depending on what type of screws come with your cabinet), clamps (to hold pieces together while assembling), wood glue (optional but recommended) and safety equipment like gloves/goggles if needed.
Assembling Base Cabinets
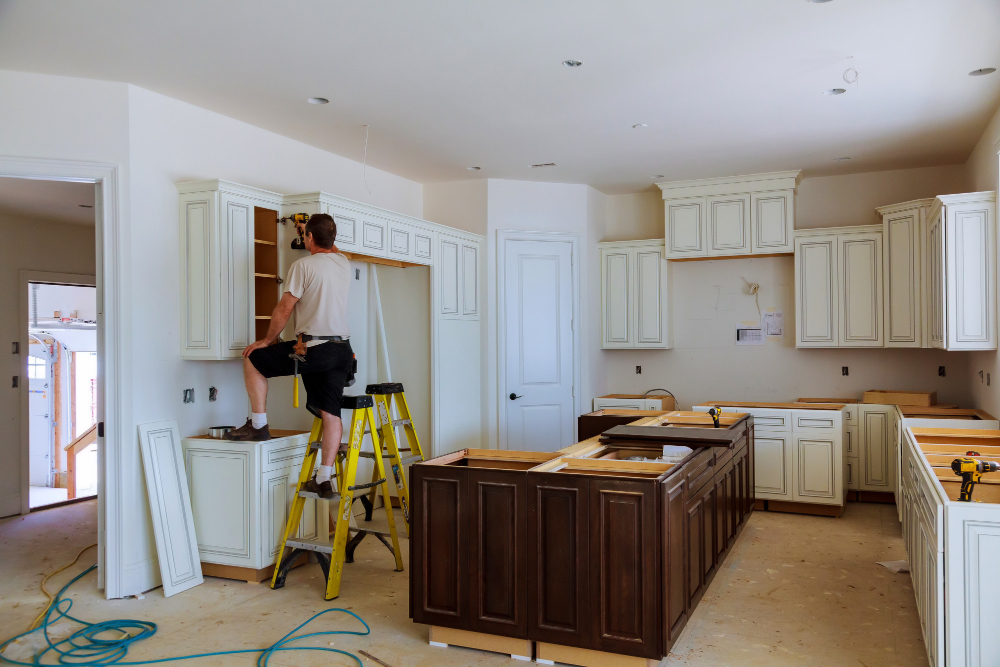
Begin by laying out all the pieces and hardware in a clear workspace. Make sure you have all the necessary tools on hand before starting.
Follow the manufacturer’s instructions carefully, as each cabinet may differ slightly in assembly requirements. Typically, this will involve attaching side panels to a back panel using screws or dowels and then adding shelves or drawers.
It is important to ensure that each cabinet is level before moving onto securing them together for stability. Use shims if necessary to adjust any unevenness.
Securing Cabinets Together
This step is crucial in ensuring that your kitchen island is sturdy and durable enough to withstand daily use. Begin by placing the cabinets in their desired position and using clamps to hold them together tightly.
Next, drill pilot holes through the sides of each cabinet where they will be joined together with screws.
Using wood screws, attach one cabinet to another until all of the base cabinets are securely fastened together. Be sure not to over-tighten the screws as this can cause damage or splitting in the wood.
If you plan on adding drawers or shelves inside your kitchen island, now is a good time to install those as well before moving onto creating an island foundation.
Creating an Island Foundation
This step is crucial as it will ensure that the island remains stable and level. To begin, mark the location of each cabinet on the floor using a pencil or masking tape.
Then, use shims to adjust any unevenness in the floor before placing each cabinet into position.
Next, secure all of the cabinets together using wood screws and brackets at both top and bottom corners where they meet. Make sure that everything is level by adjusting with shims as needed.
Add additional support by attaching 2x4s along both sides of your base cabinets’ back edges with screws driven through their backs into studs in walls behind them if possible (or use toggle bolts).
Installing the Toe-Kick
The toe-kick is a piece of trim that covers the gap between the bottom of your cabinets and your kitchen floor. It not only gives a finished look to your island but also protects against dust and debris from getting under your cabinets.
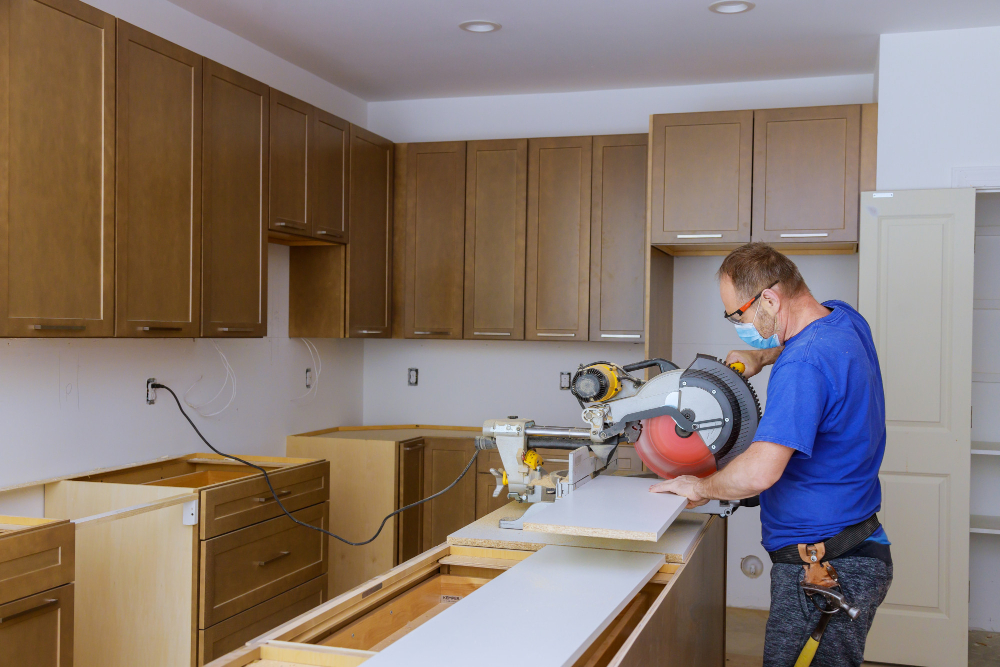
To install, measure each section where you’ll be placing a toe-kick panel. Cut each panel according to those measurements using either wood or MDF (medium-density fiberboard).
Then attach them with screws through pre-drilled holes in both panels and cabinet legs.
If you’re installing an electrical outlet on one side of your island, make sure there’s enough space for it behind one of these panels before attaching them permanently.
Adding Support for the Countertop
This step is crucial in ensuring that your kitchen island can withstand daily use and heavy items such as appliances or cookware.
To add support, you’ll need to install a frame made of 2x4s around the top perimeter of your base cabinets. The frame should be flush with the top edge of your cabinet boxes and secured with screws or nails.
Next, cut pieces of plywood to fit inside this frame and lay them on top. These will act as a solid surface for attaching your chosen countertop material later on.
For added stability, consider adding brackets underneath each corner where two pieces meet. These brackets can be purchased at most hardware stores and come in various sizes depending on how much weight they need to hold up.
Installing the Countertop

This is where your kitchen island will really start to take shape! First, measure the dimensions of your island and purchase a countertop that fits those measurements. You can choose from a variety of materials such as granite, quartz or laminate depending on your budget and style preference.
Before installing the countertop, make sure that all cabinets are levelled properly so that there are no gaps between them. Then place the countertop onto the base cabinets carefully ensuring it is centred correctly.
Next step would be securing it in place with screws through corner brackets underneath or adhesive caulk around edges if using solid surface countertops like granite or quartzite which do not require any additional support.
Finishing Touches: Panels, Trim, and Hardware
Panels can be added to the sides of the cabinets for a seamless appearance. You can choose from various materials such as beadboard, shiplap or plywood depending on your style preference.
Trim is another important element in creating an aesthetically pleasing kitchen island. Adding crown molding along the top of the cabinets gives them a more finished look while also hiding any gaps between them and ceiling.
Hardware is like jewelry for furniture; it adds personality and character to an otherwise plain piece. Choose hardware that complements other fixtures in your kitchen such as faucets or light fixtures but don’t be afraid to mix metals if done tastefully.
Adding Electrical Outlets

And what’s more functional than having electrical outlets readily available for all your cooking needs? Adding electrical outlets to your DIY kitchen island may seem like a daunting task, but it can be done with some basic knowledge and tools.
First, determine where you want the outlets to be placed on the island. It’s best to have them installed in areas that will not interfere with any appliances or seating arrangements.
Once you’ve decided on their placement, mark out where they will go using an outlet box template.
Next, turn off power at the circuit breaker and remove any existing wiring from inside the base cabinets. Then drill holes through each cabinet wall where you marked for outlet placement.
Run new wiring from an existing outlet or switch box through these holes and into each cabinet until it reaches its designated location for installation within an outlet box mounted flush against one side of each hole drilled earlier.
Connect wires according to color-coded instructions provided by manufacturer guidelines before securing cover plates over boxes once everything has been tested thoroughly beforehand!.
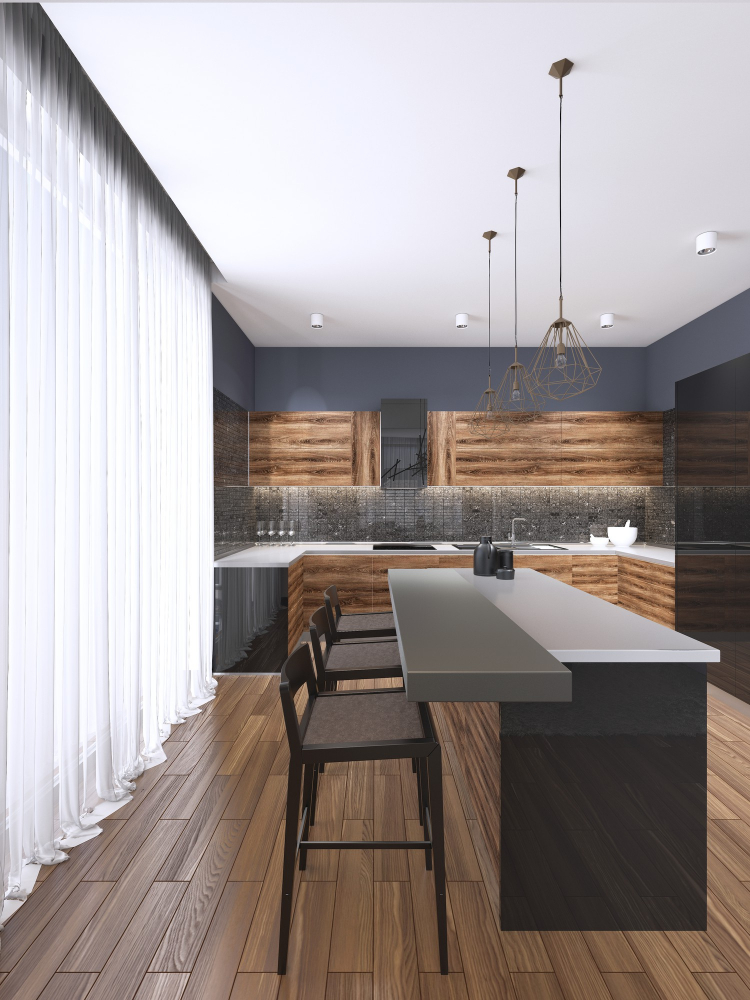
Installing Kitchen Island Lighting
One of the most important elements of any kitchen island is lighting. Proper lighting can enhance the functionality and ambiance of your space while also adding a stylish touch.
When choosing lighting for your kitchen island, consider both form and function. Pendant lights are a popular choice as they provide focused task lighting while also serving as decorative accents that can complement or contrast with other design elements in your space.
To install pendant lights over your kitchen island, first determine how many you will need based on its size and shape. Generally speaking, one large pendant or two smaller ones work well for islands that are 4-6 feet long; larger islands may require three or more pendants spaced evenly along their length.
Next, measure out where you want each light to hang from above (typically around 30 inches above the countertop) using a measuring tape before marking these spots with painter’s tape so you know exactly where to drill holes into ceiling joists if necessary.
Follow manufacturer instructions carefully when wiring up each fixture – this typically involves connecting wires from an electrical box installed within reach behind drywall near where fixtures will be mounted onto existing circuits running through walls/ceilings/floors below them).
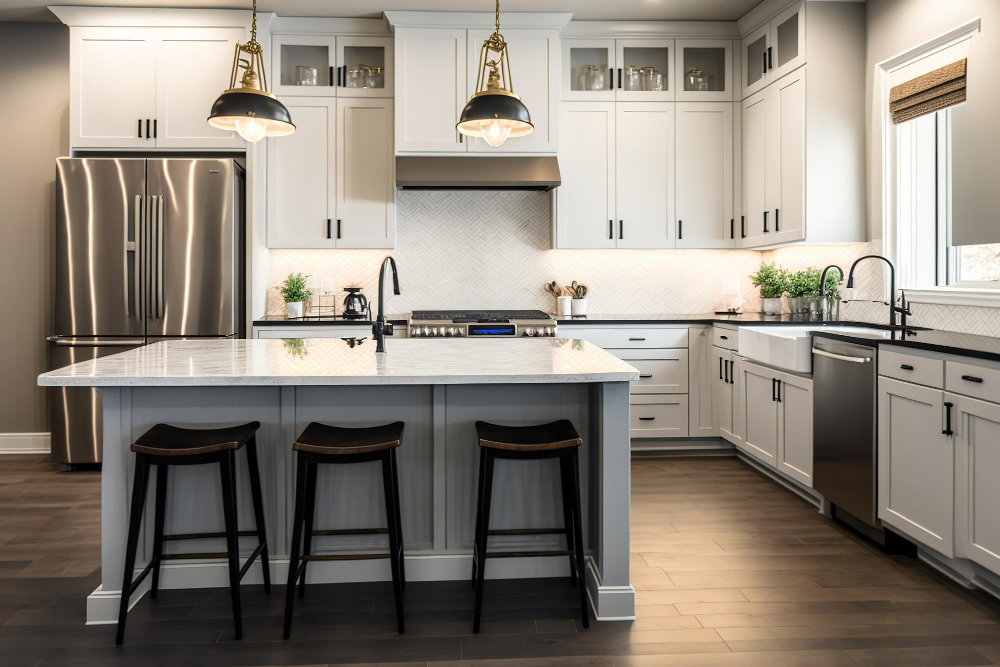
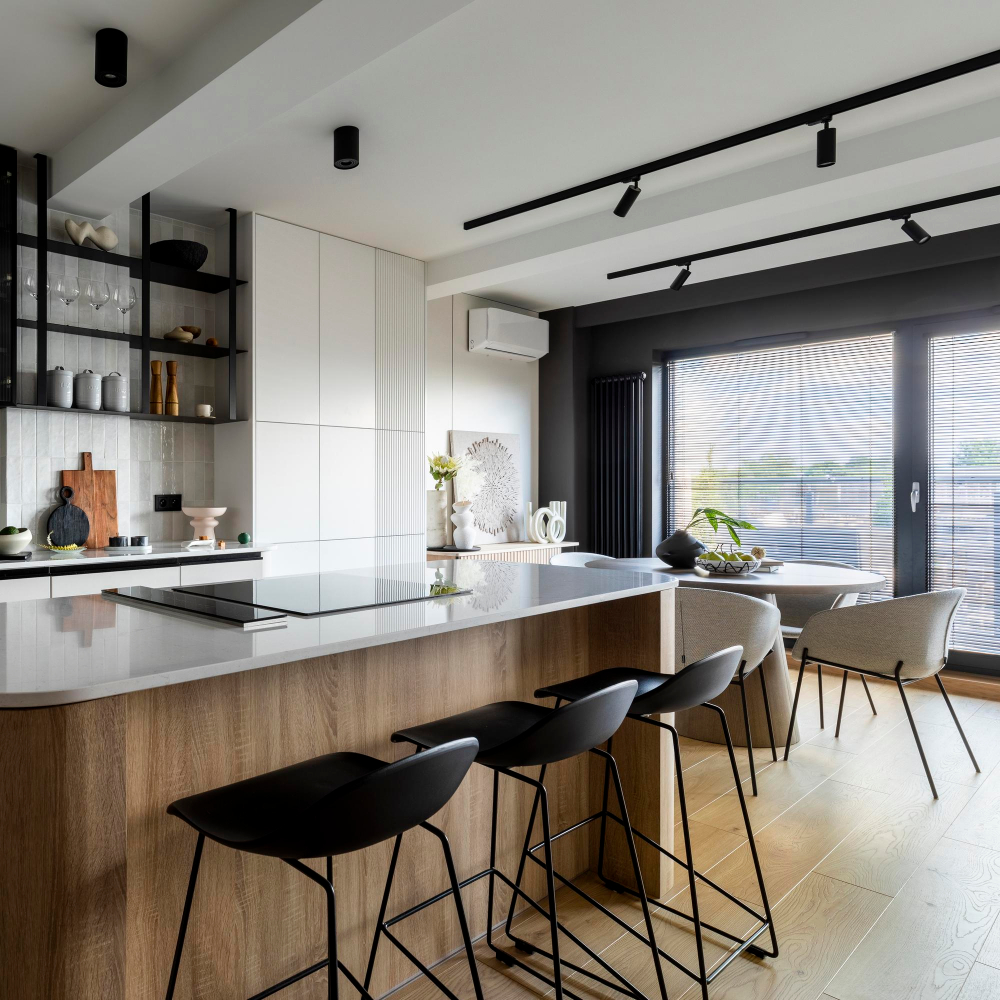
Choosing the Right Seating
Choosing the right seating is crucial for both comfort and functionality. The first thing to consider is the height of your island and how much legroom you have underneath it.
Standard countertop height is around 36 inches, so a bar stool with a seat height of 24-26 inches would be ideal.
Another important factor to consider when choosing seating for your kitchen island is style and material. You want something that complements the overall design aesthetic of your space while also being durable enough to withstand daily use.
If you’re going for a more traditional look, wooden stools with upholstered seats can add warmth and texture to the room. For modern or industrial-style kitchens, metal or acrylic stools can provide an edgy touch.
Lastly, don’t forget about comfort! Look for stools with backrests or cushions if you plan on spending extended periods sitting at your new kitchen island.
Storage Ideas for Your Kitchen Island

Here are some storage ideas to consider when designing your island:.
1. Drawers: Incorporating drawers into the design of your base cabinets allows you to store utensils, linens, and other small items.
2. Shelves: Open shelves provide easy access to frequently used items such as cookbooks or mixing bowls.
3. Cabinets with Doors: Closed cabinets offer concealed storage for larger appliances or less attractive items like cleaning supplies.
4. Pull-Out Trash Can: A pull-out trash can keeps garbage out of sight while also freeing up floor space in the main part of the kitchen.
5. Wine Rack: If you’re a wine enthusiast, consider adding a built-in wine rack to keep bottles organized and easily accessible during meal prep or entertaining guests.
Caring for Your New Kitchen Island

Here are some tips for maintaining and caring for your new addition:.
1. Clean regularly: Wipe down the countertop with a damp cloth after each use, and clean up any spills or stains immediately.
2. Avoid harsh chemicals: Use mild soap and water when cleaning the cabinets or countertops, as harsh chemicals can damage the finish.
3. Protect from heat: Always use trivets or hot pads under hot dishes to prevent damage to the countertop surface.
4. Keep dry: Be sure not to leave wet items on top of your island for extended periods of time as this can cause warping in wooden surfaces.
5. Check hardware periodically: Make sure all screws are tight on cabinet doors and drawers so they don’t become loose over time.
Troubleshooting Common Issues

One issue you may encounter is uneven cabinets or countertops. This can be caused by a variety of factors such as an uneven floor or walls, incorrect measurements, or improper installation techniques.
To fix this issue, start by checking the levelness of your base cabinets and adjusting them accordingly using shims if necessary. If your countertop is still not level after adjusting the base cabinets, consider sanding down high spots on the cabinet tops to create a more even surface.
Another common problem when building a kitchen island is difficulty in securing all components together tightly enough to prevent wobbling or shifting over time. To avoid this issue make sure you are using sturdy materials and hardware throughout construction and double-check that everything has been tightened properly before moving on to each subsequent step.
Customizing Your Kitchen Island
There are countless ways to personalize your island, from adding decorative panels and trim to incorporating unique storage solutions.
Consider installing open shelving or cabinets with glass doors for displaying dishes or cookbooks. You could also add a wine rack, built-in cutting board, or even a sink if you have plumbing available.
Another way to customize your kitchen island is by choosing the perfect seating option. Whether you prefer bar stools or chairs, make sure they complement the overall design of your space while providing comfort for guests.
Don’t be afraid to get creative with finishes as well! Painting base cabinets in bold colors like navy blue or forest green can add personality and depth to an otherwise neutral kitchen. Or consider using reclaimed wood for a rustic touch.
DIY Kitchen Island Tutorial
First and foremost, it’s important to gather all necessary tools and materials before beginning. This includes base cabinets, countertop material, screws and nails, wood glue or construction adhesive, a saw for cutting trim pieces to size (if needed), measuring tape or ruler for accurate measurements during assembly process.
Once you have everything ready to go, start by assembling your base cabinets according to manufacturer instructions. Be sure they are level before securing them together with screws or nails.
Next up is creating an island foundation using 2x4s as support beams underneath each cabinet corner. Secure these beams together with wood glue or construction adhesive so they don’t shift during installation process later on down line when adding countertops etcetera.
Painting Your DIY Kitchen Island
Before you start painting, make sure all surfaces are clean and dry. Sand any rough spots or imperfections with fine-grit sandpaper, then wipe down the surface with a damp cloth.
Next, apply primer to help the paint adhere better and prevent stains from showing through. Once the primer has dried completely (usually 24 hours), you can begin painting in thin coats using a high-quality brush or roller.
Be sure to let each coat dry before applying another one.
When choosing paint colors for your DIY kitchen island, consider coordinating them with other elements in your space such as cabinets or walls. You could also opt for bold hues that contrast nicely against neutral tones elsewhere in the room.
Once everything is painted and fully dried (allow at least 48 hours), seal all surfaces with polyurethane varnish for added durability against scratches and spills.
Tips and Tricks
Firstly, it is important to measure your space accurately before purchasing any materials. This will ensure that your island fits perfectly in your kitchen without any issues.
Secondly, consider adding electrical outlets or USB ports during the installation process for added convenience when using small appliances or charging devices.
Thirdly, don’t forget about lighting! Adding pendant lights above the island can create an inviting atmosphere while also providing ample task lighting for cooking and prep work.
Lastly, be sure to take advantage of storage opportunities by incorporating drawers or shelves into your design. This will not only add functionality but also keep clutter off countertops and maintain a clean look in your kitchen.
Conclusion: Enjoying Your Kitchen Island

Now it’s time to enjoy the fruits of your labor. Not only will you have more counter space for cooking and entertaining, but you’ll also have a beautiful focal point in your kitchen that reflects your personal style and taste.
Remember to take care of your new island by regularly cleaning and maintaining it, so it stays looking its best for years to come. And don’t be afraid to customize or add additional features as needed – this is YOUR DIY project after all!
We hope this guide has been helpful in creating the perfect kitchen island for you. With a little bit of planning, patience, and creativity – anything is possible! So go ahead and show off that stunning new addition to all of your friends and family at the next dinner party or gathering – they’re sure to be impressed with both its beauty AND functionality!
FAQ
Can you make a kitchen island with base cabinets?
Answer: Yes, a kitchen island can be made with base cabinets by creatively combining various heights, types, and styles, without being constrained by traditional designs.
Can you make a rolling island from kitchen cabinets?
Yes, you can make a rolling island from kitchen cabinets by using upper wall cabinets that are 12 inches deep and 30 inches tall, and cutting away the raised lip from the bottom of the cabinets with a circular saw.
Is it possible to create a custom kitchen island using base cabinets?
Yes, it is possible to create a custom kitchen island using base cabinets.
What are the steps to build a kitchen island from repurposed cabinets?
Answer: To build a kitchen island from repurposed cabinets, follow these steps: acquire suitable cabinets, remove old hardware and doors, sand and paint the cabinets, join the cabinets together, install countertop and add accessories.
How can you add storage and seating options to a kitchen island made out of base cabinets?
To add storage and seating options to a kitchen island made out of base cabinets, you can incorporate built-in shelves, drawers, or cabinets and attach a countertop with an extended overhang to accommodate seating.


