Last updated on
Discover the magical world of crafting your very own kitchen witch, a charming and protective talisman that brings good luck and positive energy to your cooking space.
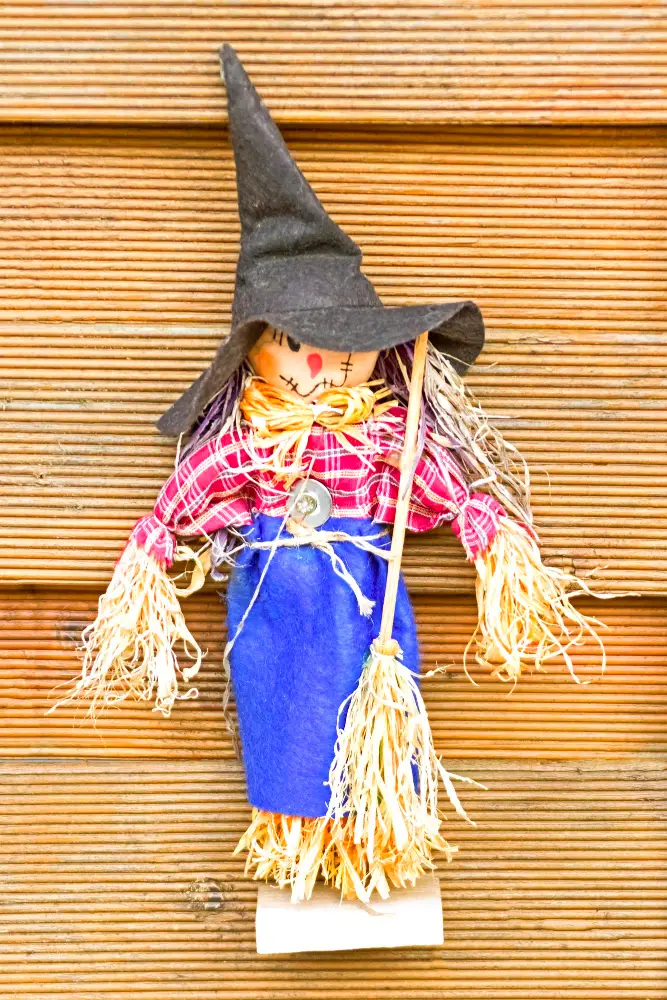
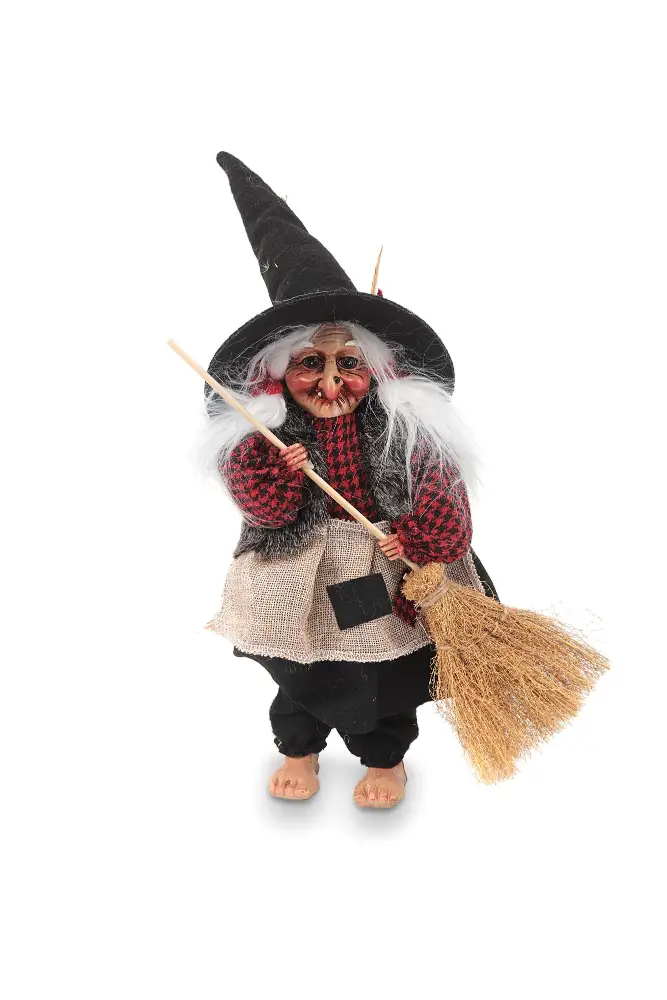
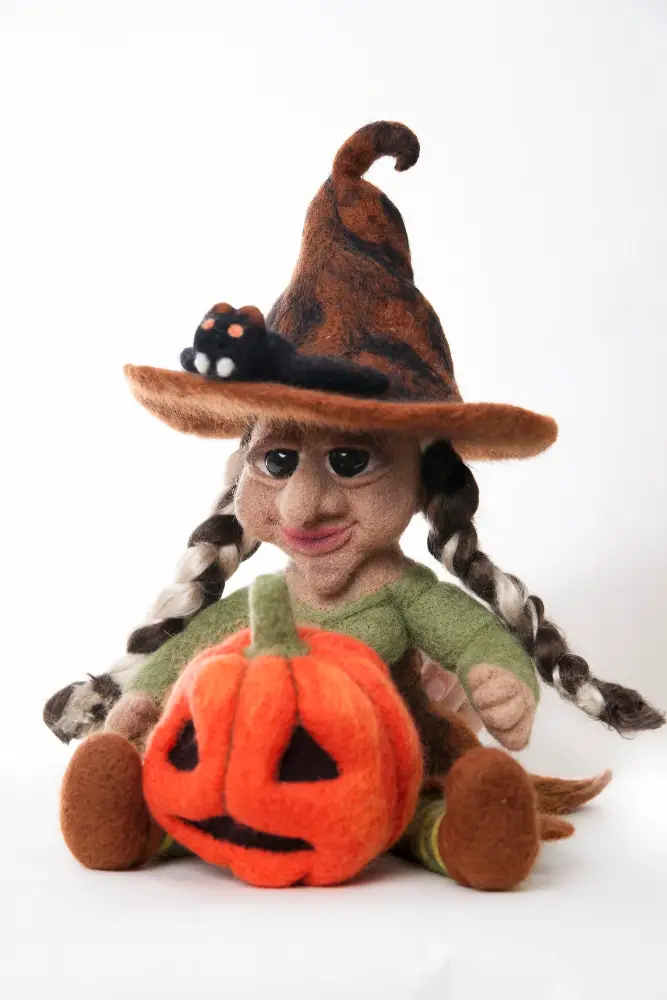
Have you ever heard of a kitchen witch? No, it’s not a spooky Halloween decoration or a character from a fairy tale. A kitchen witch is actually a small doll or figurine that is believed to bring good luck and positive energy into the kitchen.
Whether you’re an avid collector of these whimsical creatures or simply looking for a fun DIY project, making your own kitchen witch can be both easy and rewarding. In this article, we’ll guide you through the steps to create your very own kitchen witch and add some charm to your cooking space.
So grab your crafting supplies and let’s get started!
Key takeaways:
- Kitchen witches bring good luck and positive energy to your cooking space.
- Select durable and meaningful materials for your kitchen witch.
- Create a basic armature and sculpt the face and body.
- Design a dress and style the hair for your kitchen witch.
- Add accessories and infuse magical intent into your creation.
What's Inside
History of Kitchen Witchery

In many cultures, witches were revered as healers, protectors, and wise women who possessed knowledge about herbs, cooking techniques and household remedies. Kitchen witches were particularly popular in European folklore where they were known for their ability to bring good luck into the home by warding off evil spirits or negative energies.
In medieval Europe, it was common practice for households to have a designated “wise woman” who would oversee all aspects of domestic life including cooking meals with medicinal herbs that could cure ailments or prevent illness. These women often had a deep understanding of natural remedies and used them regularly in their daily lives.
As time passed on through the centuries, kitchen witchery evolved into an art form that combined practicality with spirituality. Today’s modern-day kitchen witches still use traditional methods such as herbalism but also incorporate new age practices like crystal healing or meditation.
Choosing Materials and Supplies
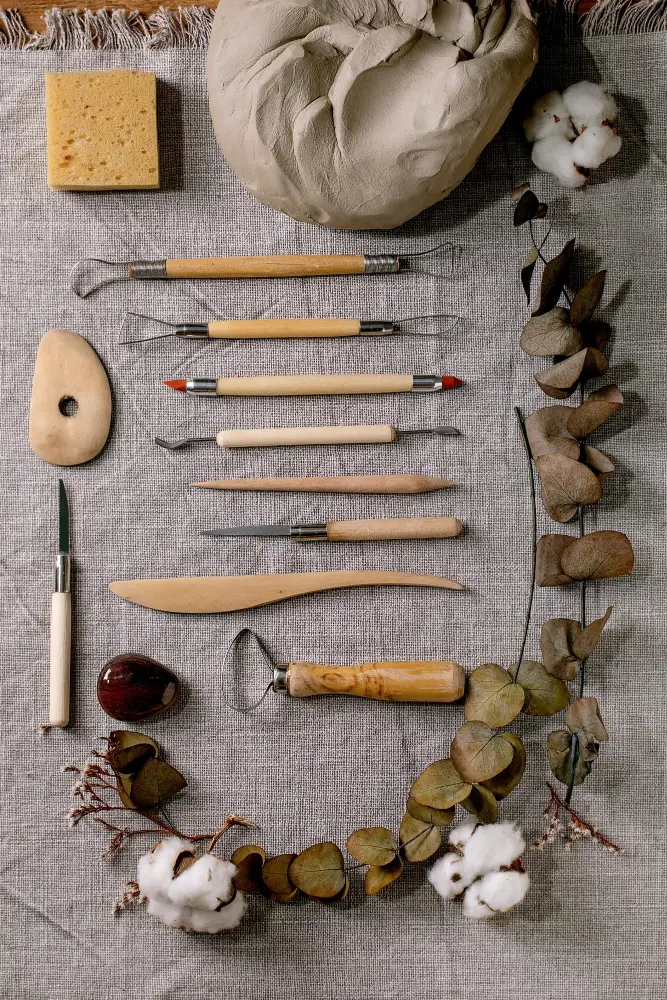
You’ll want to select items that are both durable and aesthetically pleasing, as well as those that hold special meaning for you. Some popular options include natural fibers like wool or cotton for clothing, clay or polymer clay for sculpting the face and body, twigs or wire for crafting an armature, and various herbs or crystals to infuse magical intent into your creation.
Consider incorporating personal touches such as using fabric from a beloved family member’s old dress in the witch’s outfit design. Or perhaps adding a crystal with properties that align with your intentions – amethysts can promote calmness while citrine brings abundance.
Ultimately, selecting materials should be based on what feels right to you.
Assembling the Witch Doll
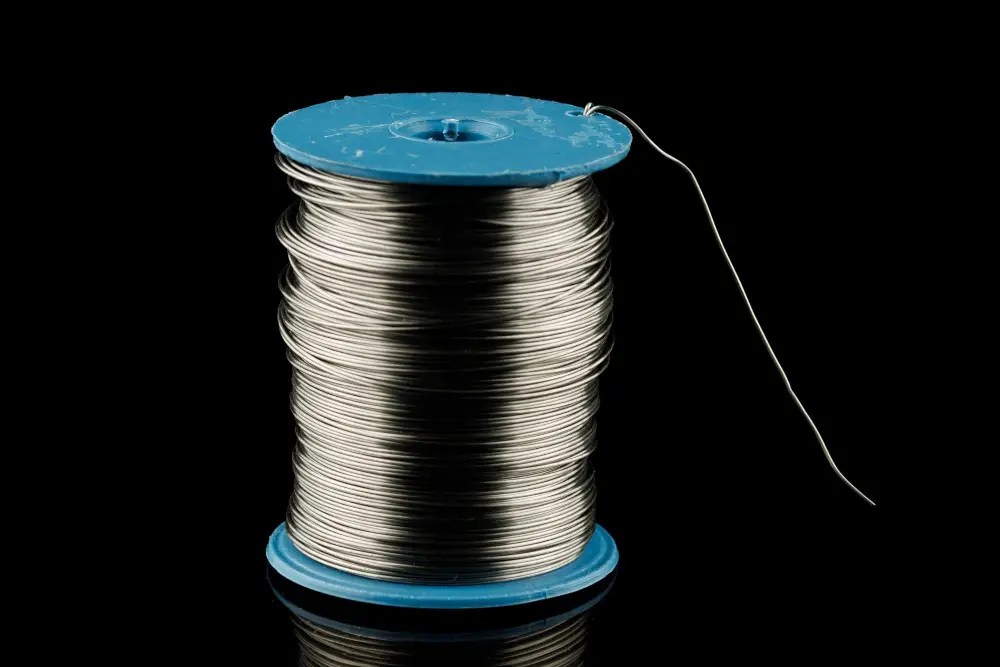
Begin by creating a basic armature using wire or pipe cleaners. This will serve as the skeleton of your doll and provide structure for the rest of its body.
Next, use fabric scraps or stuffing to create a round head shape for your witch. You can then sculpt facial features using clay or other modeling material, such as polymer clay.
After completing the face, attach it to the armature with wire and continue building up the body with additional stuffing until you achieve your desired shape.
To add clothing to your kitchen witch doll, select fabrics that match her personality and style. You can sew together pieces of cloth into dresses or skirts that fit snugly around her waistline while leaving enough room for movement in her arms.
Accessorize! Add jewelry like necklaces made from beads strung on thread; hats made from felted wool; shoes crafted out of leather scraps – anything goes when it comes down making sure she looks just right!
Creating the Armature
The armature is essentially a framework that will support the body of your doll and allow you to pose it in different positions. To create an armature, begin by shaping a piece of wire into a basic human form with arms, legs, torso and head.
You can use pliers or other tools to bend and shape the wire as needed.
Next, wrap strips of masking tape around each section of the wire frame until it is completely covered. This will help hold everything together while also providing a surface that can be easily sculpted over later on.
Once you have completed this step, take some time to adjust any areas where needed so that they are symmetrical before moving onto crafting facial features or clothing for your kitchen witch doll.
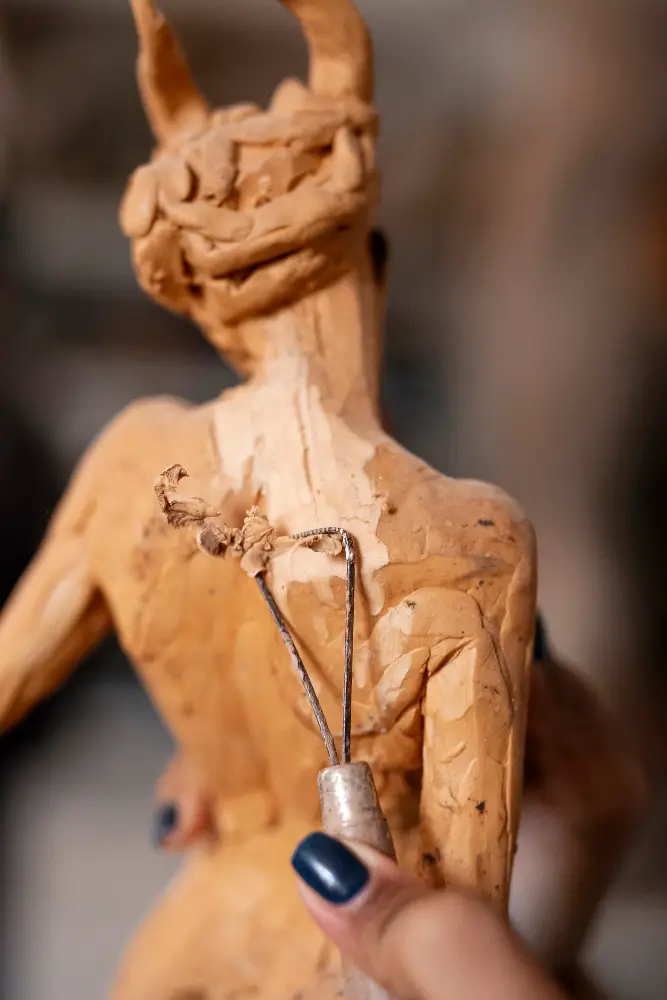
Crafting the Face

The expression on her face can convey a range of emotions, from serene and peaceful to mischievous and playful. To create the perfect facial features for your witch doll, you’ll need some basic sculpting tools like clay or polymer clay.
Start by shaping a small ball of clay into an oval shape that will serve as the base for your kitchen witch’s head. Then use smaller pieces of clay to form her nose, mouth, cheeks and chin.
You can also add details like wrinkles or dimples with a toothpick or other pointed tool.
When it comes to painting your kitchen witch’s face, keep in mind that less is often more when it comes to creating a natural-looking complexion. Use light brushstrokes with acrylic paint in shades that complement the color scheme you’ve chosen for her clothing.
Sculpting the Face
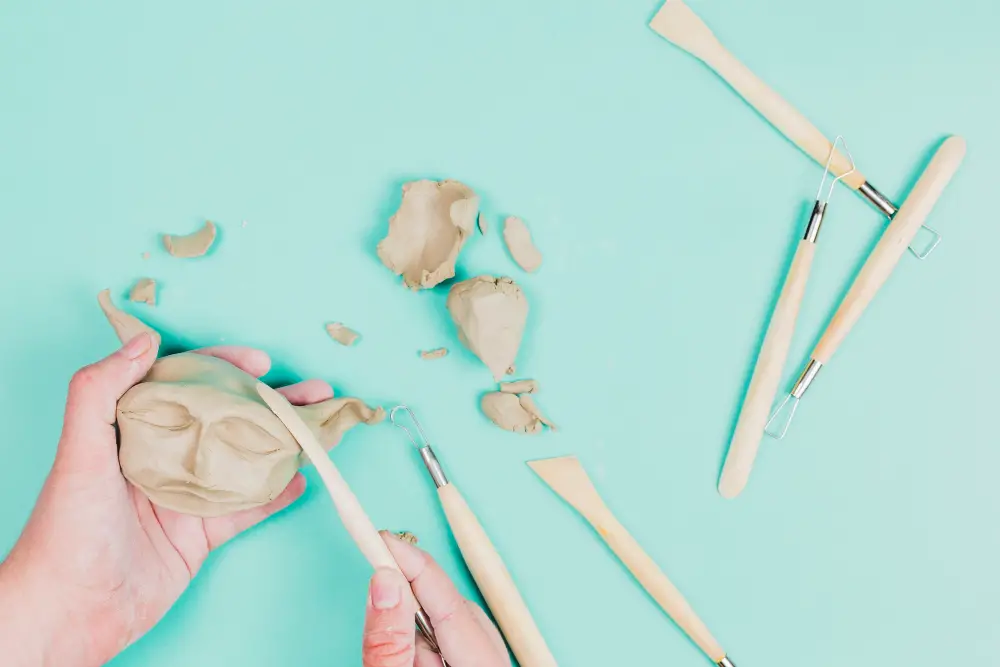
This is where you can really bring your doll to life and give her a unique personality. Start by sketching out the basic features with a pencil or toothpick, such as the eyes, nose, mouth, and eyebrows.
Then use small tools like dental picks or wooden skewers to shape each feature in more detail.
When sculpting facial features for your kitchen witch doll remember that less is often more when it comes to details – subtle changes can make all difference! You may want to consider adding some texture around her cheeks or forehead using different tools like sponges or brushes.
Designing the Body
The body can be made from a variety of materials such as fabric, clay or even natural fibers like twigs and moss. You can choose any color scheme that resonates with you or matches your kitchen decor.
To design the body, start by selecting a material that is easy to work with and will hold its shape well. If using fabric, consider using cotton or linen for durability.
Cut out two pieces of fabric in the shape of your witch’s torso and sew them together leaving an opening at one end for stuffing.
Next, stuff the torso firmly with batting until it reaches your desired size and shape. Use small stitches to close up the opening once complete.
For arms and legs use wire covered in batting then wrap them tightly in strips cut from old t-shirts before attaching them securely onto either side of her torso.
Creating the Dress
You can use scraps of fabric from old clothes or purchase new materials specifically for this project. Consider using natural fibers such as cotton, linen, and wool to give your witch a rustic feel.
To create the dress pattern, lay out a piece of fabric and place the doll on top. Cut around the doll leaving about an inch extra on all sides for seam allowance.
Pinch and fold along each side until it fits snugly against her body then sew along those folds with needle and thread.
Next comes decorating! Add lace trimmings or ribbon bows to embellish her outfit further if desired. Remember that this is where creativity comes into play – there are no rules when it comes to dressing up your kitchen witch!
Selecting the Clothing
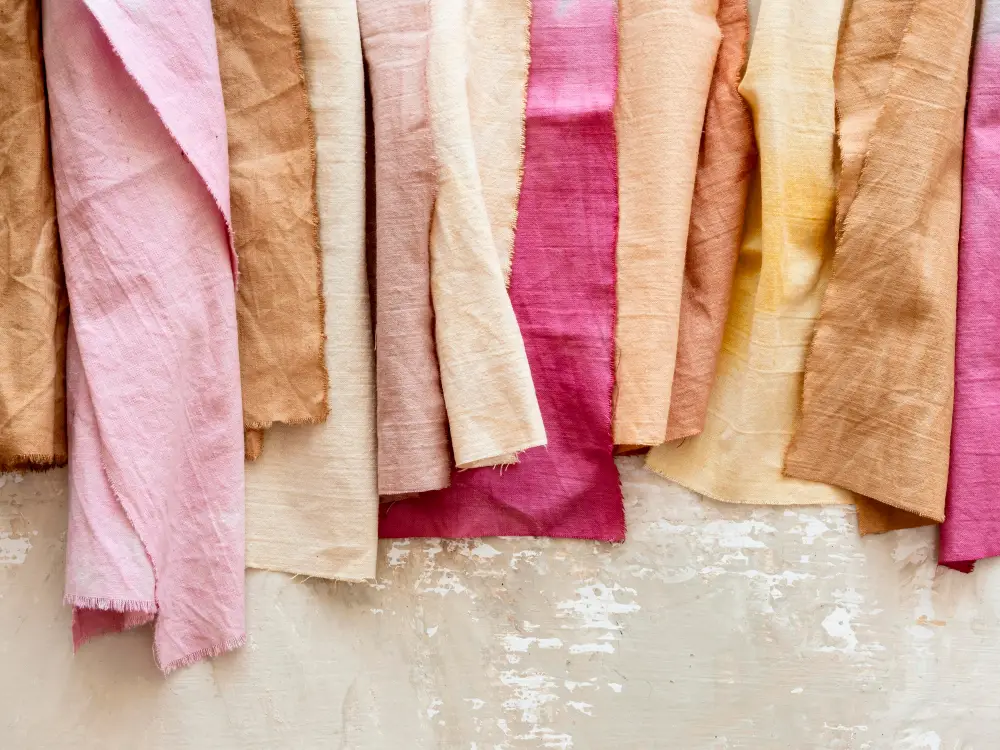
Some people prefer to use scraps of fabric from old clothes or linens, while others opt for more intricate designs using lace, ribbons, and other embellishments. When selecting the clothing for your kitchen witch doll, consider the color scheme and overall aesthetic that you want to achieve.
You may also want to think about incorporating elements that are meaningful or symbolic in some way – such as a piece of jewelry passed down through generations in your family or a swatch of fabric from a special occasion. Whatever materials you choose, make sure they are durable enough to withstand regular handling and display over time so that your kitchen witch can continue bringing good luck into your home for years to come!
Styling the Hair
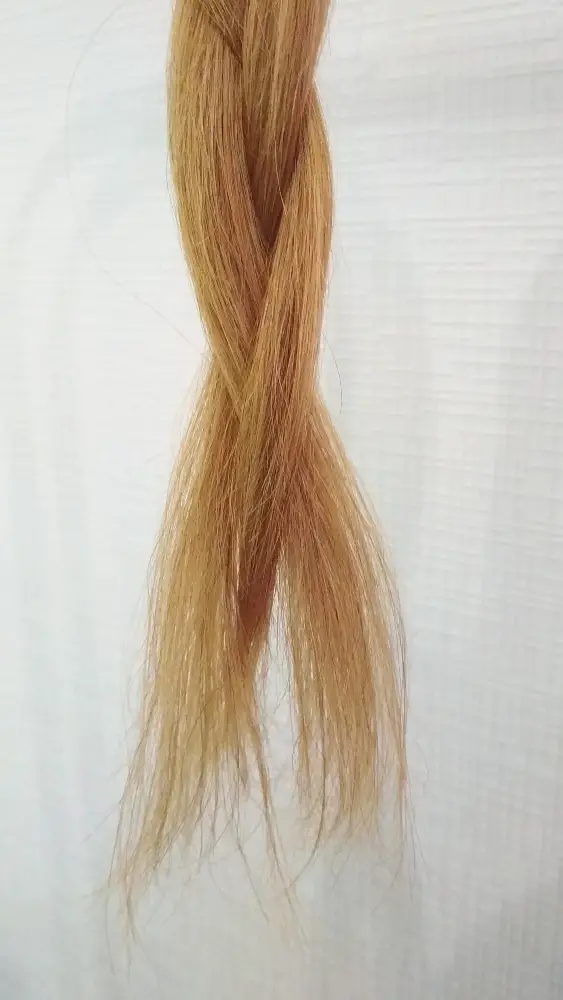
The hairstyle you choose can add personality and character to your creation. You can use yarn, embroidery floss or even human hair for this step.
To create a simple hairstyle, cut several strands of yarn or embroidery floss in the desired length and tie them together at one end. Then braid or twist the strands until they form a tight rope-like shape that will serve as your witch’s hair.
For a more elaborate look, consider adding curls by wrapping small sections of yarn around thin dowels and steaming them with an iron before attaching them to the head with glue.
You could also opt for loose waves by braiding dampened lengths of thread overnight before unraveling them in the morning.
Crafting the Shoes

The type of shoe you choose will depend on the style and personality of your witch. You can create shoes from a variety of materials such as felt, leather or even polymer clay.
To make simple felt shoes, start by tracing around your doll’s feet onto a piece of felt and cut out two identical shapes for each foot. Then fold each shape in half lengthwise and sew along the curved edge using a blanket stitch or whip stitch.
Next, turn the shoe right side out and slip it over your doll’s foot. Use embroidery floss or thin ribbon to lace up the front of each shoe before tying them off with small bows.
For more intricate designs like boots or high heels made from polymer clay, there are many tutorials available online that can guide you through every step.
Adding Accessories
Accessories can be anything from a tiny broomstick or cauldron to a miniature cookbook or wooden spoon. You can also incorporate natural elements like herbs, flowers, and crystals into your design for added symbolism and energy.
When selecting accessories for your kitchen witch doll, consider what items would be useful in a real-life kitchen setting. For example, you might want to include a small rolling pin if baking is one of your favorite activities or add some dried lavender buds if you enjoy using aromatherapy in the home.
Another fun way to personalize your kitchen witch is by incorporating items that reflect her personality traits or interests. If she loves gardening, consider adding tiny seed packets or flower pots as part of her outfit; if she’s an avid reader who enjoys cooking with recipes from old cookbooks passed down through generations in the family then perhaps including miniature books could work well.
Witch’s Broom Design
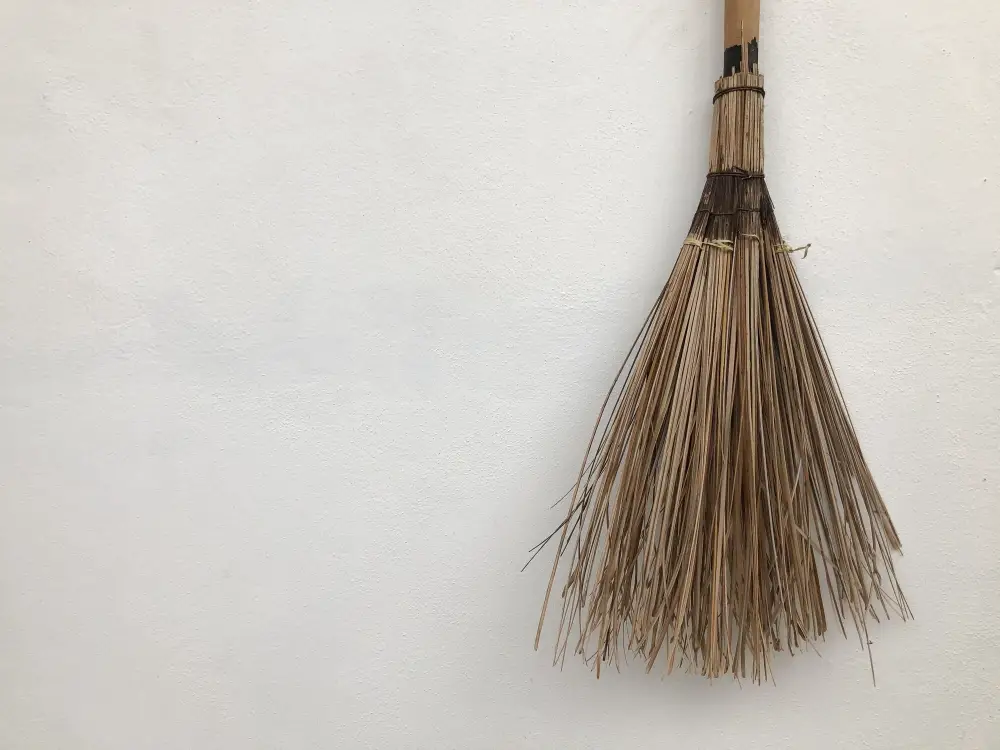
Not only does it add to the charm of your creation, but it also serves as a symbol of protection and purification. When designing your broom, consider using natural materials such as twigs or straw to create the bristles.
You can then decorate the handle with ribbons, beads or other embellishments that match your kitchen witch’s outfit.
To make a simple broomstick for your kitchen witch doll, start by gathering some small twigs or branches from outside. Trim them down so they are all roughly the same length and tie them together tightly at one end with string or wire.
Next, take another piece of string and wrap it around the tied end several times until you have created a thick handle shape at one end of the bundle.
Trim off any excess twig ends sticking out from under where you wrapped up each layer on top until you have achieved an even surface all around.
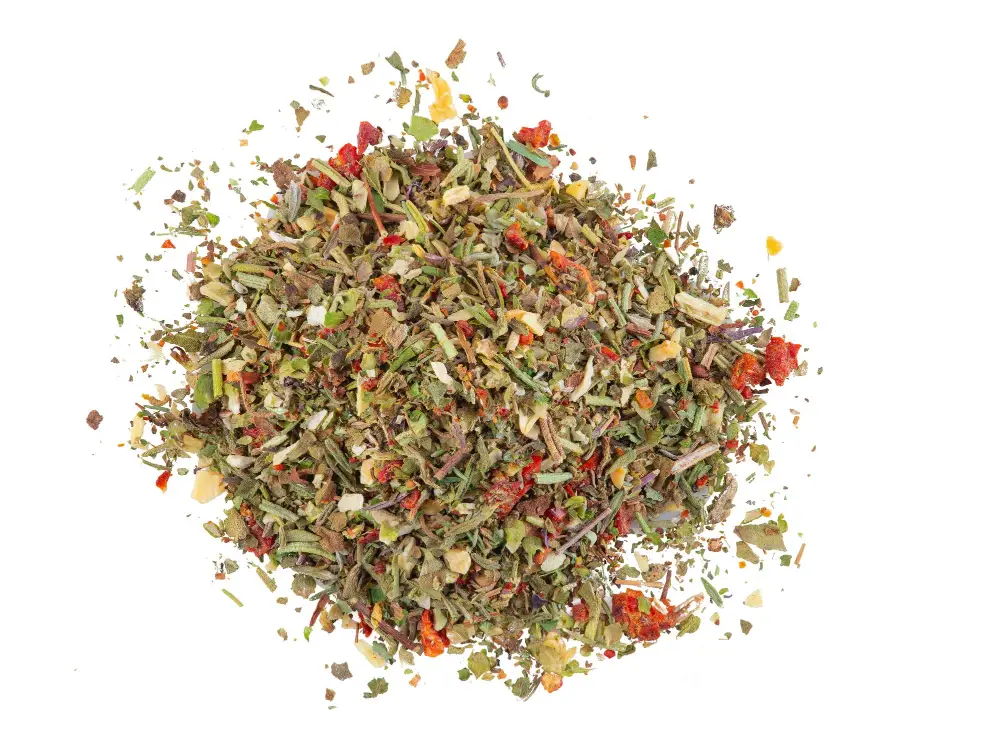
Herbal Charms for Protection
One way to enhance its protective properties is by incorporating herbs and spices into the design. For example, you could add dried rosemary or sage leaves inside the doll’s body before sealing it shut.
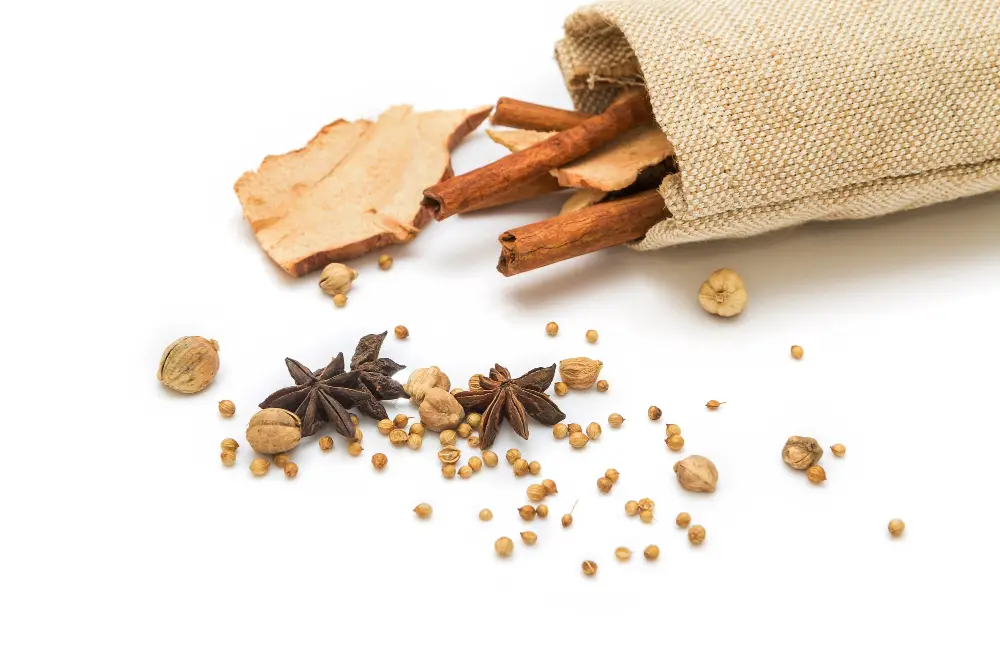
These herbs are believed to have cleansing and purifying properties that can ward off negative energy in your kitchen. Another option is to create an herbal charm bag that you can place near your kitchen witch or hang above the stove.
Simply fill a small cloth bag with protective herbs like bay leaves, cinnamon sticks, cloves, and thyme sprigs then tie it closed with string or ribbon. By infusing these magical ingredients into your kitchen witch creation process, you’ll not only have an adorable decoration but also a potent tool for keeping bad vibes at bay while cooking up some delicious meals!
Selecting Crystals
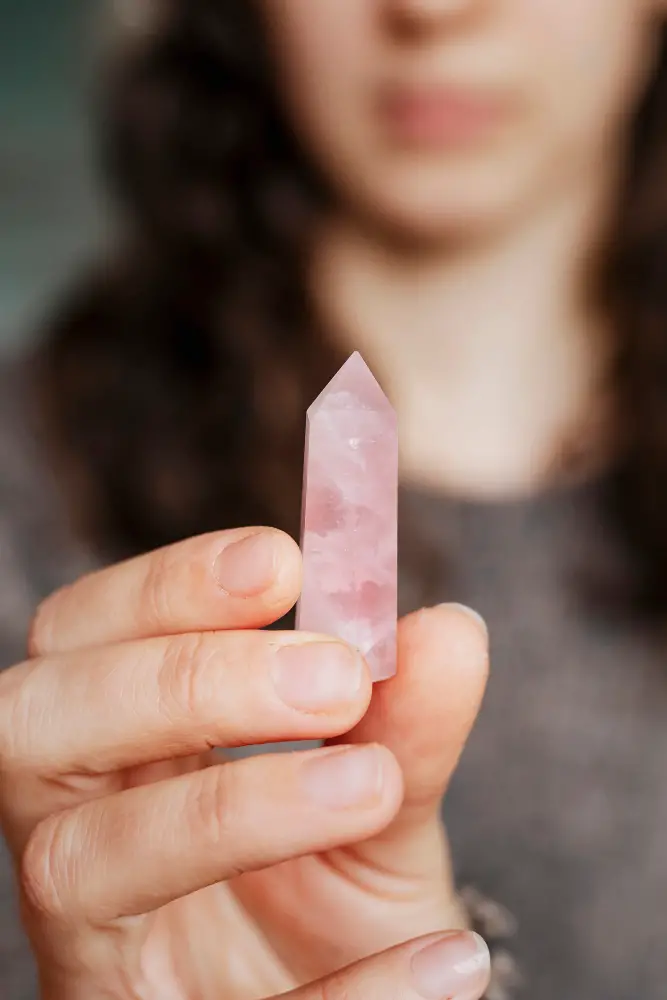
When selecting crystals, it’s important to choose ones that align with your intentions for the doll. For example, clear quartz is a versatile crystal that amplifies energy and can be used for any purpose, while amethyst is known for its calming properties and would be ideal if you want your kitchen witch to promote peace in the home.
Other popular crystals include rose quartz (for love), citrine (for abundance), black tourmaline (for protection), and green aventurine (for prosperity). You may also want to consider choosing a crystal based on its color correspondences; red stones like garnet or carnelian are associated with passion and vitality, while blue stones like aquamarine or lapis lazuli represent communication and wisdom.
Once you’ve selected your crystal(s), you can incorporate them into your kitchen witch by placing them inside the doll’s body cavity or attaching them as adornments on her clothing or accessories.
Infusing Magical Intent
This is the process of imbuing your creation with a specific purpose or energy that aligns with your intentions. To do this, you can use various methods such as visualization, meditation or even reciting incantations.
One way to infuse magical intent into your kitchen witch is by using herbs and spices. You can place small amounts of dried herbs like rosemary, thyme or basil inside the doll before sealing it up.
These herbs are believed to bring protection and good luck in the home.
Another method involves selecting crystals that resonate with positive energies such as clear quartz for amplifying energy or amethyst for spiritual awareness and intuition. Place these crystals inside the doll during assembly so they become part of its structure.
Invoking deities associated with hearth magic like Hestia from Greek mythology who was known as a protector of homes could also be done while crafting your kitchen witch.
Kitchen Witchery Traditions
In many cultures, the kitchen was considered the heart of the home and a place where magic could be practiced. Kitchen witches were believed to have special powers that could protect their families from harm and bring good luck into their homes.
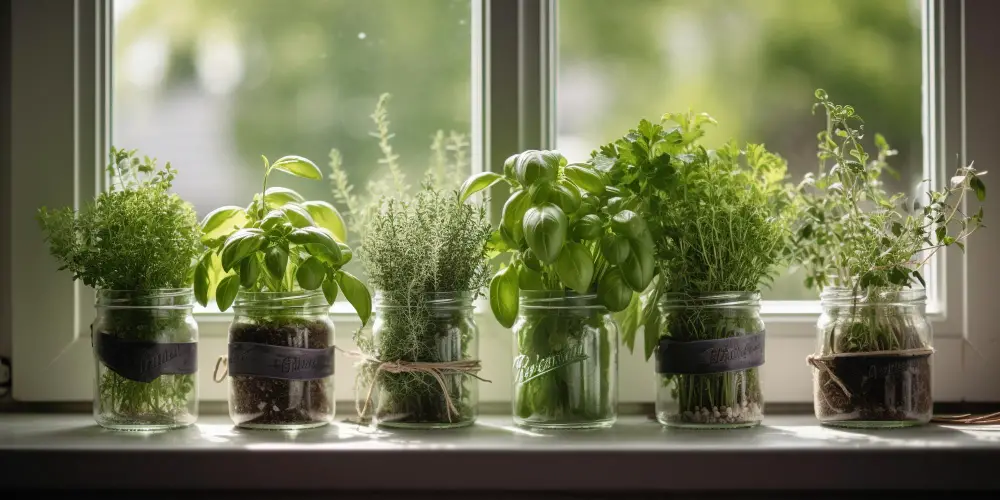
One popular tradition in kitchen witchery is using herbs for protection and healing. Many witches would grow their own herbs or gather them from nature to create herbal charms or potions for various purposes such as warding off negative energy, promoting health, or attracting love.
Another common practice among kitchen witches is invoking hearth deities such as Hestia, Brigid, or Vesta who are associated with domestic life and cooking. These goddesses were often honored with offerings of food or drink during rituals performed in the kitchen.
In addition to these traditions, there are many other practices that vary depending on cultural background and personal beliefs.
Invoking Hearth Deities

It’s where families gather to cook, eat and share stories. In ancient times, people believed that spirits or deities lived within their hearths and would protect them from harm.
Invoking these deities can add an extra layer of protection for your kitchen witch.
One popular deity associated with the hearth is Hestia in Greek mythology or Vesta in Roman mythology. She was known as a goddess of domesticity and family life who presided over cooking fires and household chores.
To invoke Hestia or Vesta into your kitchen witchcraft practice, you can light a candle on your stove while cooking meals as an offering to her spirit. You could also create a small altar dedicated to her near your stove area with offerings such as herbs like basil (which represents love) or thyme (which represents courage).
Displaying Your Kitchen Witch
The ideal location for the witch is above or near the stove, as this is where most of the cooking magic happens. You can hang your witch on a hook or nail, prop her up on a shelf or windowsill, or even create a small altar dedicated to her.
Some people like to add additional elements around their kitchen witches such as crystals and herbs that are believed to enhance their magical properties. Others prefer more subtle displays with just the doll itself.
Remember that while these dolls may be cute and whimsical decorations for some people, they hold deep meaning and significance for others who practice traditional forms of Witchcraft. So if you’re displaying one in your home make sure you do so respectfully.
Creating and displaying a Kitchen Witch can be an enjoyable way of adding charm and personality into any cooking space while also bringing positive energy into our homes through ancient traditions passed down from generation-to-generation by wise women throughout history!


