Last updated on
Want to make a photo wall to decorate a wall in our of your rooms? Here’s a detailed guide on how to do that the right way. Read on!
Photo gallery walls are an easy and affordable way to bring a pop of color and character to any room or space within your home. They are also a fun way to show-off your memories of favorite people and places. This article will guide you through the simple process of designing your one-of-a-kind photo wall and bringing it to life.
What's Inside
Decide on a Location for Your Photo Gallery Wall
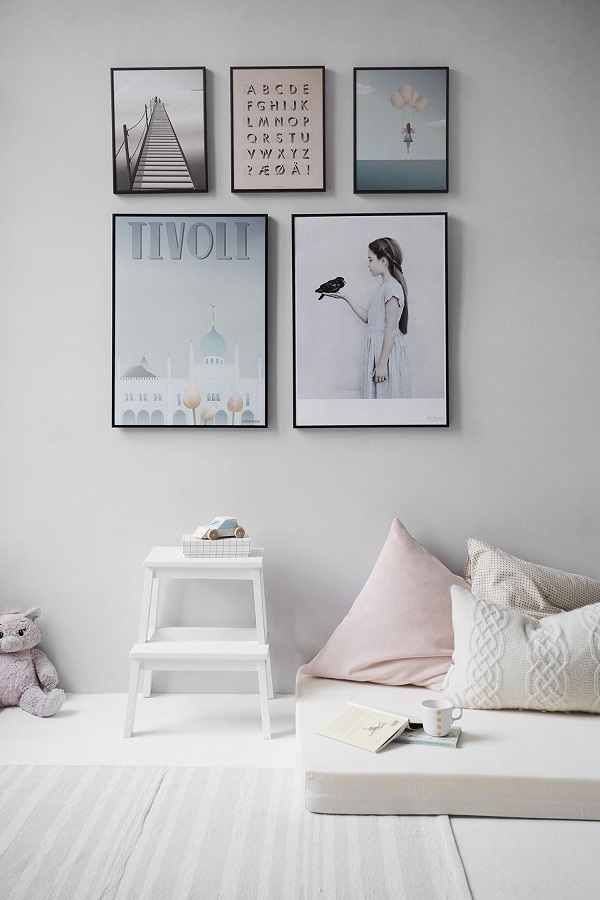
First and foremost, you need to decide on the location of your photo gallery wall. Some of our favorite spots for photo walls include over a bed or couch, the wall along a staircase, or surrounding a focal point such as a television or large painting. It can also be fun to include a photo wall in an unexpected place, like the inside of a closet door or a laundry room. There is really no wrong option, as each space created will be uniquely yours.
The only hesitation we have in choosing a location is that areas with very busy wallpaper (think floral or multi-colored) can become a hindrance to creating a cohesive photo wall. If you’re planning on creating a photo wall on a busy background, you can still find success by using black and white photos.
Choose a Theme and Layout for Your Photo Wall
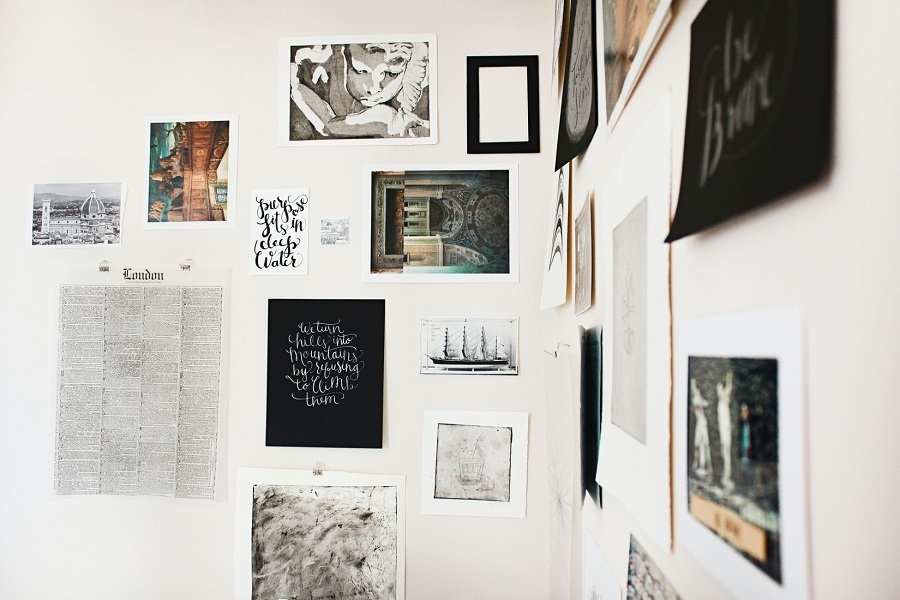
Some photo walls are a modge-podge of a bit of everything; kid photos, favorite art pieces, quotes, or candid vacation shots. This is great, but it can also be fun to create a cohesive theme for your photo wall. Some of our favorite ideas for photo wall themes include:
- Black and white candid shots of friends and family.
- Timeline photos showing the growth of children or a changing family over the years.
- Collages showcasing all the different facets of a specific family event like a wedding or vacation.
- Vintage collections, using old family photos and/or antique frames.
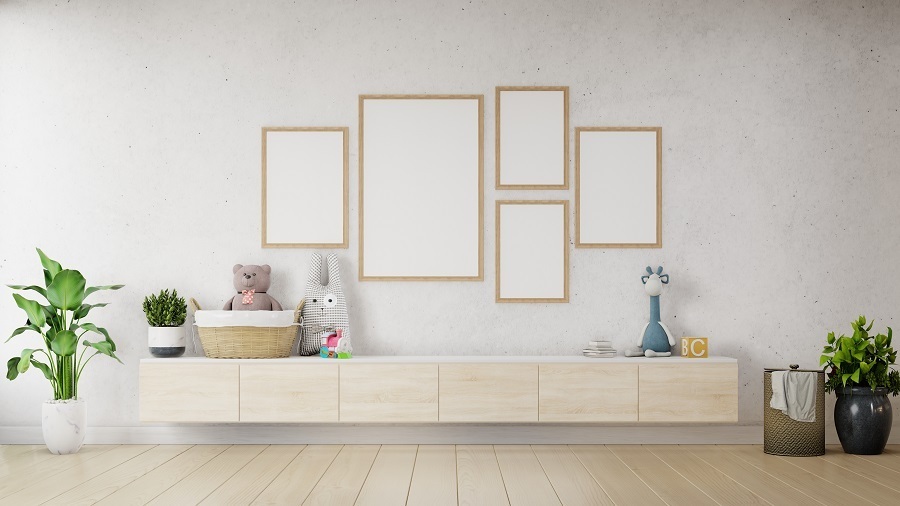
- Consistency between frames, using frames all made from wood, or frames all the same color or size. The combinations are endless!
Layout
Some people are satisfied with starting a photo wall with one picture and working around it with more pictures and frames until they get the look they are going for. Others are more concerned with symmetry, spacing, and perfect alignment. Again, there is no wrong option, and we recommend choosing the layout that suits your individual style the best.
The primary consideration that you’ll have to make when it comes to photo wall style is how you will display your photos. Before taking to the wall, we recommend laying out your ideas on the floor so you can get an idea of the look and flow and change things easily. Some popular displays include:
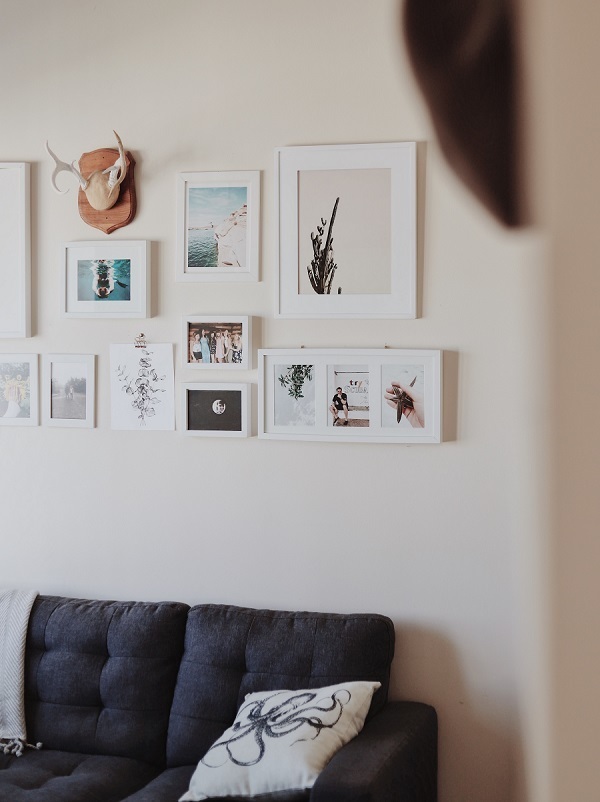
- Classic photo frames in different shapes, sizes, or colors.
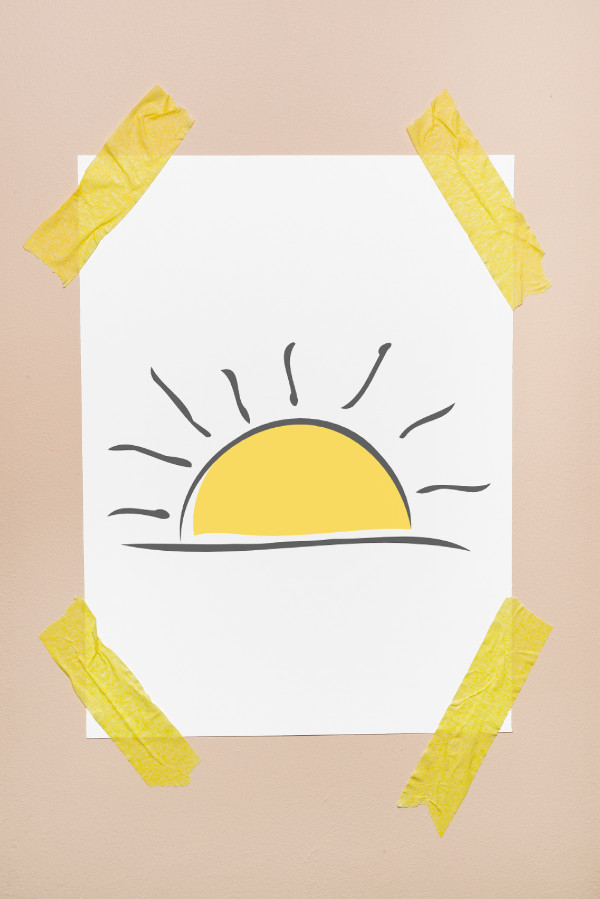
- Sticking photos directly to the wall without a frame (more on this below). This is a great option for people who are renting their home, as it doesn’t create holes in the walls.
- Interchangeable options such as office clips or clipboards, or even clothespins on a string. For this option, we recommend using a 4×6 photo size or smaller. Anything bigger has the tendency to become too heavy, especially on quality photo paper.
- Mounting photos on a larger bulletin board or display piece.
For more layout inspiration, we recommend checking out these additional tips and tricks from Pottery Barn.
How to Stick Photos to Wall
There’s a reason why people often ask us, “How do I stick photos to a wall without damaging it?” Nobody wants to be responsible for a scuffed or marked-up wall, especially if there is the possibility that you’ll have to pay for the damages.
The first go-to item of choice for sticking photos to a wall without a frame is an adhesive tape, but not all tapes are created equally. Look for brands that say they can safely be used with photos and painted walls. You can tape directly to the wall or use the popular “tape loop” to keep it hidden. Some companies offer a two-sided tape for this purpose, or to be extra safe, you could search out “photo hanging strips.” These gentle adhesive strips often have fun designs on them, adding even more personality to your work of art.
And if your budget can stretch a bit farther, you can even have your photos printed on special reusable sticky tiles from companies such as Mixtiles. The downside here is that you’ll be extremely limited on size options.
Other Creative Photo Wall Ideas
We have to warn you that once you read this list, there is a high possibility that you’re going to want a photo wall in every room of your house. (And that’s okay!) Some of our favorite unique photo wall ideas include:
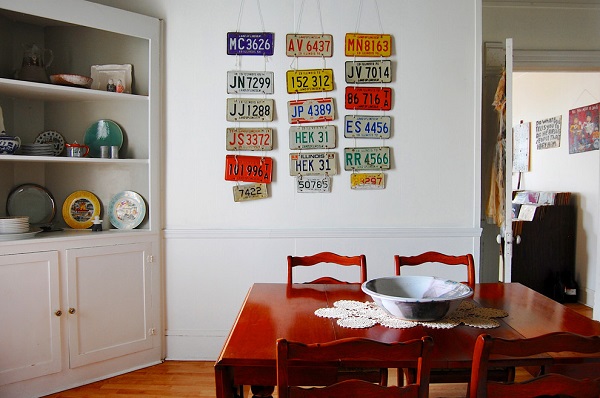
Showcasing mementos such as ticket stubs, Playbills, programs, menus, license plates etc.
Create a color scheme. Maybe all the pictures you choose will have distinctly blue details. Or perhaps you’ll arrange a large number of pictures in a rainbow design, starting with red and working your way through to violet.
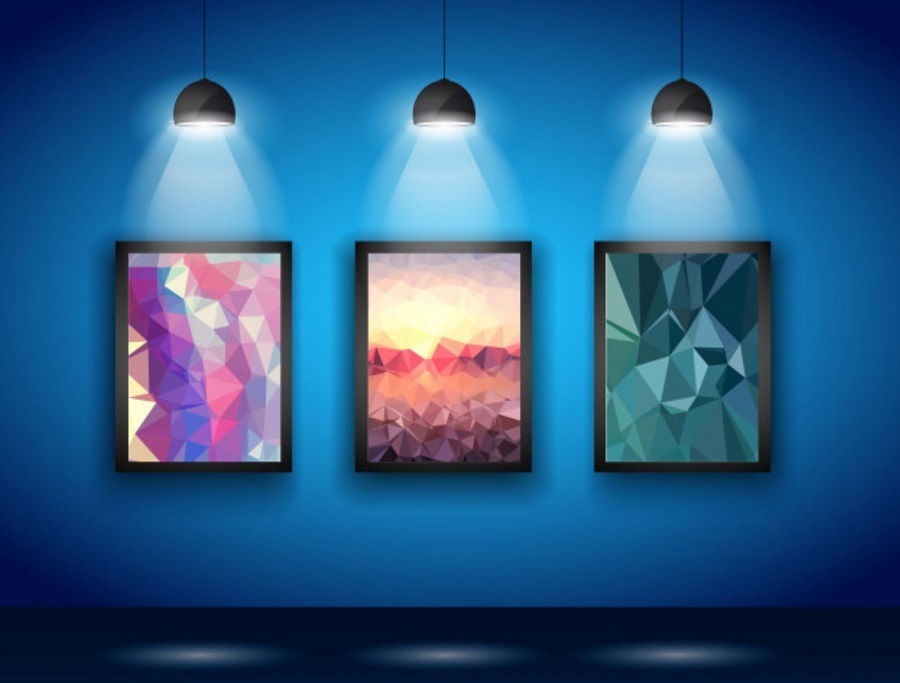
Strategically place lights to showcase your photo wall, either using string lights or installing gallery lighting (which can be purchased affordably at places like Ikea.)

Make a family tree, showcasing as many relatives as your wall can hold.
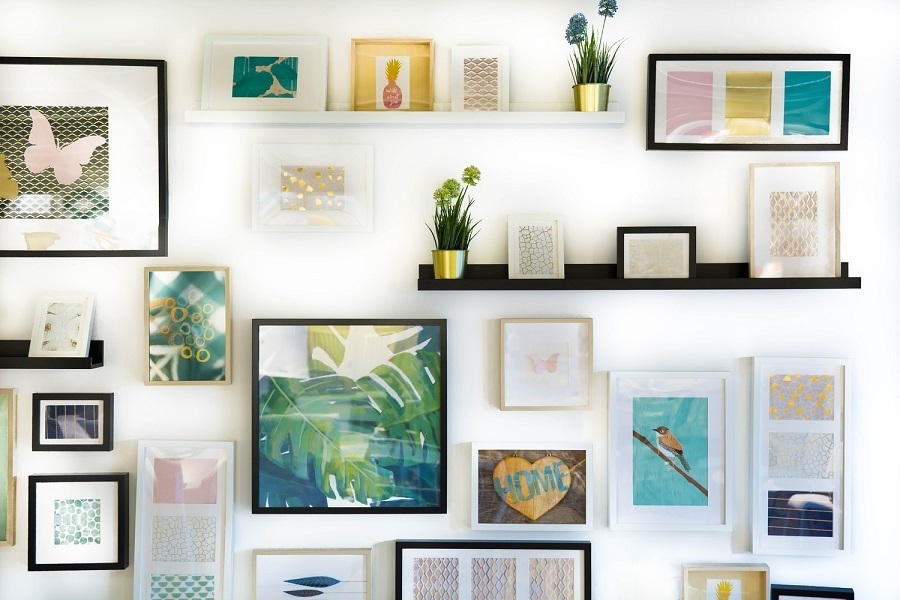
Add more pictures and create more texture by layering frames. This idea takes a lot more thought upfront because frames will need to be attached before being mounted to the wall.
Use magnetic paint on a wall, so that you can showcase your pictures with fun magnets.
When it comes down to it, you can spend all day searching the Internet for the most creative photo wall ideas. Still, we think the best advice we can give you is just to gather up the inspiration and photos that you have and see what you can make of it. We never know what a project will look like from the get-go because the really good ideas only start to flow when I’m in the process.


