Last updated on
Discover the essential steps to accurately measure your kitchen, ensuring a seamless renovation or redesign process with our easy-to-follow guide.
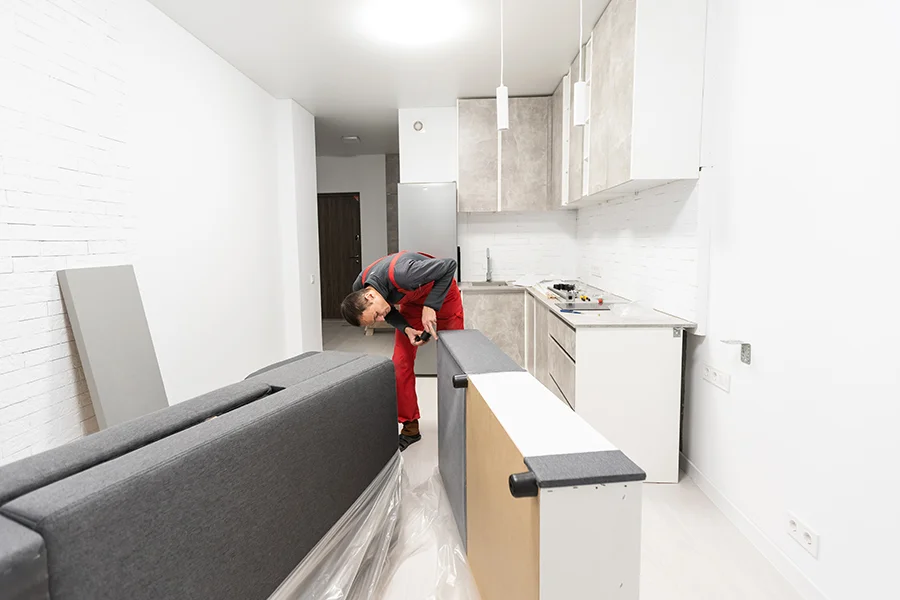
Are you planning to renovate your kitchen or just looking to add some new appliances? Before you start browsing through catalogs and websites, it’s important to know the exact measurements of your kitchen. Measuring a kitchen may seem like a daunting task, but fear not! With these simple steps and tips, you can measure your kitchen accurately and confidently.
So grab a measuring tape and let’s get started on creating the perfect layout for your dream kitchen!
Key takeaways:
- Accurate measurements ensure efficient layout and sufficient storage space.
- Essential tools: measuring tape, graph paper, pencil, eraser, calculator, step ladder.
- Measure floor space, walls, cabinet dimensions, countertops, sink/faucet, and appliances.
- Consider corners, doors/windows, ceiling height, plumbing access, and electrical outlets.
- Double-check measurements, verify with a partner, and create a detailed floor plan.
What's Inside
Importance of Measuring
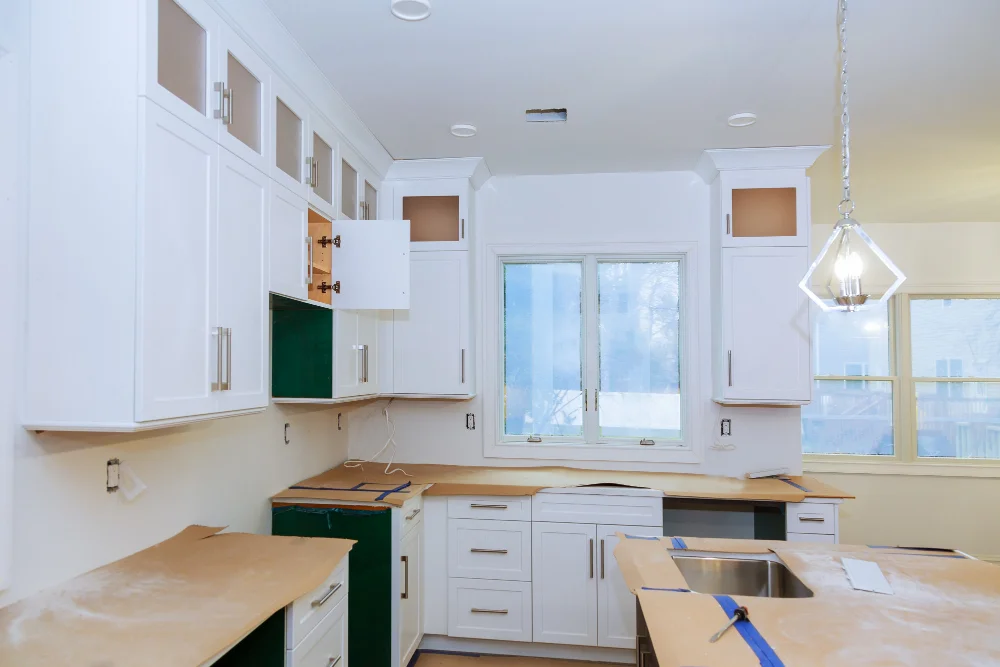
Accurate measurements ensure that you have enough space for all of your appliances, cabinets, and countertops while also allowing for proper ventilation and movement within the room. Without precise measurements, you may end up with an inefficient layout or not enough storage space.
Accurate measurements can help prevent costly mistakes such as ordering incorrect cabinet sizes or appliances that don’t fit properly in their designated spaces.
By taking the time to measure your kitchen accurately before starting any renovations or purchasing new items, you’ll be able to create a detailed plan that meets all of your needs and fits within your budget constraints.
Tools Needed
Here are some essential items you’ll need:.
1. Measuring tape: A reliable measuring tape is a must-have for any home decorator or DIY enthusiast.
2. Graph paper: This will help you create an accurate floor plan of your kitchen.
3. Pencil and eraser: You’ll be making a lot of marks and adjustments as you measure, so make sure to have plenty of pencils and erasers on hand.
4. Calculator: You may need to do some quick calculations when determining square footage or converting measurements from inches to feet.
5. Step ladder or stool: If there are high cabinets or shelves in your kitchen that require measurement, having a step ladder or stool can come in handy.
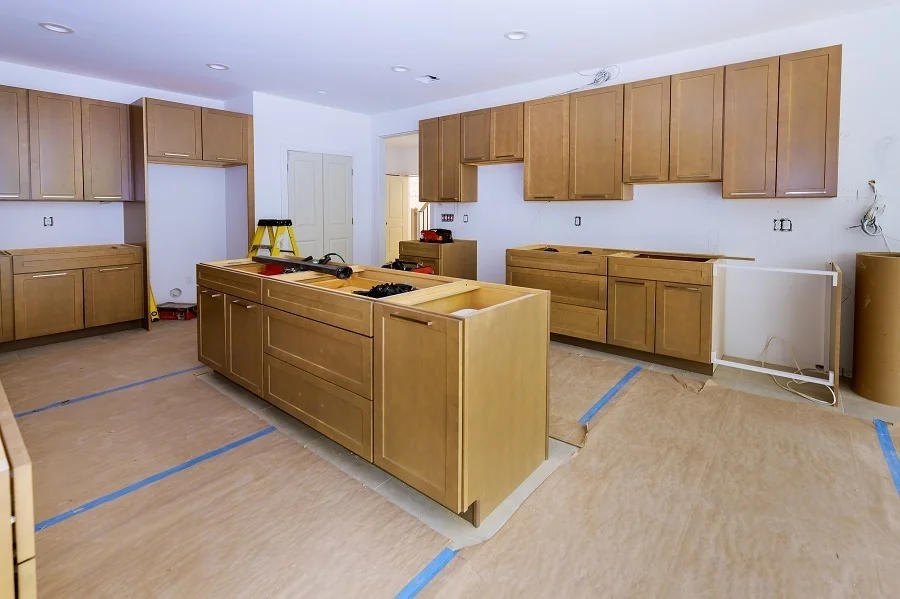
Measuring Floor Space
It’s important to get an accurate measurement of this area as it will determine how much room you have for cabinets, appliances, and other features. To measure the floor space, start by finding a corner of your kitchen and measuring from that point to the opposite wall.
Be sure to measure both sides of any corners or angles in your kitchen as these can affect how much usable space you have.
Once you’ve measured one side of your kitchen, move on to measuring across from that wall until you reach another corner or angle. Continue this process until all walls are measured and recorded accurately.
It’s also essential to take note of any obstacles such as pipes or vents that may be present on the floor surface since they can impact cabinet placement during installation.
Determining Wall Space
This is important because it will help you decide where to place your cabinets and appliances. To measure the wall space, start by measuring each individual wall from corner to corner.
Be sure to include any doorways or windows in your measurements.
Once you have all of your measurements written down, add them together for a total measurement of all walls combined. It’s also important to note any obstacles on the walls such as light switches or electrical outlets so that they can be taken into consideration when planning out cabinet placement.
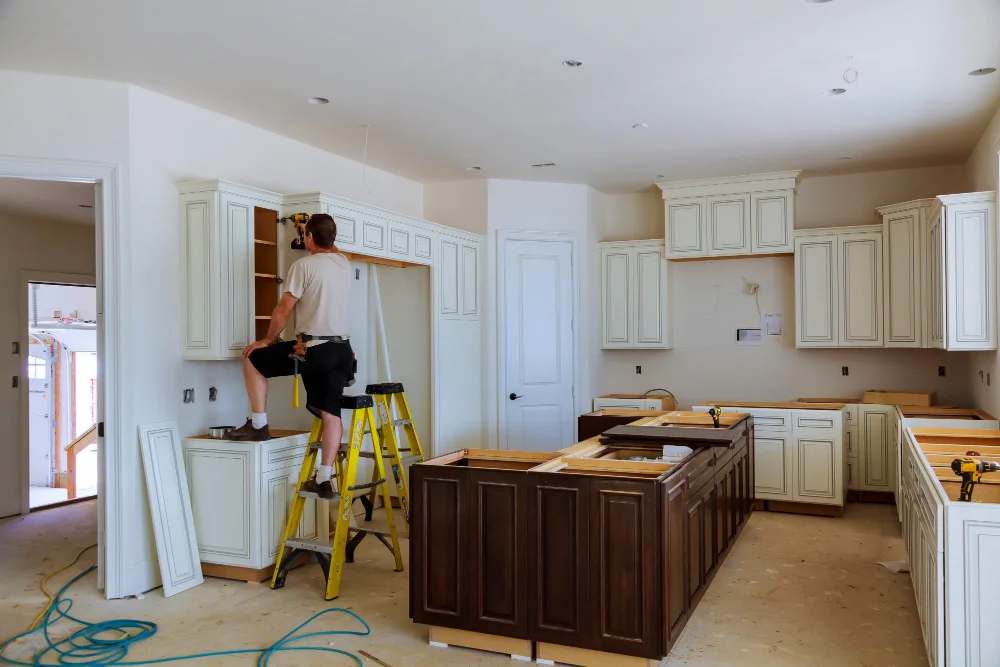
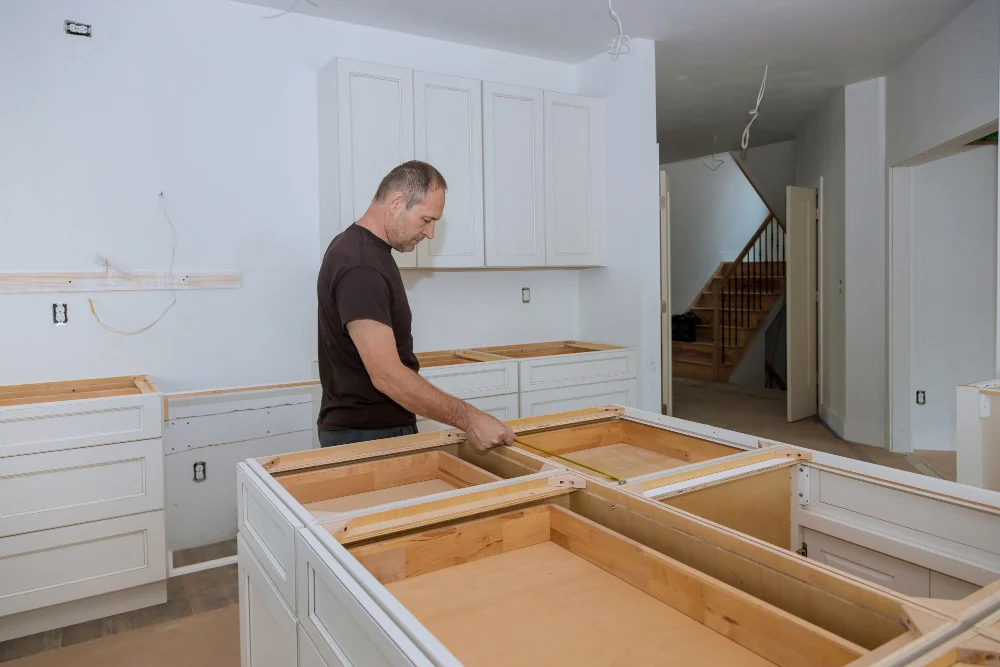
Assessing Cabinet Dimensions
Start by measuring the height, width, and depth of each cabinet. If you have cabinets that are not a standard size or shape, take additional measurements such as diagonal lengths or angles.
When measuring the height of your cabinets, start from the floor to the top edge of each cabinet box. For upper cabinets mounted on walls with different heights (such as above a range hood), measure from their bottom edge instead.
To determine cabinet width measurements for base units (those sitting on floors), use your tape measure to get dimensions between adjacent walls where they will be installed. For wall-mounted units (upper cabinetry) record distances between studs in which they will hang.
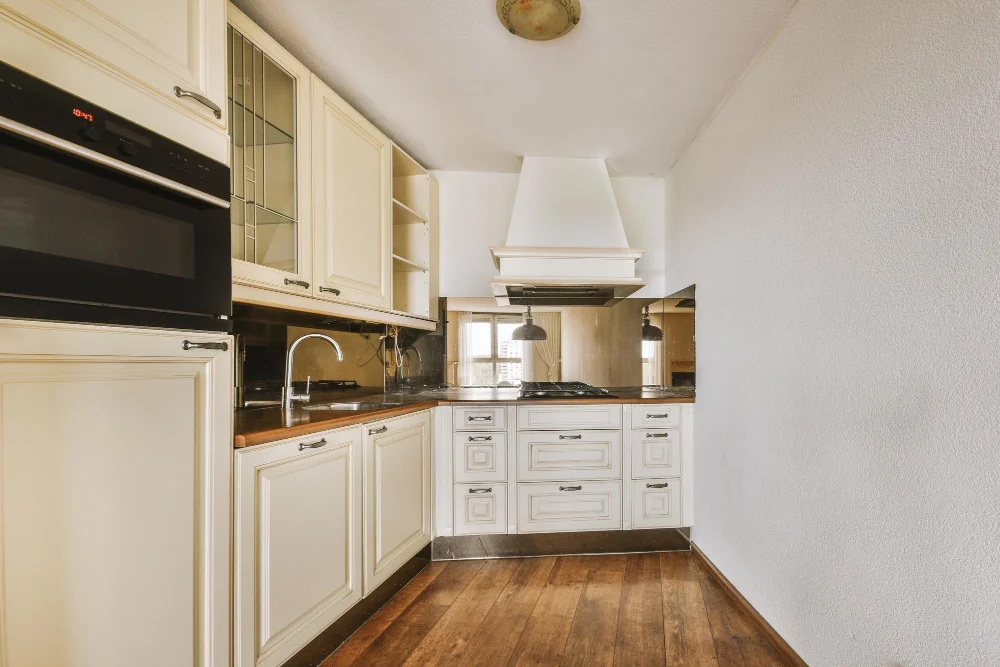
Evaluating Countertop Area
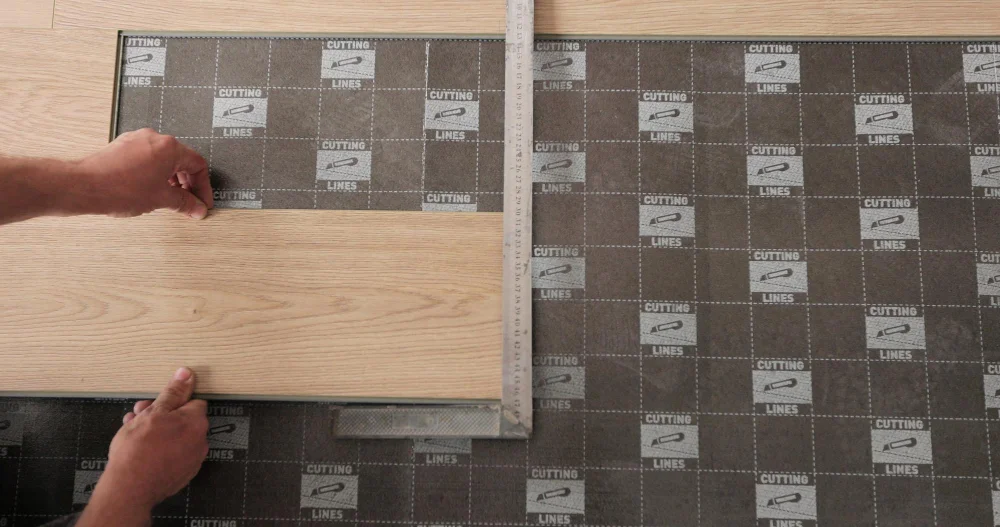
Countertops are an essential part of any kitchen, as they provide a workspace for cooking and preparing meals. To measure your countertops accurately, start by identifying the length of each section that requires a countertop.
Measure from one end to another while keeping in mind any corners or angles that may affect the measurement.
Next, determine how deep you want your countertops to be. Standard depth is usually around 25 inches but can vary depending on personal preference or appliance size requirements.
Once you have determined both length and depth measurements for each section requiring a countertop surface area, multiply these two numbers together to get the total square footage needed for all sections combined.
It’s important not only to measure accurately but also consider other factors such as backsplash height or overhangs when evaluating countertop areas during renovation projects.
Measuring Sink and Faucet
Measuring these elements accurately is crucial to ensure that they fit perfectly into your kitchen design. To measure the sink, start by measuring the width of the countertop where you plan to install it.
Next, measure from front to back along with its depth.
When measuring for a faucet, consider both its height and reach as well as how many holes it requires in your countertop or sink basin. Most faucets require one or three holes; however, some may need more depending on their design.
It’s important not only to take accurate measurements but also note down any additional features such as soap dispensers or sprayers that may affect installation requirements.
Appliance Measurements

Appliances such as refrigerators, ovens, dishwashers, and microwaves all come in different sizes that can affect the overall layout of your kitchen.
To measure for appliances accurately:.
- Measure the width: Start by measuring from one side to another side of where you plan on placing an appliance.
- Measure the height: Next measure from top to bottom or floor to ceiling depending on where you want it placed.
- Measure depth: Finally measure how far out from a wall or cabinet an appliance will extend.
It’s also essential to consider clearance requirements for each appliance type when taking measurements since they need enough space around them for proper ventilation and operation.
Navigating Corners
Whether it’s an inside or outside corner, you need to ensure that your measurements are accurate and precise. To measure an inside corner, start by measuring from the edge of one wall to the point where it meets the other wall.
Then measure from that point to where the two walls meet at a right angle in order to determine how much space there is between them.
For outside corners, you’ll want to take three separate measurements: one for each side and one for across both sides. This will give you an accurate measurement for any cabinets or countertops that will be installed in this area.
Remember, when taking measurements around corners always use a straight edge such as a ruler or leveler so your lines remain straight and true throughout all angles.
Verifying Door and Window Size
This will help you determine how much wall space is available for cabinets and appliances. To measure a door or window, start by measuring from the inside edge of the trim on one side to the inside edge on the other side.
Then measure from top to bottom in three places: at each end and in the middle.
It’s also essential that you verify these measurements before finalizing your design plan with a professional designer or contractor. Double-checking ensures that there are no discrepancies between what was measured initially versus what is actually installed during construction.
Inaccurate measurements can lead to costly mistakes such as ordering cabinets that don’t fit properly around windows or doors, which could result in additional expenses for reordering new materials.
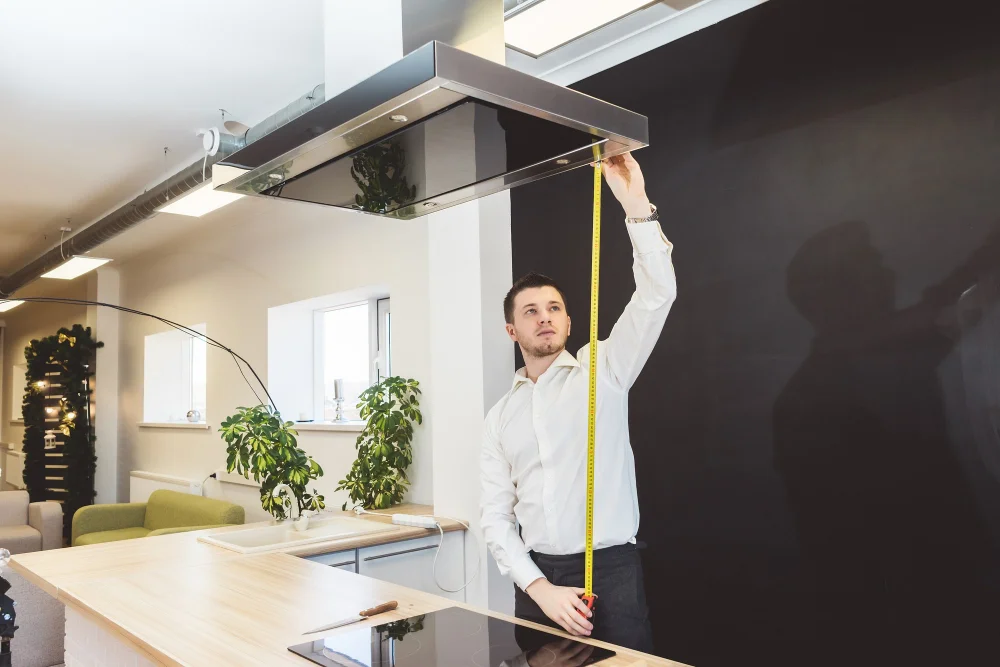
Taking Ceiling Height
This measurement is crucial for determining the size of cabinets and appliances that can fit in your space. To measure your ceiling height, start by finding the highest point on your floor and then measure up to where the wall meets the ceiling.
Be sure to take measurements at multiple points along each wall as ceilings are not always level.
If you have a sloped or vaulted ceiling, you will need additional measurements taken at different heights along each slope or angle of your roofline. These measurements will help ensure that any cabinetry installed against these walls fits properly without leaving gaps between them and their surroundings.
Marking Electrical Outlets
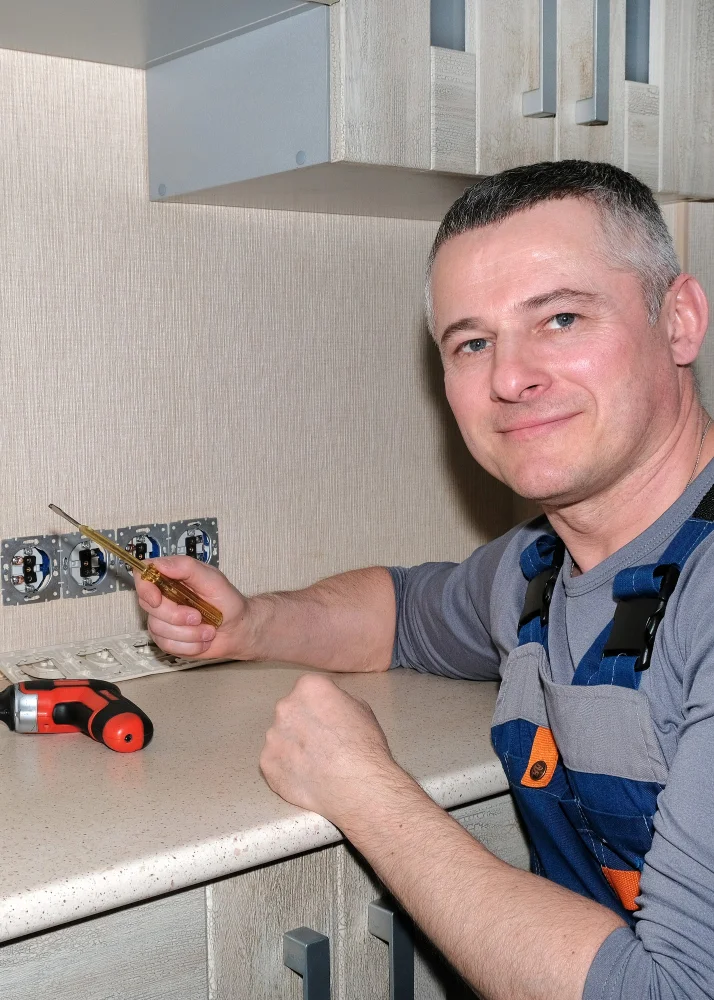
These outlets are essential for powering appliances, lighting fixtures, and other electronic devices in your kitchen. To mark electrical outlets accurately during measurement, you can use a different colored pencil or marker to differentiate them from other measurements on your sketch.
Start by identifying all the electrical outlets in your kitchen. You can do this by looking around each wall and taking note of where they are located.
Once you have identified them all, measure their distance from the floor as well as their distance from adjacent walls or corners.
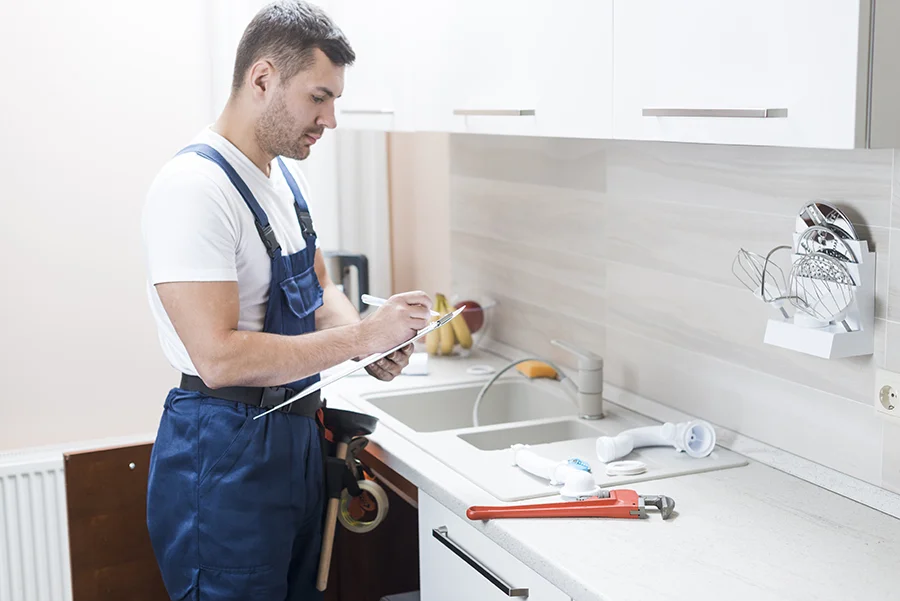
Assessing Plumbing Access
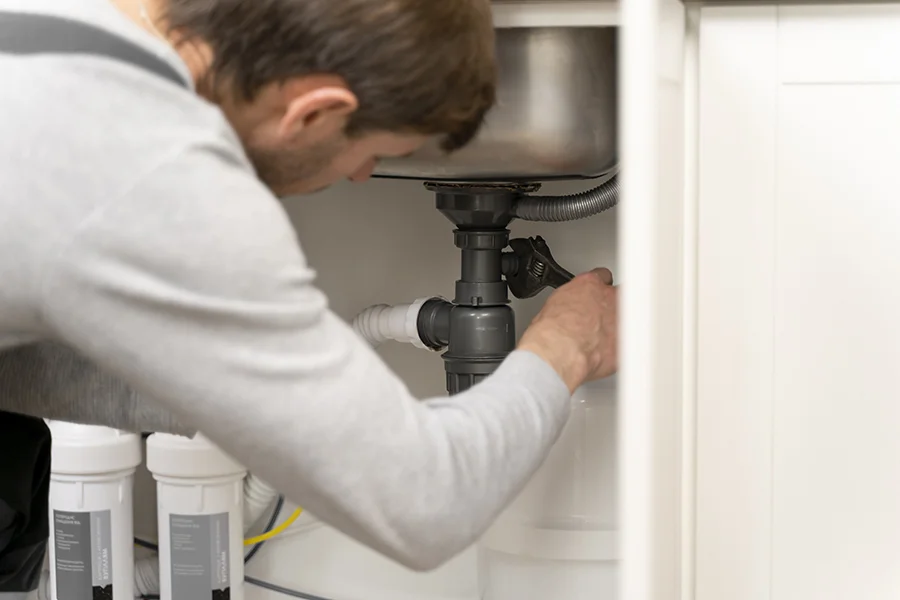
This includes identifying where the water supply and drain lines are located in relation to your sink, dishwasher, and refrigerator. Knowing this information will help you determine if any changes need to be made during a renovation or redesign process.
To assess plumbing access, start by locating all of the existing pipes in your kitchen. If you’re unsure about their location or need assistance with this step, consider hiring a professional plumber for guidance.
Once you’ve identified where everything is located, measure from each fixture (sink/dishwasher/refrigerator) to its corresponding water supply and drain line. Make sure that there is enough space between each fixture so that they can function properly without interfering with one another.
If any changes need to be made during a remodel or redesign process – such as moving fixtures around – make sure that these adjustments won’t interfere with other aspects of your kitchen design plan before proceeding further.
Measuring Island Dimensions
An island can be a great addition for extra counter space, storage or even as a dining area. To measure the dimensions of your future island, start by measuring the length and width of the available floor space where you want it installed.
Make sure there is enough clearance around all sides of the proposed location so that people can move freely through your kitchen without bumping into anything.
Next, consider how high you want your countertop surface to be and factor in any appliances or fixtures that will need access from underneath such as dishwashers or trash compactors.
Estimating Storage Capacity

After all, a well-designed kitchen should not only look great but also provide ample space for storing utensils, cookware and other essentials. To estimate the storage capacity of your cabinets and drawers, measure their dimensions carefully.
This will help you determine how much space is available for storing items.
To get an accurate measurement of cabinet depth and height, open each cabinet door or drawer fully before taking measurements. Measure the width from one side to another while keeping in mind any obstructions such as pipes or electrical outlets that may affect the size of items that can be stored inside.
Once you have measured all cabinets and drawers in your kitchen accurately, use these measurements to calculate their total volume by multiplying length x width x height (in inches).
Handling Uniquely Shaped Kitchens
However, with some creativity and patience, you can still get accurate measurements. Start by breaking down your kitchen into smaller sections and measure each section separately.
For example, if your kitchen has an L-shape or U-shape layout, measure each leg of the shape individually.
Another option is to create a template of your floor plan using craft paper or cardboard. Trace the outline of your cabinets and appliances onto the template to get an accurate representation of their size and placement in relation to one another.
It’s also important to take note of any irregularities in wall angles or ceiling height as these will affect cabinet installation later on.
Taking Measurements During a Remodel
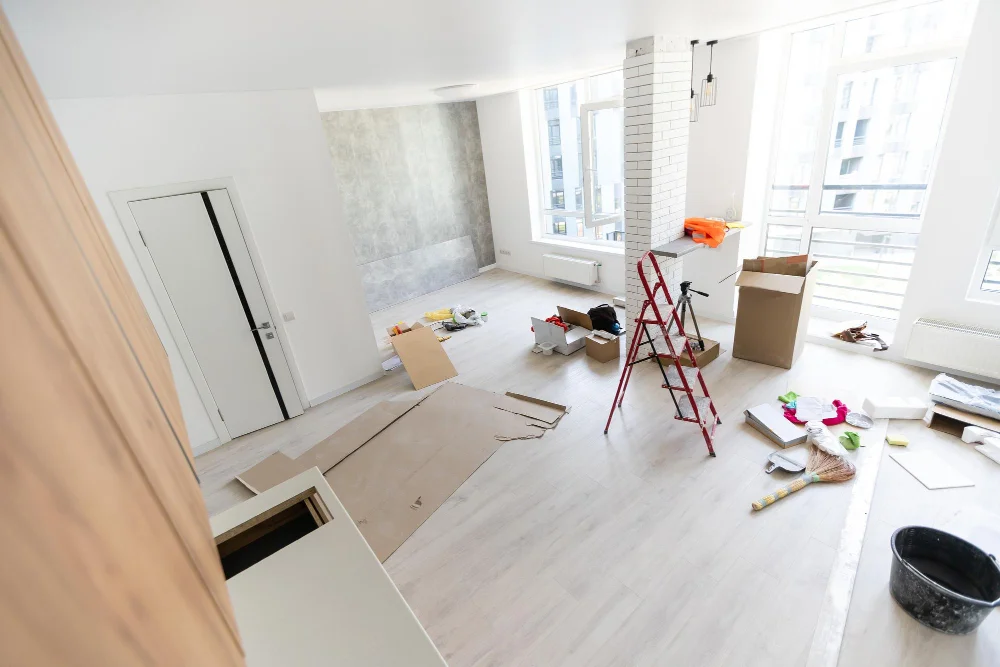
You’ll need to measure the existing space accurately and account for any changes that will be made during the renovation process. Before you start measuring, make sure to remove all appliances and furniture from the area so that you can get an accurate measurement of each wall’s dimensions.
When taking measurements during a remodel, it’s essential to consider any structural changes or modifications that may affect your kitchen layout. For example, if you plan on removing a wall or adding an island in your new design plan, these adjustments must be accounted for when measuring.
It’s also important to note any electrical outlets or plumbing fixtures in their current location as they may need relocation based on your new design plans. Taking precise measurements before starting construction ensures everything fits perfectly into place once installation begins.
Handling Common Measurement Issues
However, with the right approach and tools, you can handle these issues like a pro. One common measurement issue is uneven walls or floors that can affect your measurements.
To overcome this challenge, use shims or wedges to level out any irregularities before taking measurements.
Another issue is dealing with obstacles such as pipes and ductwork that may be in the way of your tape measure. In such cases, try using an L-shaped ruler or flexible measuring tape to get around these obstacles without compromising accuracy.
Lastly, if you’re working on an older home where walls are not perfectly straight or square corners are hard to find – don’t panic! Instead of relying solely on wall-to-wall measurements for cabinets and countertops placement; consider using reference points like doorways and windows instead.
Triple-Checking Your Measurements
This step is crucial in ensuring that your kitchen design will fit perfectly and function as intended. One way to do this is by having a second person verify your measurements for accuracy.
Another option is to measure everything twice yourself, making sure each measurement matches up exactly.
It’s also essential to take into account any irregularities or unique features of your kitchen space when triple-checking your measurements. For example, if you have an angled wall or a curved countertop edge, make sure these are factored into the final plan.
Creating a Kitchen Plan

A kitchen plan is essentially a blueprint of your new or renovated space that includes all the necessary elements such as cabinets, appliances, and countertops. Creating a kitchen plan can be done in several ways: by hand sketching on graph paper or using online design software.
If you prefer to do it yourself, start by drawing out your floorplan with accurate measurements and then add in any permanent fixtures like windows and doors. Next, consider where you want your appliances placed for optimal functionality – this will help determine where cabinets should go.
When designing cabinet placement think about how often items are used; frequently used items should be easily accessible while less-used ones can be stored higher up or further away from work areas.
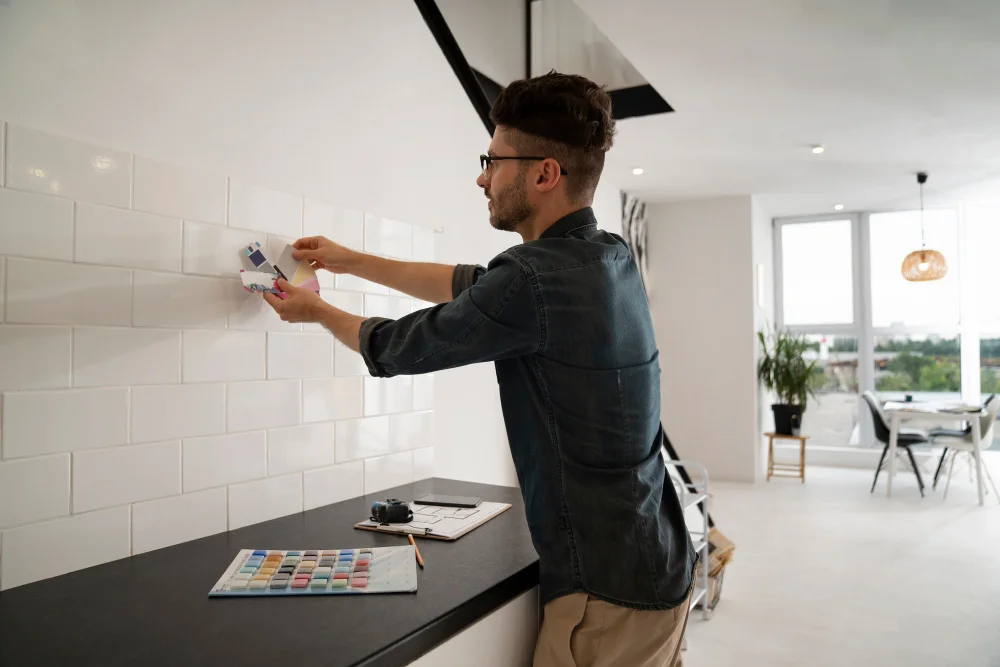
Don’t forget about lighting! Proper lighting is essential for creating an inviting atmosphere in any room but especially important when working with sharp knives and hot stovetops. Consider adding under-cabinet lights or pendant lights above an island to brighten up workspaces while also adding style points!
Sketching the Floor Plan
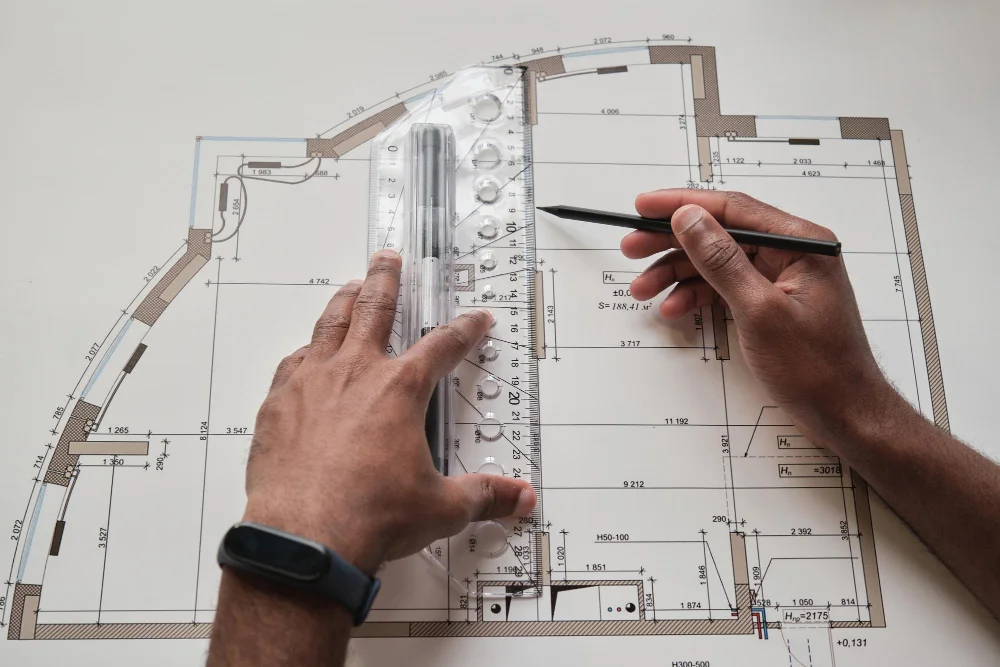
This will help you visualize how everything will fit together and give you a better idea of what changes need to be made. You can use graph paper or an online design tool to create your floor plan.
Start by drawing the outline of your kitchen, including any doors and windows. Then add in cabinets, appliances, countertops, islands or peninsulas as needed.
Be sure to label each item with its dimensions so that when it comes time for installation everything fits perfectly.
Don’t worry if your first draft isn’t perfect – this is just a starting point! Play around with different layouts until you find one that works best for your needs and space constraints.
Remember: accurate measurements are key when creating a floor plan! Double-check all of them before finalizing anything on paper or digitally.
Creating a Kitchen Elevation Drawing
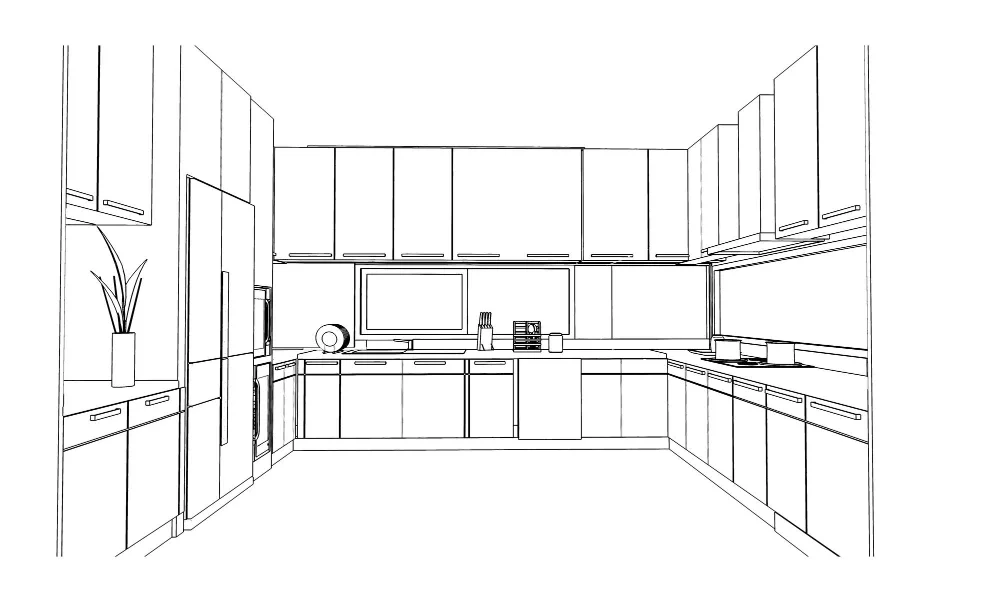
This is a detailed plan that shows the height and width of each wall, as well as any windows or doors. It also includes the placement of cabinets, appliances, and other fixtures.
To create an accurate kitchen elevation drawing, start by sketching out your floor plan on graph paper. Then use this sketch to draw each wall in detail with exact measurements for height and width.
Next, add in any windows or doors along with their dimensions. Be sure to include details such as which way they open and how much clearance is needed around them.
Add in your cabinets and appliances using scaled drawings that match their actual size. This will help you visualize how everything will fit together within your space.
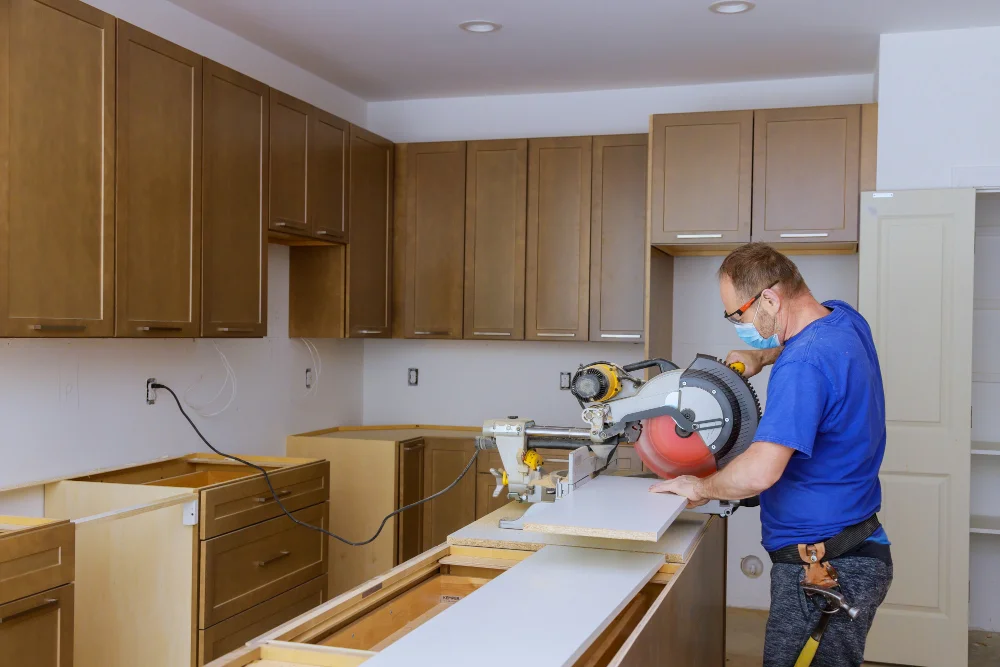
Tips From Professionals

That’s why we’ve gathered some tips from professional designers and contractors to help make your measuring experience smoother.
Firstly, it’s important to take accurate measurements of all the appliances that will be installed in your kitchen. This includes refrigerators, ovens, dishwashers and microwaves.
Make sure you measure their height, width and depth accurately so that they fit perfectly into their designated spaces.
Secondly, don’t forget about plumbing access points such as water supply lines or drain pipes for sinks or dishwashers. These should also be measured carefully so that there is enough space for them during installation.
Lastly but most importantly – always double-check your measurements! Even professionals make mistakes sometimes; therefore it’s essential to verify each measurement before finalizing any plans or purchases based on those numbers.
Tips for Accurate Measurements

First and foremost, make sure you have the right tools for the job. A measuring tape is a must-have tool when measuring your kitchen space.
It’s also helpful to have a notepad and pen handy to jot down your measurements as you go.
Another tip is to measure twice or even three times if necessary! Double-checking your work can save time and money in the long run by avoiding costly mistakes during renovations or redesigns.
When taking measurements, be precise with fractions of an inch rather than rounding up or down. This level of accuracy will help ensure that all components fit perfectly into their designated spaces.
Lastly, don’t forget about corners! Measuring around corners can be tricky but it’s essential for creating an accurate floor plan layout. Use a corner-to-corner measurement technique by placing one end of the tape measure at one corner while extending it diagonally across until reaching another corner on the opposite side.
Common Measurement Mistakes
One of the most common measurement mistakes is not taking into account any obstacles or features that may affect your measurements. For example, if you have an angled wall or a bay window in your kitchen, it’s important to measure these areas accurately and adjust accordingly.
Another mistake is forgetting to take into account any molding or trim work around doors and windows. These small details can add up quickly and make a big difference in your final measurements.
Lastly, rushing through the measuring process can lead to errors as well. Take your time when measuring each area of your kitchen and double-check all of your calculations before moving on.
By being aware of these common measurement mistakes beforehand, you’ll be better equipped to avoid them during the actual process.
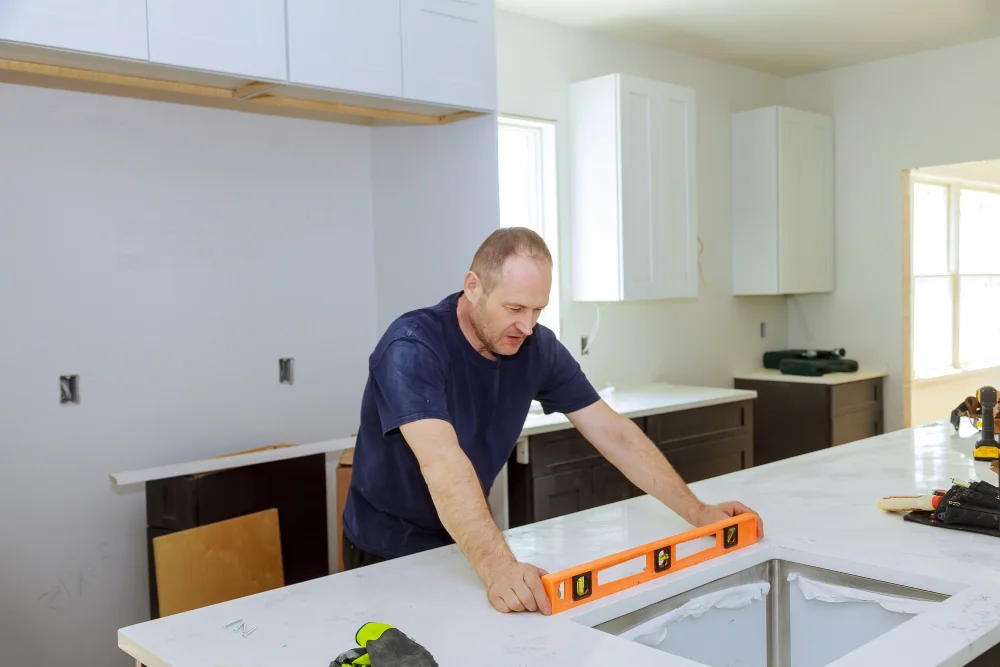
Verifying Your Measurements
This step is crucial in ensuring that all the dimensions are accurate and will fit perfectly into the space available. One way to do this is by double-checking each measurement with a partner or friend who can help confirm that everything lines up correctly.
Another method of verifying measurements involves using a laser level or plumb line to ensure that walls and corners are straight and square. You can also use masking tape on the floor to mark out where cabinets, appliances, and other fixtures will be placed so you can visualize how they’ll look in real life.
It’s essential not only to verify but also re-verify your measurements before finalizing any plans for renovation or redesigning of your kitchen layout. Taking these extra steps may seem tedious at first but could save time, money, and frustration down the road if something doesn’t fit as planned.
Adjusting Measurements for Renovations
For example, if you plan on removing a wall or changing the layout of your kitchen, this will affect the overall dimensions and require new measurements. If you are replacing cabinets or appliances with different sizes than what was previously installed in your kitchen, adjustments will also need to be made.
When making these adjustments for renovations, it’s crucial to ensure that all changes are accurately reflected in your final design plans. This is where working with a professional designer can come in handy as they have experience dealing with such situations and can help make sure everything fits perfectly.
Final Checklist for Measuring
Here is a final checklist for measuring your kitchen:.
- Verify that all measurements are accurate and consistent.
- Check that you have measured every area of the kitchen, including corners and unique spaces.
- Ensure that you have taken into account any obstacles such as doors or windows.
- Make sure electrical outlets and plumbing access points are marked accurately on your plan.
- Confirm ceiling height in different areas of the room if there are variations.
Scheduling a Design Consultation

However, if you’re not confident in your design skills or need some professional advice, scheduling a design consultation may be the best option for you. A design consultant can help bring your vision to life and provide expert recommendations on layout and materials.
During a consultation, they will review your measurements and discuss any specific needs or desires for the space. They can also offer suggestions on color schemes, lighting options, appliance placement and more.
When choosing a designer or consultant make sure to do research beforehand by checking their portfolio of work online as well as reading reviews from previous clients. It’s important that they understand what is most important to you when designing this space so that they can create something truly unique just for YOU!
Conclusion

By taking accurate measurements, you can ensure that your new appliances and cabinets fit perfectly into the space without any issues. Remember to take your time when measuring and triple-check all of your calculations before finalizing them.
If you’re unsure about anything or need some extra guidance, don’t hesitate to reach out to a professional for help.
With these simple steps and tips outlined in this guide, we hope that you feel confident enough to tackle the task of measuring your kitchen on your own! So grab that tape measure and start creating the perfect layout for the heart of your home today!.
FAQ
What is considered a 10×10 kitchen?
A 10×10 kitchen is an “L” shaped kitchen measuring 10 linear feet long by 10 linear feet wide, used as the industry standard to estimate the number of cabinets needed and approximate cost for a basic kitchen.
What are common measurements for a kitchen?
The average standard kitchen dimensions are approximately 8 feet wide by 10 feet long, accounting for the total size, platform size, and clearance for unobstructed movement.
What are the standard dimensions for kitchen cabinets and countertops?
The standard dimensions for kitchen cabinets and countertops are base cabinets typically 24 inches deep and 36 inches tall, while wall cabinets usually have a depth of 12 to 14 inches and countertops are typically 25 inches deep and 1.5 inches thick.
How can I accurately measure my kitchen for a remodeling project?
To accurately measure your kitchen for a remodeling project, use a tape measure to record the dimensions of walls, doors, windows, and any permanent fixtures, as well as the locations of plumbing and electrical outlets.
What tools and techniques are helpful when measuring a kitchen’s layout?
Answer: Helpful tools and techniques for measuring a kitchen’s layout include using a tape measure, graph paper, and a level for accuracy and precision.
Read More
 Are Smart Homes Actually Better for the Environment? The Benefits, Tradeoffs, and Hidden Costs of Connected Living
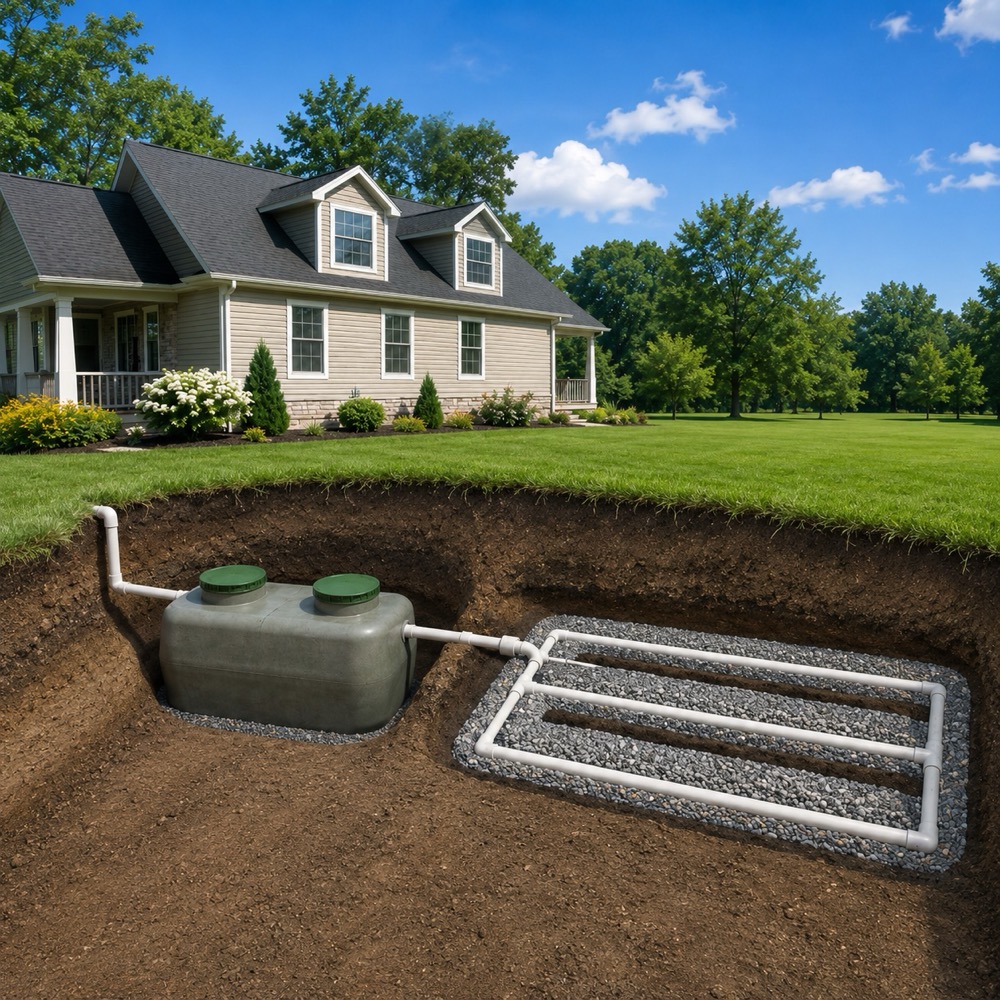 Understanding Your Septic System: Complete Guide for Rural and Suburban Homes
 Why Annual AC Maintenance Matters: The Real Cost of Skipping Tuneups
 Foundation and Crawlspace Design: Preventing Moisture Damage and Pest Entry
 Your First Steps in an Older Home (What to Inspect and Maintain)