Last updated on
Learn how to accurately measure your kitchen cabinets with this simple step-by-step guide that ensures you get the right dimensions for replacements or renovations.
Key takeaways:
- Use accurate measurements with a tape measure, notepad, and pencil
- Know the dimensions and terms of kitchen cabinetry
- Measure walls, height, windows, and appliances
- Double-check measurements for accuracy
- Consider storage needs, workflow, and clearance when choosing cabinets
What's Inside
Prepare to Measure Your Kitchen Cabinets
Before diving into the task of measuring, gather the following tools to ensure accuracy and ease:
- Tape measure: A must-have for precise measurements.
- Notepad and pencil: To jot down measurements and sketches.
- Level: To check the evenness of surfaces.
- Step ladder: Handy for reaching high places.
- Camera or smartphone: To take pictures of your current layout for reference.
Clear the areas you’ll be measuring to avoid any obstructions. Remove dishes and other items from countertops and empty out cabinets if possible. This not only gives you unimpeded access but also allows for a more accurate reading of the space you’re working with. Clean surfaces can also provide a clearer view of hard-to-see edges or corners that could affect your measurements.
Understanding the basic dimensions of cabinetry is also crucial. Familiarize yourself with terms like “depth,” “width,” and “height,” ensuring you measure in the right direction. For example, cabinet width is the front of the cabinet to the back wall, depth is the distance from the wall to the edge of the countertop, and height is from the floor to the top of the cabinet or countertop.
Finally, sketch an outline of your kitchen layout. This drawing doesn’t need to be to scale but should include where doors, windows, and appliances are situated. This reference ensures that you have a visual guide to accompany the numbers, reducing the potential for errors in planning and communicating your measurements to designers or contractors.
Taking Measurements for Kitchen Cabinets
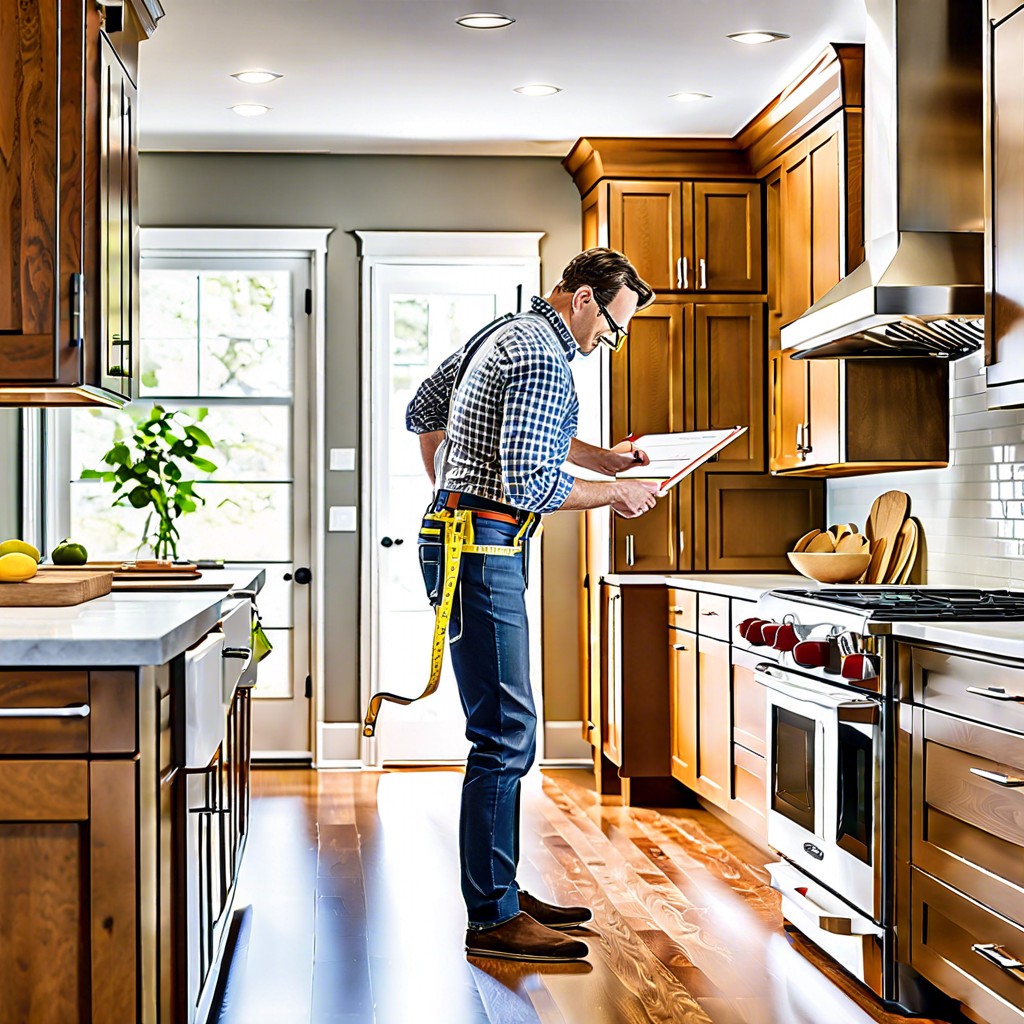
First, gather a quality tape measure, a notepad, a pencil, and possibly a step ladder for reaching high places. Clipboard or smartphone apps with measurement features can also be handy for ensuring that your notes are organized and readily accessible.
Starting Point
Always begin at one corner of your kitchen and measure to the first large object (such as a window or appliance) rather than jumping from spot to spot. This sequential approach will help you keep track of the measurements you’ve taken.
Wall-to-Wall Distance
Measure the total length of each wall from corner to corner. Record these baseline numbers as they will guide the dimensions for base cabinets and wall cabinets.
Vertical Measurements
Next, measure from the floor to the ceiling at each corner and in the middle of the wall. These measurements are crucial for ensuring that wall cabinets will fit and to understand if your ceiling is uneven – which is more common than you might think.
Windows and Appliances
Don’t forget to measure the size and location of your windows, doors, and appliances. Precise distances from corners and the floor to the bottom of the windows as well as the top, will ensure your new cabinets will not obstruct or collide with existing features.
Double-Check Accuracy
As the old adage advises, “measure twice, cut once.” Check each measurement at least twice to confirm accuracy. Missteps at this stage can lead to costly adjustments later or cabinets that simply don’t fit.
Diagrams can be immensely useful. Drawing a rough schematic of your kitchen layout, indicating the measurements you’ve collected, helps visualize the space and serves as a reference when choosing cabinet sizes.
How to Measure Step-by-Step
Begin with a clean slate. Clear countertops to allow for an accurate read of the space. Use a tape measure for precision and start at one corner, extending the tape to the far edge of the cabinet. Record the height, depth, and width in inches.
Height: Measure from the highest point of the floor to the ceiling. Subtract the space needed for countertops, usually about an inch, to determine cabinet height.
Width: Measure each wall’s width if you’re looking for a full remodel. For specific cabinets, measure from one side to the other. Note down the dimensions of windows, appliances, and fixtures that might affect the cabinetry layout.
Depth: For base cabinets, standard depth is usually 24 inches. For wall cabinets, it’s typically 12 inches. Measure from the wall outwards, ensuring you’re leaving enough space for clearance.
Additionally, check for any obstructions like pipes, vents, or electrical outlets. Map out where these are in relation to your planned cabinets to avoid surprises during installation.
Remember that in corner spaces, you’ll need to measure the door’s swing radius to ensure it can fully open without obstruction.
Pen and paper are your allies here. Sketch your measurements as you go, creating a rough diagram of your kitchen. This acts as a visual guide for both you and potential cabinet makers or retailers.
Determining The Cabinets For the Space
When you’re fitting cabinets into your kitchen, it’s essential to think about both aesthetic and practical considerations.
Firstly, take stock of your storage needs. Do you have large appliances that need a home, or an extensive collection of bakeware? Make sure you choose cabinet sizes to accommodate these with ease.
Next, consider the workflow in your kitchen. Cabinets should be placed to form a convenient layout, often recommended as the “kitchen triangle” between the fridge, sink, and stove, enabling efficient movement.
Don’t forget about clearance for doors and appliances. Cabinets should allow for fridge doors to swing open fully and dishwasher doors to drop down without obstruction.
Think vertical. Take advantage of high ceilings by opting for taller cabinets or adding smaller cabinets above the standard ones to maximize storage.
Lastly, factor in lighting. Under-cabinet lighting can’t be an afterthought; it’s critical to plan for fixtures that fit snugly under your wall cabinets to illuminate your workspace adequately.
Common Mistakes in Measuring and Mapping Spaces
Neglecting Clearance Areas: A critical error is failing to account for the clearance needed for appliances and doors. This oversight can lead to a cramped kitchen with limited functionality.
Overlooking Power Outlets and Plumbing: Missing the mark on where power outlets or plumbing are can result in expensive modifications later. Make sure to measure their positions accurately and plan cabinets around them.
Disregarding Existing Features: Some kitchens have fixed features like windows, beams, or soffits. Not measuring these elements correctly can disrupt the flow and aesthetics of your kitchen design.
Forgetting to Level: Kitchens may have uneven floors or walls. Using a level ensures cabinets are properly aligned. Without this, you may end up with slanted cabinets or uneven gaps.
Inadequate Space Planning: It is easy to focus on individual cabinet sizes and forget how they relate to the overall space. Consider walking space and the ‘work triangle’ between the sink, fridge, and stove.
Assuming Standard Cabinet Sizes: While cabinets come in standard heights and widths, not every kitchen is standard. Always measure the space instead of assuming standard cabinets will fit.
Ignoring Vertical Space: Floor to ceiling measurements are just as important as wall-to-wall. Taller cabinets can provide more storage, but only if they fit your ceiling height.
Imprecise Tools or Techniques: Use a reliable tape measure and record numbers as you go. Rounding to the nearest inch or centimeter can result in costly errors.
Skipping a Detailed Diagram: Visual plans can catch errors that numbers alone may miss. Drawing a to-scale map of your kitchen space can save headaches during installation.


