Last updated on
Learn the most efficient techniques to pack your kitchen items safely and effectively in this comprehensive guide.
Key takeaways:
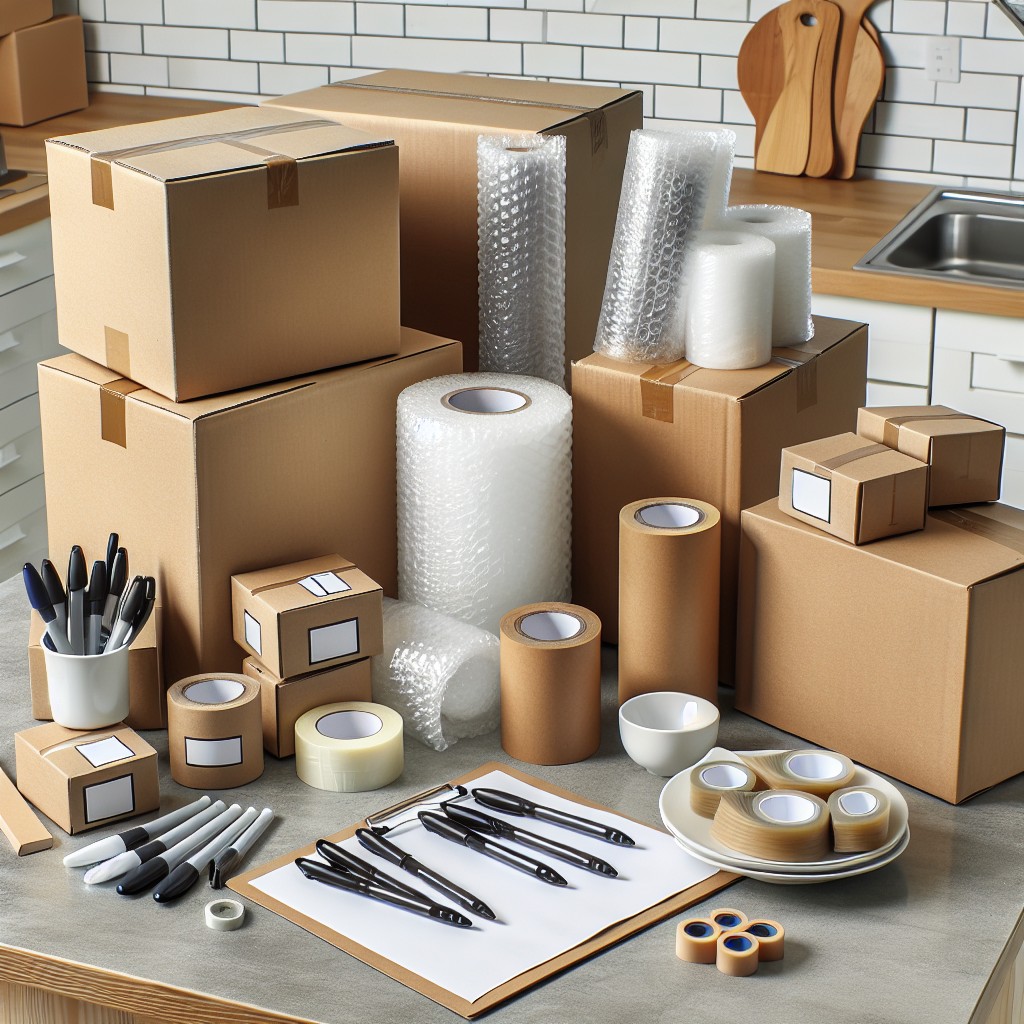
- Gather necessary supplies and boxes
- Declutter: Sort, Select, Simplify
- Prepare an essentials box
- Pack specific kitchen items: Glassware, Dishes, Appliances, Pots and Pans
- Seal and label each box
What's Inside
Gather Necessary Supplies and Boxes
Adequate preparation makes a world of difference when packing kitchen items. Start with sturdy boxes in various sizes; small ones for heavy items like books and canned goods, and larger ones for lighter items like plastic kitchenware and baking tins.
Special dish packs or cell dividers are a wise investment for protecting plates and glasses. Don’t forget to secure bubble wrap, packing paper, and stretch wrap to cushion your items, as well as powerful packing tape to seal the boxes. Use permanent markers for clear labeling — noting content and which side should face up can help ensure safe transport.
Additionally, make cushioning and padding a priority, especially with your fragile items.
рузка.
Declutter: Sort, Select, Simplify
Dive into decluttering by creating three categories: keep, donate, and discard. Tackle one cabinet or drawer at a time to avoid becoming overwhelmed. Ask yourself when you last used an item; if it’s been more than a year, consider letting it go. Hold onto essentials and your most-loved gadgets. For duplicates, keep the best and part with the rest. Donate gently used items to give them a second life. Simplify your kitchen by focusing on multipurpose tools that save space. By minimizing your kitchen inventory, packing becomes a breeze, and you’re setting the stage for an organized start in your new space. Remember, less is more when it comes to a functional kitchen.
Prepare an Essentials Box
Embarking on the packing journey, think ahead to the first days post-move. Mitigate the stress of rummaging through boxes by assembling an essentials box. This will be your culinary lifeline containing items for those initial meals and beverages.
Include easy-to-clean and versatile items like a small saucepan, skillet, and a multipurpose cooking utensil. Remember a few dishware basics — a couple of plates, bowls, cups, and cutlery sets. Prioritize the coffee maker or kettle if caffeine is a morning must-have. Toss in dish soap, a sponge, and a dish towel to clean up.
Lastly, stash some non-perishable snacks and simple meal ingredients to tide you over. This proactive step ensures the first meals in your new home are hassle-free, turning what could be a chaotic experience into one that feels organized and homely.
Pack Specific Kitchen Items: Glassware, Dishes, Appliances, Pots and Pans
Packing glassware requires cushioning; use bubble wrap or packing paper to individually wrap each piece. Nest cups and glasses inside one another with a paper layer in between and place them in sturdy, compartmentalized boxes.
When boxing dishes, the rule of thumb is to stack plates vertically, like records, after wrapping them in packing paper. This reduces the risk of breakage. Small cardboard dividers can add extra protection.
For appliances, first ensure they are clean and dry. Remove any loose parts or blades and wrap them separately. Use the appliance’s original box if available; if not, a box with sufficient padding will suffice.
As for pots and pans, take advantage of their hollow space to store spices, dish towels, or other small kitchen items wrapped in plastic bags. Stack them in a large box with the largest on the bottom, and pad with towels to prevent shifting. Remember, lids should be wrapped and packed separately to prevent scratching or denting your cookware.
Seal and Label Each Box
Once your kitchen items are safely tucked into their respective boxes, sealing them properly is crucial. Use strong packing tape to close both the top and bottom seams of the boxes, applying a couple of layers for added security, particularly if the contents are heavy. This step ensures that during the hustle and bustle of moving, the boxes hold up and your items stay protected.
After your boxes are sealed, grab a permanent marker for clear labelling. Mark each box with its contents and designated area in the new kitchen, such as “Glassware – Upper Cabinets” or “Utensils – Drawer next to the Sink.” This not only aids in the organization but also in the unpacking process, allowing you to prioritize which boxes to open first. For fragile items, don’t forget to add a big “FRAGILE” label on each side of the box, so movers know to handle these with extra care. Consider also numbering the boxes and keeping an inventory list to track everything you’ve packed—this comes in handy if a box goes missing.


