Last updated on
Discover the simple steps to transform your kitchen sink with a fresh coat of paint, elevating its style and durability for years to come.
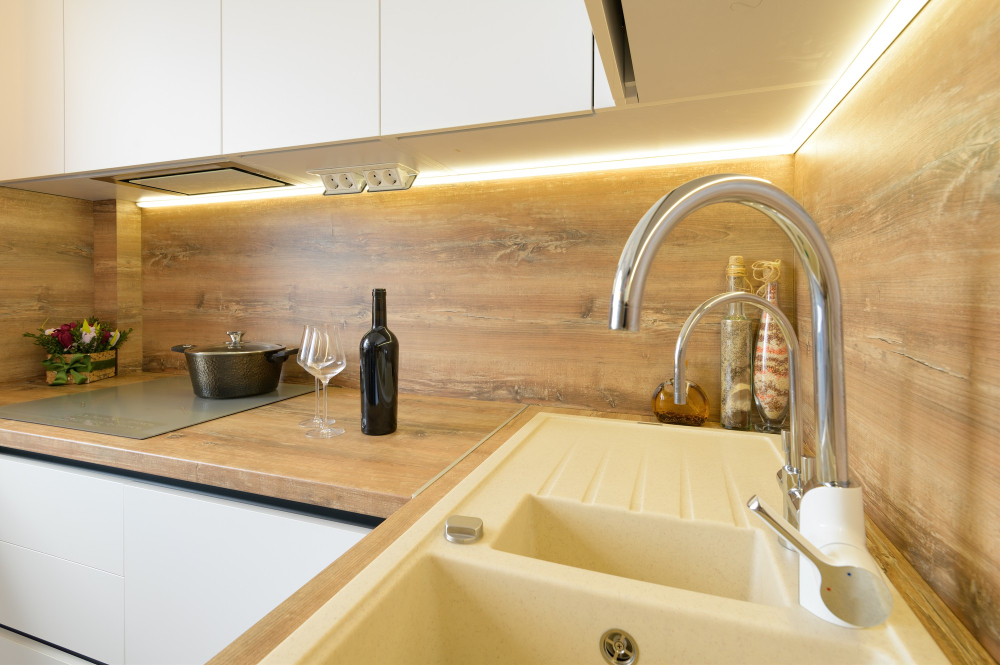
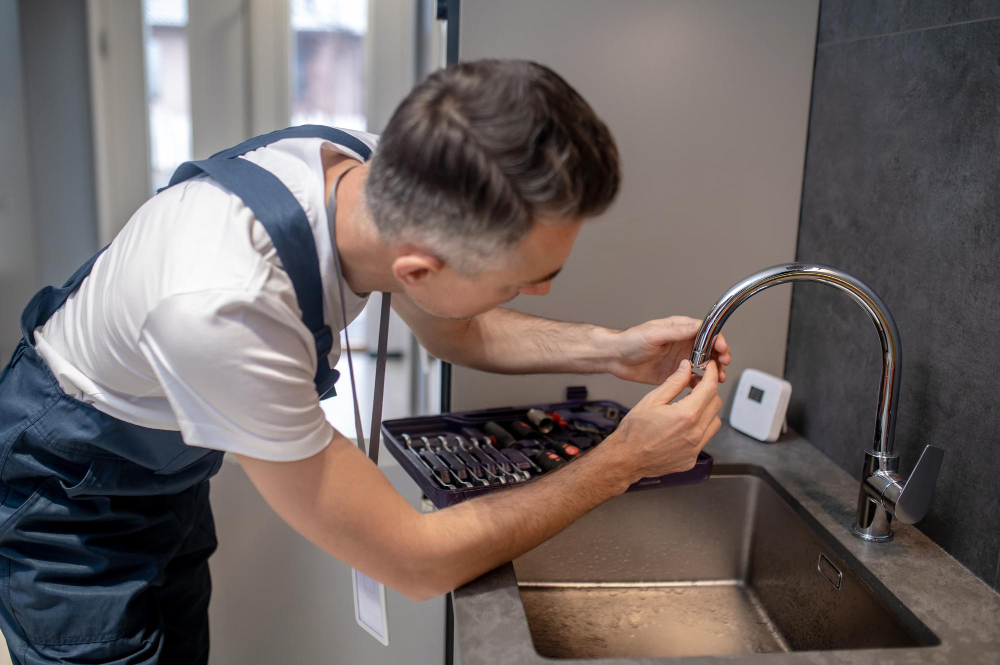
Are you tired of looking at your old, stained kitchen sink every day? Do you want to give it a fresh new look without having to replace it entirely? Well, painting your kitchen sink might just be the perfect solution for you! Not only is it an affordable option, but it’s also a fun DIY project that can completely transform the look of your kitchen. In this article, we’ll go over everything you need to know about painting a kitchen sink – from choosing the right paint and tools to preparing the surface and applying the paint.
So let’s get started and give your sink a much-needed makeover!
Key takeaways:
- Consider sink suitability and material compatibility.
- Choose the right paint type for your sink material.
- Properly prepare the sink surface before painting.
- Follow the correct steps for applying primer and paint.
- Allow sufficient drying and curing time for optimal results.
What's Inside
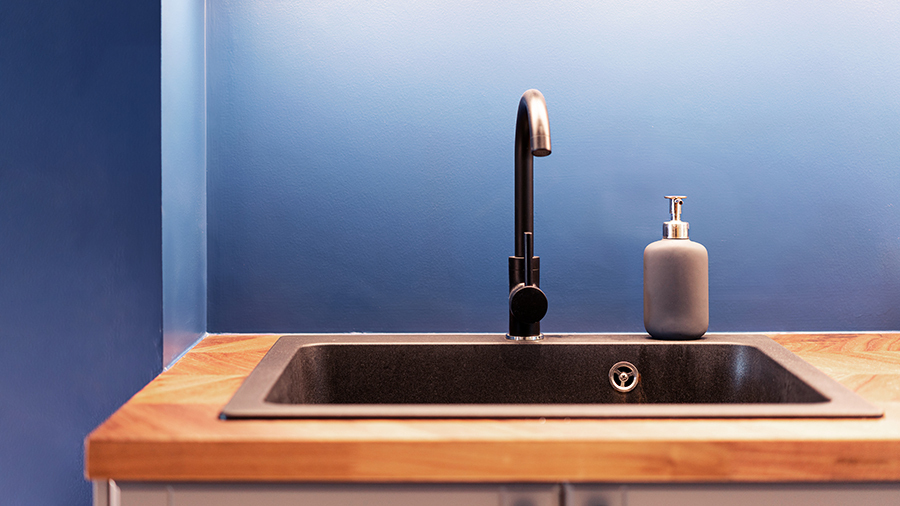
Can You Paint A Kitchen Sink?
The idea of painting a kitchen sink might seem strange at first, but it’s actually a popular DIY project that can give your kitchen an instant facelift. The good news is that you can paint almost any type of sink – from porcelain to aluminum and even earthenware or stoneware sinks.
However, before you start the process, it’s important to consider whether your sink is suitable for painting. For instance, if your sink has deep cracks or chips in its surface, then painting may not be the best option as these imperfections will still show through after applying paint.
If you have a stainless steel or acrylic sink with high-gloss finishes on them already applied by manufacturers during production; they may not hold up well against painted surfaces due to their smoothness and non-porous nature which makes adhesion difficult.
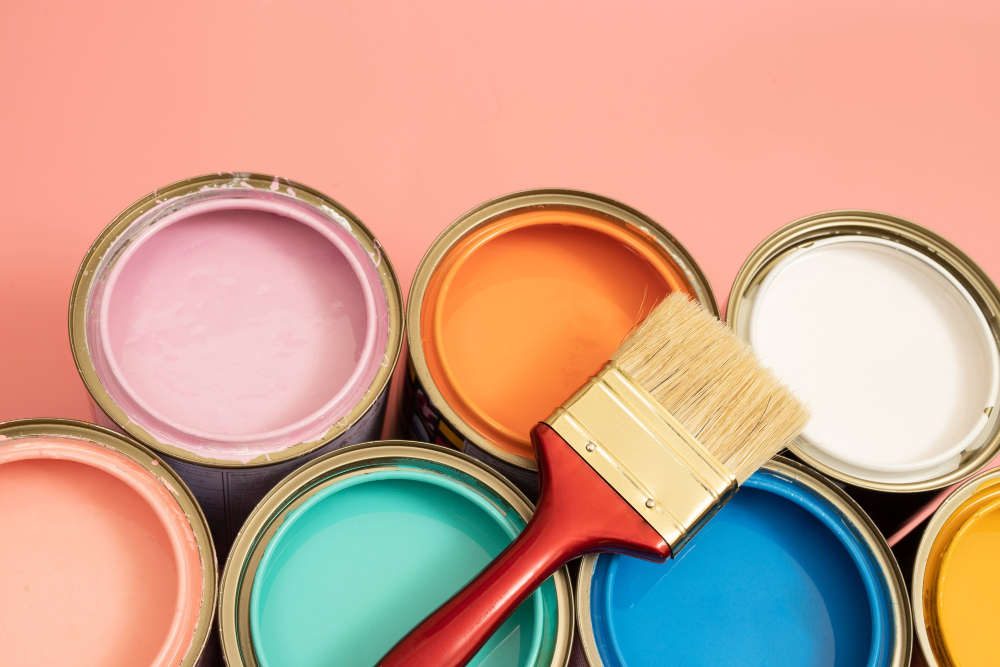
Choosing the Right Paint
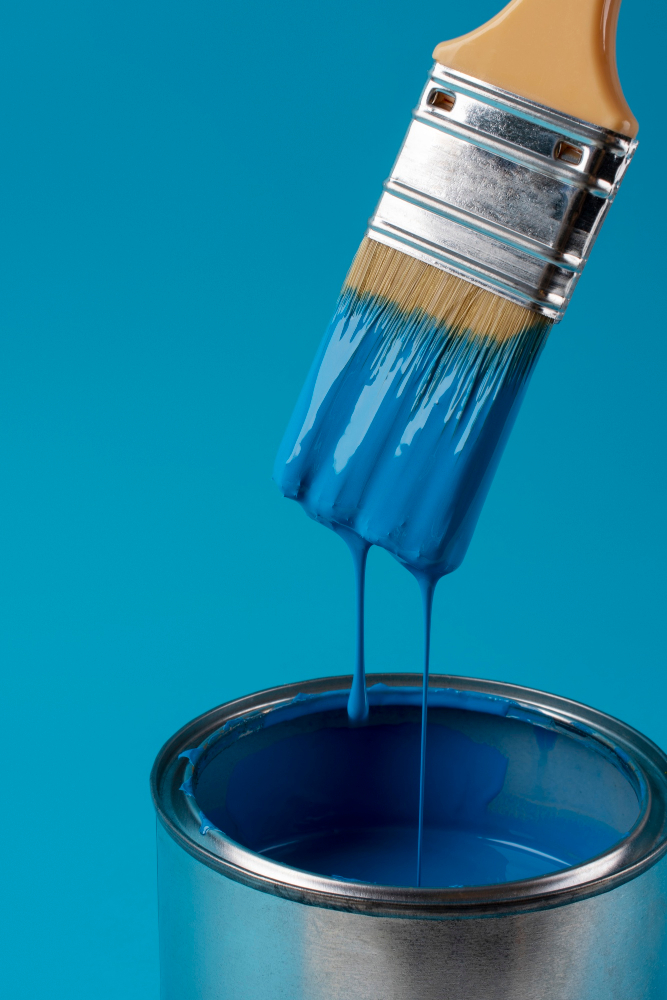
You’ll want to select a paint that can withstand constant exposure to water, soap, and other cleaning agents without chipping or peeling off easily.
For porcelain sinks, epoxy-based paints are an excellent choice as they provide superior adhesion and durability. For aluminum sinks, oil-based enamel paints work well due to their resistance against rusting and corrosion.
Earthenware or stoneware sinks require special attention when selecting the right type of paint. These types of materials tend to expand with temperature changes; therefore using regular household paints may not be suitable as they can crack over time.
Instead, opt for high-temperature ceramic coatings specifically designed for these types of surfaces.
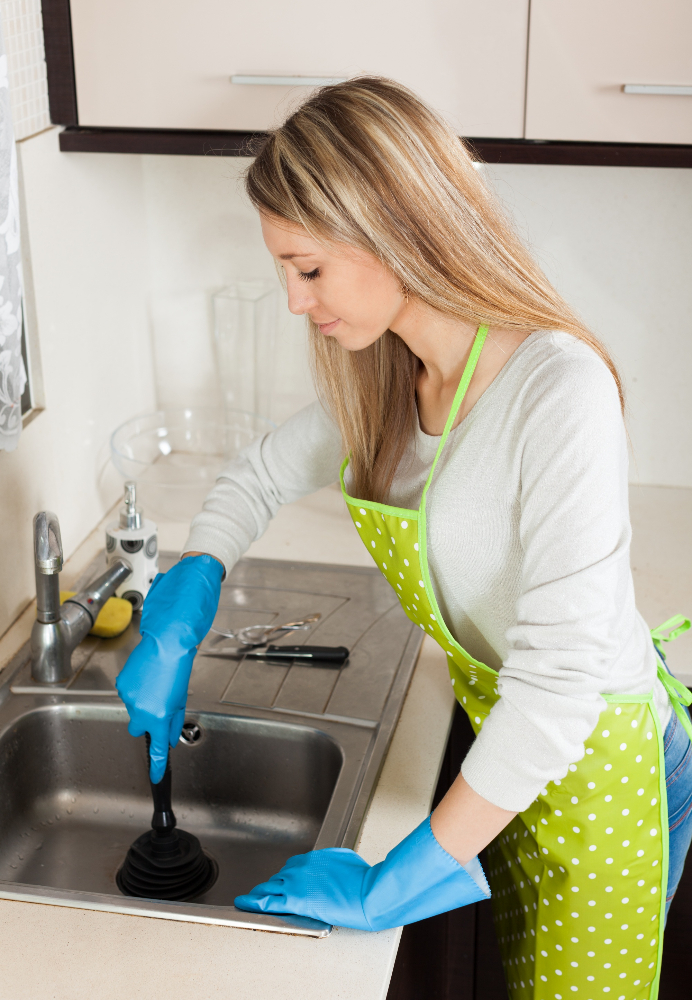
Sink Preparation
This step is crucial for ensuring that the paint adheres well and lasts longer. First, remove any fixtures or hardware attached to the sink, such as faucets and drain covers.
Then clean your sink thoroughly with a non-abrasive cleaner and rinse it off with water.
Next, use sandpaper or a sanding sponge to roughen up the surface of your sink slightly. This will help create tiny grooves in which paint can adhere better than on a smooth surface.
If there are any chips or cracks in your sink’s porcelain finish (if applicable), fill them using an epoxy filler before proceeding further.
Wipe down all surfaces of the basin with rubbing alcohol using a lint-free cloth; this will ensure that no grease residue remains on its surfaces before applying primer coat(s).
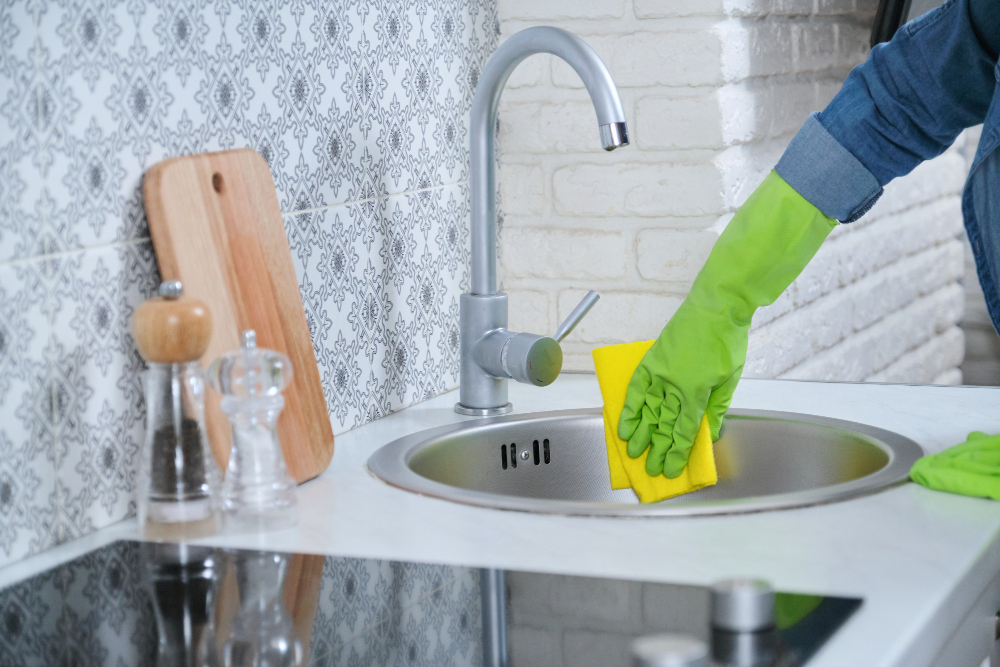
Cleaning the Sink
This will ensure that the surface is free of dirt, grime, and other contaminants that could affect the adhesion of the paint. Start by scrubbing your sink with a non-abrasive cleaner and a soft-bristled brush or sponge.
Rinse well with water and dry completely using a clean cloth.
Next, use rubbing alcohol or acetone to remove any remaining residue from the surface of your sink. These solvents are effective at removing grease, oil, wax buildup as well as soap scum from porcelain sinks.
For aluminum sinks use vinegar solution instead; mix equal parts white vinegar and water in a spray bottle then apply on all surfaces including corners where dirt can accumulate easily.
Repairing Any Damage
If there are chips or cracks in the sink, they need to be repaired before you can paint it. Otherwise, the paint won’t adhere properly and will eventually peel off.
To repair any damage on your sink’s surface, use a two-part epoxy putty that is specifically designed for porcelain or ceramic surfaces. This type of putty dries hard and can withstand high temperatures without cracking or shrinking.
Start by cleaning the damaged area with soap and water and then dry it thoroughly with a clean cloth. Next, mix equal parts of both components of the epoxy putty until they form a uniform color.
Apply this mixture onto the damaged area using a small spatula or toothpick until it is level with surrounding areas. Smooth out any bumps using your finger dipped in water so that there are no visible seams left behind after drying.
Allow this patching compound to cure completely as per manufacturer instructions before proceeding further with priming and painting steps mentioned above.
Primer Application
A good quality primer will also help cover any stains or discoloration on your sink. To begin with, make sure that your sink is completely dry after cleaning and repairing any damage.
Next, choose a high-quality bonding primer specifically designed for use on metal surfaces like sinks. Apply an even coat of the primer using a brush or roller, making sure not to leave any drips or bubbles behind.
Allow the first coat of primer to dry completely before applying another one if necessary. Two coats are usually enough for most sinks but follow manufacturer instructions as some primers may require more than two coats.
Paint Selection
Not all paints are suitable for painting sinks, so it’s important to select a high-quality paint that is specifically designed for use on surfaces that come into contact with water and cleaning products.
Epoxy-based paints are an excellent choice as they provide a durable finish that can withstand frequent exposure to water and chemicals. They also dry quickly and offer good adhesion properties.
When selecting your paint color, consider the overall look of your kitchen. Do you want a bold pop of color or something more subtle? Keep in mind that darker colors may show scratches or chips more easily than lighter colors.
It’s always best to follow the manufacturer’s instructions when applying any type of paint. Some paints require multiple coats while others only need one coat for full coverage.
Be sure to read up on drying times as well – some epoxy-based paints require several days before they fully cure.
Applying the Paint

Before starting, make sure that you are wearing protective gloves and a mask to avoid inhaling any fumes. Begin by applying a thin layer of paint using a brush or roller, making sure to cover every inch of the surface evenly.
Be careful not to overload your brush or roller with too much paint as this can lead to drips and uneven coverage.
Allow the first coat of paint to dry completely before applying another one if necessary. Depending on the type of sink material and quality of your chosen paint, two coats may be enough for full coverage.
If you’re painting an enamel-coated cast iron sink or porcelain sink, use an epoxy-based spray-on appliance coating instead for better adhesion and durability.
Remember that patience is key when painting a kitchen sink – rushing through this process will only result in poor results! Take breaks between coats if needed so that each layer has ample time (usually 24 hours) for drying before proceeding with additional layers.
Drying Time
Drying time can vary depending on the type of paint and the humidity in your area. Generally, most paints will require at least 24 hours to dry fully.
However, some may take longer or shorter periods.
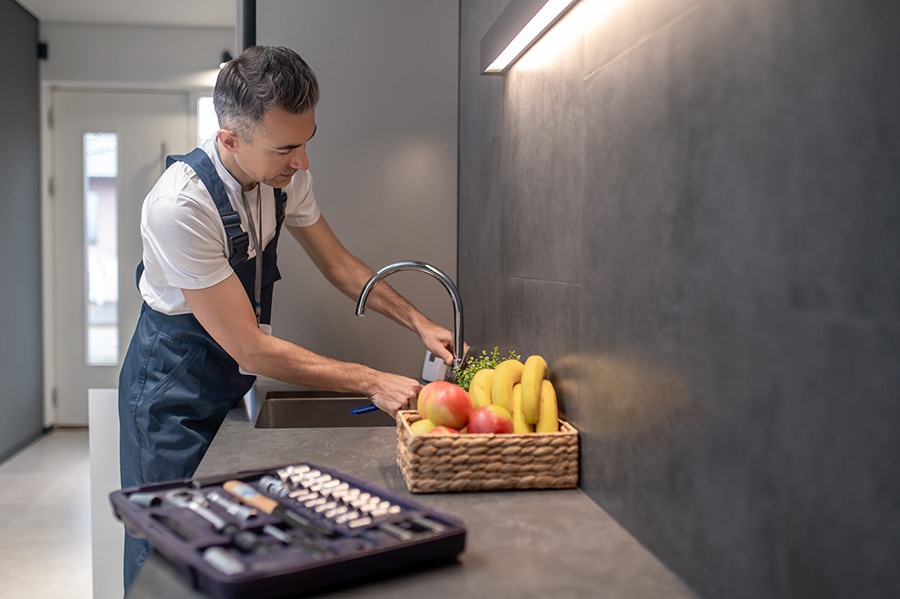
It’s essential not to rush this process as any moisture left behind could cause damage or ruin all your hard work! Once you’re confident that everything is entirely dried out and cured (if necessary), then go ahead and reinstall any fixtures that were removed earlier.
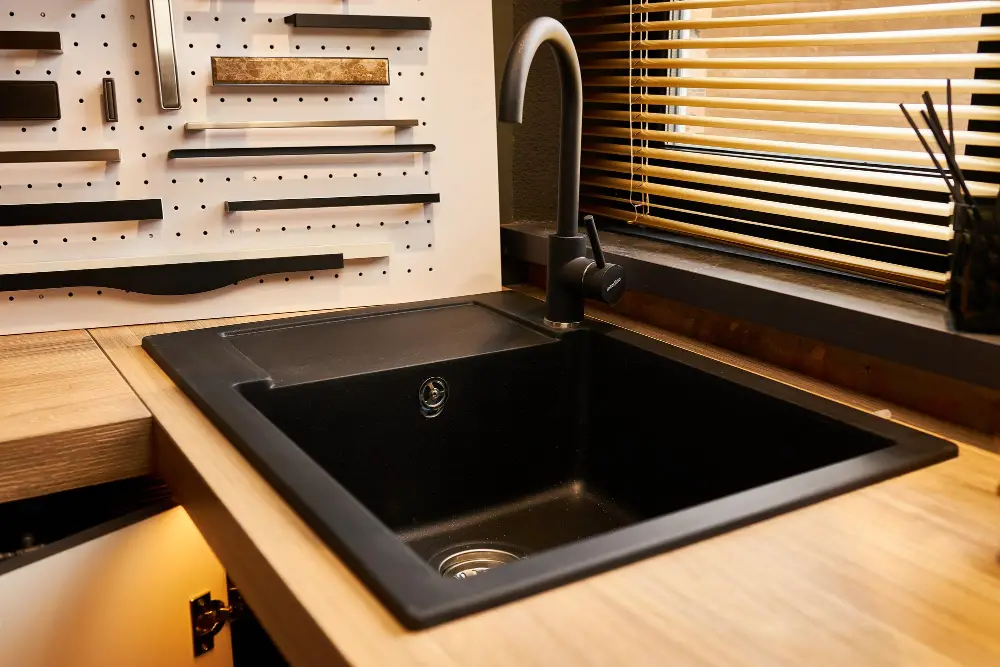
Adding Finishing Touches
You can use a clear sealant or wax over the painted surface for added protection against scratches and stains. This will also give your sink a glossy finish that looks great in any kitchen.
Another way to enhance the look of your newly painted sink is by adding decorative elements such as stencils or decals. These can be easily applied on top of the paint once it has dried, giving your sink a unique touch that reflects your personal style.
Don’t forget about updating any fixtures around the sink area such as faucets and handles. A new set of shiny hardware will complement your freshly painted sink perfectly, completing its overall transformation.
Reinstalling Fixtures
This includes faucets, handles, and drain covers. Make sure to use a wrench or pliers to tighten them securely in place.
If you notice any areas where the paint has chipped or peeled during reinstallation of fixtures, touch up those spots with a small brush and some extra paint.
It’s important not to use your sink for at least 24 hours after reinstalling all of the fixtures. This will give enough time for everything to dry and cure properly without being disturbed by water flow.
Maintaining Your Painted Sink

Here are some tips on how to keep your newly painted sink looking great for years to come:.
1. Avoid using abrasive cleaners or scrubbers that can scratch the surface of the paint.
2. Clean your sink regularly with a mild soap and water solution.
3. Wipe down any spills or stains as soon as possible to prevent them from setting in.
4. Use a soft cloth or sponge when cleaning your sink, rather than harsh materials like steel wool pads.
5. Be careful not to drop heavy objects onto the surface of the sink, which could cause chipping or cracking in the paint layer.
Troubleshooting Tips
If you encounter any issues while painting your kitchen sink, there are a few troubleshooting tips that can help you fix them.
One common problem is paint peeling or chipping off after it has dried. This could be due to inadequate surface preparation or using the wrong type of paint for your sink material.
To fix this issue, remove all loose paint with sandpaper and clean the area thoroughly before applying a new coat of primer and then another layer of paint.
Another issue that may arise is air bubbles forming in the painted surface during drying time. This can happen if too much pressure was applied when brushing on the first coat of paint or if there were impurities in either your brush or roller sleeve.
To solve this problem, lightly sand down any raised areas once dry before applying another layer.
Lastly, some sinks may have small cracks that become more visible after painting them over; these cracks might also cause water leakage from undermount sinks into cabinets below it which will damage woodwork around it over time.To avoid such problems inspecting for leaks beforehand would be wise.
Safety Precautions

First and foremost, make sure that the area where you’ll be working is well-ventilated. Open windows or use a fan to ensure proper air circulation and avoid inhaling any fumes from the paint or primer.
Wear protective gear such as gloves and a mask to prevent skin irritation or respiratory problems. If possible, work in an area away from children and pets who may accidentally come into contact with wet paint.
Always follow the manufacturer’s instructions for handling paints and primers safely. Some products may require specific storage conditions or disposal methods that should be followed carefully.
Porcelain Sink
If you have a porcelain sink, painting it can be an excellent way to give it new life without having to replace it entirely. However, there are some things you need to keep in mind when painting a porcelain sink.
Firstly, make sure that the surface is clean and free of any debris or stains before starting the process. You may also want to consider using an etching solution on your porcelain sink before applying primer as this will help the paint adhere better.
When selecting paint for your porcelain sink, choose one that is specifically designed for use on ceramic surfaces like Rust-Oleum Tub & Tile Refinishing Kit or Krylon Dual Superbond Paint + Primer.
Lastly, ensure that you allow enough time for drying and curing after applying each coat of paint. Porcelain sinks require more time than other materials such as aluminum or earthenware/stoneware because they take longer periods between coats due mainly because they’re non-porous surfaces which means less absorption by nature so drying takes longer than usual.
Aluminum Sink
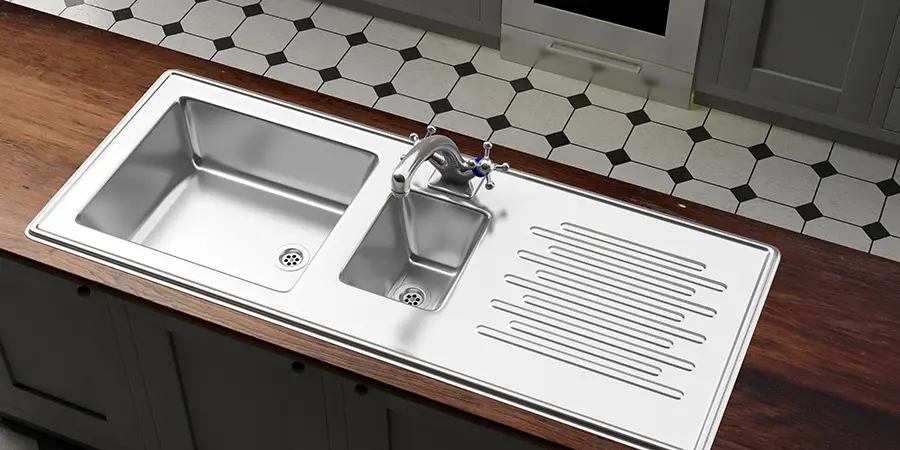
However, before you start the process of painting your aluminum sink, there are some important things to keep in mind. First and foremost, make sure that your sink is clean and free from any dirt or debris.
You’ll also want to use a primer specifically designed for metal surfaces before applying the paint.
When selecting paint for an aluminum sink, choose one that is formulated for use on metal surfaces as well as being water-resistant and durable enough to withstand daily wear-and-tear. It’s also essential that you follow proper drying times between coats of paint so that each layer has time to cure properly.
Once you’ve finished painting your aluminum kitchen sink with care following all necessary steps mentioned above; allow ample time for curing before using it again regularly.
Earthenware or Stoneware Sinks
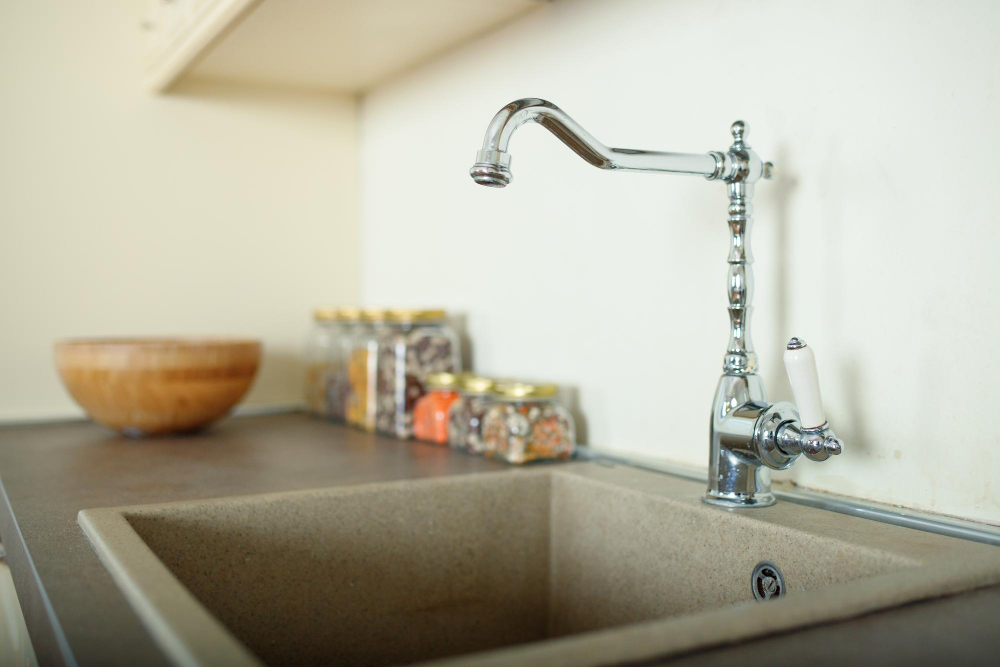
These materials are porous and require special attention to ensure that the paint adheres properly. Before painting your earthenware or stoneware sink, make sure to clean it thoroughly with soap and water, then let it dry completely.
Next, apply a coat of primer specifically designed for use on porous surfaces like these types of sinks. This will help the paint adhere better and prevent chipping over time.
When selecting your paint color for an earthenware or stoneware sink, choose one that is specifically formulated for use on these materials. You may need to visit a specialty store in order to find this type of paint.
Once you’ve applied the first coat of paint onto your earthenware or stoneware sink using a brush made from natural fibers (such as horsehair), allow ample drying time before applying additional coats as needed until achieving full coverage.
Tips On Painting a Sink
First, make sure to choose the right type of paint for your sink’s material. For example, if you have a porcelain sink, use an epoxy-based paint that is specifically designed for high-gloss surfaces.
Secondly, it’s important to properly prepare your sink before painting it. This includes thoroughly cleaning and drying the surface as well as repairing any chips or cracks with filler.
Thirdly, when applying primer and paint onto your sink surface use thin coats rather than thick ones which will help prevent drips from forming.
Lastly always follow manufacturer instructions regarding drying time between coats of primer/paint application so that each layer has enough time to dry completely before adding another coat or moving on with other steps in this process such as finishing touches like sealing off edges around fixtures etcetera!.
Drying and Curing Time
Drying time can vary depending on the type of paint used, but most paints will require at least 24 hours to dry completely. However, curing time is equally important as this allows the paint to fully harden and become more durable over time.
It’s recommended that you wait at least three days before using your newly painted sink for any heavy-duty tasks such as washing dishes or scrubbing pots and pans. During this curing period, avoid placing any objects on top of the sink or applying excessive pressure that could damage the freshly painted surface.
While waiting for your sink to cure may seem like a hassle, taking these extra precautions will ensure that your new finish lasts longer without chipping or peeling off easily.
FAQ
What paint can be used on a kitchen sink?
A porcelain painting kit, including a premixed epoxy solution, can be used to paint a kitchen sink.
Can I repaint a kitchen sink?
Yes, you can repaint a kitchen sink by following proper steps such as removing hardware, cleaning, sanding, and using acetone before applying paint on stainless steel or acrylic sinks.
Can I spray paint kitchen sink?
Yes, you can spray paint your kitchen sink, as it provides an even and smooth finish on the surface.
What is the best way to paint a sink?
The best way to paint a sink is to sand it first for a smooth surface, wait for 90 minutes, and then use a clean tack cloth to remove any dust before applying paint.
What are the necessary steps to prepare a kitchen sink for painting?
To prepare a kitchen sink for painting, clean the surface thoroughly, remove any hardware, sand the sink to create a rough texture, apply a layer of primer, and let it dry before applying paint.
Which type of paint finish is most suitable for kitchen sinks?
The most suitable type of paint finish for kitchen sinks is enamel paint.
How can I maintain the durability and appearance of my painted kitchen sink?
To maintain the durability and appearance of your painted kitchen sink, clean it with mild soap and water, and avoid using harsh chemicals or abrasives.


